How to Respool Filament – Simply Explained

Resolve extrusion issues caused by a poorly wound filament spool! Learn how to properly respool your filament to prevent knots and tangles.
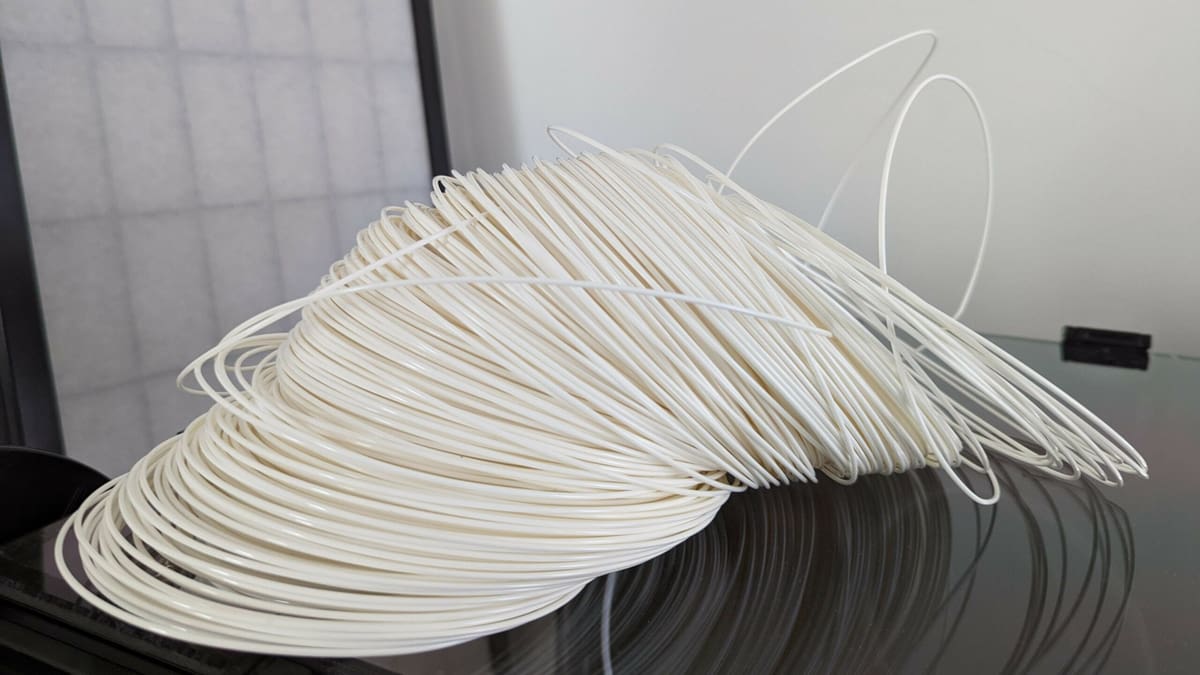
We don’t know how Reddit user kayamb got themselves into this situation, but a pile of unspooled filament is a nightmare! Not only is it necessary to respool it, but you also have to detangle the filament before you do so.
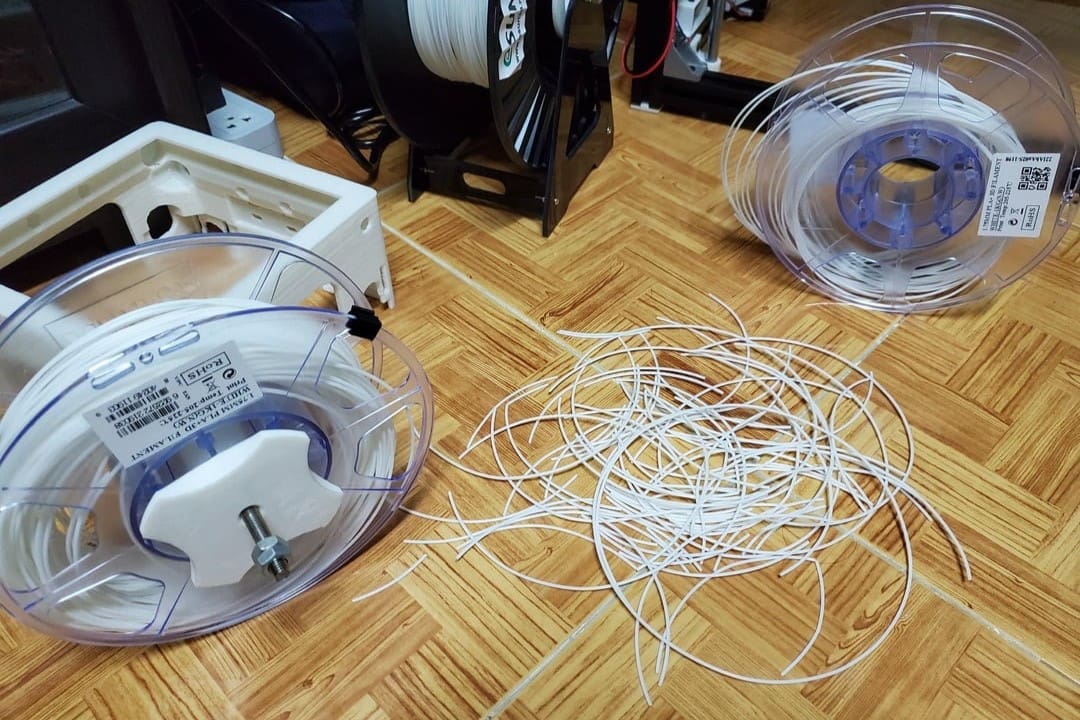
More often, though, the reasons to respool filament aren’t as dramatic as the example pictured above. Sometimes, users simply want to offload filament from a heavier spool to create a lighter one – which definitely makes sense depending on how the filament spools are mounted or attached to your 3D printer.
Many makers who regularly work with Bambu Lab’s AMS are forced to respool their filament, as the AMS isn’t compatible with every spool out there. Spool size is one issue, but there are also spool material considerations. Users report that the AMS sometimes has trouble properly feeding cardboard spools. Others worry about the accumulation of cardboard dust in the machine.
Makers are gonna make, so the community has come up with a simple hack for the cardboard spool problem. Many simply rip off the sides of the cardboard spool, and attach reusable 3D printed spools, which cause less trouble for the AMS.
As mentioned, there may be other reasons why you might find it necessary to respool your filament, which is why, in this article, we’ll present a few ways to transfer your filament to a new spool. We’ll also give a couple of tips and tricks for the process and filament storage in general. But first, a word of caution…

A Word of Caution
Before diving right into respooling your filament, you should know that there are risks involved. Three years ago, a reader let us know about their ill-fated adventure with respooling, and looking into it, we found that others in the community have had similar experiences.
Makers report finding “thousands of cracks” on the filament, especially the part of it that was wound around the center of the original source spool. The cracks, however, are not always immediately evident, and some makers discovered the problem mid-print because the filament broke.
The source of the problem has much to do with how filament is manufactured. Filament is typically wound directly onto a spool as part of the extrusion process. 3D Printing Solutions explains that respooling the filament changes the curvature of the filament, which introduces additional strain. While materials with high rigidity are more susceptible to cracking as a result of respooling, they warn that the diversity of polymer grades and formulas used to manufacture filaments makes it difficult to anticipate how a material may react to respooling.
All of that is to say, the decision to respool your filament shouldn’t be taken lightly. While some users swear by it and report not having any problems, others have experienced catastrophe.
Ad-hoc
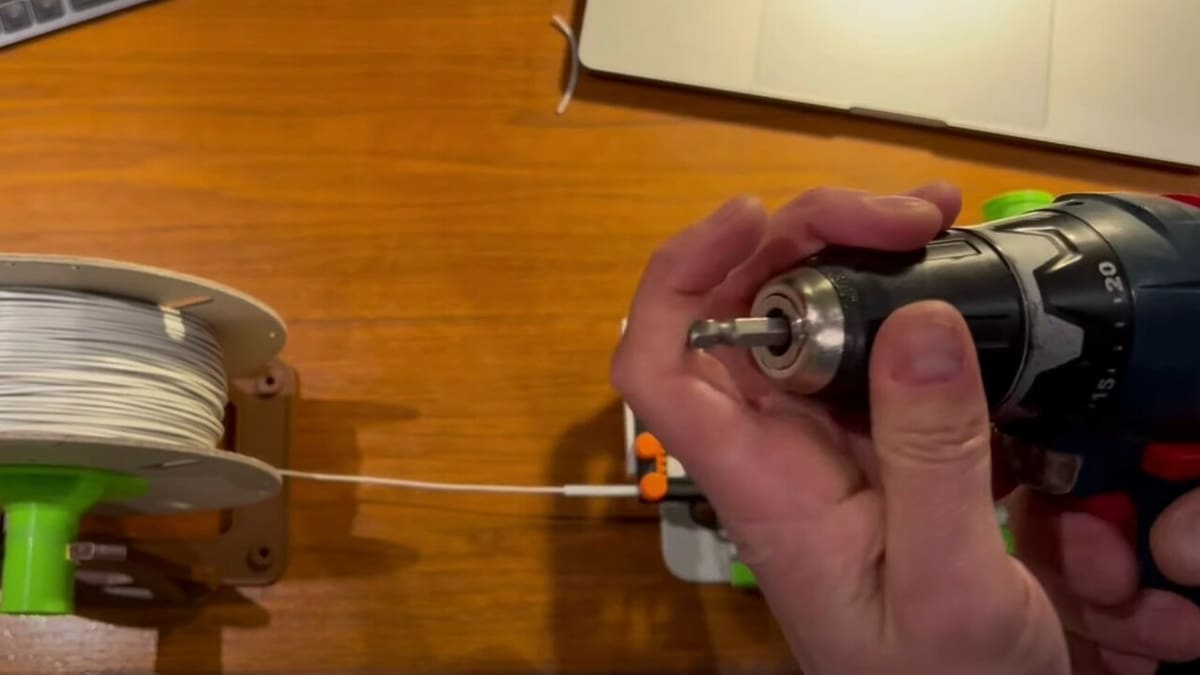
So you’ve weighed the pros and cons and have decided you want to give respooling a try. There are numerous ways to do it, including special machines, hand-cranking, and other methods. If you’d rather go the path requiring the least amount of time and effort, this method requires only a drill, a 3D printed drill attachment, an empty filament spool, and something to hold the source filament spool. That’s it!
Once you’ve printed the drill attachment, you’re all set to continue:
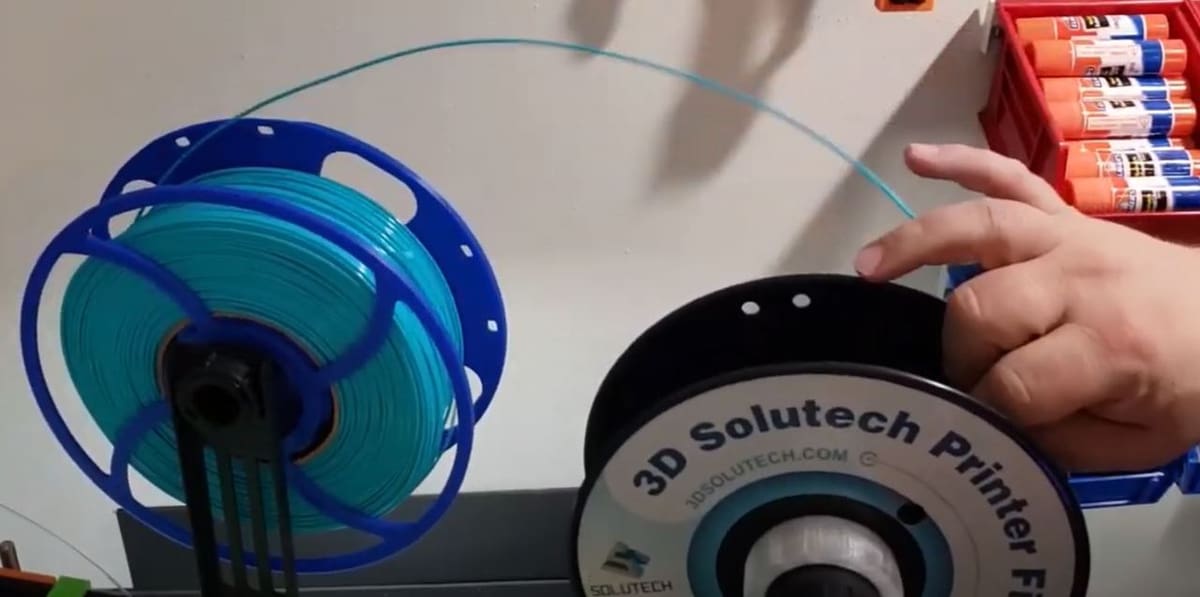
- Take the loose end of the source spool and secure it to the empty spool.
- Place the inner hole of your source spool on a circular object so that it can spin without rolling away.
- Fit the attachment on the drill, then insert it into the empty spool.
- Start the drill slowly, then gradually increase speed.
- Continue spinning in a controlled manner and move the empty spool back and forth to ensure the filament covers the whole width of the spool.
- Once you’ve reached the last section of filament on the old spool, cut it off (from the old spool).
- Pull the filament taut on the new spool to tighten it.
- Secure it down, so it doesn’t unravel.
- Leave your newly-wound spool to sit for a few hours, to allow the filament to bend into position. This will ensure it doesn’t unwind the moment you release the end!
Watch this helpful video guide from Makers Mashup to see the drill attachment in action:
Manual

Taking it up a notch from the previous method, this filament respooler is a project on its own. Consisting of two primary components – a spool holder for the source filament and a main drive holder for the winding spool – this respooler offers enhanced functionality for a cleaner rewinding process.
The main drive holder features a reciprocating guide carriage, ensuring even distribution of filament during the rewinding process. This results in a smoother and more consistently wound spool that’s ready for your next 3D printing project. Whether you prefer the convenience of a drill motor or the simplicity of a hand crank, this respooler design accommodates both options.
The project is constructed predominantly from 3D printed parts and requires only a few additional components, namely several 608 bearings, a PTFE tube, and some optional hexagon socket head screws. Detailed files, instructions, and troubleshooting tips are found on the design’s Printables page.
How to Use It
Here’s a step-by-step guide on how to effectively utilize this respooler:
- Securely fasten the drive mount and secondary mount onto a flat surface using double-sided tape for temporary setups or screws for a more permanent installation.
- Load the source filament spool and the empty winding spool onto their respective holders.
- Thread the filament from the source spool through the PTFE tube and secure it to the bottom of the drive spool.
- Use either a drill motor or the 3D printed crank handle to initiate the winding process. If you go for the former, make sure to use the electric drill adapter.
- Maintain a steady pace to ensure an even distribution of filament on the winding spool.
- Once you’ve reached the end of the filament on the old spool, cut it off cleanly.
- Pull the filament taut on the new spool to tighten it securely.
- Fasten the end of the filament onto the drive spool to complete the winding process.
- Remove the filament spools, and you’re ready for your next respool.
Automatic

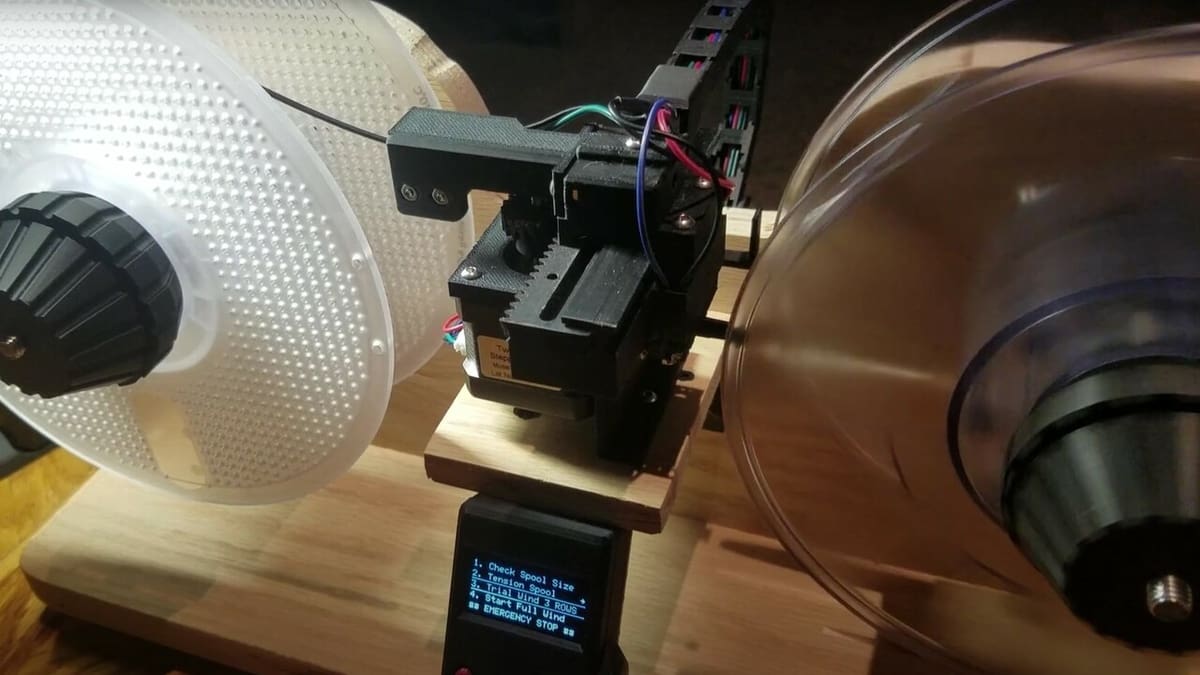
This DIY respooler is a project for seasoned makers, offering a fully automated press-and-play experience once loaded. Equipped with an LCD screen, it allows for easy access to various settings. Simply select your desired mode, walk away for a few minutes, and return to find your filament neatly respooled.
This respooler also has a guide carriage for even distribution of the filament when respooling. The guide carriage is powered by its own stepper motor, which makes it more efficient and reliable than the carriage from the manual respooler (the manual respooler’s carriage is mechanically linked with 3D printed parts from the input drive).
Constructed mainly from 3D printed components, this project also requires an array of electronics, including stepper motors, an LCD screen, an Arduino Mega 2560 along with a RAMPS 1.4, among other items. Additionally, you’ll need bolts for assembly and a wooden base to mount everything securely. Detailed files, instructions, and videos are available on its Printables page.
How to Use It
Here’s a rundown of the steps to operate this respooler after assembly:
- Power on the respooler device, then press the select button once to access the menu. Navigate to and select “Re-winder.”
- Press “Check Spool Size” and follow the on-screen prompt to load your filament onto the respooler. Once loaded, press the button again to allow the respooler to calibrate the spool size automatically.
- Next, select “Tension Spool” from the menu. Here, you’ll find three options for tensioning your spool: 1.5 revolutions at a slow speed, 5 revolutions at a regular speed, and 2 revolutions at a fast speed. Start with the regular speed option, but feel free to experiment with the other two options as desired. Additionally, you can adjust the winding speed and release the spools from this menu.
- Once you’re satisfied with the speed, select the top arrow button to proceed to the main menu.
- Choose “Trial Wind 3 ROWS” to run a test winding process. This allows you to identify any potential issues with the respooler before committing to a full rewind.
- Finally, select “Start Full Wind” and let the respooler work its magic. Sit back and relax as the respooler completes the winding process.
- When the old spool is nearly depleted, cleanly cut off the remaining filament.
- Pull the filament taut on the new spool to ensure a tight and secure winding.
- Fasten the end of the filament onto the drive spool to complete the winding process.
Final Tips

Regardless of the method you use to respool your filament, be careful to handle your filament properly and that you don’t pull too hard on it. This is especially true when working with flexible filaments but is worth remembering for all filaments: Too much tension can cause a filament to stretch. This can change the diameter of the filament, which can cause printing issues including jams.
Also, before your print with your new spool, keep in mind that you’ve just touched your filament and probably respooled it in an open room. This means that your filament was most likely exposed to some moisture, so you’ll want to dry your filament before printing – especially the highly hygroscopic materials.

License: The text of "How to Respool Filament – Simply Explained" by All3DP is licensed under a Creative Commons Attribution 4.0 International License.