Raspberry Pi Drone: How to Build Your Own

The skies have always tempted us, but now technology can tame the sky. Read on to learn more about how to build your own Raspberry Pi drone.
A drone is essentially a flying unmanned robot, also known as an unmanned aerial vehicle (UAV). Drones can be used for a variety of purposes such as search and rescue, weather predictions, surveying, and more. Certain drones have purpose-built tools on board to perform certain tasks, including cameras and, for even more functionality, computers such as Raspberry Pis.
Over the years, drones have acquired a large following including enthusiasts, videographers, and DIYers. The 3D printing community has also taken a newfound interest in drones, as many non-electrical components can be fabricated using 3D printers.
Building your own drone can be a rewarding experience that allows you to customize it to your needs. While the list of components below isn’t exhaustive, it includes some of the main ones you should know about. Adding a Raspberry Pi to your drone can let you take your flying experience to new heights.
In this article, we’ll cover what you need to do to make your own drone. First, we’ll explore the Raspberry Pi itself, then we’ll dive into the components needed for a drone of this nature. Following that, we’ll go over a small guide on the computational elements of a computer-controlled drone. Finally, we have a few great examples of projects that you can build too.
Read on for launch!
What Is a Raspberry Pi
Raspberry Pis are small single-board computers (SBCs) that have everything a normal barebones computer has. The Raspberry Pi Foundation offers many different form factors for the Pi, such as the miniature Pico, the wireless-enabled Pi Zero W, and the heavy hitter Raspberry Pi 4B, just to name a few. They offer solutions for a wide range of projects and form factors with regard to size, and they also offer a great community to learn from.
These SBCs have a central processing unit (CPU), memory (RAM), and other pins and outputs to interface with. They’re popular in the maker community because they’re easy to integrate into projects and are Wi-Fi enabled, which allows them to be accessed remotely.
This mighty computer is also versatile in terms of software, as it uses a custom Linux-based operating system known as the Raspberry Pi OS (previously known as Raspbian). With all of these features, Raspberry Pis are very mighty little machines that allow the average maker to experiment with AI, data processing, and hands-on programming through plenty of projects, among which drones are well represented.
Raspberry Pi Drones
Drones and Raspberry Pis are cool on their own, but if brought together, they can form a very powerful tool. They give a drone the power of a computer and the ability to go anywhere. Maybe robots are finally taking over!
A Raspberry Pi can enable a drone to have significant computing power on board, allowing drones access to vastly complicated yet exciting technologies such as AI. This extra capability can allow you to interface with the drone using Python while the UAV is flying.
A Raspberry Pi drone can be programmed so that it could take off and land all on its own. While all of this may sound great, let’s dive into what it actually takes to build this magnificent piece of machinery.
Components of a Drone
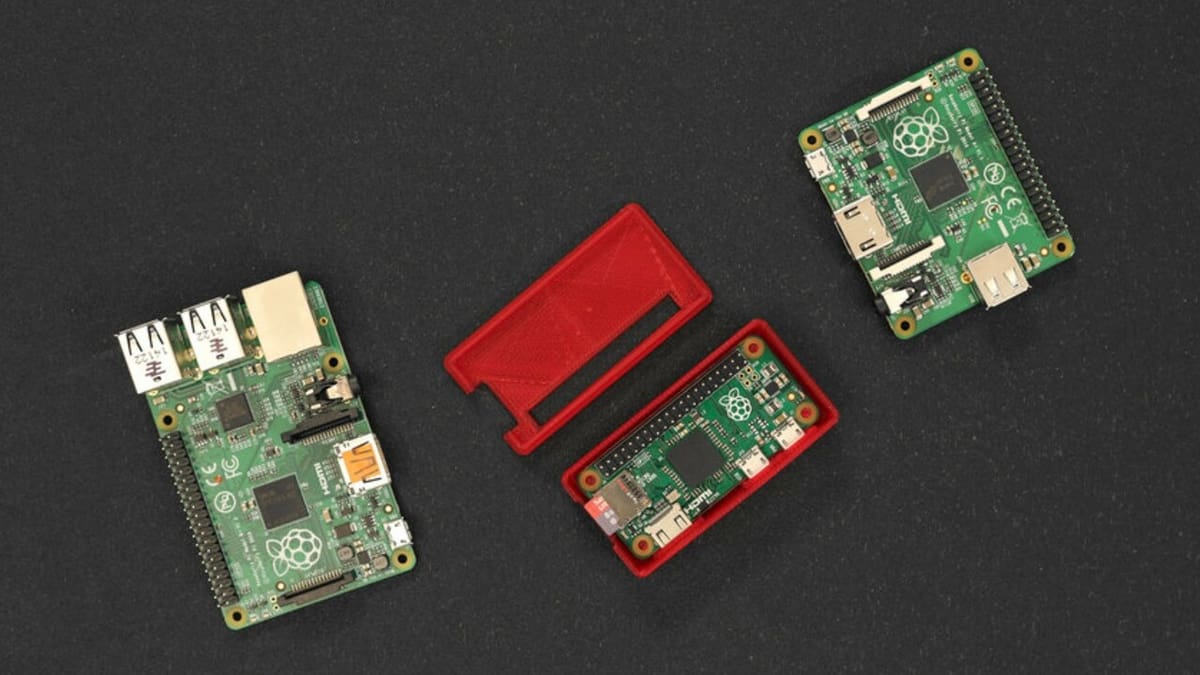
Raspberry Pi-Model B or Pi Zero
The Raspberry Pi will be the brains of the operation and will process the data. A model B Raspberry Pi is preferred because, as of the 3, they’re Wi-Fi enabled and can communicate to the ground while in air. You can also use a Pi Zero paired with the PXFmini flight controller if you want a smaller form factor, as the Pi Zero is also Wi-Fi enabled.
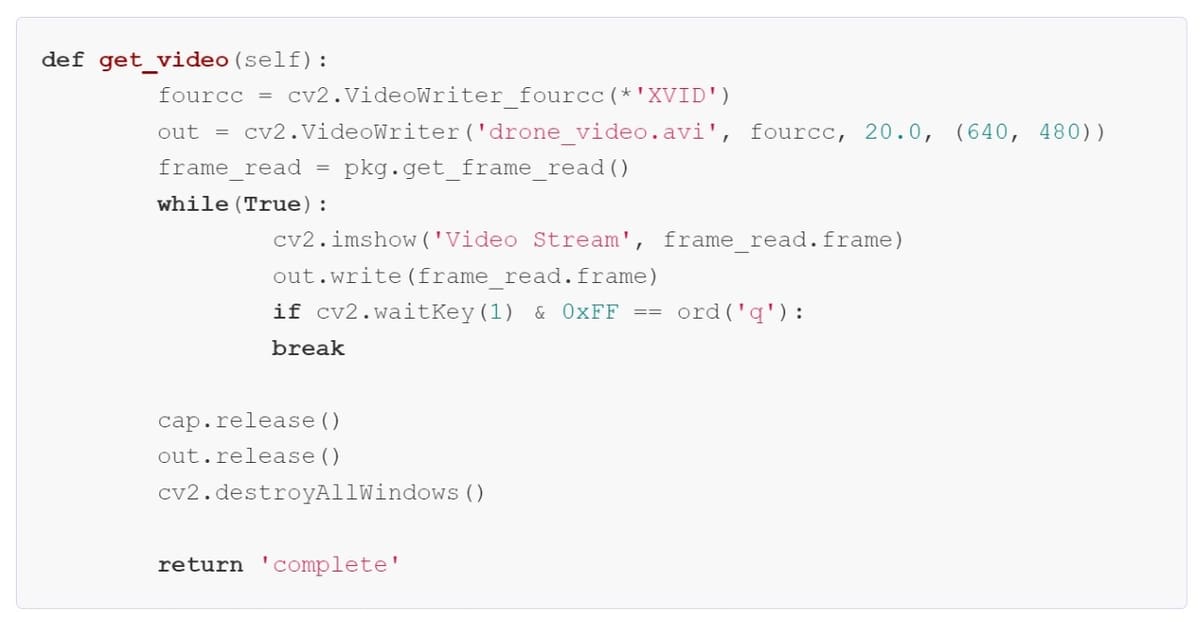
Additionally, a Raspberry Pi allows a further degree of control over your drone using software. Most of the interfacing with the drone will be through Python, a common programming language used with the Raspberry Pi. If you want to program specific functionality into your drone, you’ll need to know the basics of Python, but if you’re simply recreating another open-source project, you should be able to get by with limited expertise.
Python has a wide scope of functionality for artificial intelligence. For example, the programming libraries TensorFlow, scikit-learn, and Keras are all primarily based on Python. Therefore, it can be used to control and train RPI-enabled drones.
Depending on the software, you could make a drone that can map a landscape or precisely control its position autonomously. Some practical applications could include the delivery of emergency supplies, forest fire mapping, and even weather predictions.
The Raspberry Pi allows this whole operation to happen, taking all of the data inputs to generate outputs for the flight controller, which we’ll discuss next.
Flight Controller Shield
The flight controller is the next most crucial component electronically speaking, as it acts as the “bridge” between the Raspberry Pi and the rest of the hardware aboard the drone. Each of the other electrical components discussed must be connected to this piece of hardware in order for the Raspberry Pi to be able to “talk” to it.
While a Raspberry Pi provides extra functionality to the flight controller, the controller itself can work independently of the Pi, which is often the case in consumer drones. The flight controller uses an algorithm known as Proportional Integral Derivative (PID) control, which makes calculations about how much power to divert to the motors to control direction. Understanding how the algorithm works is outside of the scope of this article, but it is indeed an important part of the drone.
There are many types of flight controllers, but they all serve essentially the same purpose.
A Few Options
While a few controllers are relatively well documented, any flight controller can work, as they all simply provide inputs to the Pi and outputs to the electronic speed controllers (ESC) and other components. Some popular flight controllers include the following:
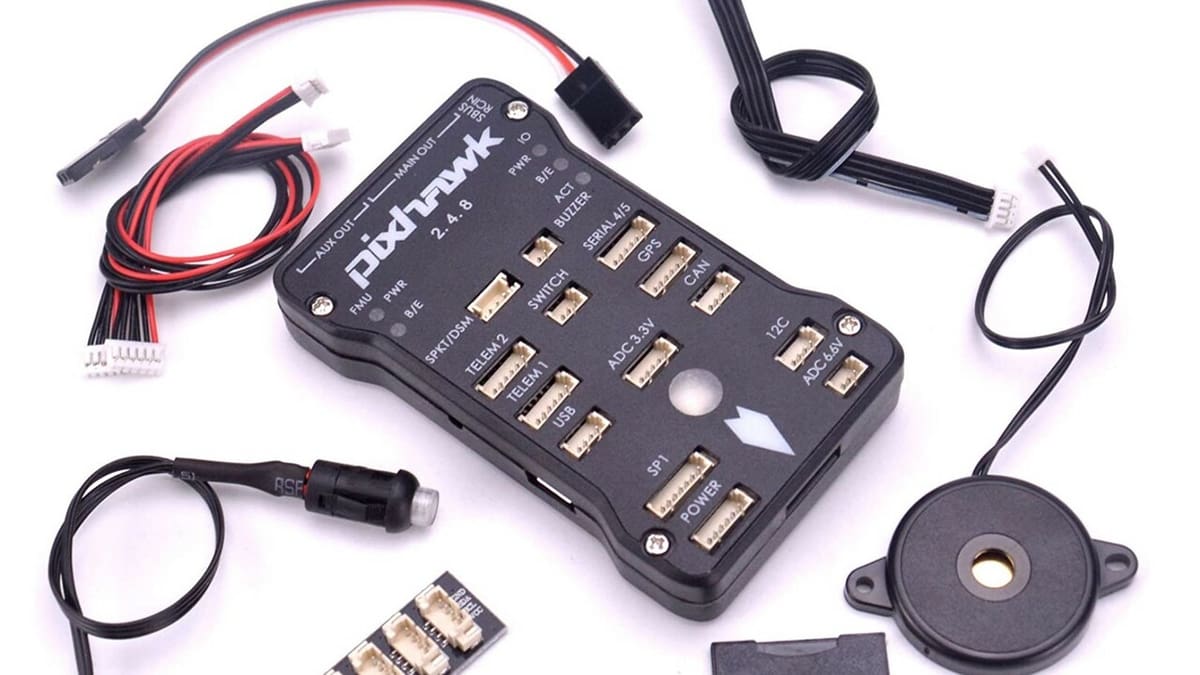
Pixhawk
The Pixhawk is a great flight controller for beginners, being well documented and having a large user base overall. Many popular kits even use this flight controller, which provides an even larger base of users to tap into for knowledge.
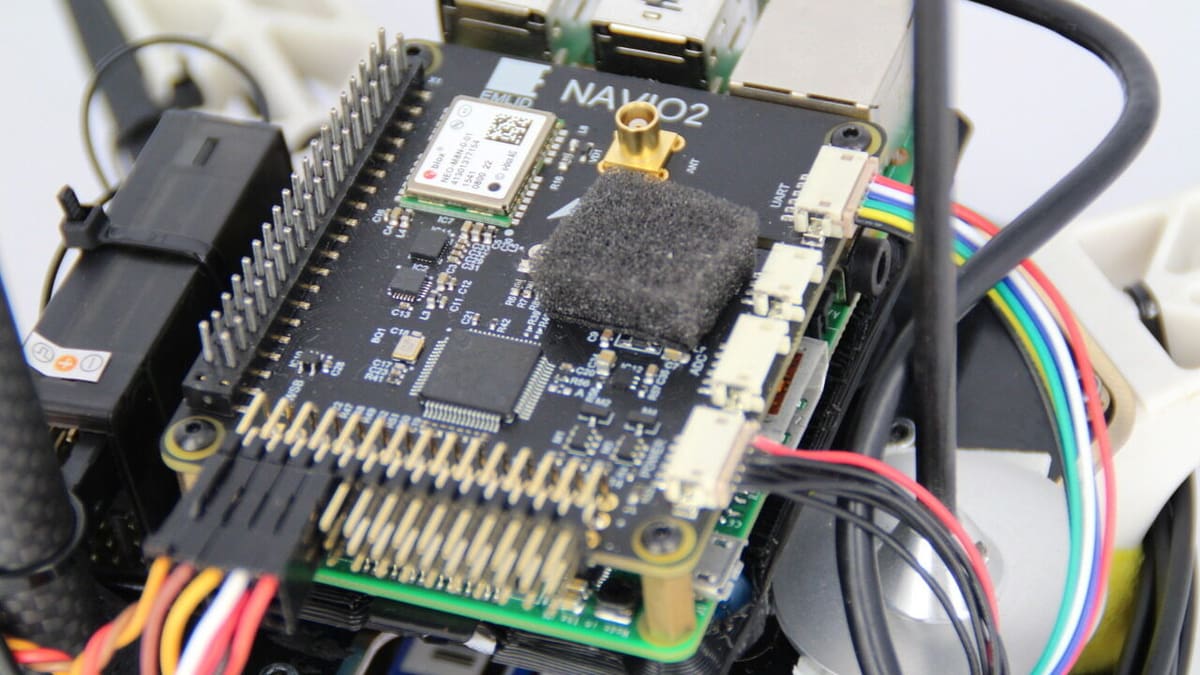
Navio 2
The Navio 2 is another fantastic flight controller for the Raspberry Pi. It boasts slightly better functionality than the Pixhawk, but it comes at the cost of beginner-friendliness. It requires a slightly more advanced knowledge of programming languages and some extra experimentation. But for slightly more experienced pilots, the Navio is a fantastic option.
PXFmini
The PXFmini is a flight controller designed for the Raspberry Pi Zero. This is a great option for beginners on a budget, albeit using a Pi Zero may provide slightly less powerful computing power. While the PXFmini is discontinued, if you happen to have one, you can rely on it for setting up a drone. Alternatively, you may want to add even more challenges (and learning opportunities) by building an alternative.
Electronic Speed Controller (ESC)
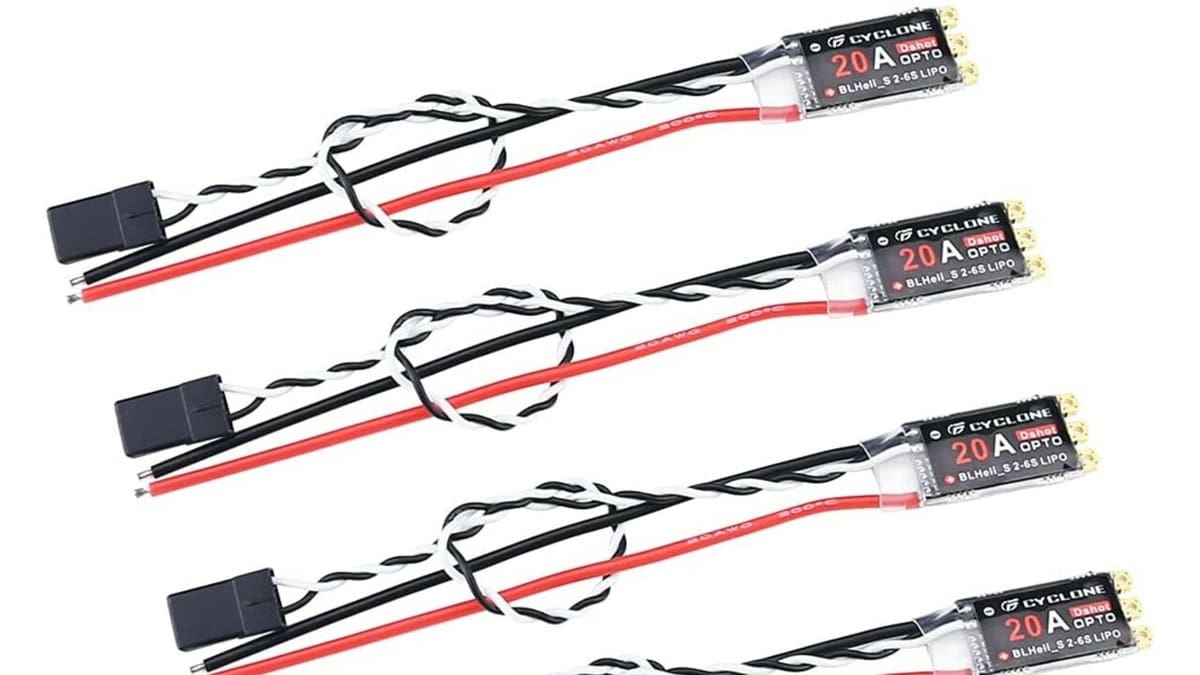
The ESC is the component responsible for controlling the speed and power of the motors that drive the propellers. It does this by limiting the amount of electricity sent to each of the four motors, thus limiting their output. This means that each motor requires an electronic speed controller, as each motor must be controlled. So, an octocopter would require eight, while a quadcopter would require four.
The ESC connects to the flight controller to receive commands on how exactly to manipulate the power on each motor. Another thing to note is to use ESCs that can use Dshot, which is a protocol that allows the flight controller to talk to the speed controller.
But how can you keep track of your drone’s location?
GPS Module
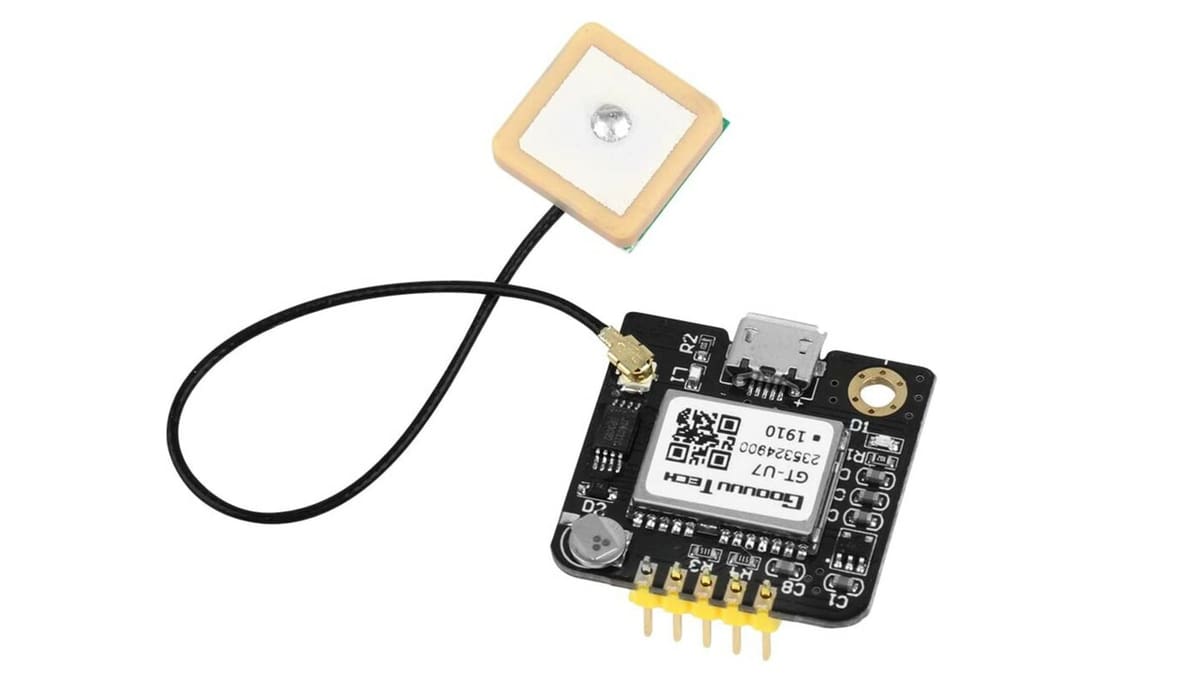
The global positioning system (GPS) module is an optional component that can allow you to be aware of the drone’s position. The GPS will connect to four satellites to ascertain its position, then feed this to the speed controller to make use of the data via the telemetry module (discussed later). This is an optional feature, but it can enable a home function so that you never lose your drone.
GPS is usually reliable, but since it must communicate to space, atmospheric conditions such as cloud cover can affect its functionality, as clouds can affect signals.
Next, let’s see how the drone’s powered up.
Battery
The battery will provide the power required for the drone; it drives all of the interactions in the UAV and makes it possible to carry portable energy. The most important things to consider when choosing a power source are derived from the relationship between its weight and how much power it provides.
Cell Count
Each additional cell adds weight, power, and voltage. This can increase speed and flight time but can also decrease both if the battery becomes too heavy as a result of adding more cells.
Capacity
Capacity, a measure of how much energy is in the battery, is another factor to consider. Larger batteries have more capacity, but they also possess more weight, which can potentially limit flight time.
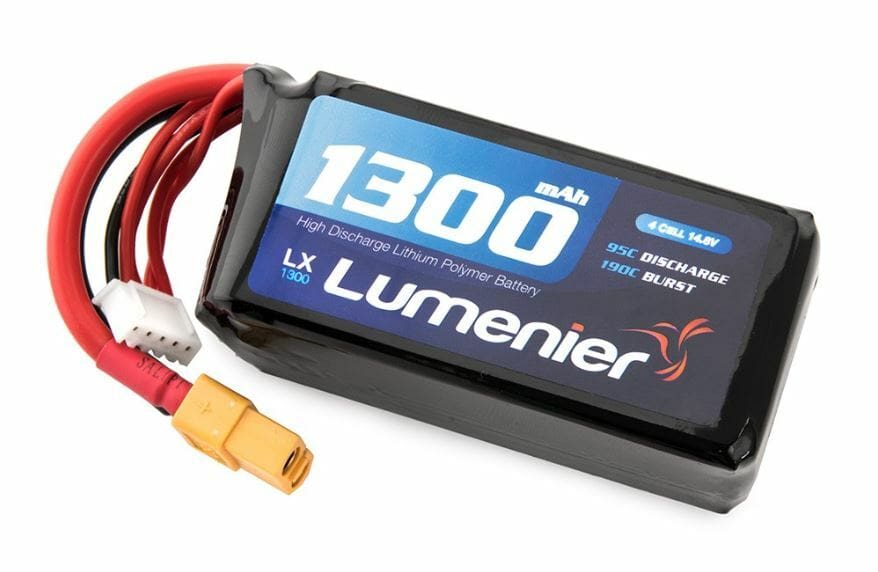
Battery Type
This refers to the materials the battery is actually made of. Most consumer drones use Lithium Polymer (LiPo) batteries, as they’re relatively affordable and provide a good weight-to-capacity ratio. Other types include lithium ion, nickel cadmium, and fuel cells, but you should probably stick to LiPo unless you have a very special application in mind.
Finding the perfect battery is an important balance because it must be neither too heavy to hinder the flight nor too small – as that would limit the drone’s range. The heavier the battery, the more power it demands from the motors, which leads to even more power being consumed. If the battery is too light, however, the drone will not have enough power to stay in the air for long.
Another thing to be sure of is that your battery and power distribution board are compatible. Charging LiPo batteries will require a special charger known as a LiPo charger to manage their voltage, so be sure to have one of those as well. Arguably, the battery is the most important part of the drone, as it powers all of the hardware.
Power Distribution Board
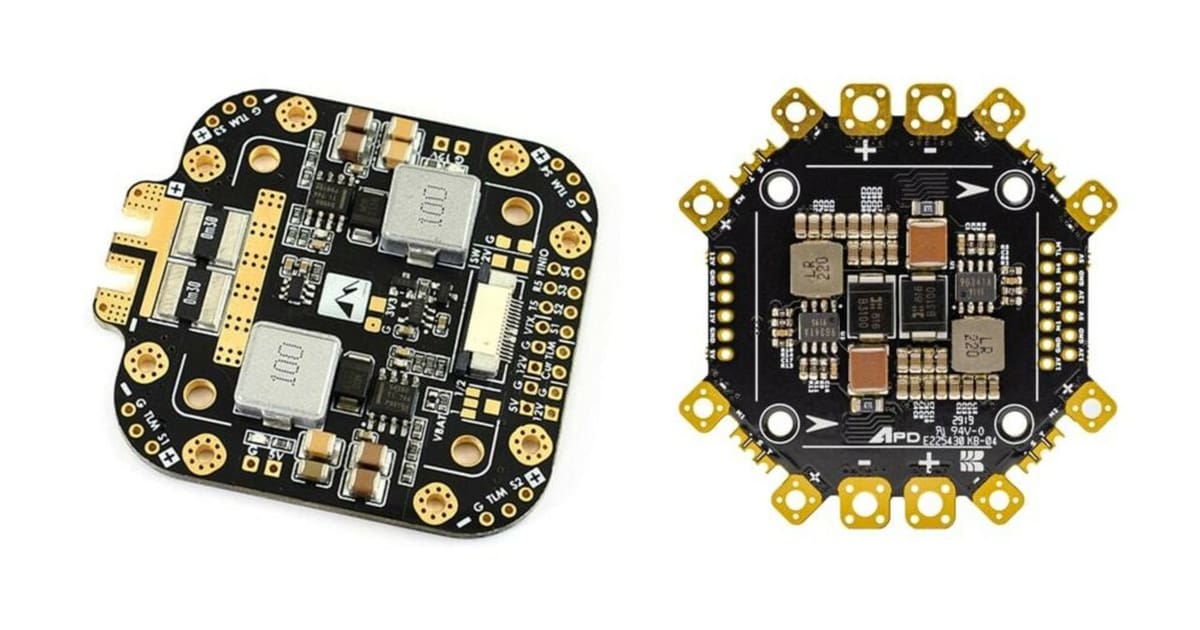
A power distribution board (PDB) is required to harvest power from the battery. The board is responsible for taking the voltage of the battery and spreading it to connection points linked to the other components. As a result, you aren’t stuck soldering together resistors and wires in complicated formats on your own.
The PDB will usually also regulate power automatically to the flight controller and camera via a voltage regulator. When choosing a PDB, be careful to choose the correct voltage outputs for your camera – should you choose to have one – as most use 5 V, but some may use 12 V.
Telemetry Module
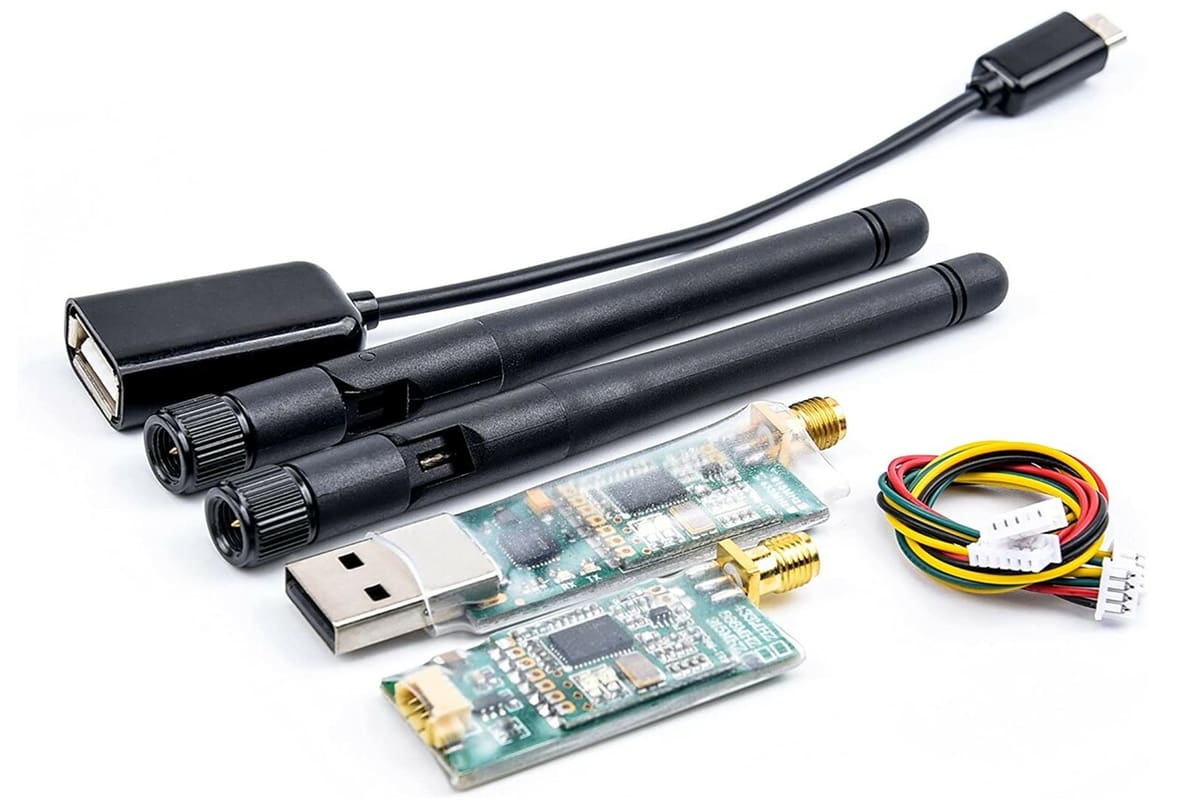
A telemetry module allows the drone to send information back to the ground, which can tell you when to land as well as many different data points on the ground – battery level and positional data, for example. Be sure to only use a telemetry module if both your transmitter and receiver have one.
Oftentimes, if your remote has a telemetry module, it can tell you when your signal is getting weak as well. This is a great add-on for a capable drone.
Remote + RC Receiver
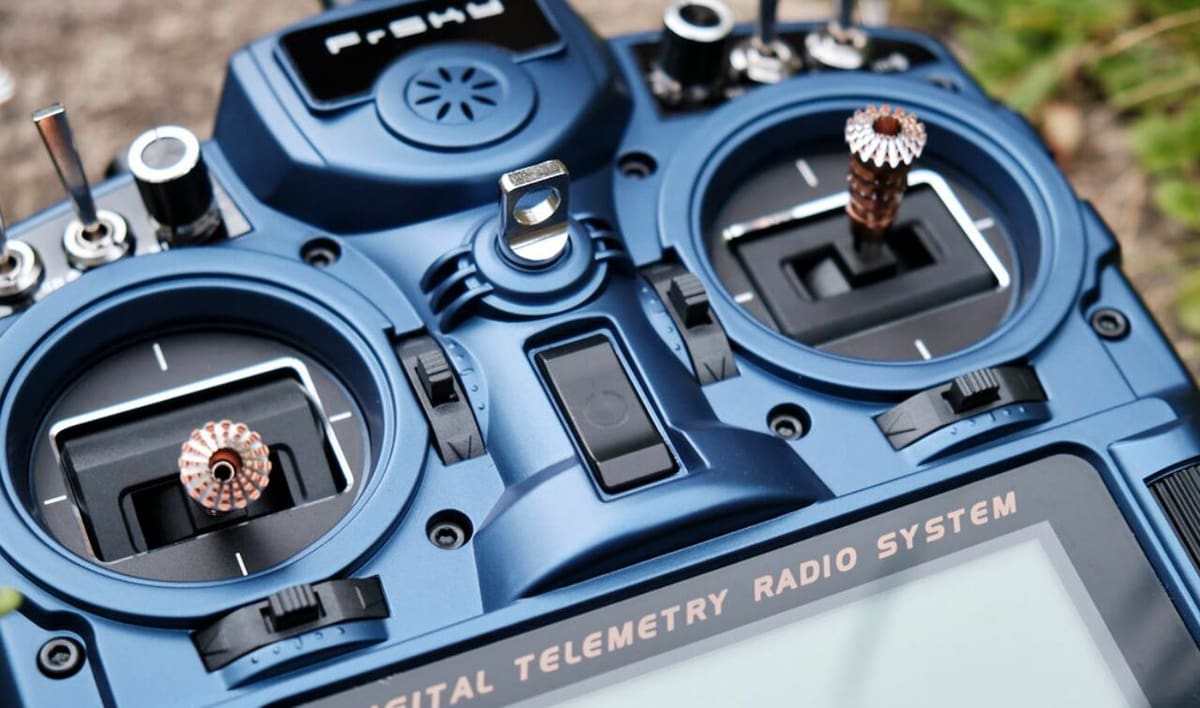
We’ve gone over how the Raspberry Pi interfaces with the hardware, but we haven’t discussed how the human interacts with the drone.
Given that the drone isn’t autonomous, a person needs a remote control to actually direct it. Each of these interactions requires a transmitter and a receiver. The transmitter is located on the ground (in the remote control), and the drone is known as the receiver in this scenario. The transmitter has channels with each having a specific frequency signaling movement in a single direction.
The controller should have at least four channels, but ideally, it will have five or more. The receiver should also come paired with an antenna, which can be a loose wire, but these can be unreliable at times. Another thing to consider is the size of your receiver, as one that’s too bulky can prevent a drone from ever leaving the ground.
Camera Module
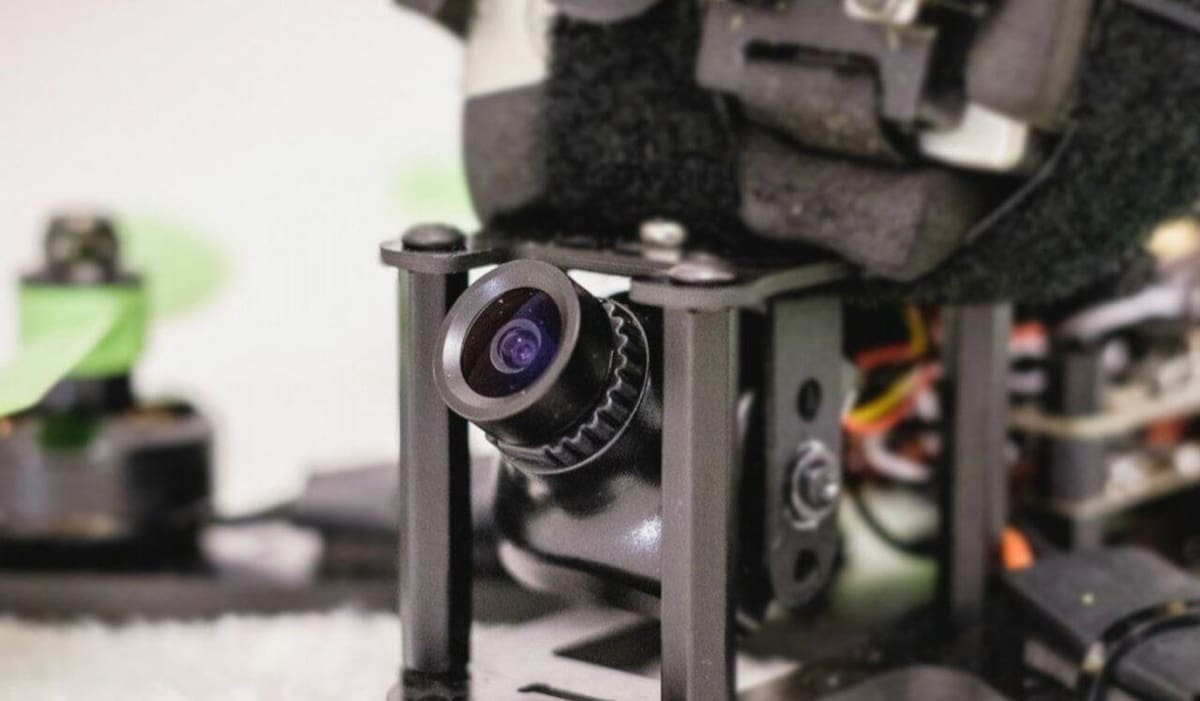
Cameras can provide a unique video feed offering users a window into their drones’ perspectives. A camera can be simple or can be mounted on a gimbal to be used as a first-person view camera (FPV) on higher-end drones. FPV cameras are also available as plug-and-play solutions but can still be difficult for a beginner to master.
Another component used with the camera is known as the video transmitter (VTX), which is largely optional because most flight controllers will have one built in. If you want a better one than the stock option, it’s always possible to install it later.
Frame
The frame will house all these parts and keep it all together. While purpose-built frames are available on the market, a frame can be fabricated at home as well. Many makers are 3D printing frames, as they can be heavily modified to your needs.
If you do choose to buy a frame, be sure to consider weight, strength, and durability. The frame must be sturdy, light, and able to survive some tough crashes. The most widely used and promising materials are carbon fiber composites due to their high tensile strength.
Size is another important factor, as a larger frame size will house larger components, which will in turn require high power and more expensive components. A smaller frame will also result in a smaller and more nimble drone, allowing for more versatile use while compromising on cargo space.
The purpose of the drone is important to consider, especially as a racing drone should have slightly more weight for higher momentum, and the center of gravity is relevant for smoothness in flight. A lower center of gravity will correspond to a more stable drone that’s less responsive to changing directions, and the opposite is true for a higher center of gravity. The main method of altering this variable is by moving the battery to create the desired condition, as it’s the heaviest component usually.
Overall, a frame is very important as it brings every aspect together in a hardware sense. You should choose your frame to fit the rest of your build so as not to limit functionality, but do ensure that everything is truly cross-compatible before you commit to one.
Propellers
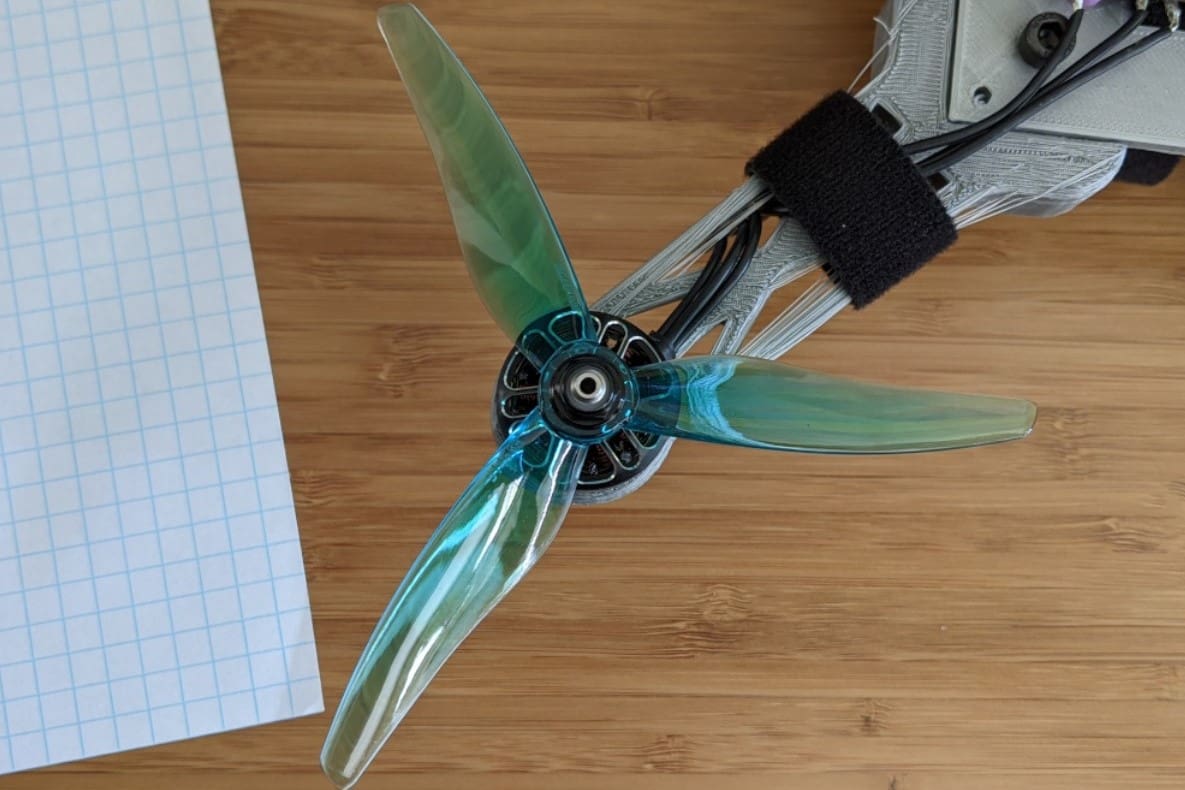
And with the frame, propellers are yet another important part of the drone. These take the rotational movement of the drone and convert it to thrust force, which is used to move the drone.
Propeller size is largely driven by the size of the frame, as this determines the weight that needs to be accounted for.
You can refer to the chart as a general guide when choosing the propellers:
(Sources: Dronesgator, GetFPV, Aman Garg via All3DP)
Usually, propellers have three blades, which seems to be the most efficient number, but many smaller drones use two-blade propellers paired with higher rotation speed motors. Propellers must be chosen carefully to ensure a successful flight.
Motors
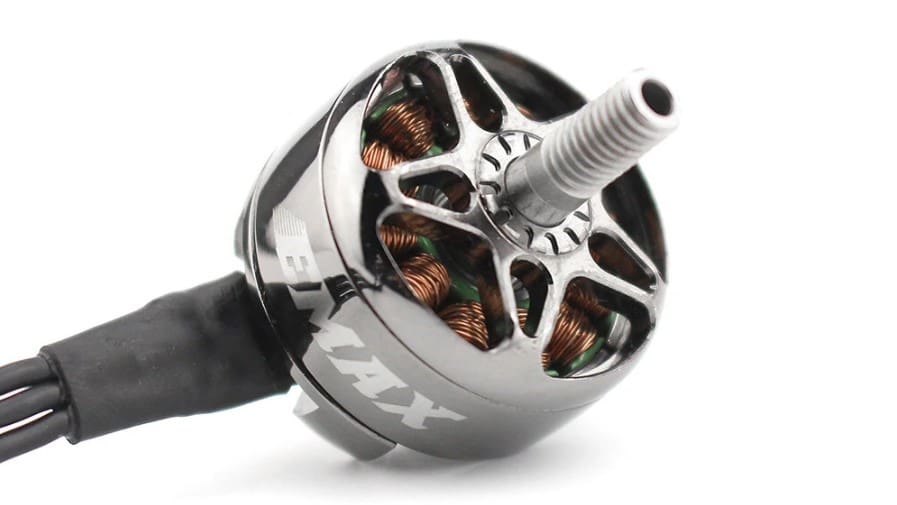
Motors give the drone life through movement.
Drones use brushless motors, which are categorized by the stator diameter and the height of the magnet. The higher these numbers are, the higher the torque the motor will produce. High torque enables faster acceleration, increasing how nimble to drone feels to control.
The thrust-to-weight ratio is another metric to measure motors with regard to the drone overall. For a mini quadcopter, a 10:1 thrust ratio is ideal, allowing for top performance. However, if you’re just getting started, a 2:1 ratio should be enough if it’s all you can manage.
The table shown is a good guide for choosing your motor with respect to the propeller size:
(Sources: OscarLiang, GetFPV, Aman Garg via All3DP)
Some Cool Projects
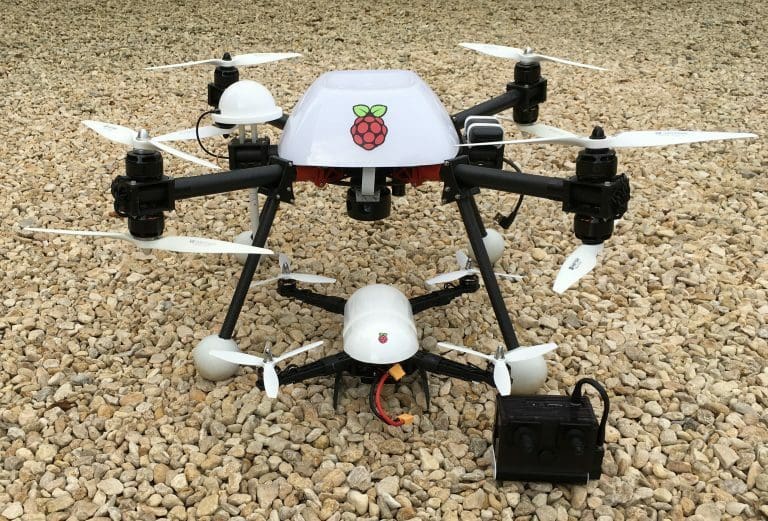
Pixhawk Raspberry Pi Drone
This drone was built by The Drone Dojo and is one of the most capable drones one can build. You could purchase their kit, which includes many of the components needed to build this drone. However, given the wealth of information they provide online, you could source the components yourself and build the drone.
- Who designed it: The Drone Dojo
- Core components: Raspberry Pi 3B, Pixhawk PX4 flight controller
- Difficulty: Beginner
- Where to find it: The Drone Dojo, YouTube
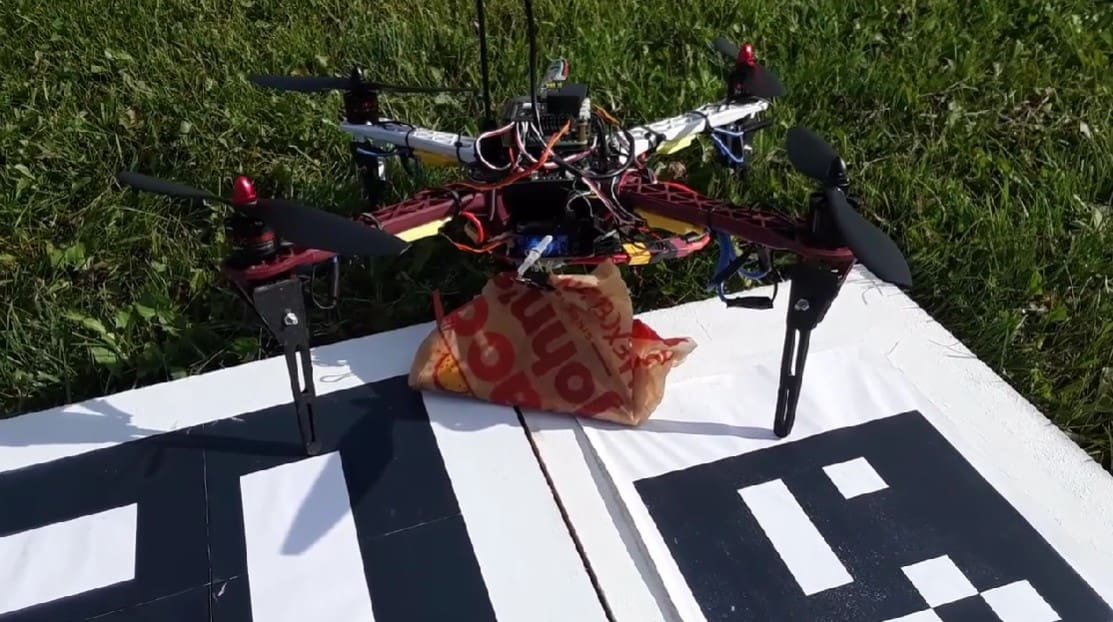
The Drone Pi
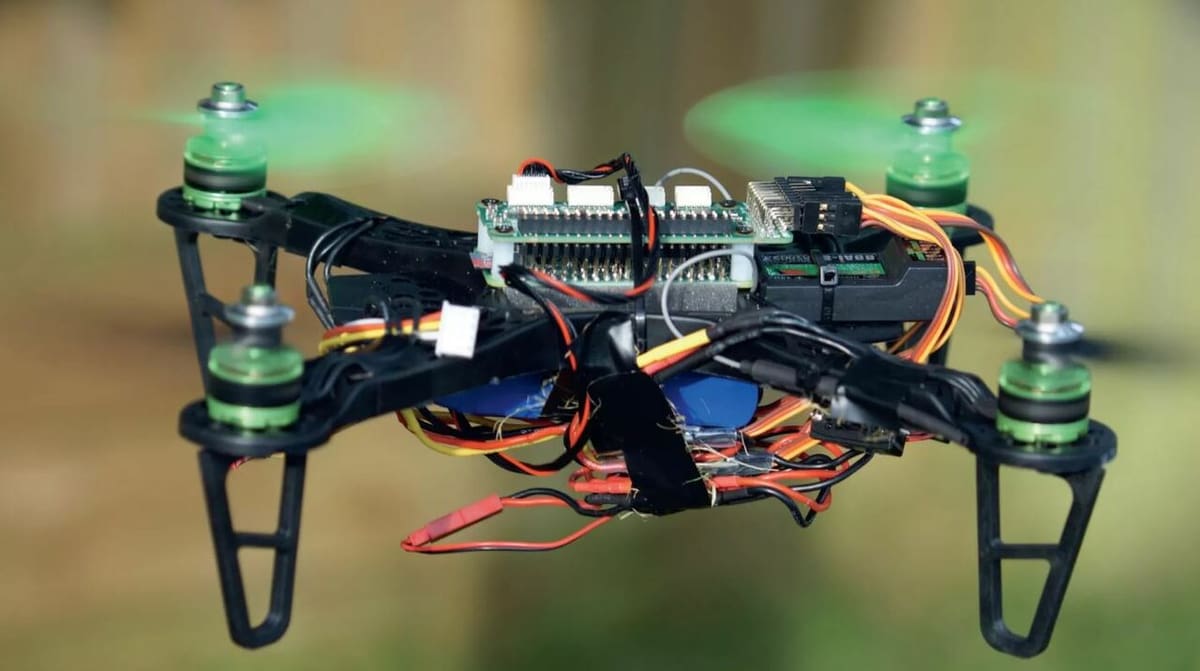
This drone, built with a Raspberry Pi 2 Model B paired with the Multiwii flight controller, is capable of recording video to a USB drive aboard the drone. The Styrofoam frame shows the versatility present when building your own drone.
This drone is an outstanding example of assembling your own parts in unique configurations, and you should be able to source some structural components from things you may have in your garage. The instructions are detailed and thorough. Four makers have even shared their builds!
- Who designed it: reglisse44
- Core components: Raspberry Pi 2B, Multiwii flight controller
- Difficulty: Intermediate
- Where to find it: Instructables
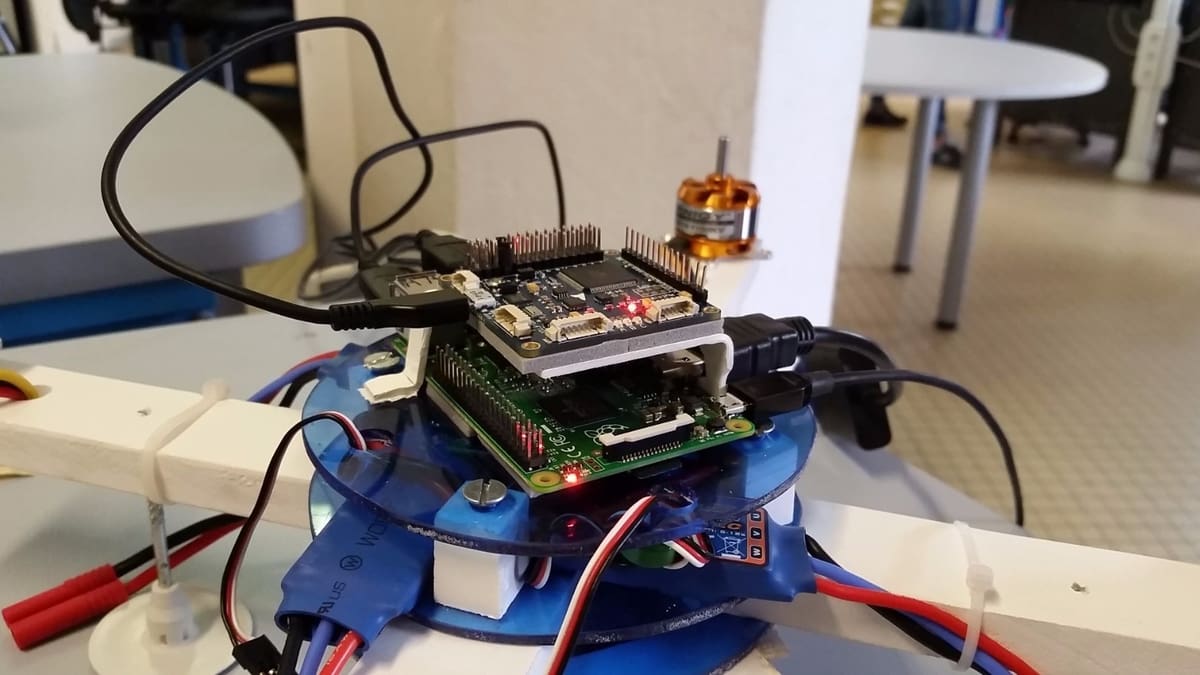
RPi2 + Emlid Navio 2 Copter Build
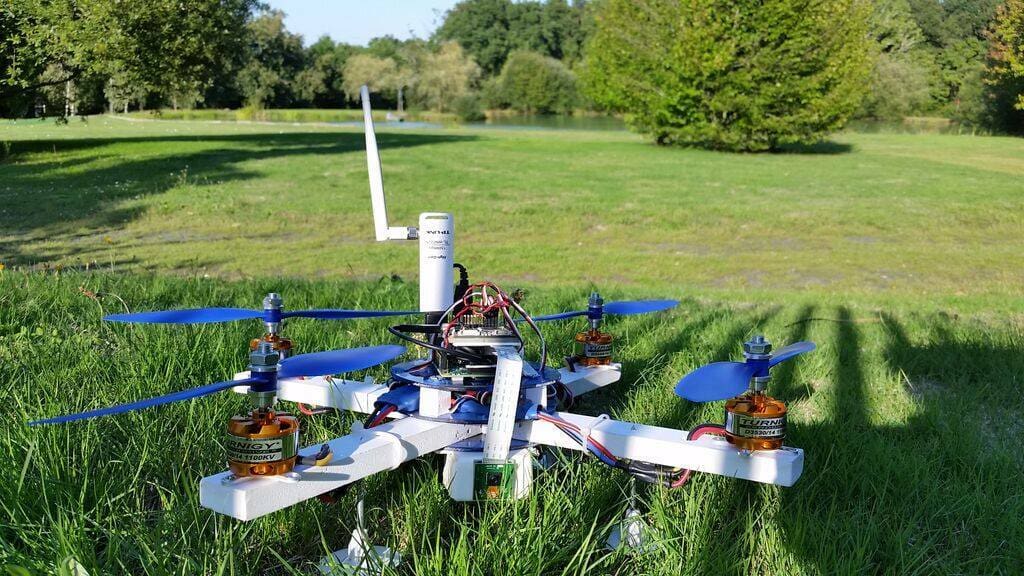
This drone uses the Raspberry Pi 2 Model B paired with the Emlid Navio 2 flight controller. It’s situated on a 250-mm frame, which provides a larger form factor. This enabled the addition of many optional modules such as a GPS module.
This build has a bill of materials associated with it, so it’s a great project to be able to follow along with.
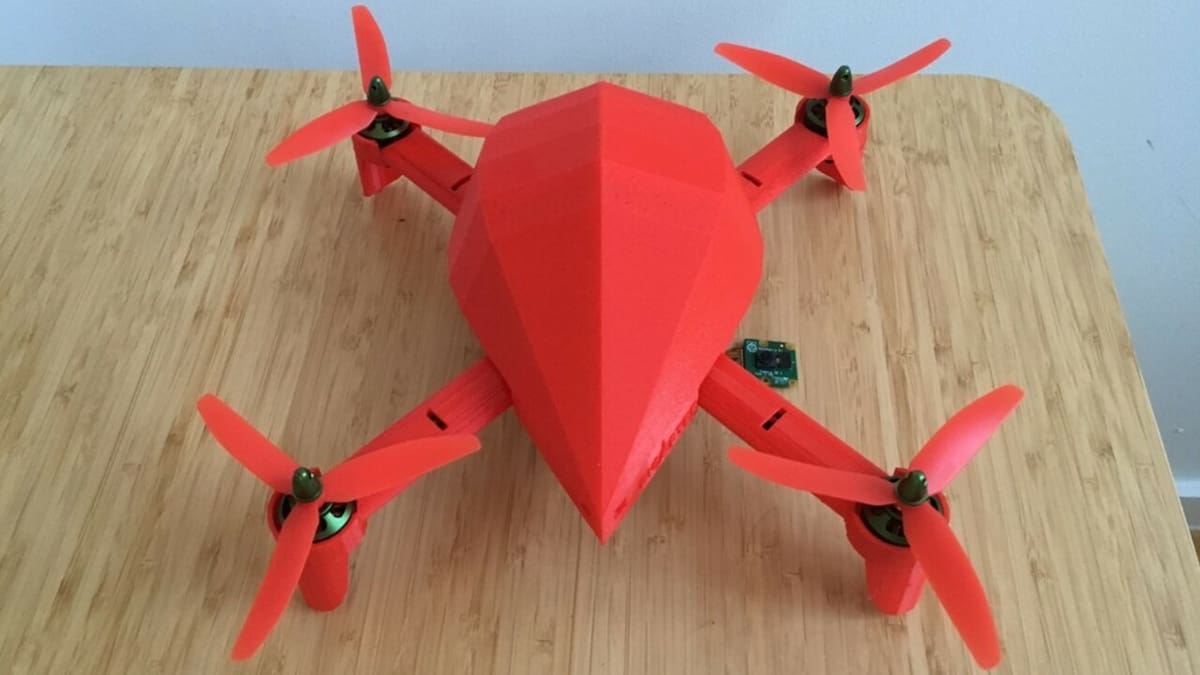
The Raspberry Pi Quad
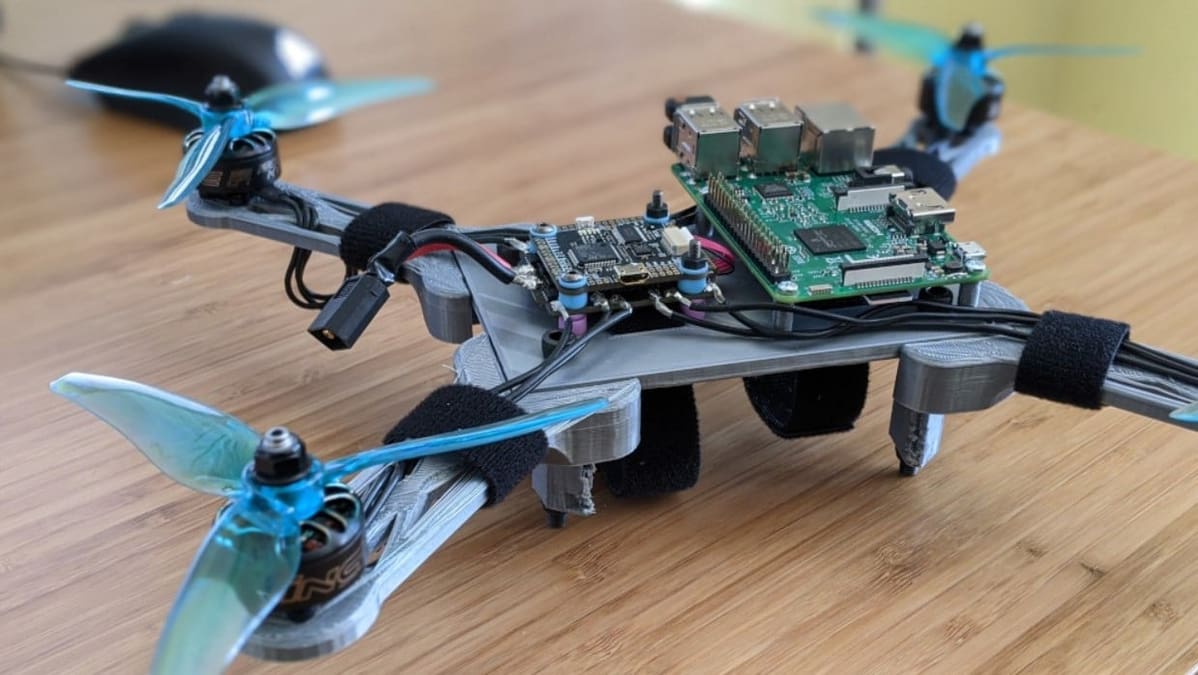
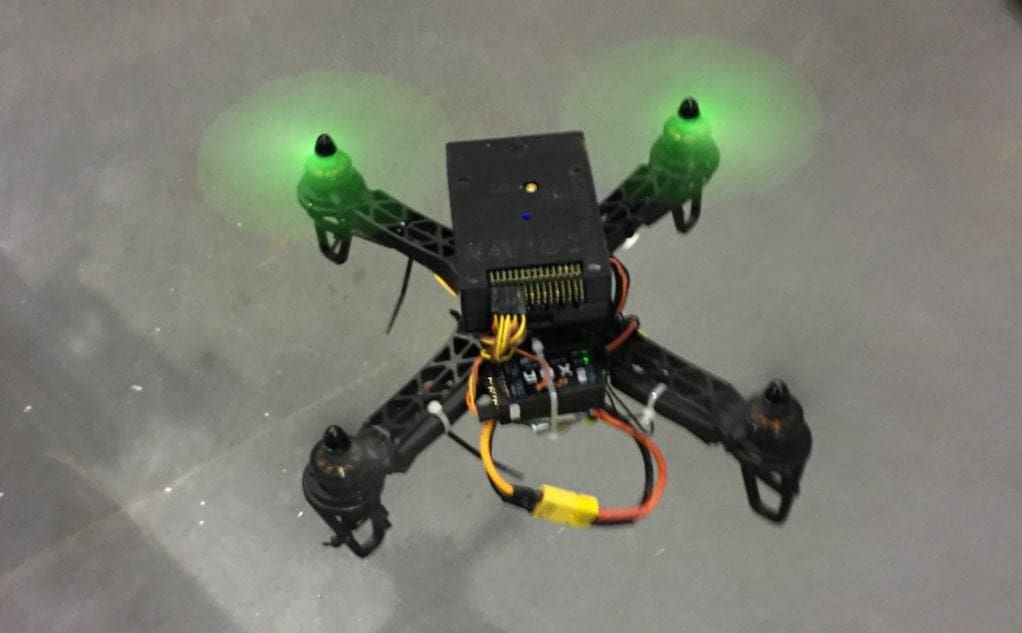
The Raspberry Pi Quad by Terrance Li is truly impressive. Its components include a sturdy 3D printed frame, a Raspberry Pi 3 Model B paired with the Mamba F405 Mk 2 flight controller as well as the Mamba F40 Mk 2 40A 3-6S ESC stack. This is another example of a less well-known flight controller, but the results are still fantastic.
Additionally, Li provides insight into using Python to control the pitch and yaw of the drone, among many other aspects of the flight overall. He also provides a bill of materials making parts acquisition easier.
- Who designed it: Terrance Li
- Core components: Raspberry Pi 3B, Mamba F405 Mk 2 + Mamba F40 Mk 2 40A 3-6S (flight controller and ESC stack)
- Difficulty: Advanced
- Where to find it: Terrance Li’s Blog
Pi-Powered Flight
This drone uses the Raspberry Pi Zero as opposed to the full-sized model B. It also uses an Erie Robotics PXFmini, which is no longer in production. The drone itself is a smaller build but uses a large battery allowing for longer uninterrupted flight time. The radio transmitter and receiver used are the FlySky FS-i6 and the FS-iA6B receiver. The latter is a PPM-type receiver that allows the ESCs to be connected to one port without sacrificing individual controllability, which is quite valuable in a small build.
In terms of sourcing parts, a general bill of materials is provided, but you should consult other sources for a complete picture of the parts used.
- Who designed it: Alastair Jennings
- Core components: Raspberry Pi Zero, PXFmini
- Difficulty: Beginner
- Where to find it: Tech Radar
License: The text of "Raspberry Pi Drone: How to Build Your Own" by All3DP is licensed under a Creative Commons Attribution 4.0 International License.