PrusaSlicer is one the most popular slicers in the 3D printing world. Developed by Prusa Research, the software has come a long way, boasting frequent updates and helpful features. When it first launched, only Prusa printers were supported, but now profiles are available for various machines and filaments, making PrusaSlicer a great option even for beginners.
This software is appreciated by the community thanks to its unique features that have been continuously developed, such as organic supports, text embossing, and negative volume. The latter is a handy feature introduced in 2022 that lets you add custom holes or shapes into your part without needing CAD software!
In this article, we’ll go over the basics of the negative volume feature in PrusaSlicer, how to use it, and some tips and tricks so you can use this tool to its full potential.
What Is Negative Volume?
Negative volume is a convenient tool that lets you subtract one mesh from another, canceling out the overlapping area. You can create all kinds of holes or other customizations with it, including complex shapes. All of the modifications can be applied directly within the slicer, eliminating the need for CAD software.
For example, you can download a model from Printables and add cylindrical holes for mounting screws that were not included in the original design. There’s also the option to subtract custom geometry or text, which is a great way to easily add an engraving of your name or logo onto the final part.
Note that the hole will only be created during the slicing process, so you won’t be able to export the model as a modified STL.
Now, let’s see how to use this neat tool!
How to Use It
Before we start, there are a few things we need to get out of the way. This tool was introduced with PrusaSlicer 2.4, so be sure to have this version or later installed. In this guide, we’ll be using the latest release of PrusaSlicer at the time of writing, version 2.7.1.
To be able to see the settings referred to in the steps below, you’ll need to select either “Advanced” or “Expert” mode on the top right side of the screen.
Now let’s take a look at how to use this tool:
- Import a 3D model into the slicer by navigating to “File > Import > Import STL/3MF/STEP/OBJ/AMF…”.
- Select the model (it should be highlighted in green), then right-click on it and choose “Add negative volume”.
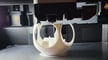
- From the drop-down menu, you can choose from the various shapes. For adding a keychain hole, as shown in the image above, you’ll need to select “Cylinder”. We’ll see later on how to use custom shapes.
- The shape you’ve chosen should appeared on the build plate in a semi-transparent grey. You can modify it using the scale, rotate, move, cut, and other tools, just as you would with any other mesh.
- Click on “Slice now” to see the results!
Tips & Tricks
Although this is a simple tool to use, there are some tricks you can utilize to get the best out of it. Let’s check them out!
Stronger Prints
The strength of a print actually comes from the walls more so than the infill. If there are areas of your part you’d like to reinforce, negative volume can be used to generate additional walls by creating a “pocket” inside the part. To do so, add a box-shaped negative volume, scale it to fit snugly within your model’s infill, and move it to where the reinforcement is needed. Check out this video by 3D Revolution for more on this strategy!
Custom Shapes
This tool gets particularly interesting when you start using custom shapes as the negative volume. You can choose to import a custom 3D model by selecting “Load…” from the “Add negative volume” drop-down menu and selecting a mesh file from your computer.
You can create your own negative volume text by selecting “Text” from the drop-down menu. There’s also the option to select an SVG file, which you can use to add a logo or other custom imprint.
Easy Object Alignment
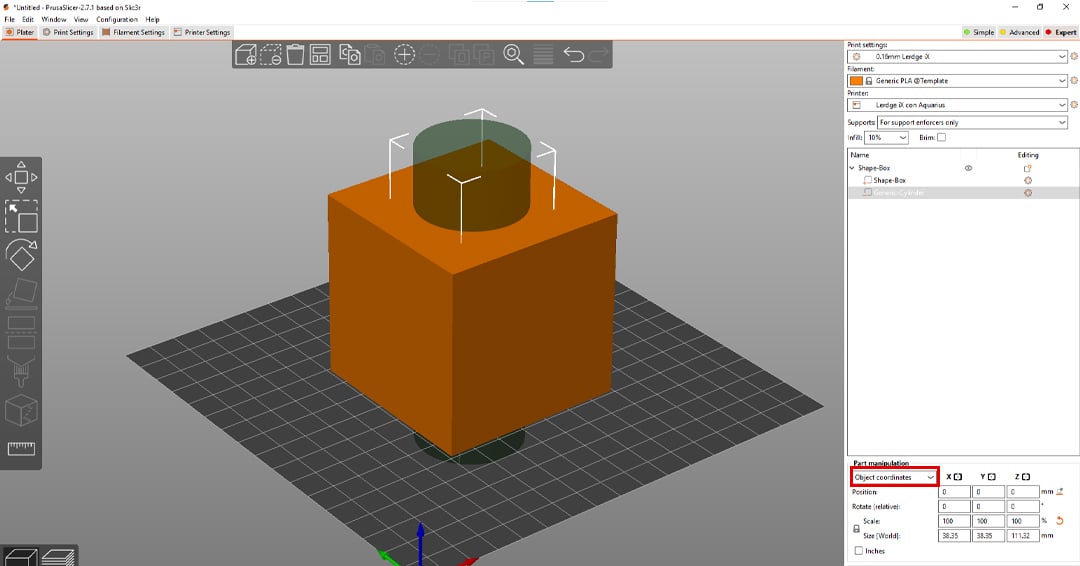
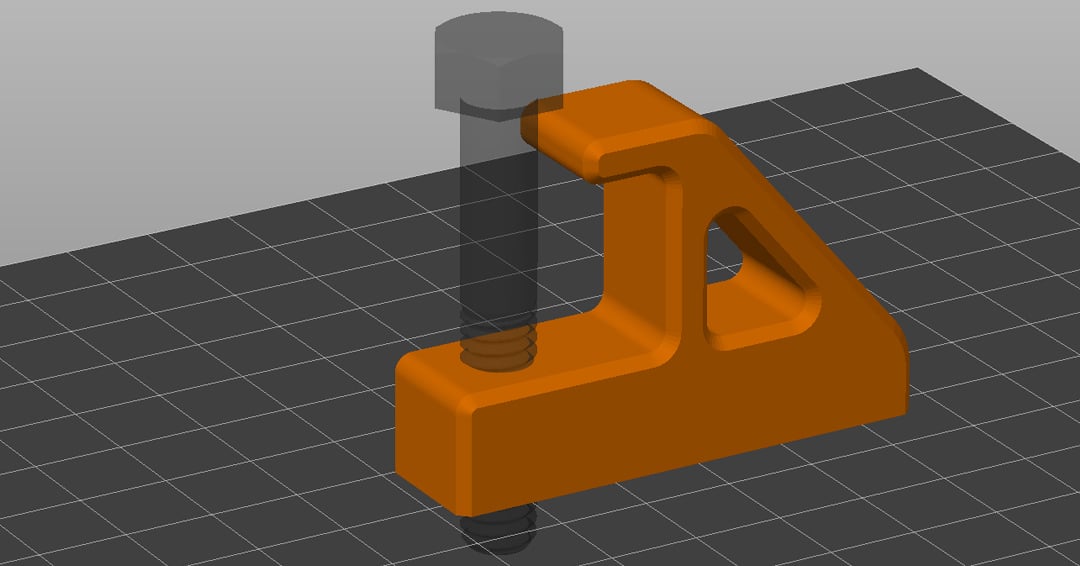
Positioning the negative volume where you need it can be tricky to do by eye, but there’s a way to ease the process. By default, the position of the negative space object is based on the “World coordinates”. By changing this setting to “Object coordinates” in the Part manipulation settings, as highlighted in the image above, the position of the negative space will be relative to your primary 3D model, with the center being at (0 X, 0 Y, 0 Z). This way, positioning, rotating, and scaling the negative volume is much more precise.
License: The text of "PrusaSlicer: Negative Volume – Simply Explained" by All3DP is licensed under a Creative Commons Attribution 4.0 International License.