Prusa i3 MK3S Kit vs Assembled: Which Should You Buy?

New buyers must choose either the pre-built or kit version of the Prusa i3 MK3S. It's a daunting task, so read on to make it easier!
Two Camps
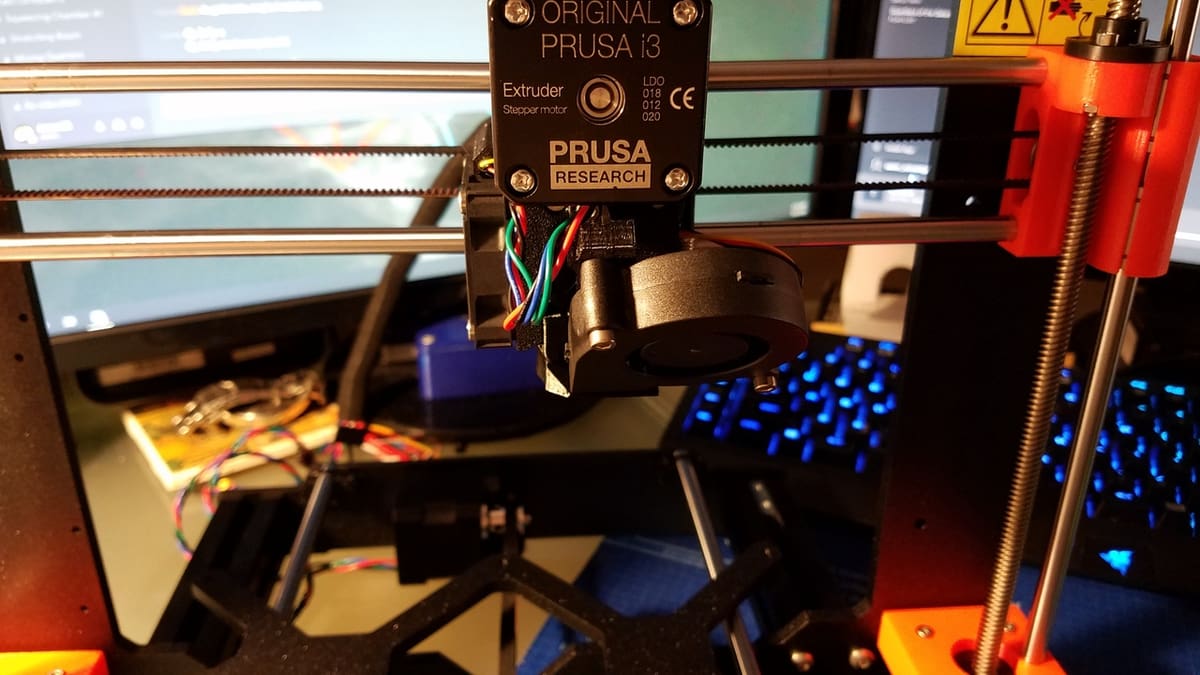
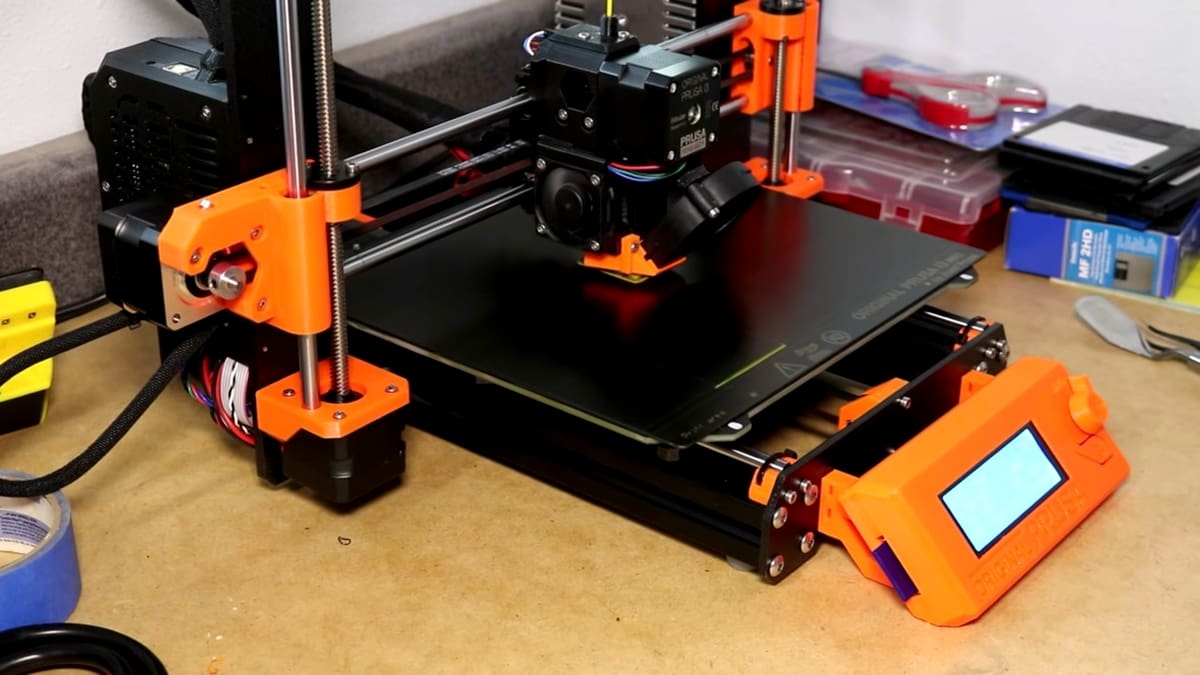
The Original Prusa i3 MK3S, the successor to the MK2 and MK2S, is our pick for the “Best 3D Printer of June 2020”. It not only upholds the impeccable reputation of other printers from Prague-based Prusa Research, but it also comes with a completely revamped extruder system as well as other cumulative upgrades that Prusa has been making over time, including a new filament sensor and the new MK52 heated bed.
The MK3S has exceptional print quality while also being straightforward and easy to use. Prusa puts out upgrade kits regularly, so with a small investment, you can easily upgrade from the MK3 to the MK3S.
Every so often, new users have to grapple with the idea of choosing between the pre-built or kit versions. The main difference between the two is that the pre-built version comes fully assembled and ready to print, while the kit version comes in many pieces that have to be put together before you can start printing.
This divides buyers into two camps. On one side, we have those who want to get their hands “dirty” and learn the ins and outs of their Prusa i3 MK3S. On the other side, we have those who want to start printing right away, don’t have time to assemble the printer, or simply shun the task.
In between the camps are those who are undecided.
In this article, we’ll look into the reasons for and against each option. After all the pros and cons have been tallied, we’ll recommend the best option, and hopefully, help those in-betweeners pick a side.
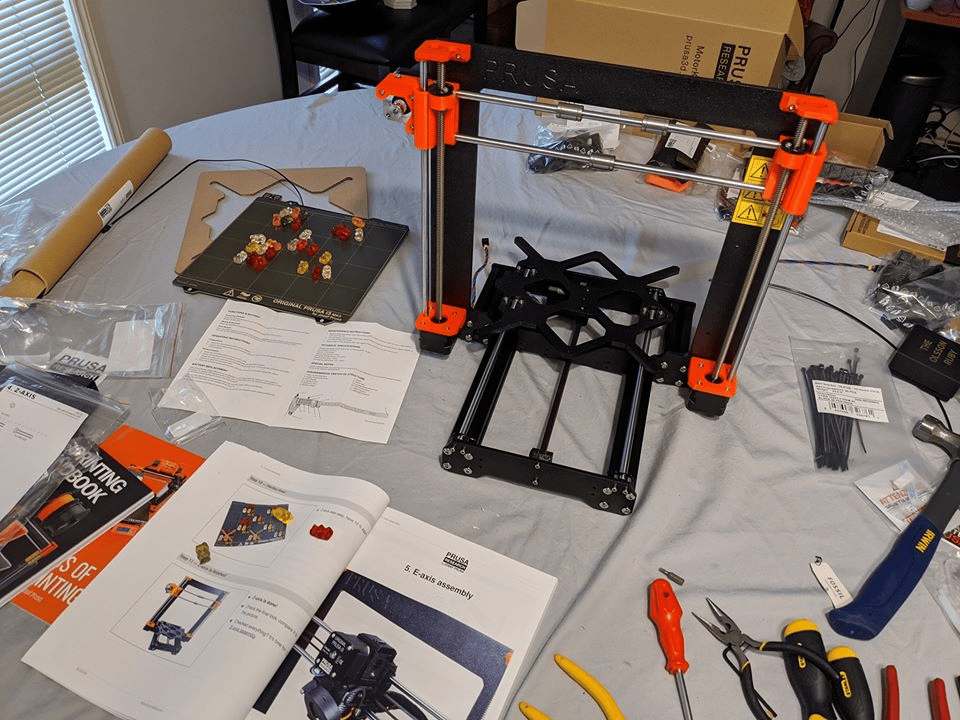
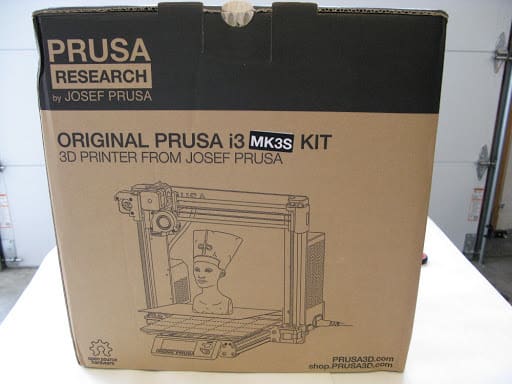
Team Kit
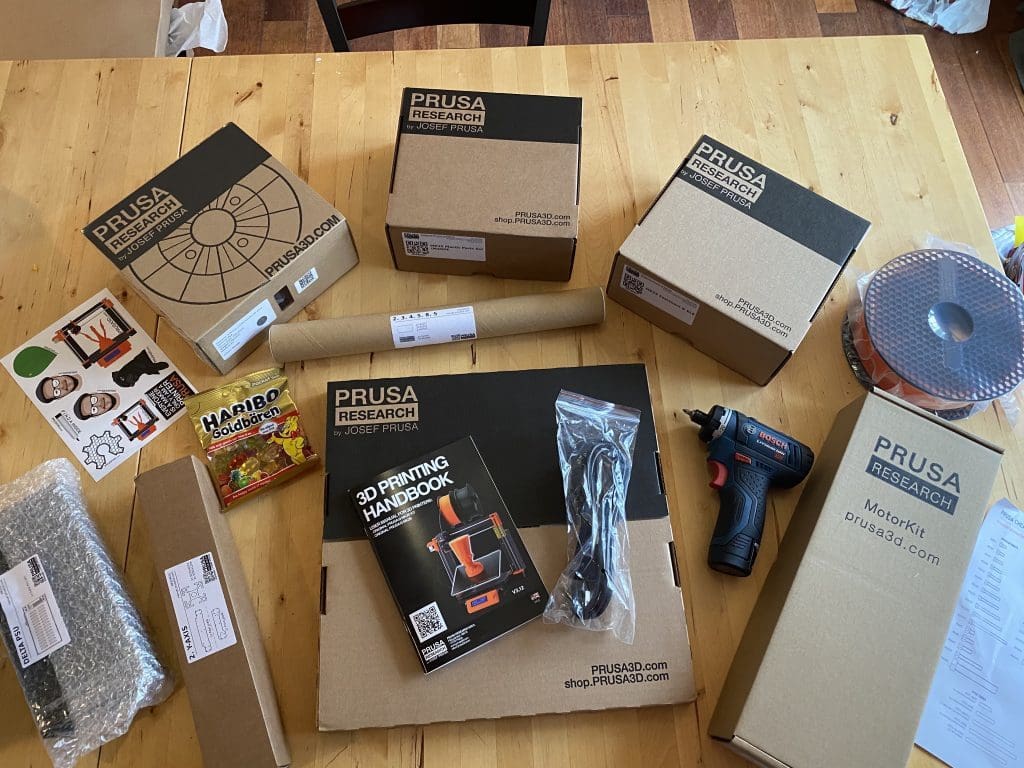
The kit includes a number of components, some of the main ones being
- a user manual for assembly instructions with some stickers,
- the Y-axis chassis,
- the power supply,
- the bed,
- electronics,
- a sample of Prusa filament,
- a congratulations note and a testing report, and
- Haribo gummy bears!
You’ll also get a few tools: a Philips screwdriver, a pair of needle-nose pliers, and a few Allen keys.
Before You Begin
From experience, most users recommend having a workbench and extra tools on hand. While the tools you need for assembly are included, you may have to “go off script” if you find that a part is defective or if you make a mistake. During such times, a real toolset will be critical.
If you can, get a set of hex drivers and use professional Allen keys, as the ones included aren’t the best. Be careful, though: Some users warn against using a ball-end hex for the extruder gear set screws because the sockets aren’t deep enough for the ball-end to tighten them as required.
Kit: Assembly
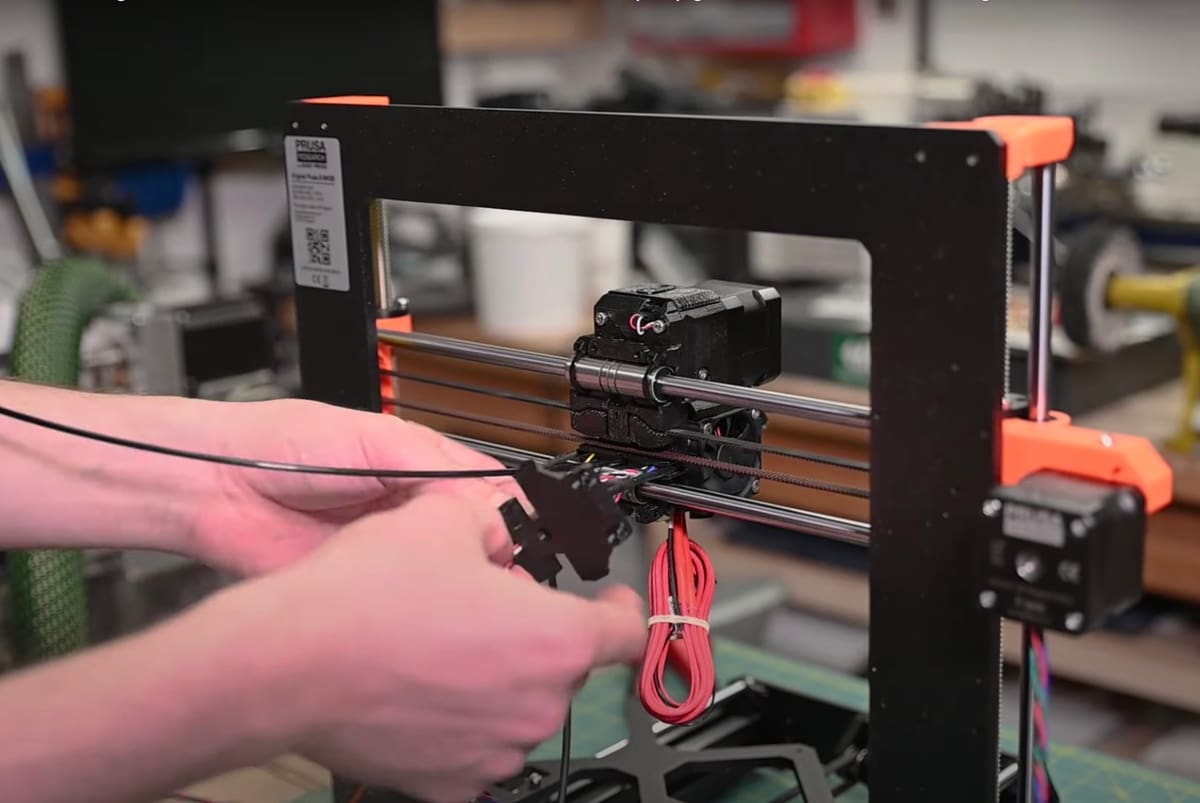
Attention to detail is critical! Prusa’s instructions and online support will make your assembly time painless. Here are a few tips to help you along:
- Read the steps in each section before implementing them. It’s recommended to make use of the images online, especially when those in the manual aren’t clear enough.
- Read the comments in the online instructions so as to get an idea of the kind of problems other people experience.
- After reviewing all nine chapters, search YouTube for some assembly videos. YouTuber bit-tech, for example, has a great MK3S assembly video.
- Remember that Prusa’s support is always ready to offer you help and replacements.
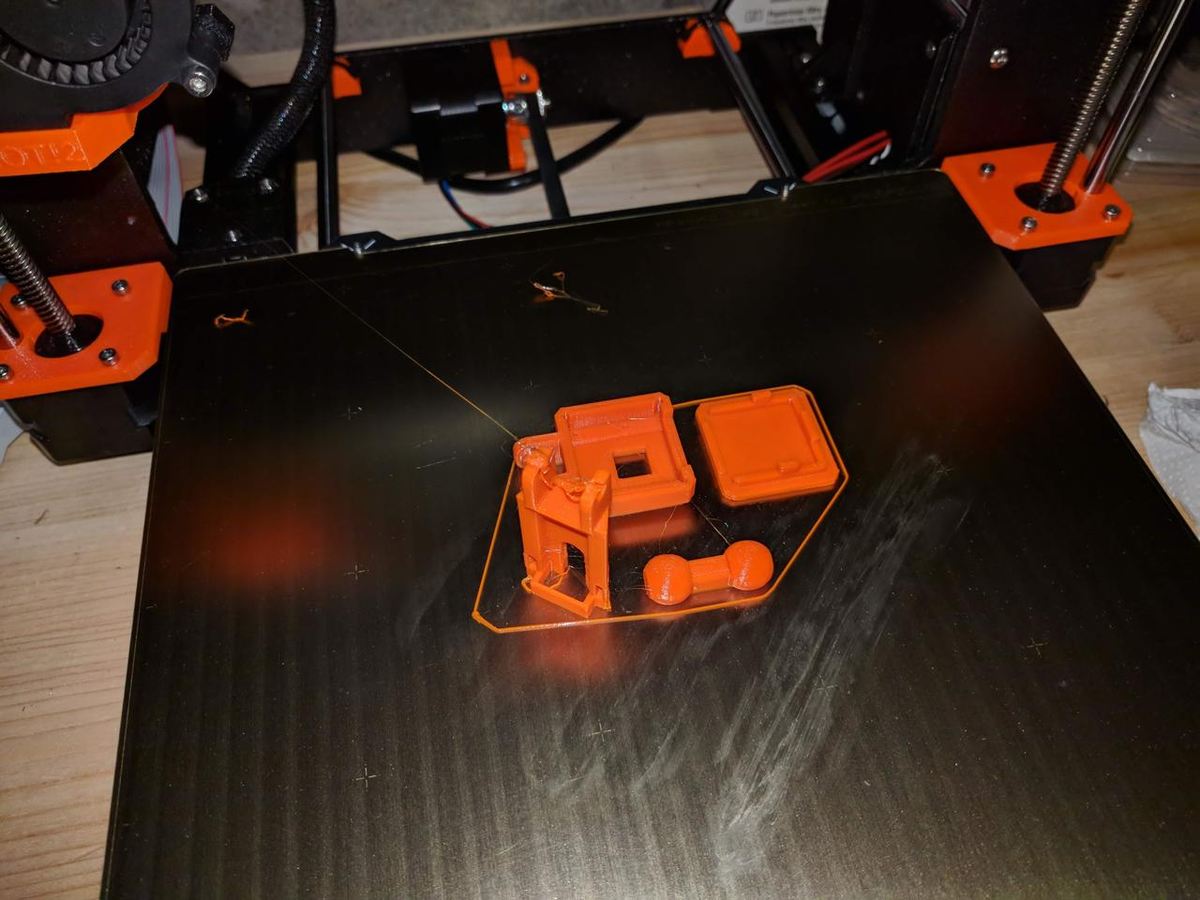
After the printer is fully assembled, setup and calibration are next. Luckily, they’re pretty straightforward. You only need to follow the instructions in the handbook and maybe check a couple of YouTube videos. If you do it right, you won’t have to do much troubleshooting except perhaps some first layer adjustments.
The total time required for assembly varies, but if you’re doing it correctly, you should spend a solid eight hours or so, if not more. According to Prusa, the fastest customer built the kit in only four.
Kit: Advantages
Learn the Ins and Outs of Your Printer
One of the main arguments behind getting a kit is that you’ll develop a good working knowledge of how the printer functions and the skills required to disassemble it for upgrades and troubleshooting. This is a legit argument because, somewhere down the road, you’ll need to fix or adjust something on the printer.
Building the kit is undoubtedly the best way to get to know the printer inside and out. During assembly, you’ll learn all of the terminology and what the parts are. This will benefit you in the long run: Whenever your print functions, it will be much easier to find a solution.
Easy to Build
Prusa has done a remarkable job of bagging the components separately for each stage, and this dramatically reduces confusion and makes the assembly process more straightforward. You won’t have to hunt around in a bag for loose parts, as everything is already organized for you.
Most of the kit builders can also attest to the stellar kit instructions and support from Prusa. The instructions are well written and easy to follow. Just make sure you read every step with care, and if you get stuck, contact Prusa’s live support chat.
It’s relieving to know that you can call support anytime. Moreover, they’re always willing to send you a part if you break one during the assembly process.
Online Support & Forum
Plenty of builders vouch for the website version of the instructions since it has a super helpful comment section. The online section is full of user input and comments at every step. The online instructions are updated continuously as new input comes in, so you already have all the hard stuff worked out for you.
It’s highly recommended that you first read the comments for each step before doing the action yourself. In fact, you may even want to read the assembly manual online before the printer arrives.
The Pleasure Principle
Most builders agree that piecing the parts together is an absolute pleasure and brings great joy. Some liken the assembly process to a Zen-like meditative experience that gives you the knowledge to disassemble your printer and fix it if anything goes wrong.
For those of you with a sweet tooth, gummy bears are included as a reward. Prusa, however, insists that you eat them as instructed!
Money Saved
It’s always great to save some cash when you can. By assembling the printer yourself, you could save up to $300, which can be used for the purchase of several upgrades or a stockpile of filament.
Kit: Disadvantages
DIY Skills Required
Some who took the kit route are adamant that it’s not the easiest task.
If you’re reasonably competent at joining stuff but have a tendency to force things together, especially when they don’t seem to fit, then the assembly process won’t be fun. Worst, if you make a mistake or if a part has a defect, you’ll need to go off script and figure out how to make things work.
If one part won’t fit into another, take a step back and check again to make sure you didn’t miss something. Consult the kit instructions again, check out the online support, or contact Prusa’s live support chat. And don’t forget, Prusa is always ready to send you a new part.
And after you’ve finally finished assembling the printer, it’s also a good idea to take a minute to check everything once more before turning the machine on because it’s likely that you’ve missed something.
Patience
You’re going to need a solid 8 hours, probably 10 with breaks, and that’s the best-case scenario. Don’t forget you’ll also need time to read the assembly manual.
The truth is that patience isn’t everyone’s cup of tea, especially when you had to wait three weeks for your shipment to arrive. If you work a full-time job, you’ll probably need about three or four evenings after work to complete your kit, or you’ll just have to wait for the weekend in order to build it all in one go.
Team Assembled
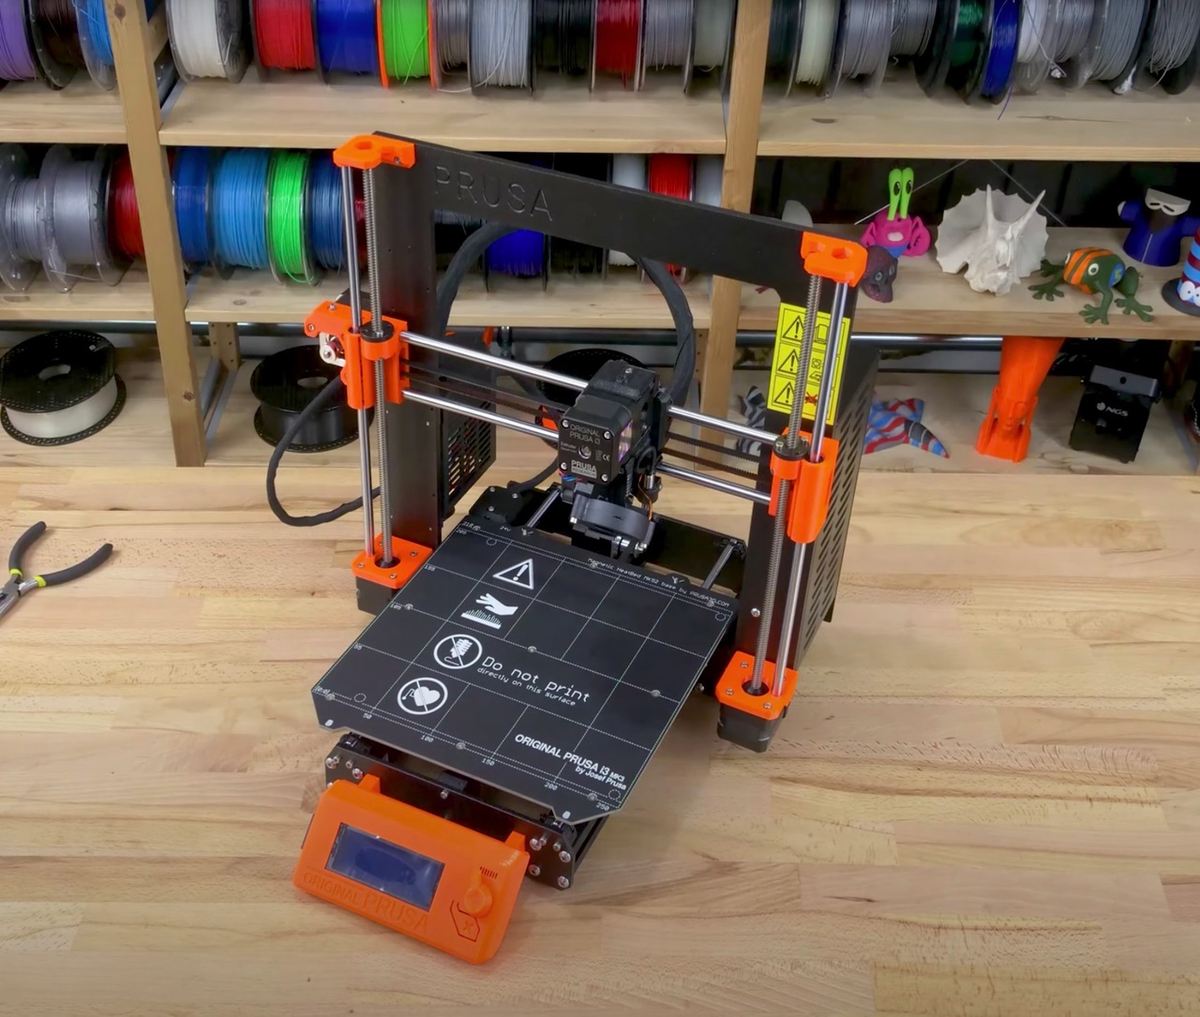
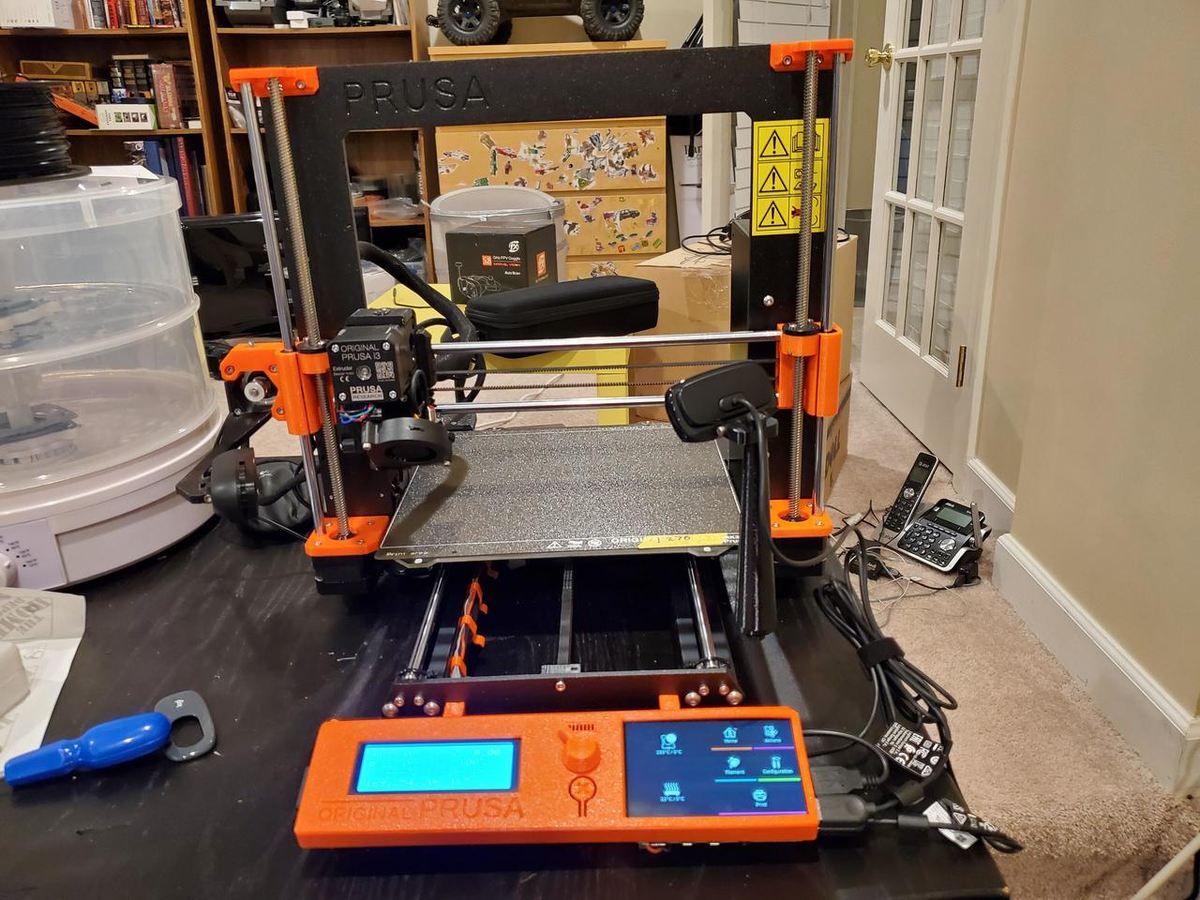
Some of us simply don’t have the luxury of putting aside a significant chunk of time to assemble a kit. For them, the pre-built version is a huge relief. That said, note that the pre-built MK3S is nearly ready to go right out of the box; there is some minimal setup and calibration steps before you’re ready to print.
Once you attach the printer to a power source, you’ll perform the self-test, which checks the hardware parts. Next, you’ll perform the XYZ and first layer calibrations, in that order. Prusa’s new user guide will take you through this process, which lasts roughly 20 minutes.
For those of you who might be concerned about losing out on precious know-how by skipping the assembly process, it’s important to mention that some critics are against the notion that you won’t understand a printer without assembling it yourself. They believe that when you spend time understanding the printer and the 3D printing process, you should still be able to replace nozzles, swap hot ends, or clean major clogs without any issues.
Assembled: Advantages
Time Saved
If you don’t have an abundance of time available to dedicate to assembling and tinkering with the printer, then the assembled version makes more sense. You’ll pay a bit extra, but you’ll be able to get started with printing almost immediately.
Ready to Print
Within 20 minutes or so of unpacking your printer, you should be ready for your first print!
Assembled: Disadvantages
Troubleshooting Challenge
Getting an assembled printer will never get you the same amount of familiarity and knowledge as building it yourself. This is handy when something goes wrong and needs fixing.
Without the knowledge and experience gained through the assembly process, it may be difficult to comprehend the support available through Prusa. Some users report that Prusa support chat is too technical and that they’re unable to understand the instructions.
This problem can be eliminated by becoming very familiar with your printer’s parts.
Damaged on Arrival
Some owners have reported receiving printers with loose belts or skewed XY base. Quite frankly, if you’re going to spend the best part of your day assembling printers, you’re likely going to lose some care and precision in favor of speed and efficiency.
Also, think of all the things that may go wrong during shipping. An assembled printer can get damaged or knocked out of alignment en route. While Prusa can still send you a new part if something like this occurs, it would mean having to wait a little longer before you can start printing.
Money Spent
Since the assembly is done by Prusa, you’re going to spend more. That’s $300 more than the kit version!
Which Should You Buy?
The Prusa i3 MK3S is a reliable printer made of quality parts and characterized by well thought-out mechanics. Therefore, the assembly process is less intimidating, and this tips the scale in favor of the kit.
Desktop 3D printers are still at a stage where they need constant tinkering. The knowledge and skills you develop during the assembly process will help you do just that.
The time-saving and the convenience of being able to print right away seem to be the main arguments for getting the pre-built version. For those of you with especially busy schedules, this can make all the difference in the world.
If you have spare time, get the kit. Follow the instructions to the letter, and you’ll have yourself a low-maintenance, high-quality printer, plus a little extra cash in your pocket. Otherwise, pay extra for the pre-built unit and start printing right away.
Before you pull the trigger on either one, ask yourself these critical questions first:
- How much are you willing to spend?
- Do you have some DIY skills?
- How patient are you?
- Do you have a day or two to spare?
Lead image source: Lemon665 via Imgur
License: The text of "Prusa i3 MK3S Kit vs Assembled: Which Should You Buy?" by All3DP is licensed under a Creative Commons Attribution 4.0 International License.
CERTAIN CONTENT THAT APPEARS ON THIS SITE COMES FROM AMAZON. THIS CONTENT IS PROVIDED ‘AS IS’ AND IS SUBJECT TO CHANGE OR REMOVAL AT ANY TIME.