Prusa Bear (Full) Upgrade – Is It Worth it?

The 3D printing community is always thinking of new upgrades. Check out the Prusa Bear upgrade, which replaces the frame of a Prusa i3.
Bearing the Load

To understand the Bear upgrade, we have to dial the clock a few years back and take a look at the Prusa i3. The original i3 from Prusa was one of the early successful desktop 3D printers, and became a fast community favorite because of its simplicity, reliability, ease of build, and ease of use. Although there have been many low-cost clones over the years, Prusa printers have always evolved faster and have remained among the best desktop 3D printers.
Grégoire Saunier, a systems engineer from Switzerland, decided to improve upon the Prusa design even further. His aim was to improve the stiffness and rigidity of the machine, and to achieve this, he replaced the frame designed by Prusa with aluminum extrusions. A stronger frame should improve the speed and reliability of the prints, and as an extra bonus, you can personalize it with fun colors!
There are quite a few resources to help you get started with this upgrade, along with many official sources to buy the parts. (If you use a kit, expect the full upgrade to cost between about $120 to $180.) Let’s jump into the details and check out the intricacies of building the Bear!

Building the Machine
The original Prusa i3’s movement and frame configuration set a high standard for the 3D printers that followed, and Saunier worked to improve it further with the Bear upgrade. Let’s take a look at how to go about building this upgrade for yourself.
Full vs. Half Upgrade
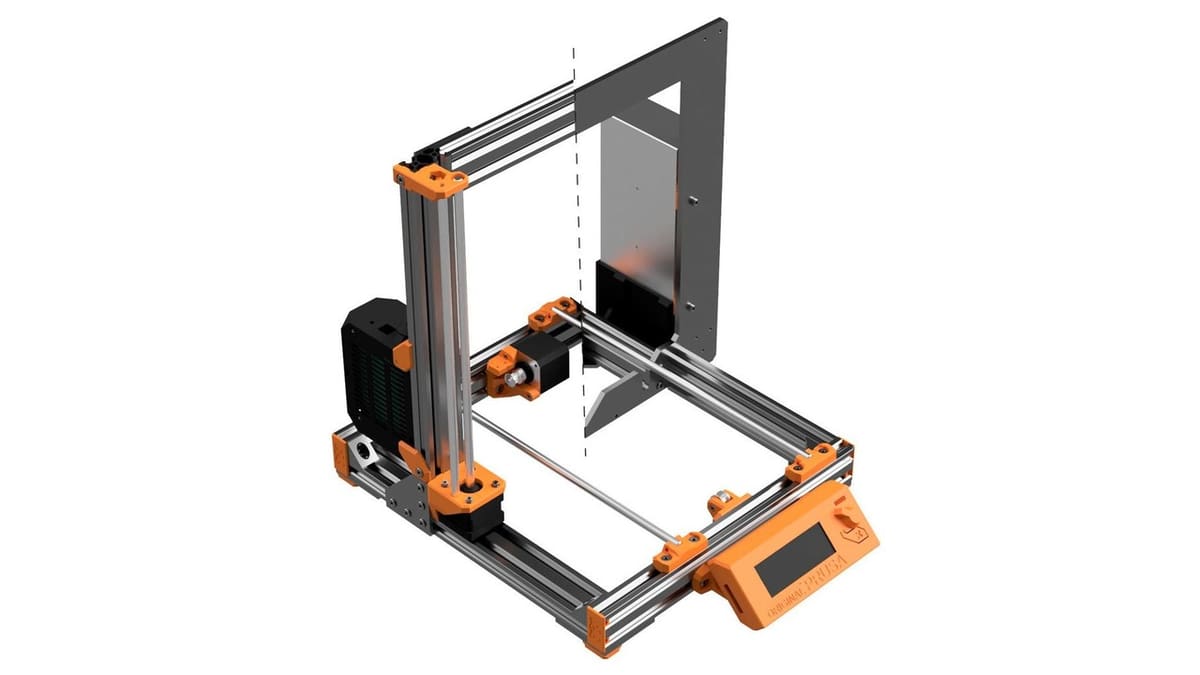
To start, know that the upgrade comes in two versions: half and full. The half is easier on the pocket than the full but not as stiff and robust. The half adds aluminum extrusions to the lower, horizontal portion of the machine that holds the Y-axis in place, while leaving the rest of the structure as-is. The full upgrade additionally replaces the vertical frame with extrusions, which further increases the stiffness, as the X- and Z-axes are held by this portion of the frame.
While choosing which upgrade to go for, make sure to first read the documentation and equip yourself with the necessary tools. The half upgrade will require you to drill holes in the existing frame to bolt on the aluminum extrusions. The drilling needs to be done precisely or else things won’t sit square, which could lead to imperfections in your prints. Saunier has created printable templates to assist with the accuracy of this. However, for this reason alone, some users have stayed away from the half upgrade and moved on to the full.
The Best Way?
There’s been a lot of discussion on what the best way to build a Bear is. Some people feel that buying a Prusa and upgrading with a kit, rather than buying all the parts individually, is the more economical option. The GitHub documentation page also mentions the official resellers for the upgrade kits.
However, building from a kit removes the customizability of sourcing your own parts, which may be a priority for some. If you’re planning to build the Bear from scratch, make sure to go through the mechanical drawings section to understand the sizes of extrusions and corner brackets required.
The Plan
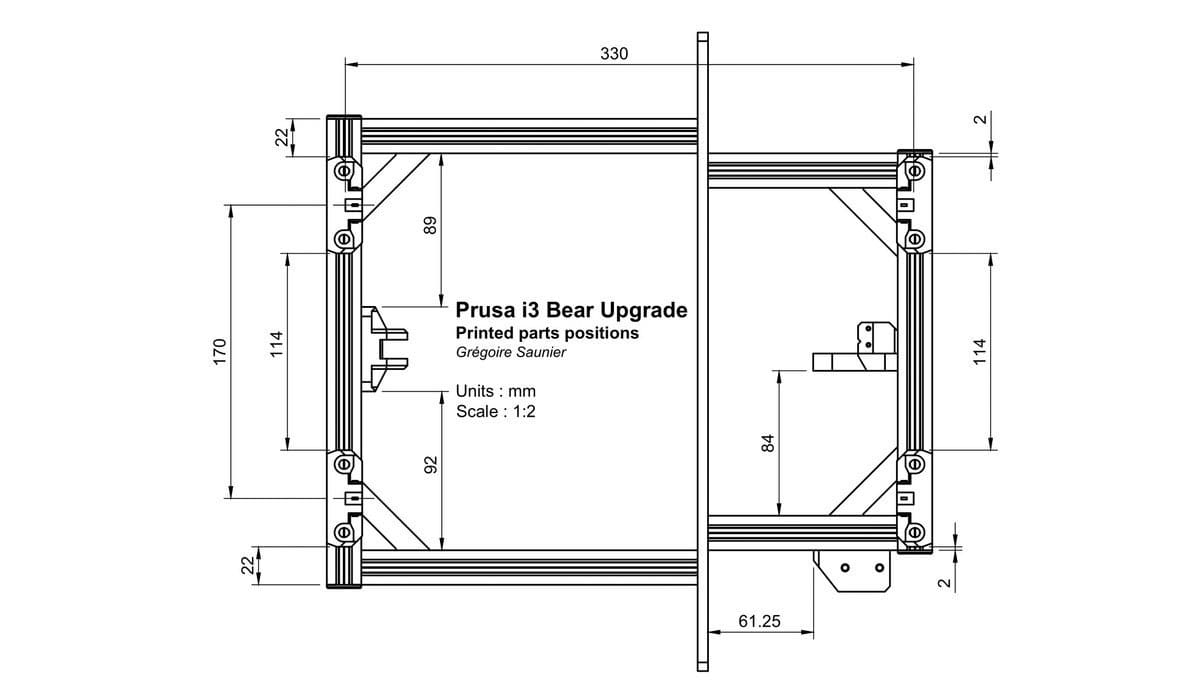
It’s always best to study the blueprints before getting started with an upgrade. Knowing what lays ahead will help mitigate any uncertainties and ensure that you’re able to complete the project successfully.
Documentation
The documentation is by far the most important aspect of any open-source design. The Prusa Bear has been well documented and everything you’ll need can be found on Saunier’s GitHub repository. There, you’ll find the CAD files, 2D drawings, STL files for the printed parts, and a whole lot of additional information.
The documentation has been meticulously compiled and will be useful for makers to follow and plan their builds. It’s also a good read if you’re considering the upgrade but first want to get an idea of what’s involved.
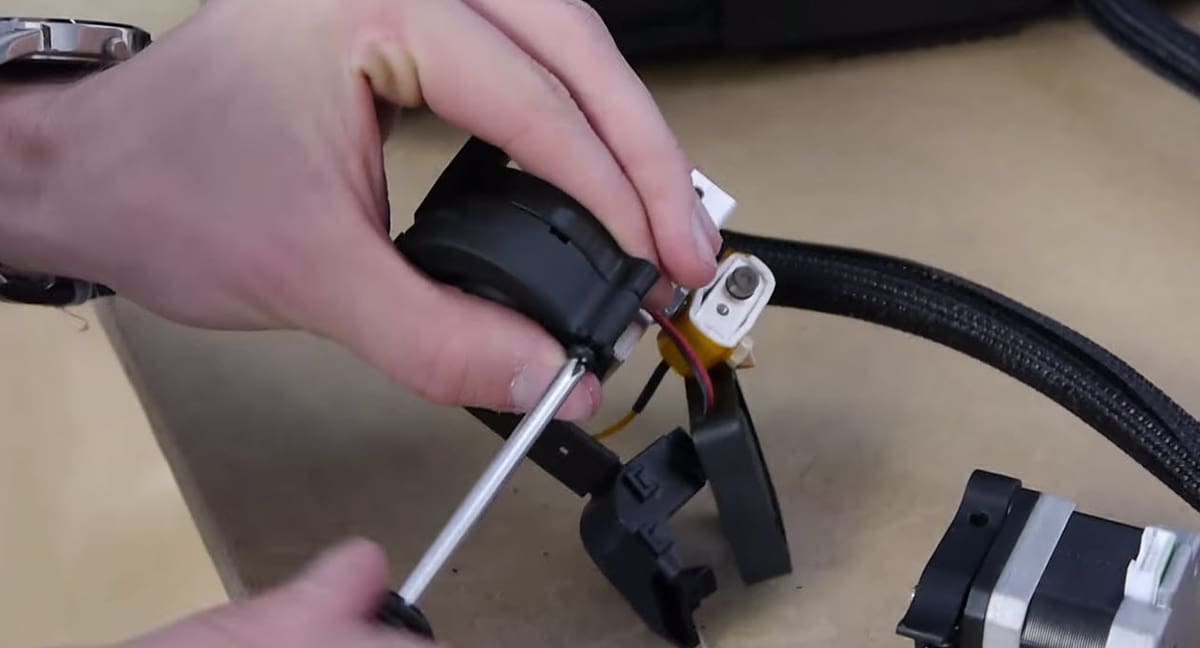
It would be advisable to print the required parts that are needed before starting the build process, especially if the Prusa you’ll be upgrading is your only 3D printer! That said, if you miss this step, you can also purchase the pre-printed parts.
Bill of Materials
Saunier has compiled a detailed list of required items, which is included with the documentation. Alternatively, you could buy the complete kit from an official reseller, which will minimize the number of parts you need to source by yourself. There’s also an even more complete version of the BOM for those who intend to use the Bear to build a 3D printer from scratch.
As mentioned earlier, building the upgrade (or even the whole printer) from scratch will likely end up being a bit more expensive than just upgrading a Prusa i3 with a kit. But if customizability is your priority, the Bear could be a great structural starting point for the printer of your dreams.
Build Support
There’s always a learning curve when building something new. This process, although very enlightening, can be time-consuming, and new makers may lose interest if they keep hitting walls. Communities and tutorials are extremely useful when you need support or advice to complete a project. To help with this, below is a list of tutorials and communities to follow.
Tutorials
There are a ton of good resources out there when it comes to helping with your build, and we always first recommend reading the original documentation and guide provided by the creator himself.
With all the steps in this project, a visual reference can also be extremely valuable, so we’ve also compiled a list of YouTube builds that show exactly what’s involved.
- 3DMN’s playlist
- Chris Riley’s playlist (Be warned: This one gets really long.)
- Chris Warkocki’s build video (Yes, he builds it in one video!)
Community
Perhaps the most rewarding part of building a 3D printer is being part of an amazing community with similar interests. A large community across the globe has been created and is live on different platforms, from Discord to Facebook. You can find out more in the community section of the GitHub repository.
User Experience
While the functionality is the most important aspect of any machine, making it easy to use and fun to look at adds value as well. Let’s take a look at how the Bear upgrade can improve the Prusa i3 in these ways.
Aesthetics
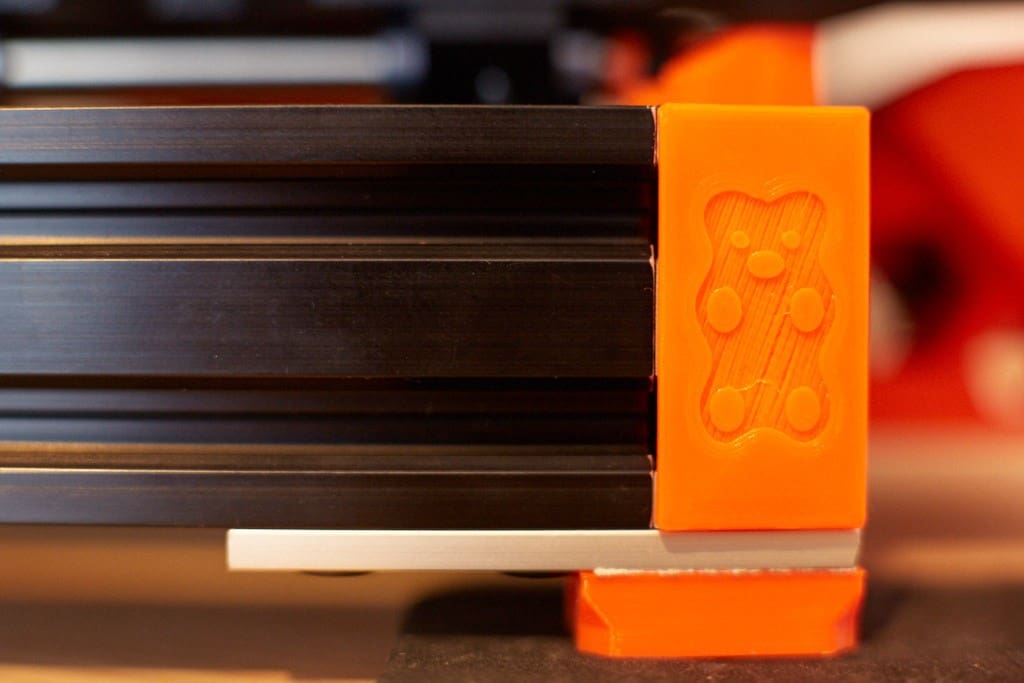
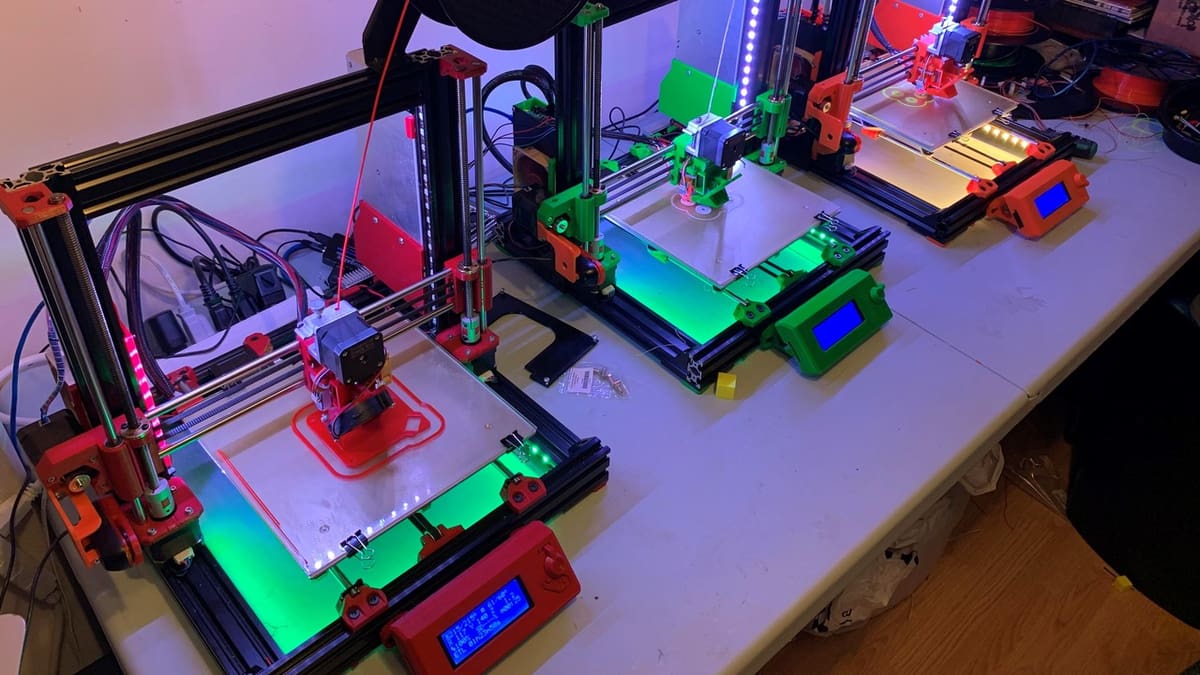
The Bear upgrade brings a wide variety of color options, with the anodized aluminum frames available in a range of colors. There’s also the customizability of 3D printing your own parts, so there’s definitely the potential to make your machine stand out from the crowd!
Ease of Use
The added aluminum extrusions do make the machine sturdier, and could also have the benefit of making it easier to lift and handle. However, the overall ease of use of your printer is more or less the same.
Final Impression
While the Prusa i3 is world-famous for its print quality and reliability, the Bear upgrade tries to take it to the next level. But how much of an improvement does the Bear upgrade actually provide? Let’s take a look at a couple of considerations.
Additional Functionality
An extra advantage of adding aluminum extrusions is that the frame becomes a functional element of the machine. Adding additional holders and sensors will be a piece of cake from here on, and future upgrading projects will be a breeze. In fact, there is already a wiki created by the community that curates a list of add-ons that can be printed and attached to the Bear frame.
Quality
Undoubtedly, perhaps the most important consideration is the print quality. Well, this is still being heavily debated, and the popular opinion seems to be that there’s not much difference in the print quality between the original Prusa i3 and printers with the Bear upgrade. It’s generally agreed, though, that the aluminum extrusions aid assembling the machine, which in turn helps to avoid artifacts due to misalignments during the assembly stage.
Although some makers have said that they don’t notice much of a quality difference, the Bear upgrade has still become popular due to the amazing color options and the added functionality it brings to the table. Some makers have used this upgrade as an opportunity to extend the Z-axis height, as well.
If you can see the benefit of upgrading to aluminum extrusions and are eager for the opportunity to jazz up the look of your printer, this is definitely a good upgrade for you!
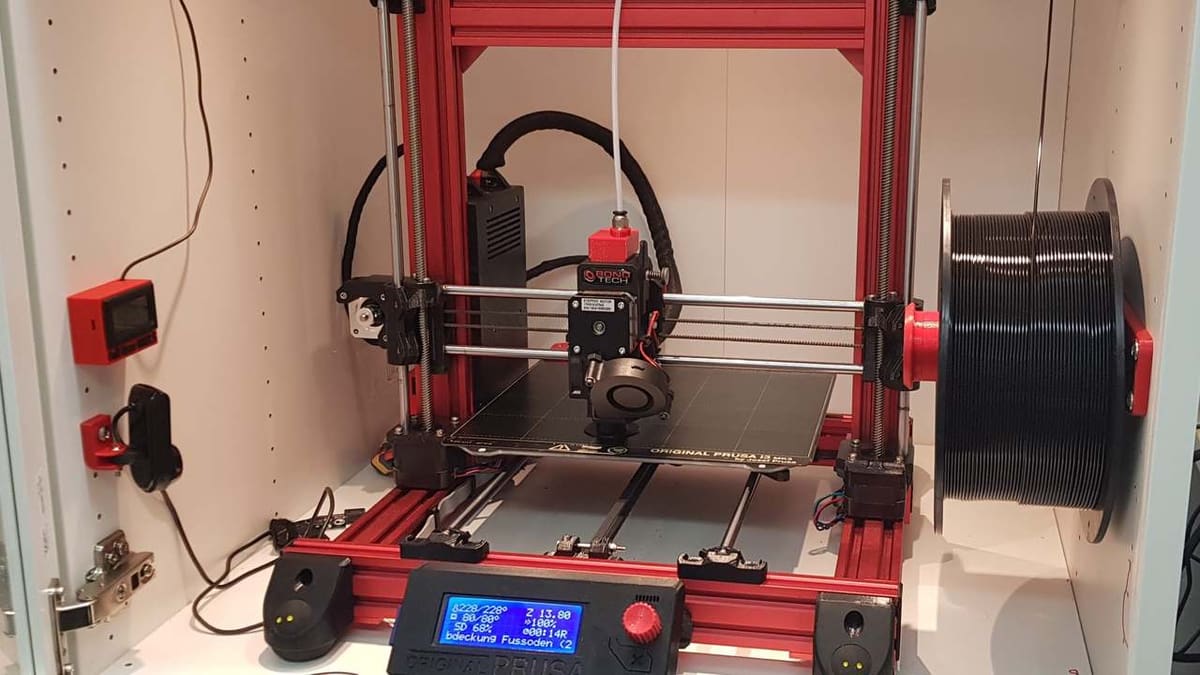
Lead image source: toddel via Thingiverse
License: The text of "Prusa Bear (Full) Upgrade – Is It Worth it?" by All3DP is licensed under a Creative Commons Attribution 4.0 International License.