OctoPrint Touchscreen: How to Add It to Your Printer

OctoPrint with a touchscreen interface will enhance your 3D printing process. There are a few ways to set it up, so read on to learn more!
OctoPrint is a popular 3D printer enhancement that uses a computer, such as a Raspberry Pi board, to host a server that allows you to control your machine remotely. OctoPrint offers an online interface where you can control the different available features of your machine and use other useful tools. OctoPrint is also an open-source project, so there are many other ways to use this upgrade with the plethora of available plug-ins.
One special way you can use OctoPrint is as a direct interface with your printer via a touchscreen display. Although most people use OctoPrint to avoid using a direct, in-person interface, connecting a touchscreen display to your OctoPrint hub can improve your printing setup in many ways.
In this article, we’ll be going over the advantages of using a touchscreen interface with OctoPrint and what you need to get started with a few different options. Enjoy!

Advantages

Using a touchscreen or TFT (thin film transistor) display is a great way to enhance your 3D printer. To start, although options such as OctoPrint offer a way to take your 3D printer’s display out of the picture with an online web browser interface, there are many scenarios in which this is inconvenient.
For instance, let’s say you needed to perform a task on your printer (with OctoPrint) where you need to control certain aspects of the machine, like replacing your filament spool or nozzle. You’d probably use your machine’s direct interface because it’s more convenient than pulling out an internet-connected device and taking the extra steps to use the OctoPrint platform. In this case, wouldn’t it be nice to have a colorful touchscreen interface that’s conventionally attached to or located right next to your printer? If the display is running a decent graphical user interface (GUI), it will also make your printer easier and more fun to use, and nicer to look at!
Another advantage of using OctoPrint with a touchscreen interface is that you’ll be able to access and control a range of additional features without having to use an external, internet-connected device. Even though the reason most people use OctoPrint is for its remote monitoring capabilities, it can be useful to have access to those features while you also have access to your printer. An OctoPrint touchscreen interface gives you the best of both worlds.
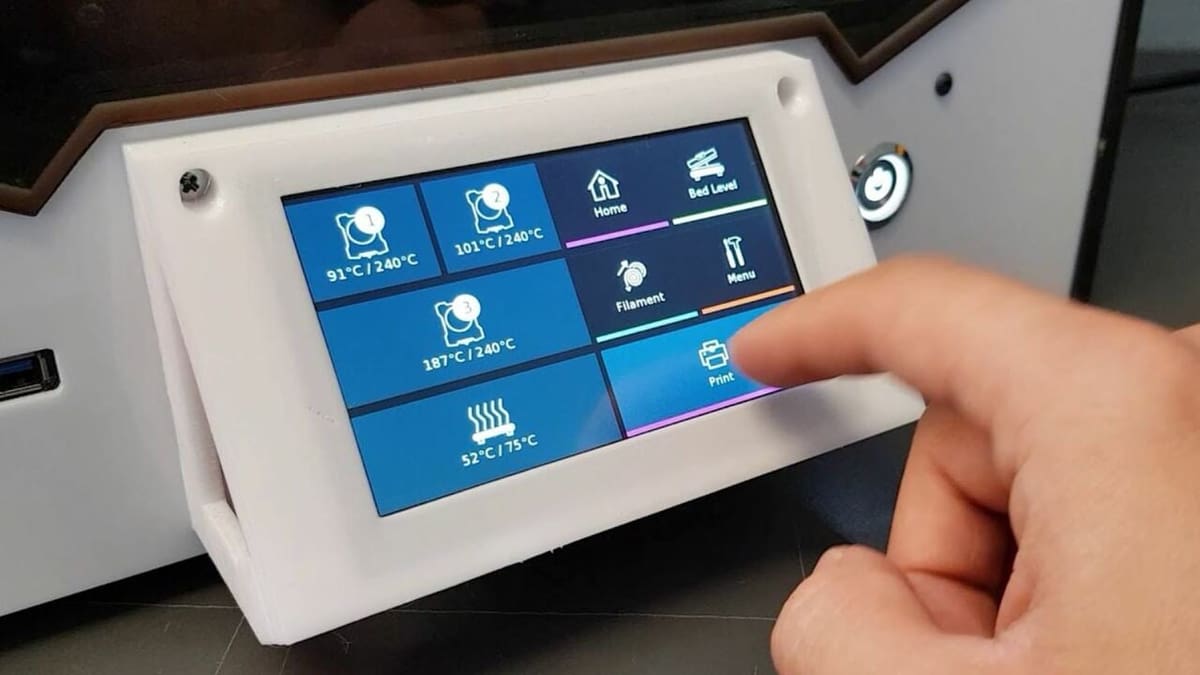
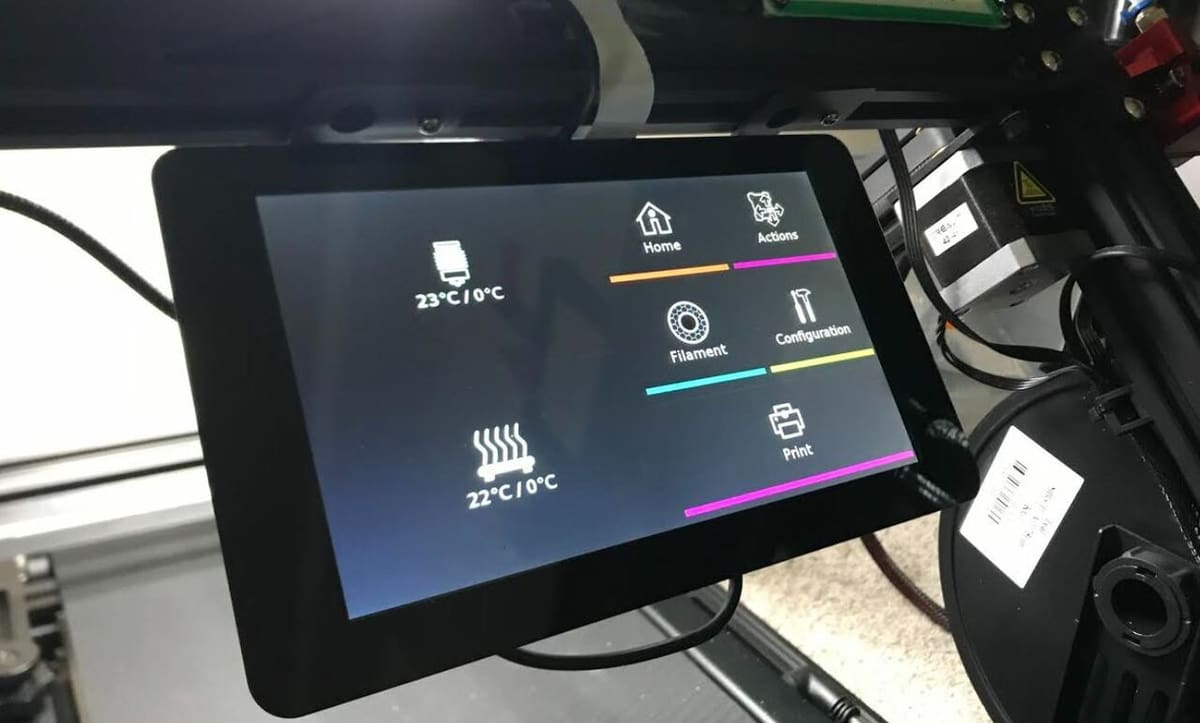
For example, OctoScreen, which we’ll discuss later, has a well-laid-out dashboard, including a button that heats the nozzle or bed to a pre-set temperature. This immediately accessible button means you don’t have to navigate through your printer’s stock interface, nor do you have to use a web browser on a separate device to perform the simple task of pre-heating your printer.
Requirements
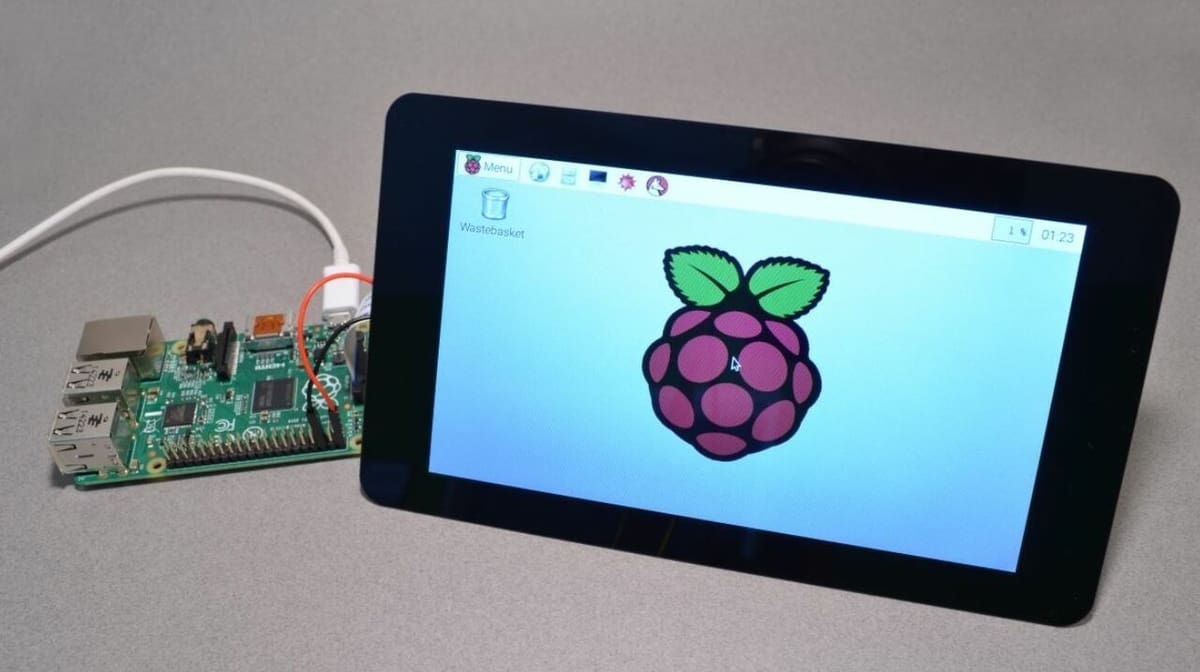
As we’ve mentioned, OctoPrint is an open-source platform, and many different touchscreen displays can work with OctoPrint. When choosing what display to use, make sure to consider the size, resolution, and, most importantly, compatibility with the SBC you’re using for OctoPrint (e.g. a Raspberry Pi 3B+).
Moreover, if you’re uncomfortable figuring out on your own how to install the necessary hardware and software for a specific display, it may be best to stick to the popular, tried-and-tested options. That’s because, with the more popular options such as a screen directly from the Raspberry Pi Foundation, there’s a large community following and more opportunities for you to get assistance.
Now that you know the advantages and requirements of using a touchscreen display with OctoPrint, let’s get into the different options and ways you can use the two technologies together!
Option #1: TouchUI Plug-in
Our first method for using a touchscreen display with an OctoPrint server is via the TouchUI OctoPrint plug-in. It’s one of the few plug-ins designed to allow a touchscreen display to work with OctoPrint that’s listed on the OctoPrint Plugin Repo. The benefit of this is that it will be pre-loaded in the “Install New Plugins” section of the Plugin Manager. With your touchscreen already connected, it takes just one click to install, and the interface will load onto the display.
The TouchUI plug-in is an enhancement for OctoPrint that installs a custom GUI onto your display to provide you with an easy way to control your printer. The TouchUI interface is actually just a specially configured version of the original online interface, meant to appear only on touchscreen devices or screens with a width smaller than 980 pixels. This means that not only can this plug-in serve as a great direct printer interface (right next to your machine), but you can also install it onto a smartphone or tablet to use on the go.
The TouchUI platform offers many adjustable features that give you full control over your machine in an aesthetically pleasing interface. Some of the actions you can perform with TouchUI include moving and homing the axes of your machine, setting temperatures, adjusting fan speeds, controlling the feed rate, and more. You can even customize it further by choosing between the four available color schemes.
Method #2: OctoDash
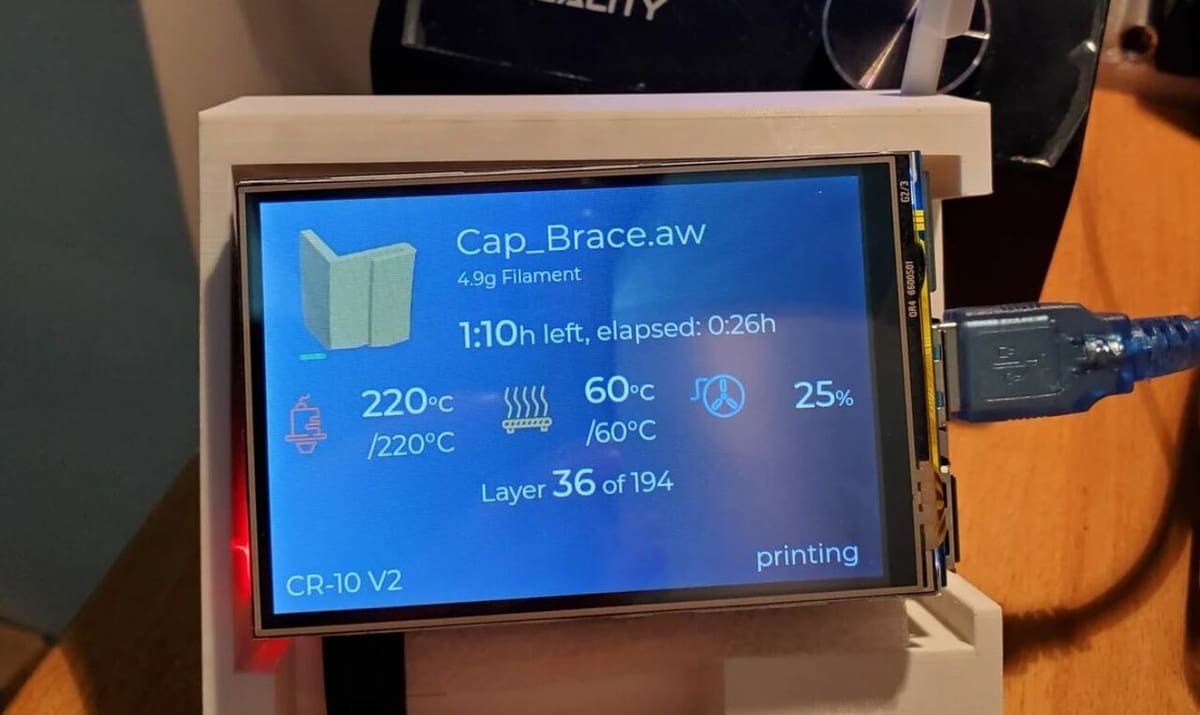
Our second method for a touchscreen interface with OctoPrint is using OctoDash, an unlisted, open-source GUI meant for 3.5″ to 7″ touchscreen devices, according to the website. Although installing this interface requires a bit more work because you have to type in the download URL phrase, OctoDash’s website includes a great and easy-to-follow set of instructions for the process.
OctoDash is pretty popular among the 3D printing and OctoPrint communities, and this touchscreen enhancement is well done. The interface looks amazing, using the full spectrum of colors, and it includes a ton of super useful features, from selecting filaments to viewing a render of the model you want to print. Other features include controlling temperatures, moving parts, starting prints, and unloading or loading filament.
One of the reasons OctoDash is so powerful is that it’s compatible with many other OctoPrint plug-ins, so you can still use your favorite features without having to swap back to OctoPrint’s basic online interface. Some of these plug-ins include PrintTimeGenius, Slicer Thumbnails, and PSU Control. This capability gives OctoDash a leg up because most alternatives don’t have a strong focus on incorporating exclusive features from other plug-ins.
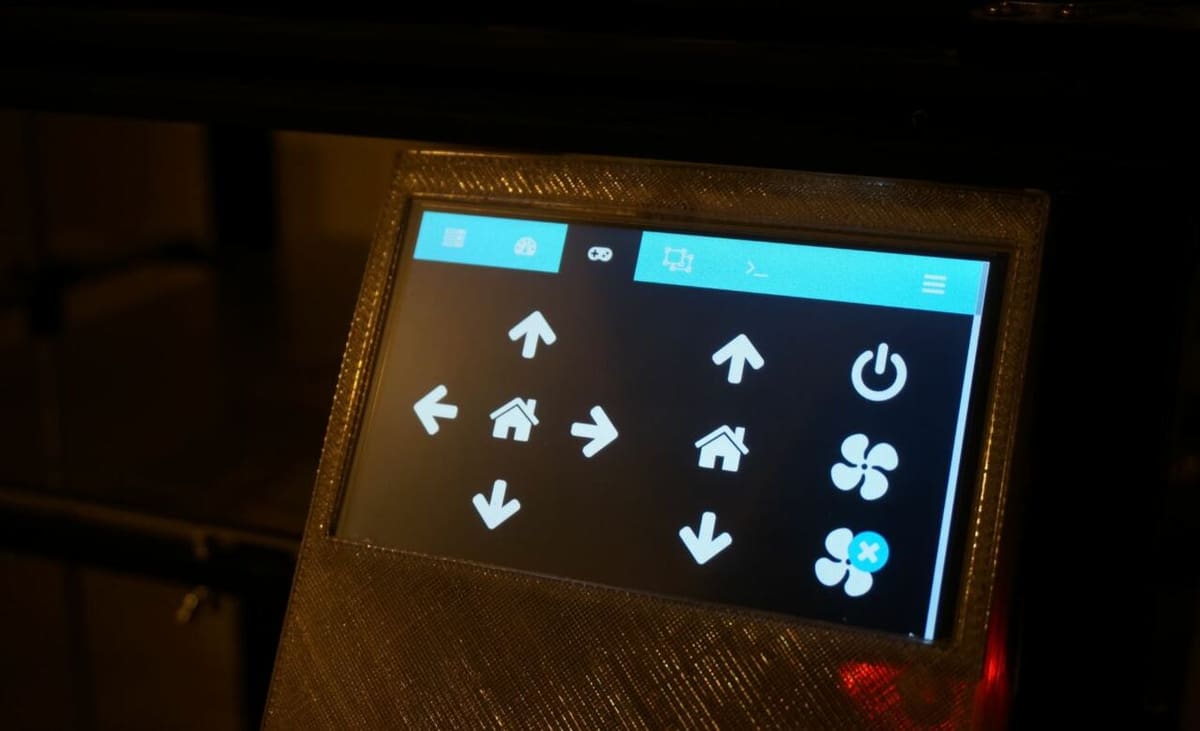
Method #3: OctoScreen
Lastly, OctoScreen, like OctoDash, is an unlisted touchscreen display upgrade that allows you to use OctoPrint’s features via a TFT display. This interface has a similar installation process to OctoDash, with instructions available from the GitHub repository.
OctoScreen has a colorful interface that makes working with your 3D printer a super fun experience. Unlike TouchUI, OctoScreen is an interface that doesn’t run on a browser and actually has to be downloaded, so you’ll likely be limited to the touchscreen you install it on. Although this seems initially to be a disadvantage, the makers of OctoScreen claim that this keeps the resource usage low. The lighter program means OctoScreen also can work on smaller display screens with lower resolutions, like 480×320.
OctoScreen offers, like the other options, many useful control features, from setting temperatures to moving the different components of your machine. You can even control which source you want to print a file from, choosing between your printer’s storage device or your OctoPrint cloud storage.
Lead image source: 3DTomorrow via YouTube
License: The text of "OctoPrint Touchscreen: How to Add It to Your Printer" by All3DP is licensed under a Creative Commons Attribution 4.0 International License.