Laser Etching Metal: All You Need to Know

Want to be different? Why not add a unique touch to your metal part? Follow along as we cover all you need to know about laser etching metal!
It’s pretty common to see laser marking, etching, and engraving used interchangeably. The confusion is understandable since laser etching and engraving are types of laser marking. The key to understanding the difference between these methods is how deep they dig into the material.
What’s commonly referred to as laser marking, but more appropriately laser coloration or annealing, changes the color of the metal surface, often as a result of oxidation, without penetration. Laser etching goes a bit deeper. Here, the laser alters the metal’s surface, making shallow indents. Laser engraving digs further into the metal, taking material away from the surface and making marks that can be as deep as 0.50 mm.
In this article, we’ll go over all you need to know about laser etching in particular. We’ll start with a brief overview of how laser etching works before taking a closer look at the supplies you’ll need and the process itself.
How Does It Work?
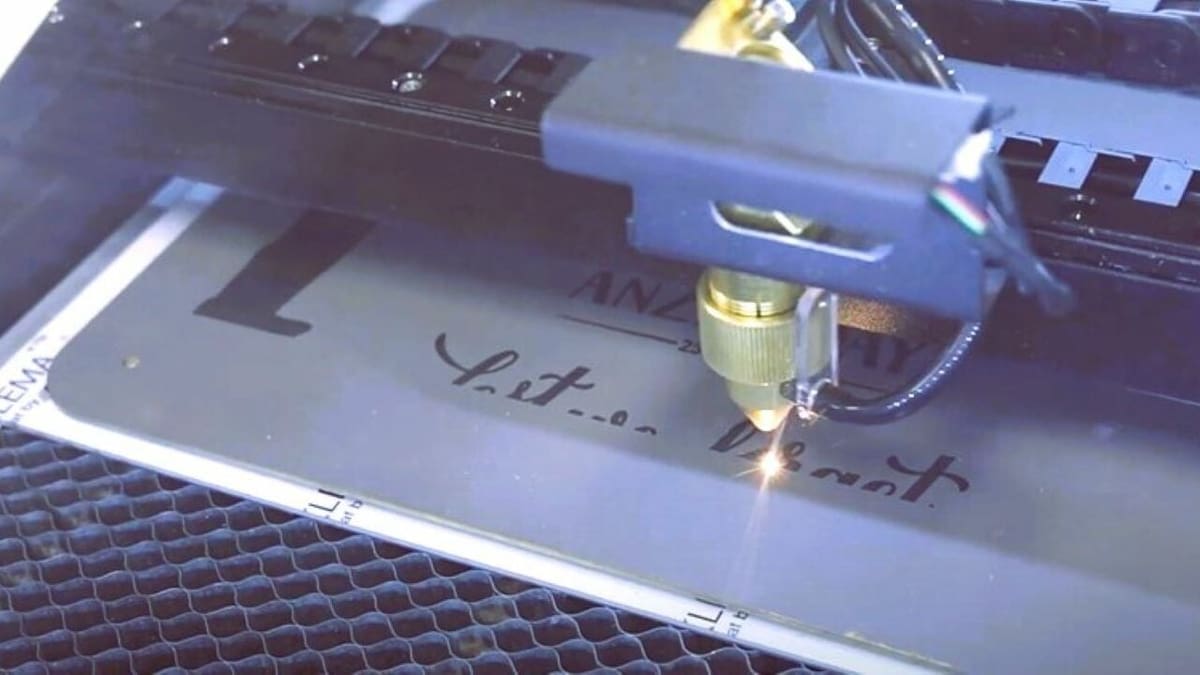
Laser etching is the process of using the high energy of a laser to selectively melt small amounts of material on the metal’s surface. This leaves a distorted and even expanded mark, which has a distinctly different finish than the original surface.
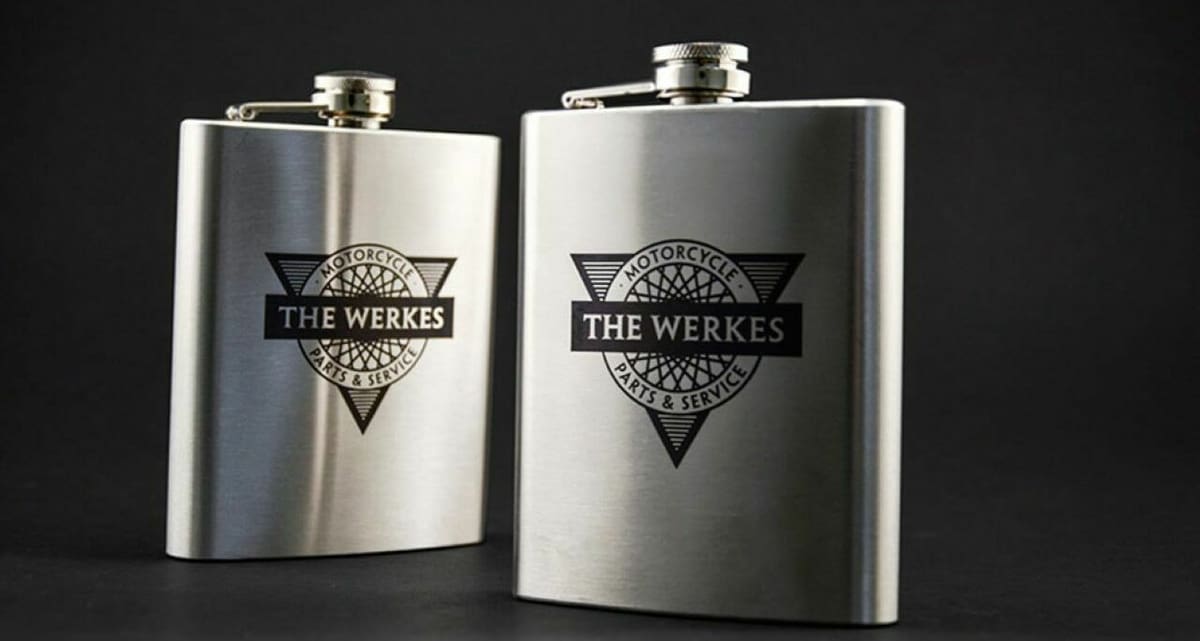
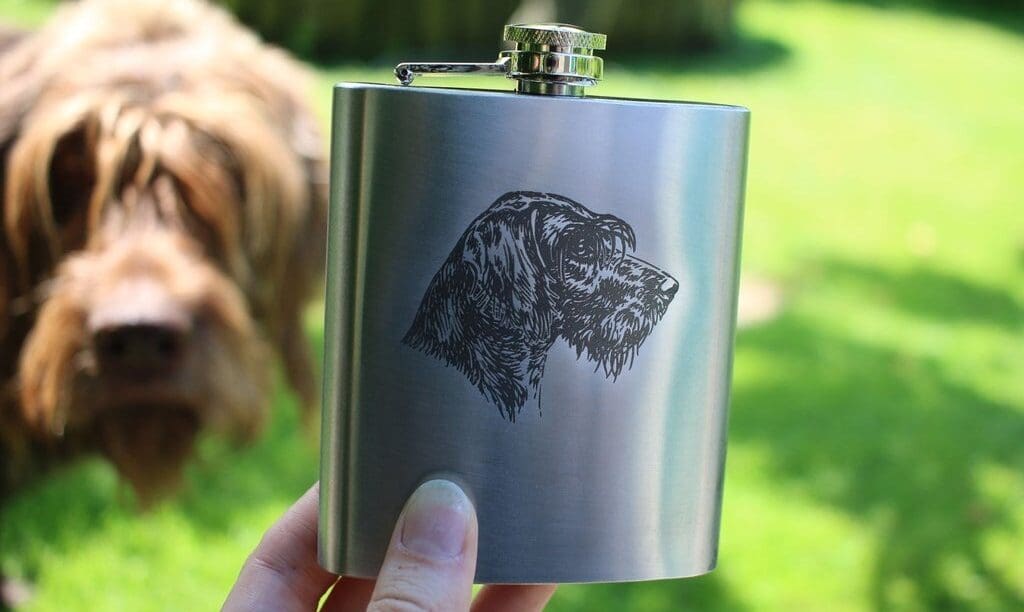
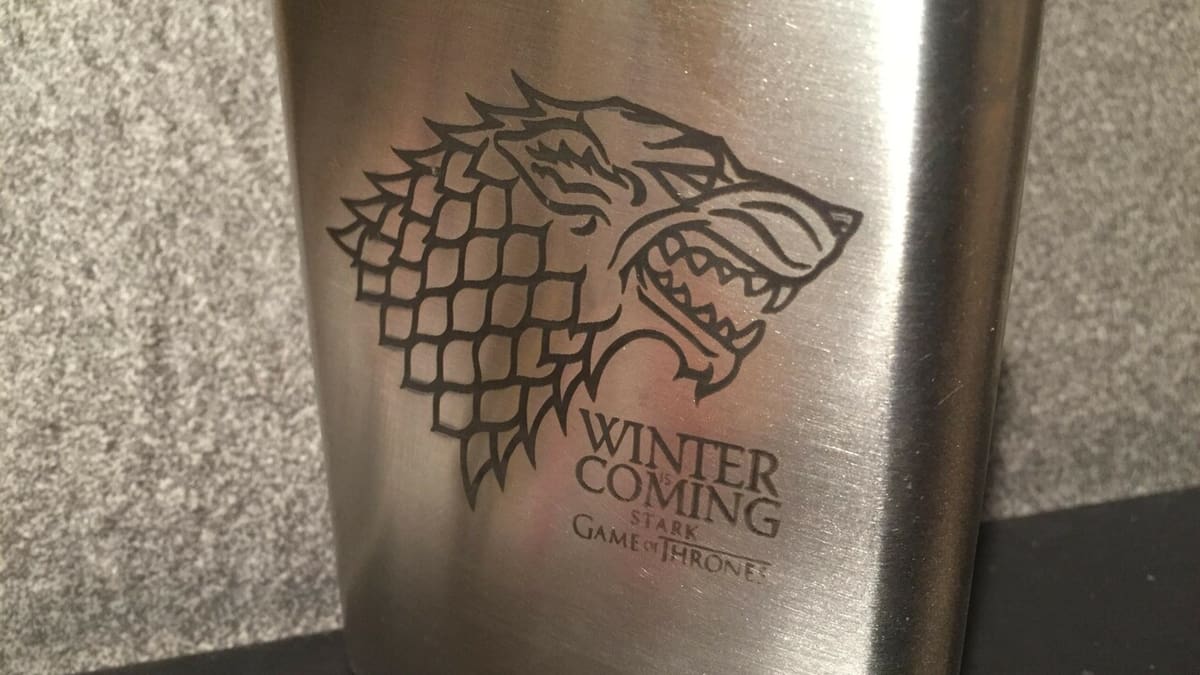
The mark left behind is permanent and would require heavy sanding to remove, which is why laser etching is a popular technique used to add serial numbers or codes to metal parts during production. It’s also a fun way to add a custom design to your metal tumblers, knives, and other household goods!
There are two approaches to etching metal using a laser. In both cases, the depth of etching is usually no more than 0.02 mm (0.001″).
- Only laser: In the first method, etching is done by directly melting the surface material. This method requires higher power output, generally accomplished using a fiber laser, which is expensive. This method is more common in industrial applications.
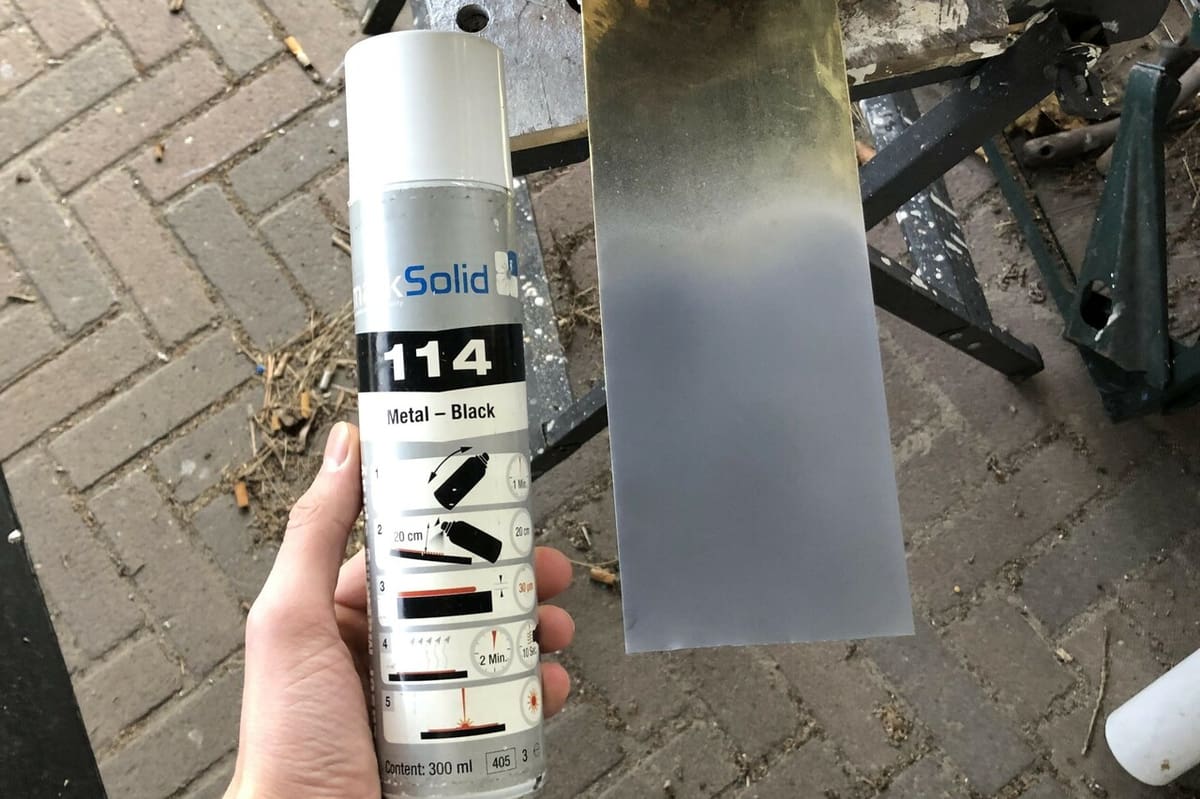
- Laser plus chemicals: The second etching method involves an additional chemical that reacts with the metal surface when the laser heats it, ensuring a darker mark with less laser power. You can find these chemicals in spray form. This method works great for small production runs and do-it-yourself projects.
Let’s take a closer look at how to laser etch with marking sprays.
What You'll Need
Laser etching metal using marking spray is possible at home paired with relatively low-power lasers. To successfully etch metal with a laser, you’ll need a CO2 laser machine rated for at least 30 W of power. With higher power, you’ll be able to run the machine at faster speeds and finish the job sooner.
In addition to your machine control software, like LightBurn or an alternative, you’ll need design software. Photoshop or CorelDraw are good choices, but free options, like Inkscape, will work just as well. The design will need to be exported to a file format your laser’s software can recognize, most commonly SVG (scalable vector graphics). You can also browse through the many repository websites out there where you can download suitable designs for free.
The etching process is fairly simple and will work on several types of metals, but it’ll also depend on the strength of your laser. Stainless steel, aluminum, and copper are the most commonly used materials for this process. The latter two, however, may be more difficult to etch. Factors like the melting temperature of the metal and how much laser light gets reflected away from the surface will affect the depth and quality of the etch.
In addition to the obvious components just mentioned, there are a few other supplies to wrangle together before you get started:
- Isopropyl alcohol (for cleaning)
- A soft cloth
- Gloves
- Etching spray
- Masking tape
To achieve the best results when laser etching, you’ll want to opt for sprays like CerMark, LaserBond 100, Brilliance, or OMTech, since these are made for the task. Some users might consider using Molylube (a lubricant not intended for use as a marking agent) for laser etching because it’s cheaper. However, some people report worse results with it. According to marking spray manufacturers, the molybdenum disulfide in Molylube can produce sulfuric acid when heated, which isn’t safe to be around and can corrode your laser.

Safety
Before you start, don’t forget to consider your safety:
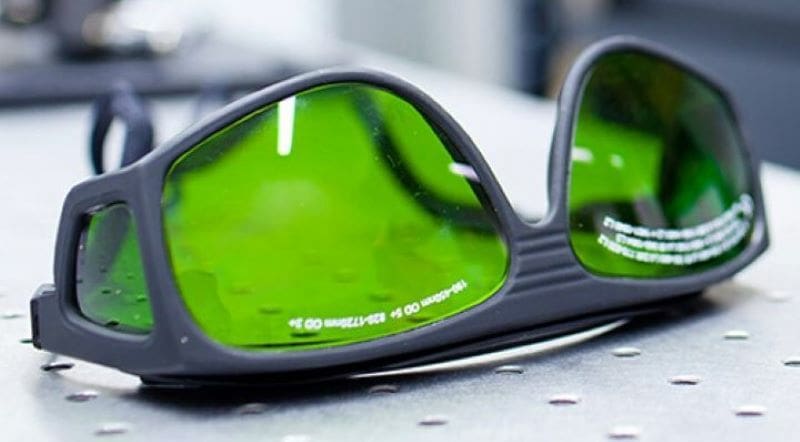
- Make sure you’re wearing the proper safety glasses when working on a laser machine. Higher-power lasers mean you’ll need more protective glasses.
- Always shut the enclosure of your machine before you start etching. Since metals are highly reflective, the laser beam might end up in various places and can cause fire or injuries.
- Spray cans are under pressure. If you leave them inside your machine, a stray laser beam can cause an explosion or a fire.
- Be sure to have a fire safety plan in place that includes the appropriate fire extinguisher when working with high-power lasers.
The Process
In the following sections, we’ll guide you through the general workflow of laser etching a metal object using a marking spray. We’ll cover the design preparation, readying the piece for etching, configuring the laser machine, and giving final touches.
If you’re doing this for the first time or are working with a new material, be sure to use some scrap material for trial runs before etching the real thing. Dialing in the right settings for your machine and material may take some time.
Step 1. Preparing the Design

- Find an image you want to etch on the metal. Whether this is a photo or a vector image, it should be black and white or grayscale (if your laser supports it) to give you an insight into how it will look after etching. If it doesn’t look good on the screen, it won’t look good on the metal either.
- Scale the image to the desired size. Note that if you’re etching on a non-planar surface, it may require image stretching.
- Save your work in a format that your laser’s software supports.
Step 2. Cleaning
- Put on gloves when you’re ready to prepare the surface of your part so that oils and grease from your hands don’t contaminate the metal’s surface.
- Thoroughly clean your metal piece of all dust and grease using alcohol and a soft cloth.
- Use some fine-grit sandpaper to remove any corrosion or oxidation that may have formed.
Dust and grease will interfere with the laser focus, while metal oxides and rust usually have a much higher melting temperature than pure metal. If not properly cleaned, these formations interfere with the etching process and give you poor quality.
Step 3. Applying the Spray
- Ensure your part is totally dry and clean before applying the spray.
- Use masking tape to mark the borders of the surface you plan to etch, protecting the rest of the part from the spray. (This will save you some cleanup effort later on.)
- Apply etching spray evenly on the metal surface. One pass is often enough, but be sure to refer to the manufacturer’s instructions for the particular brand that you have.
- Before moving on to the next step, make sure the coating has fully dried (which shouldn’t take long).
Step 4. Preparing the Machine
- Power on your machine and get it ready for etching.
- Put your metal part in the machine and ensure proper adjustment of laser height. Tune your laser’s focus.
- With the position of the metal piece locked in, add some markers in the machine so that you can put it back in exactly the same place in case you need to remove it again.
The tricky part is if you’re etching a curved surface, like a pot or a cup. In that case, you should find the lowest and the highest points and adjust the focus in the middle. This step will require some trial and error.
If you’re planning to laser etch round objects, it’s worth considering the purchase of a rotary attachment. It’ll make your life much easier, and you’ll get much better laser etching quality.
Step 5. Etching

- Load your file from Step 1 into your laser’s control software.
- As a starting point, you can set the machine to maximum power and a low speed for the best results, but the ideal setup for the particular metal you’re using will require some trial and error.
- Ensure your machine is fully closed, then start the laser.
Step 6. Finishing Up
- Once the etching is complete, you’ll need to wash off the spray to get a good look at the mark. Some dish soap and a gentle abrasive may be necessary to remove the residue.
- If you’re concerned about the durability of the markings, you can apply a layer of sealant for protection. (This isn’t a bad idea for easily oxidized metals.)
- Enjoy your handiwork!
License: The text of "Laser Etching Metal: All You Need to Know" by All3DP is licensed under a Creative Commons Attribution 4.0 International License.