How Long Does It Take to Cure Resin Prints?

Curing your printed models is key to good-quality results. Find out how long to cure resin prints and which methods you can use.
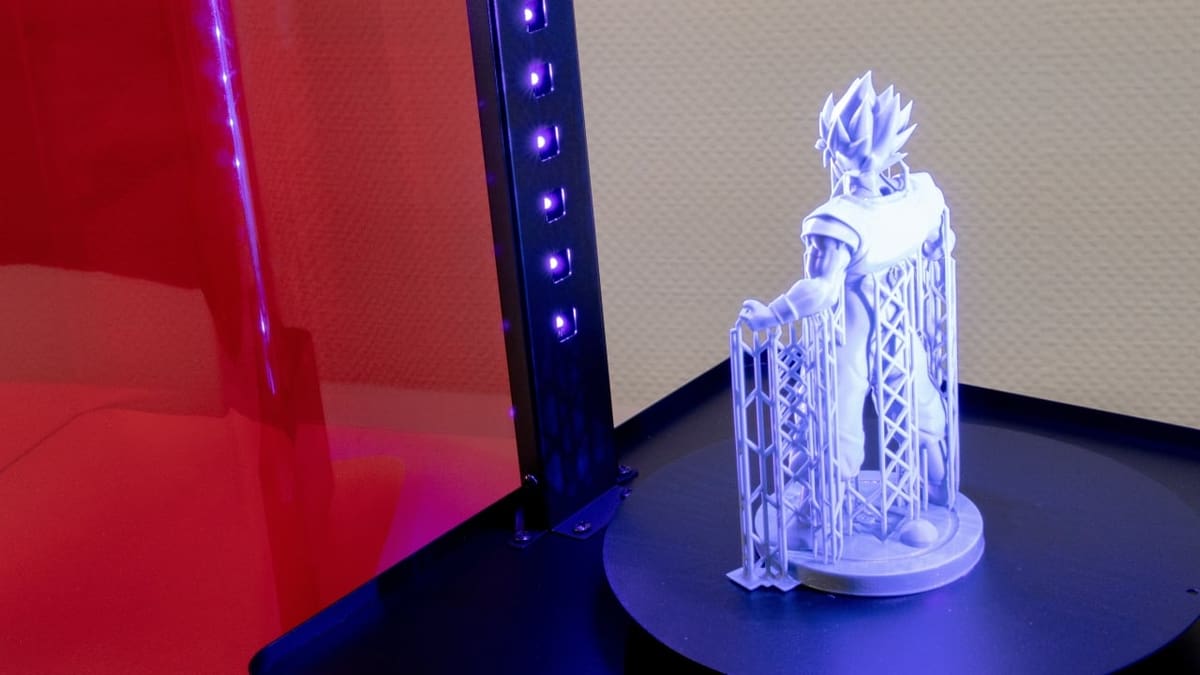
The curing of 3D printer resin is the process of exposing the liquid solution to UV light in order to activate the chemical reaction that solidifies it. This process occurs during printing in a layer-by-layer fashion, to create a 3D model. But after successfully printing a model and washing off any excess resin, you’ll have to subject your print to another round of curing to make it into a strong and durable final product, as printers leave models only partially cured.
This post-print curing is a required step of resin printing, just like support removal and bed leveling. If skipped, you’ll be left with a soft, weak, and undesirable print. To get the most out of your high-resolution resin printer, you’ll need to get accustomed to curing your prints.
In this article, we’ll go over what variables play into cure times as well as the different curing methods available to us in order to get perfectly cured prints.
Considerations
When trying to find out how long you should cure your model, there are four important factors to take into consideration.
Type of Resin
There are many different brands of resin on the market, each with its own unique quirks. Looking at the resin options from Anycubic, for example, the Standard Resin+ has an exposure time of 1.5-9 seconds, while the UV Tough Resin requires 1.5-10 seconds. Longer exposure times may be indicative of the resin formation needing more energy to cure, meaning you may need a longer cure time as well.
Tough and high-performance resins will generally need longer cure times compared to standard blends, but every bottle will have slightly different optimal settings. It’s always a good idea to check the website of your resin provider for their recommended exposure and cure times for the exact resin that you use.
Resin Color
It’s also important to consider the color of the resin we’re working with, as this can vary both the cure time and the exposure time. Generally speaking, lighter-colored resins will cure faster than darker-colored resins. As the darker your resin gets, the more the pigment absorbs the UV light instead of the resin itself. This is why we should always check the manufacturer’s website for recommended exposure and cure times on a per-bottle basis.
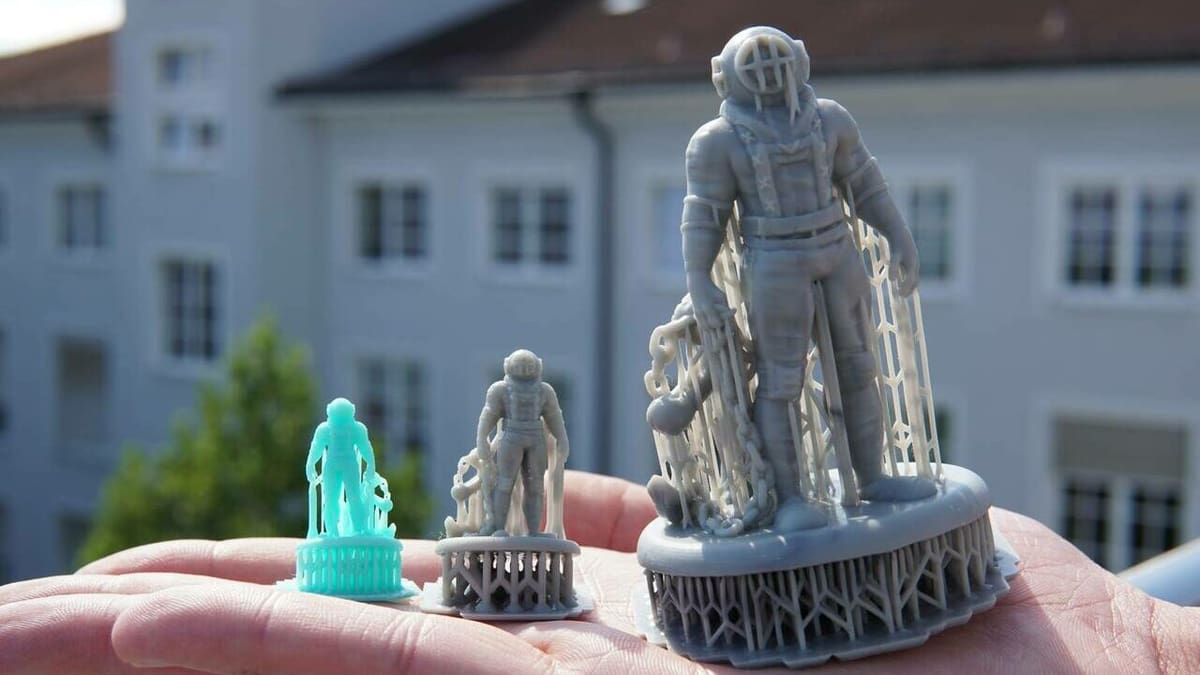
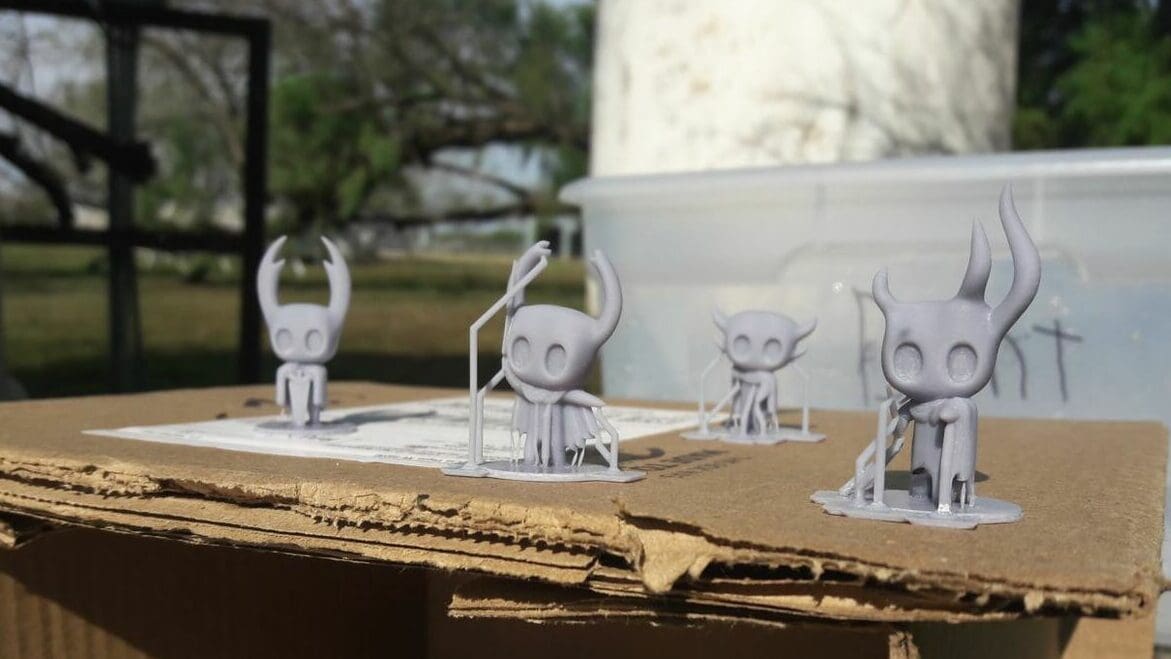
Size of Model
Bigger isn’t always better. This is true for curing resin prints as well. Medium-to-large models can take as much as 10 times longer to cure than your average miniature, as the UV light has a much larger surface area working against it.
A hollow model will also cure much faster than, say, a model with 50% infill. Models with a wall thickness larger than 2 mm can run into issues with under-curing on the inside, causing the resin to remain liquid and eventually find its way out of the model in spectacular fashion. This is why proper use of drainage holes when slicing is very important.
Curing Method
As you’ll soon find out, the different methods for curing resin each have their upsides and downsides. Depending on your chosen method, the time it takes to cure your model can range from a few minutes to several hours.
What makes a good option for one model may not be the case for another. For example, a model with many cavities and detail may need a more intensive curing session compared to a simple, flat model. It’s important to consider your options on a per-print basis.
Sun Cure
When you heard that UV light activates resin to cure, your mind may have wondered if that includes the UV rays of the sun. You’d be correct in that assumption. The sun can be used as a “free” method of curing resin prints if you don’t have any other options.
The downside, it isn’t very efficient. Leaving your resin prints in the sun will eventually cure them, but the question is, how long will it take? You’ll find that you may have to leave your model outside for about two hours before it’s fully cured. And this only applies to the side of the model that is presented to the sun. To cure the other half, you’ll need to turn your model and leave it for another two hours.
However, those numbers are with ideal sunny conditions, but unfortunately, the sun isn’t very reliable. Up until now, we’ve assumed that you have access to direct sunlight for up to four hours. You’ll have to take into account weather, clouds, and even your geographical location when considering your solar-powered curing time. You may also want to find a spot where your model won’t get pelted with dust from the wind while curing.
Pros
- Free: The sun isn’t charging for its services.
- No space limitation: You can cure as many models as you have windowsill space.
- Avoids over-curing: You have a large window of time before you’re in danger of over-curing.
Cons
- Inefficient: Models will take many hours to properly cure.
- Unreliable: Weather and clouds can set you back.
- Check-ins needed: You’ll have to remember to rotate the model frequently to cure all sides.
DIY Cure
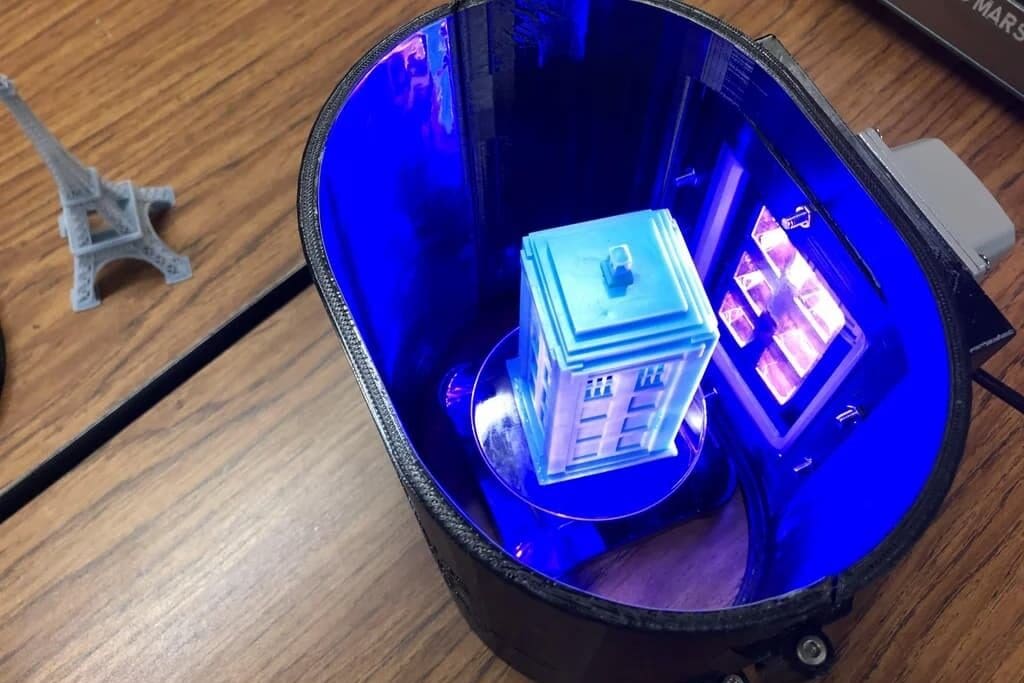
Many makers will ease their way into resin 3D printing after finding a good deal on a cheap printer. This is a great way to see if the liquid side of 3D printing is for you. You will, however, need a way to cure your prints.
One of the most common methods is to build your own curing box. All you need is a box or tub with a lid, some aluminum foil, and a UV lamp (with a wavelength that covers that of the resins you use). You can usually get all of these materials for ~$20. Some kits include a solar-powered turntable, as this will greatly decrease the amount of time and effort it takes to cure your prints.
With a curing box, you can expect most of your prints to be cured in about 6-10 minutes, with smaller models finishing in under 3 minutes and larger models requiring around 12 minutes. You’ll want to make sure to flip your print once during this time to ensure the top and bottom surfaces are evenly cured.
If the DIY method sounds like your method, be sure to check out a build guide such as the one posted by DCoster on Instructables. If you want something a little more grand, you can follow Adam Savage’s version of an over-the-top curing box.
Pros
- Affordable: $20-$30 is a reasonable price for great prints.
- Scalable: DIY means you can cater the size of your curing station to your needs.
- Decent cure time: This ranges from 3-8 minutes, depending on your setup.
Cons
- Time-consuming build: You can expect to spend about 20-40 minutes building the simplest projects.
- Results may vary: Your cure time will vary depending on the type of foil you use, the size of the box, and the quality of the UV lamp.
- Troubleshooting: You’ll be on your own when you run into any problem, from technical issues to cracked models.
Curing Station
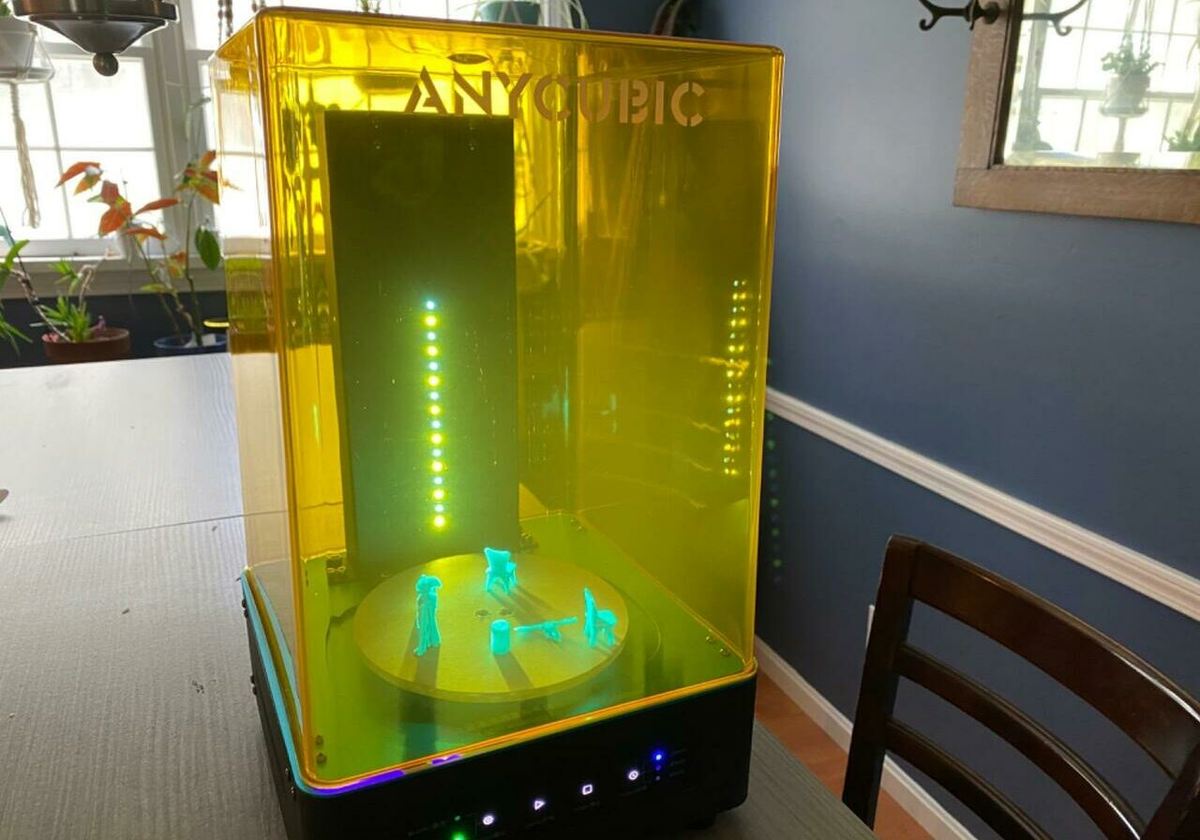
Nothing beats getting a dedicated curing station. The amount of time you’ll save and the number of convenience options that a curing station provides can justify the price, especially if you intend to print with resin consistently.
The key here is consistency. When using a dedicated curing station, you can expect your results to always be the same, requiring the same amount of curing time for similarly-sized models. Many modern curing stations opt to include UV lights on the top, side, and bottom of the chamber for thorough coverage of your model, eliminating the need to flip them around during the curing process.
Most curing stations, like the Anycubic Wash & Cure Plus, include extra features such as a timer that will automatically shut off the light once it’s finished. No need to babysit your cure station to prevent over-curing!
You can expect a good curing station to fully cure miniatures in about 2 minutes, with larger prints taking around 5-10 minutes, depending on their size. Speaking of which, carefully consider what size of models you’ll be printing in order to get an appropriately sized curing station.
Pros
- Consistency: You can expect your curing station to constantly produce the same results.
- Convenience: Timers and extra light strips truly make all the difference.
- Build-quality: You can expect one of these machines to last you much longer than a cardboard box.
Cons
- Cost: You can expect to spend around $100 for a decent machine, with luxury models nearing the $300 price point.
- Space: Some of these machines have a decent footprint. You’ll need to make space for them.
- Size: Unlike the DIY route, you won’t be able to change your available curing space once you purchase a unit, so consider your size carefully.

Is My Print Cured?
Now that we have an understanding of the different curing methods and have (hopefully) chosen one, the next step is to identify when our prints are actually cured.
Thoroughly curing your resin prints is critical because resin is a toxic material and should never be handled without proper protective gear. Doing so could pose a series of health risks, the least of which being skin irritation. Curing your resin prints allows you to safely handle them just like any other plastic goody.
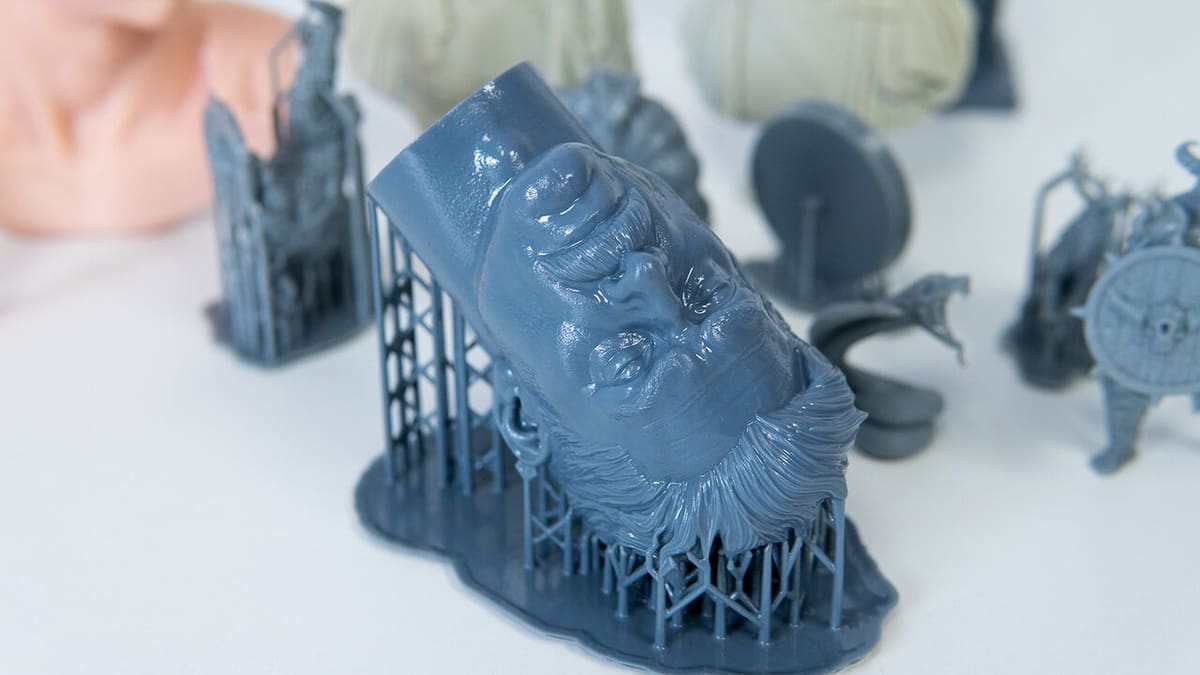
Under Cured
An under-cured print will have a glossy appearance, rough texture, and smell like resin. If you can scratch or indent the surface of your model with your fingernail, this is a clear sign that it is under-cured. A few more minutes of UV exposure should be all it needs.
Cured
A perfectly-cured print will achieve a matte-like finish and gain rigidity. It may still be ever-so-slightly flexible, but it shouldn’t deform too significantly. A good indicator for smaller models is to drop them on a hard surface. They should sound like a dice clattering. If it makes a softer impact, it may need a bit more curing.
Over Cured
It’s important to note that you can over-cure your prints as well. Doing so will lead to a brittle print with cracks on the outer surface. There isn’t much you can do with your print from here. This is why it’s important to find the right cure times for your prints.
License: The text of "How Long Does It Take to Cure Resin Prints?" by All3DP is licensed under a Creative Commons Attribution 4.0 International License.