Creality Halot Box: All You Need to Know

Halot Box is Creality's own dedicated slicing program for their range of resin 3D printers. Let’s open the box and see what’s inside!
Good slicer software is an essential part of 3D printing regardless of the machine you’re using. Probably the most popular and well-known slicer is Ultimaker’s Cura, which has been a constant in the world of FDM 3D printing for some time now.
As Cura mainly focuses on FDM printers, what about users of resin 3D printers? Fortunately, there are solutions for them in the form of ChiTuBox and Lychee. Oftentimes, however, there’s something more specific to your 3D printer. This is where Creality’s Halot Box comes in.
Creality has built its reputation on its wide range of FDM printers but is fast moving into the world of resin printers as well. Halot Box is Creality’s own dedicated slicing software for its Halot series and other resin printers, and it’s available to download at Creality’s website.
But what inquiring minds want to know is does it perform as expected or will you be looking elsewhere for a better slicer? Let’s have a look to see what’s inside Halot Box.

How It Compares
Although there are adequate alternatives to Halot Box, Creality has a history of wanting to develop its own proprietary software to go alongside its hardware. Of course, that is to be commended, but how does it stack up against the alternatives?
As we have mentioned, slicer software is available for resin 3D printers with the most prominent of these being ChiTuBox and Lychee. Those slicers are designed to cover a wide range of different printer brands, including Creality’s resin printers. Halot Box, however, is specifically designed for and only works with Creality resin printers. In theory, one could say that it’s uniquely equipped to bring out the best in Creality’s resin printers.
We’ve delved into ChiTuBox’s and Lychee’s features in previous articles. In this article, we’ll focus primarily on Halot Box, but let’s have a quick look at what it has to offer in comparison to the other two. The first and most obvious difference is that, in order to access ChiTuBox’s and Lychee’s full functionality, you’ll need to pay a subscription fee. Free versions are available, but there are limitations. In contrast, Halot Box is free and gives you full access to the whole program for as long as you need it.
The user interfaces of all three slicers are pretty similar, with the model being at the center of the window with the toolbars and functions arranged around the edges of the screen. The basic functions are also very similar, but one notable omission from Halot Box is the ability to mirror the model. Available in both ChiTuBox and Lychee, this changes the aspect view of the model so that it’s a mirror image of itself.
Besides the user interfaces, the basic functionality and workflow of each slicer are also very similar, but as both Lychee and ChiTuBox serve a multitude of printers, there are additional features not relevant to Creality printers. Given Halot Box is built for Creality printers, let’s look at its key competencies and unique features.
User Interface (UI)
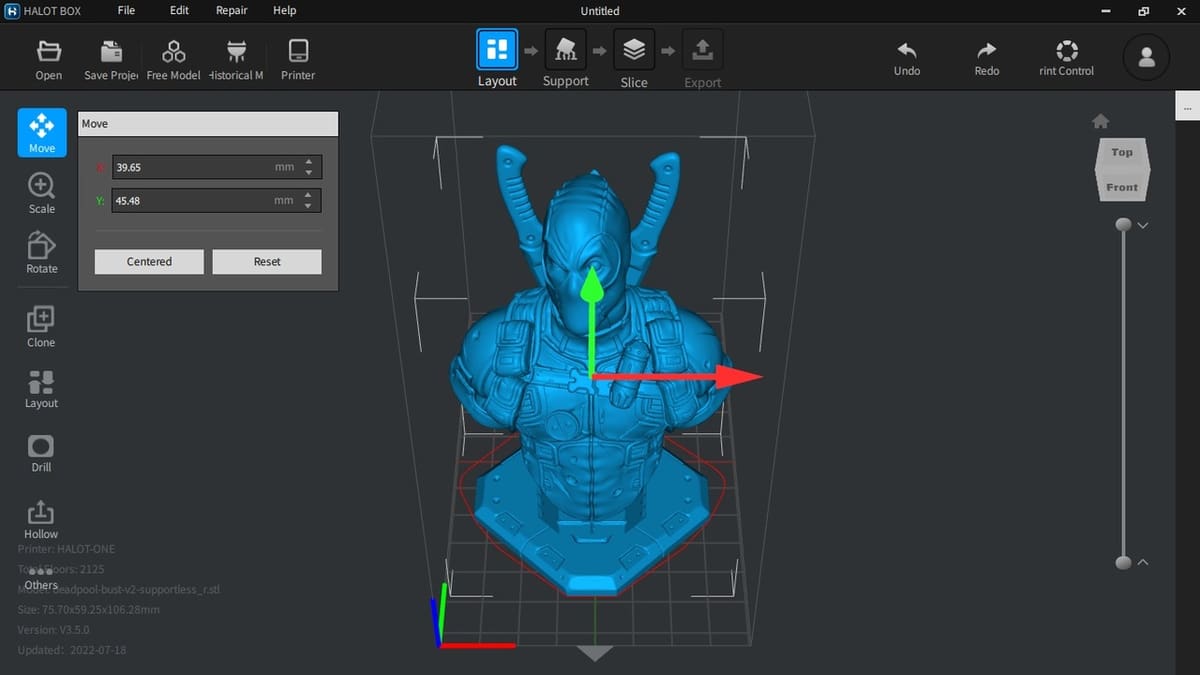
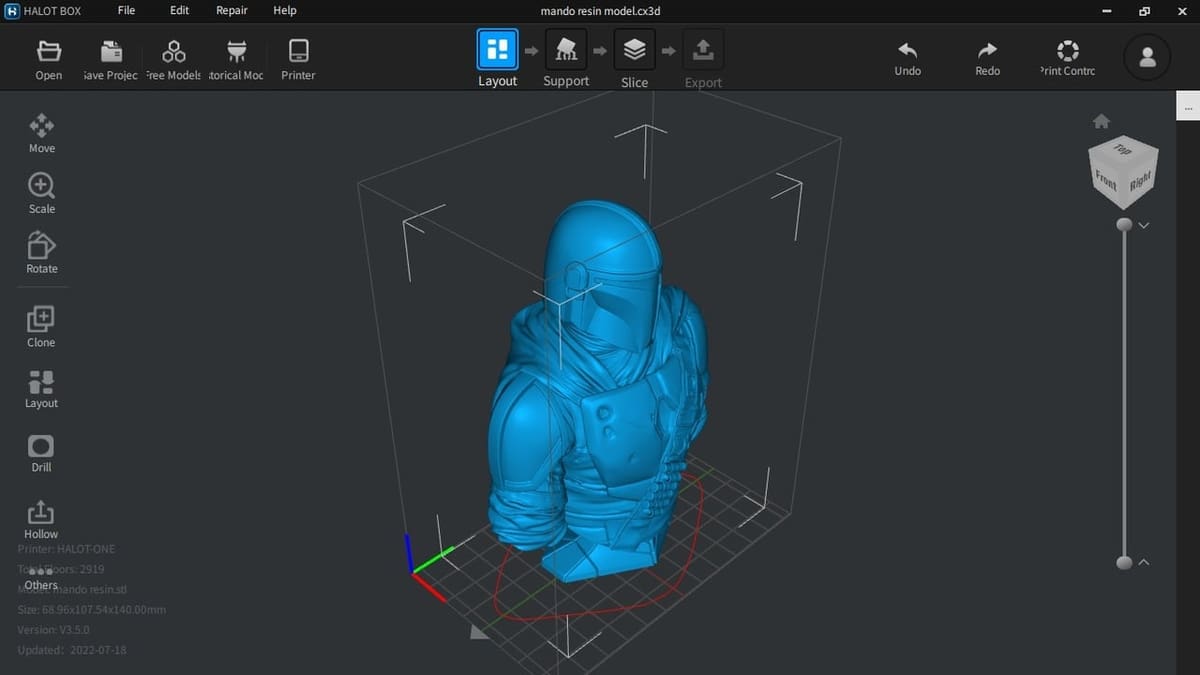
The UI of any software is probably the most important feature. It’s what you see first, as well as what you’re going to be looking at and using every time you open the program. When you first open Halot Box, you’re presented with a fairly straightforward but visually pleasing UI that appears to have everything you need.
The basic functions are shown in a vertical menu panel down the left-hand side of the screen. These functions include Move, Rotate, Clone, Layout, Drill, and Hollow. Opening up the “Others” button brings up a small sub-menu, giving you access to the Letter, Split, and Range functions.
Across the top of the UI, you’ll find the usual Open and Save functions, among others. There’s also a button labeled “Free Models”, which gives access to a library of free printable models from a variety of designers. These models are available from Creality Cloud, and a link to this is provided with each model.
In addition to these buttons, there are additional pop-up menus available via the Layout, Support, Slice, and Export icons you’ll see across the top of the UI. We’ll take a closer look at these in the Workflow section later on.
Features
As we’ve just mentioned, Halot Box offers users many different features through the UI. Let’s now take a more detailed look at what these features do and how to access them.
Basic Functions
Move
This allows you to adjust the position of the model within the build area along the X-, Y-, and Z-axes. This is a pretty basic function available on all slicers but also an essential feature. If you’re trying to print an object that may appear to be too big for the build area, it may just be that you need to play around with different positioning to get the right fit. Of course, it’s worth remembering that the average resin printer has a much smaller build area than that of its FDM cousins, so model positioning could be a key consideration. This would then bring us to the next tool…
Scale
This tool allows you to change the size of the model. You can choose to reduce or increase the size either as a percentage or to a specific dimension. Scale also gives you the option to change the size either uniformly for the whole model or independently along each axis.
This is an essential feature particularly if you prefer to download models made by other designers. It’s also a useful tool if you decide to print a model that was originally designed for an FDM printer with a larger build plate.
Rotate
This is another tool designed to give you the best positioning of your model within the build area. You can turn the model along all three axes either by using the mouse or entering the parameters manually.
Layout
This is one of Halot Box’s best features, and it’s ideal if printing more than one model or a model with multiple parts. Duplicates of your model can be made and added to the build plate, as we’ll see using the Clone tool. Different models can also be added to the plate if, for instance, you’re printing a model with multiple parts such as a car or gear system.
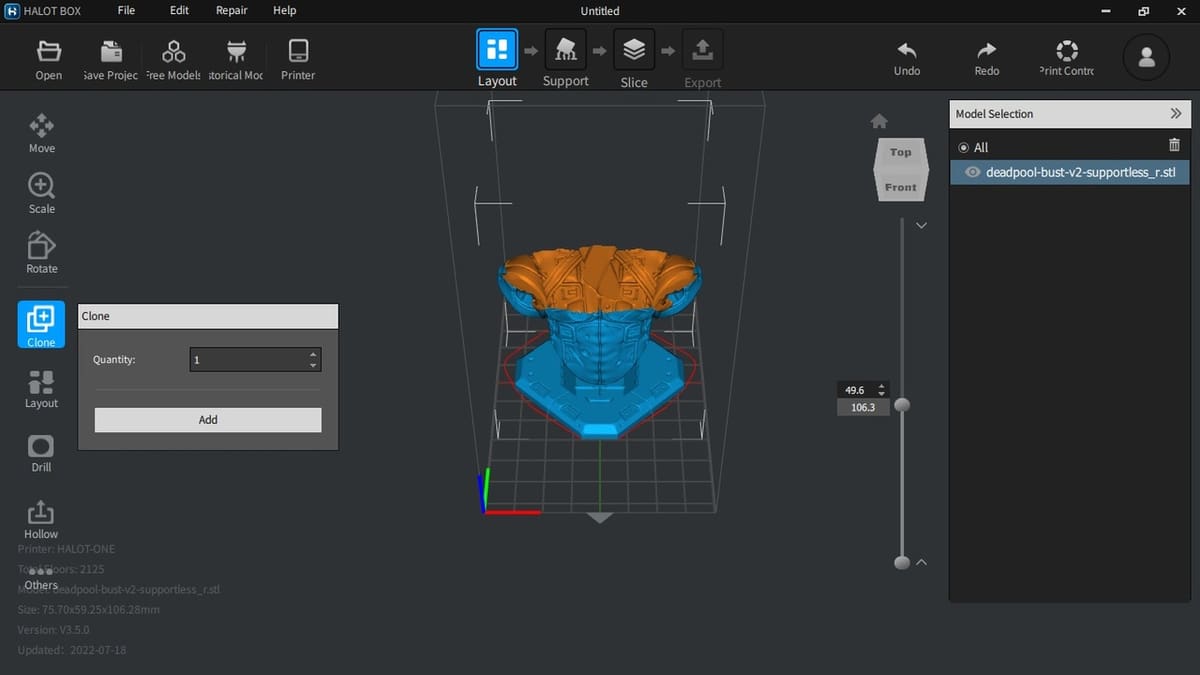
Clone
As mentioned above, if you want to make duplicates of the same model and you have the space, you can copy and add as many as will fit within the build area. The system places them automatically and to the same scale settings, rotation, and so on as you applied to the original model.
Drill
This may sound fairly obvious, but this tool allows you to create holes in the model if required. This could be ideal if you’re printing models with multiple parts and need them to slot together or if you simply need to make drain holes in your model.
Hollow
Again, this does what it says and makes the entire model hollow. This is sometimes achieved with “vase mode” in FDM-oriented slicers and is mainly used to print items such as vases, pots, or boxes. In resin 3D printing, printing hollow models is common, and many slicers for resin printing have dedicated hollowing functions.

"Others"
Although these tools are tucked under the heading “Others”, they could be considered very useful to some users. Maybe Creality ran out of space to showcase all the features in the open area of the UI, so they lumped together this group here. This isn’t necessarily a bad thing but could take a bit of getting used to if you’re trying to find your way around the UI.
So, what are these “hidden” features?
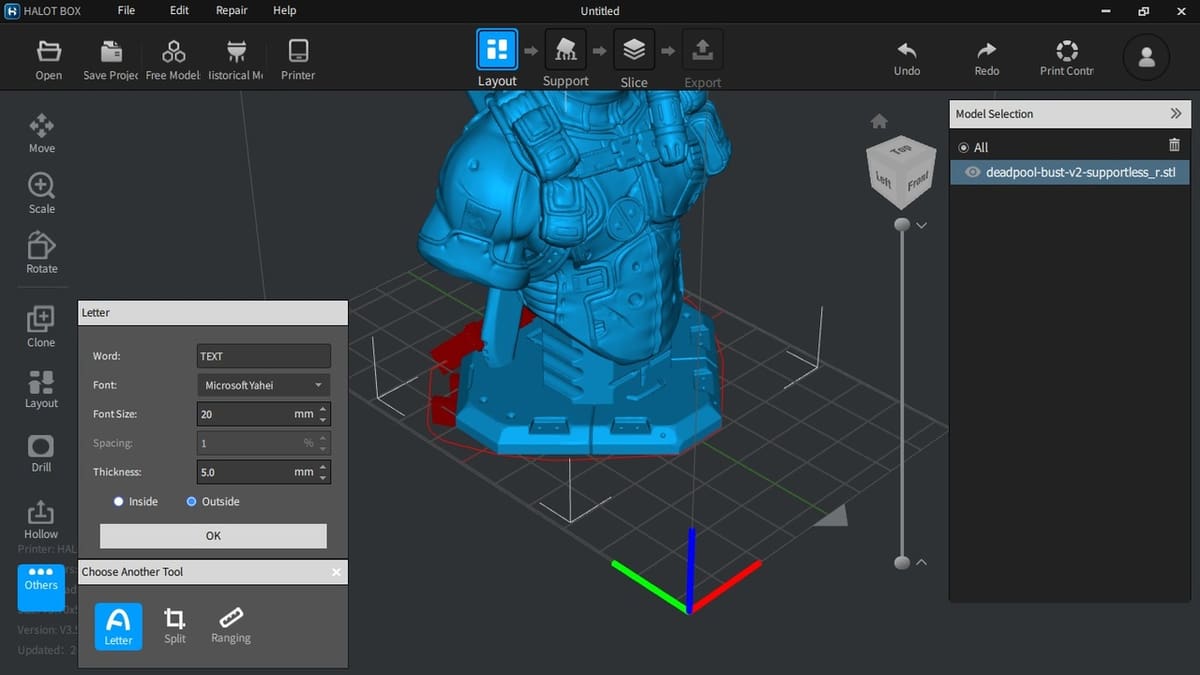
Letter
With this tool, you can add text to the model either internally or externally. This could be useful if you want to personalize a model with a label or plaque. It’s also quite good for printing signs, slogans, and so on.
Split
This is quite a good tool that allows you to divide the model into sections and rotate certain parts as required. This has many possible applications, including decreasing print time. It takes a bit of practice to get used to and perfect.
Range
This shows you a detailed layer-by-layer slider of the model along the Z-axis. Controlled using the mouse or the keyboard, this lets you both see how the model will print and select part of the model for printing. For instance, you may only need to print the bottom section of a model up to a certain layer. The tool will give you that option.
Model Library
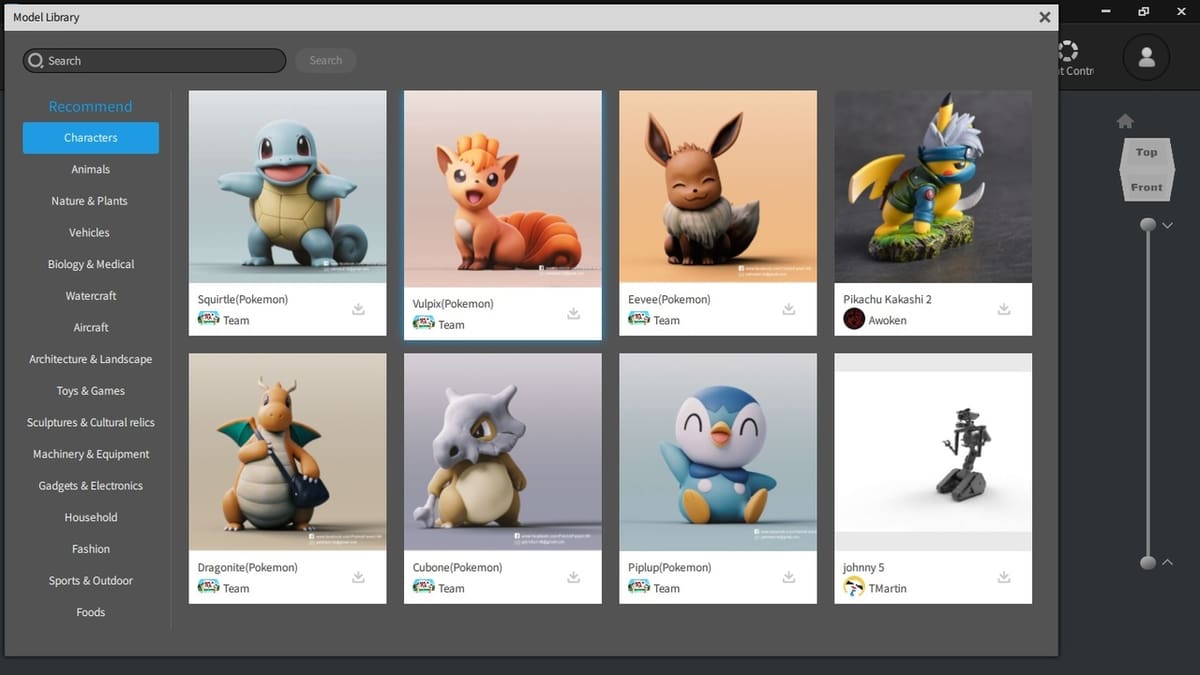
To enable you to get printing straight away, Halot Box has access to a vast library of 3D models. There’s a huge selection, including pop culture characters, household items, model cars, and actual car parts. Each item has been either designed by a member of the Creality user community or uploaded from repositories such as Thingiverse. Either way, there are many to choose from, and all of the models available through Halot Box are free to download.
At the top of the UI, you’ll see a dropdown named “Free Models”, and this opens up a list of categories. Scroll through and select the model you want; it’ll link you directly to the Creality Cloud where you can download the file to be sliced with Halot Box. It’s worth noting that you’ll need to sign up for a user account to be able to use the Cloud resource, but it’s free and definitely worth doing if you’re going to use the model library regularly.
Workflow
So, we’ve looked at Halot Box’s UI and main features, but how do these work in practice? There are four basic stages to the slicing process, and these are shown as icons across the top of the UI: Layout, Support, Slice, and Export. To get move from stage to stage requires certain settings and input from the user. With that in mind, a typical workflow from start to finish may go something like the following sequence.
Layout
The first thing you’ll need to do is choose a model you want to print. This could be from the Model Library or you can import a file from an external source. This is then uploaded and will appear within the build area. The next stage is then to use the various tools we’ve discussed above to lay out your model as you want it.
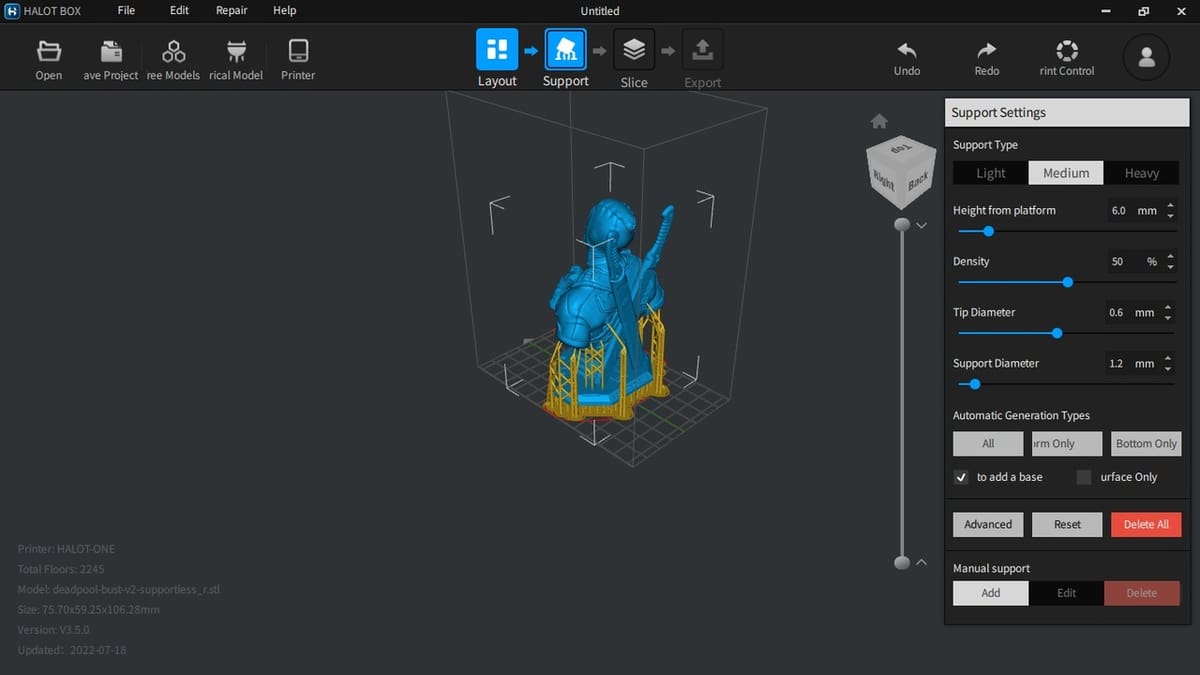
Support
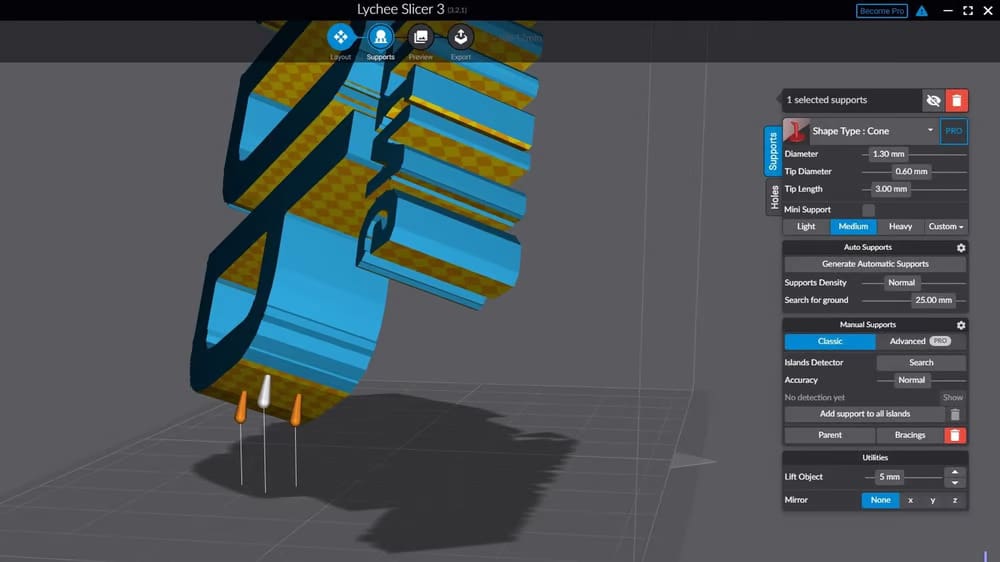
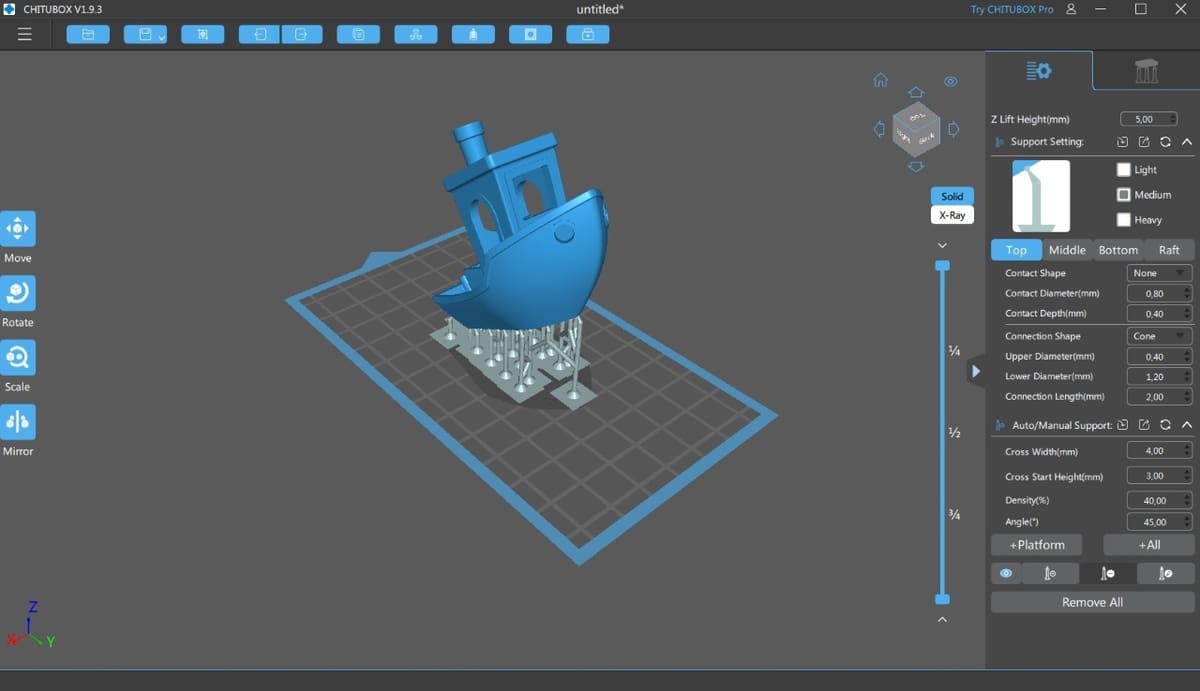
No, this isn’t the support we’ll get from the community but rather an important setting that allows you to add supports to your model. The correct placement of supports for any 3D printed model is important but particularly so with a resin printer. Clicking on the Support icon opens up a side menu that allows you to add custom supports to your model.
If you hover the mouse over each setting, it’ll give you a visual representation of the aspect you’re going to set. This is a nice feature that’s very helpful for new users and will hopefully reduce print failures and wasted resin. Once you have added any supports that you need, it’s time to move onto…
Slice
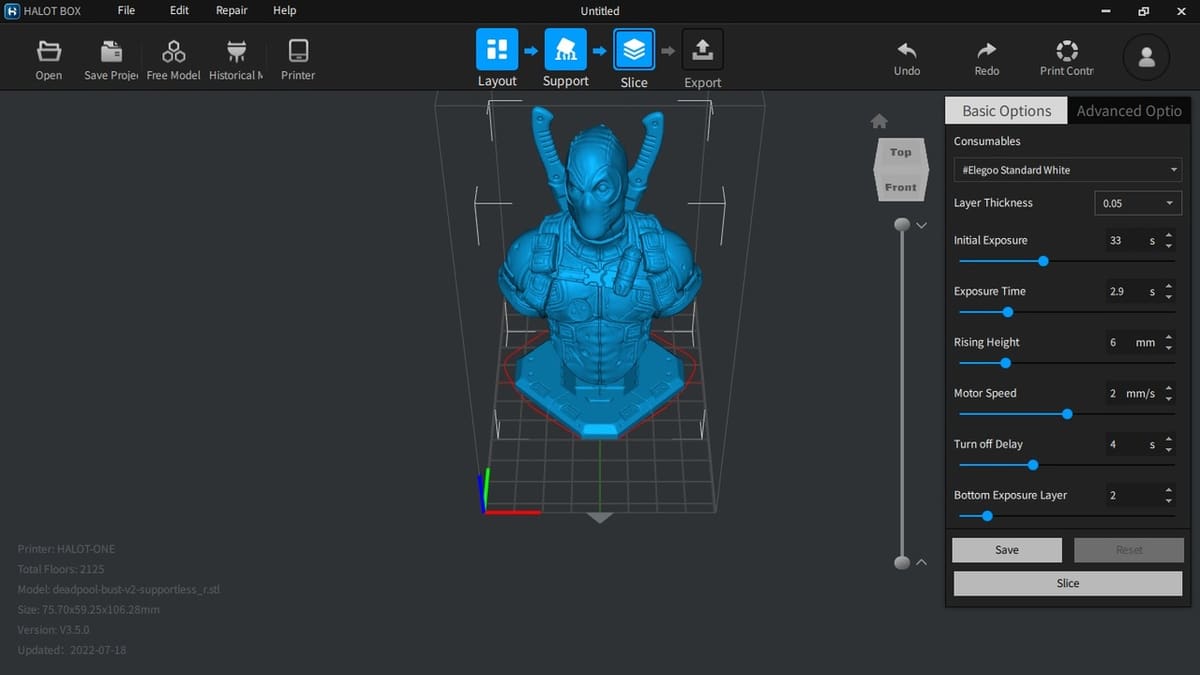
This is basically what you’ve been working toward. Pressing the Slice icon will bring up a side menu that allows you to adjust the settings you’ll need for your printer. Without going into too much detail about each setting, you have the ability to enter the actual brand and type of resin you’re using as well as adjusting layer thickness, initial exposure, exposure time, rising height, motor speed, turn-off delay, and bottom layer exposure.
Unlike FDM printers, slicer settings for resin 3D printing will be different for every resin type, brand, and color that you use. It’s therefore very important to ensure that these settings are accurate before you slice the file – otherwise, your print may inevitably fail.
Once you’ve done this, the process will start with a progress bar to assure you that everything is moving along nicely. When this is complete, you’ll have a printable file ready to either save for later or export directly to your Halot printer.

Export
The final stage of the workflow is exporting your sliced file. As mentioned, you can either save the file to a disk or export it directly to your Wi-Fi enabled Halot printer.
And there you have it: a sliced, printable file created in a few simple steps using Halot Box!
Company & Community Support
When considering whether to use Creality’s Halot Box slicer or the alternatives, it’s good to know what kind of support there is for the user. In terms of official support, Creality does provide some, including a product warranty for the printer and after-sales technical advice relating to the slicer. However, Creality’s customer service isn’t known for being the best. This is where the user community support becomes relevant.
As with most things nowadays, there are Facebook, Reddit, and other social media groups and forums related to Creality’s machines and software. Social media groups provide a space for users to share their experiences with Halot Box and seek advice and solutions to problems. In addition to this, Creality has its own Creality Cloud app, which has a large and active user community. Perhaps to address its reputation for poor customer service, Creality has also appointed a small number of experienced users as “Community Helpers” to answer queries.
License: The text of "Creality Halot Box: All You Need to Know" by All3DP is licensed under a Creative Commons Attribution 4.0 International License.