How to Set Up OctoPrint for Your Ender 3 (V2/Pro/S1)

The Ender 3 and OctoPrint are a match made in heaven. Learn how to set up OctoPrint for the Ender 3 (V2/Pro/S1) in four simple steps!
OctoPrint is a free, open-source 3D printer control platform that makes using your machine easier and improves its capabilities. OctoPrint was developed by Gina Häußge, a 3D printing enthusiast and avid programmer, in 2012.
The software has grown tremendously over the years in both popularity and functionality. It’s now a widely known upgrade for 3D printers and has a large community backing, with over 16,600 members of the OctoPrint subreddit alone.
The stock online interface allows users to remotely control different aspects of their 3D printer, including temperatures, movement, and so much more. Hosted by a device connected to both the internet and your 3D printer, OctoPrint controls printers by sending G-code commands, which your printer’s firmware interprets and carries out.
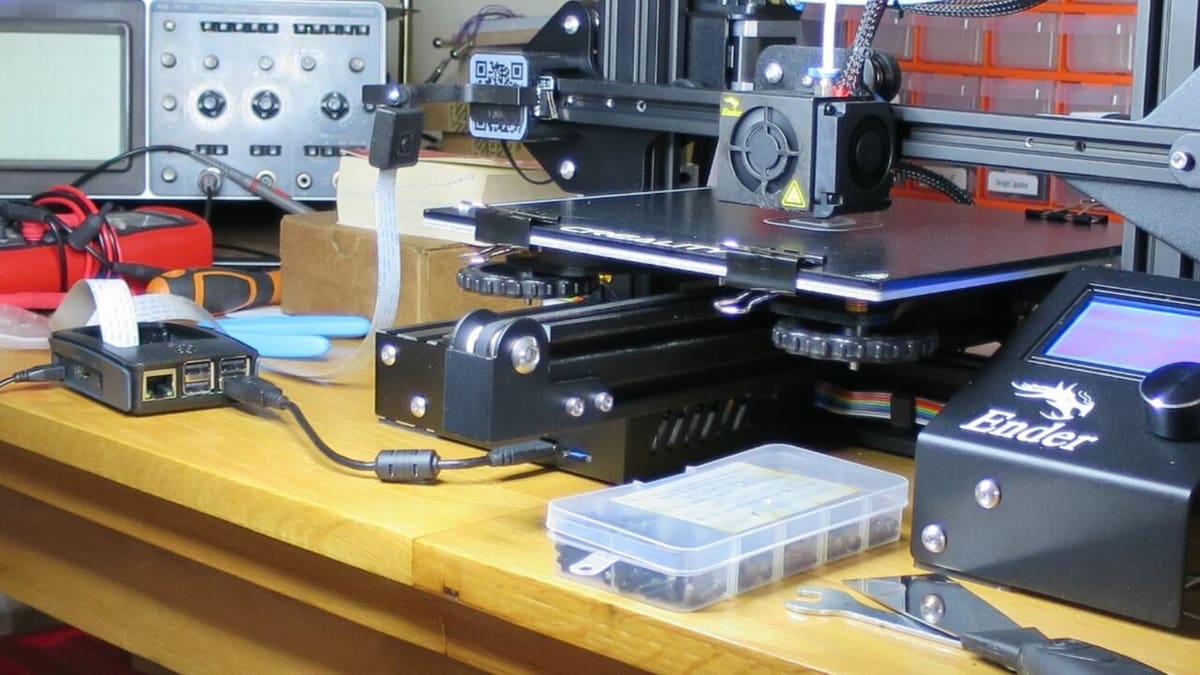
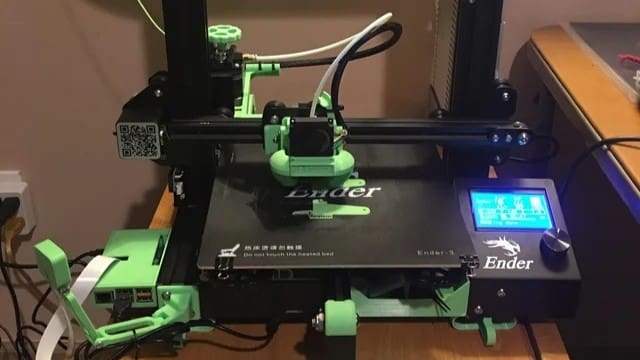
OctoPrint works on many different types and brands of 3D printers, including the famous Creality Ender 3, Ender 3 Pro, Ender 3 V2, and Ender 3 S1. The Ender 3 series of printers are super popular because of their price, quality, and upgradability. Equipping your Ender 3 with OctoPrint is a super helpful enhancement because it allows you to remotely control your machine as well as gain access to a host of additional OctoPrint features via plug-ins.
In this article, we’ll go over how to set up OctoPrint on all Ender 3s. But first, we’ll review what you need to complete this process. Enjoy!
What You'll Need
There isn’t too much to setting up OctoPrint on an Ender 3. Here’s a list of everything you should have before you start:
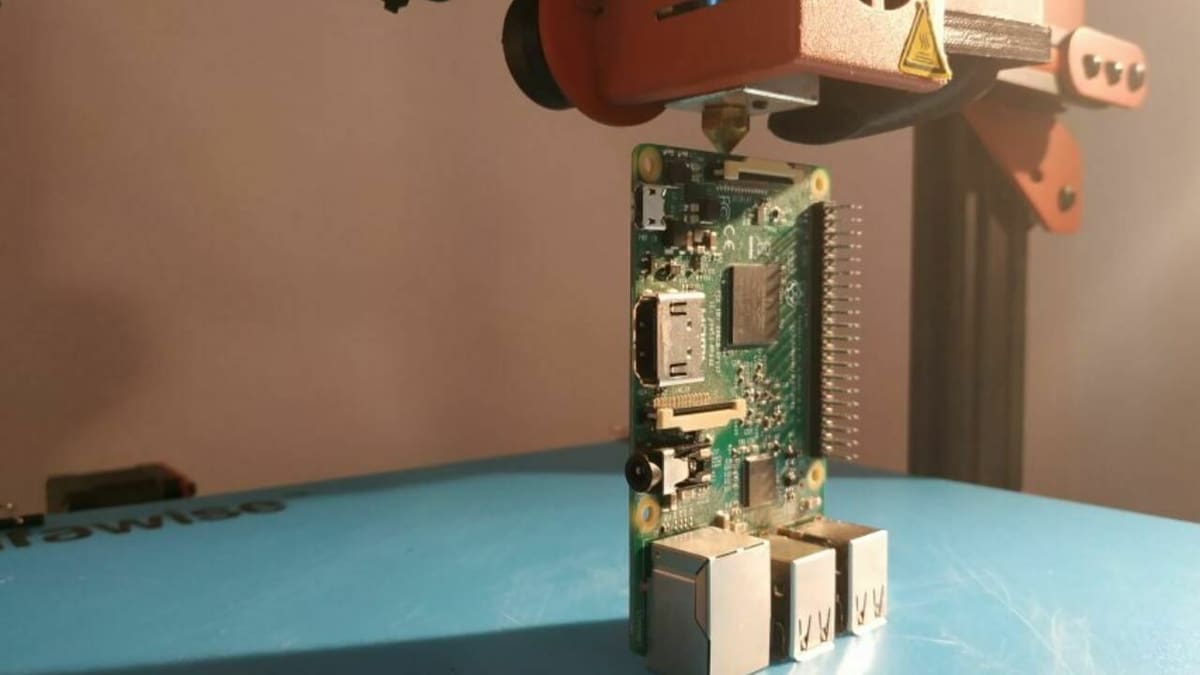
- Raspberry Pi board (e.g. Raspberry Pi 4)
- Raspberry Pi power supply (5 V, 1.2+ A) and Micro-USB cable
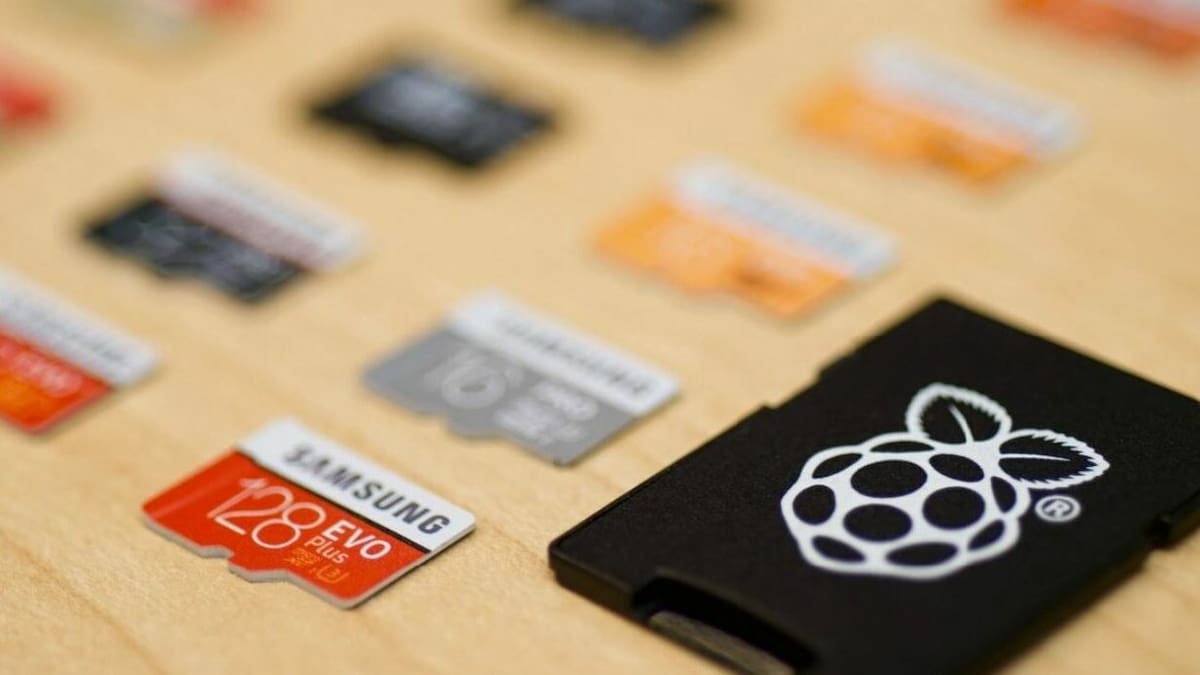
- MicroSD card (16+ GB of storage)
- Connection USB cable (Mini-USB for the original and Pro; Micro-USB for the V2)
- Internet-connected device (Linux, MacOS, and Windows are all supported)
- Raspberry Pi Imager software
Although you don’t need them, you may also want to have the following materials to enhance your OctoPrint setup and its capabilities:
- Compatible Pi camera (for monitoring your machine)
- Compatible Pi screen (for an attachable direct interface)
- 3D printed Pi case (to protect your board and make it look good!)
Step #1: Flash OctoPi
The first step is to flash the OctoPi software onto your MicroSD card. While this process can be summed up in one sentence, it’s a little more complicated than that.
You can follow the steps below or, for more board-specific instructions, you can check out our installation tutorials for some of the most popular boards, like the Raspberry Pi 4 or 3B+. The steps below are described for a computer running Windows, but the process is very similar for a Mac.
- Insert your 16+ GB MicroSD card into your internet-connected device with Raspberry Pi Imager installed.
- Download the latest stable version of OctoPi from OctoPrint’s website. It will download as a zip file, so you’ll need to extract the contents.
- Locate the extracted folder, open it, and right-click the disk image file. Select “Open with” and choose “Raspberry Pi Imager”.
- Once you do this, the Raspberry Pi Imager program may ask you if it’s permitted to make changes, and you should click “Yes”. The Raspberry Pi Imager application will open, and below the “Operating System” label should read the long name of the disk image file.
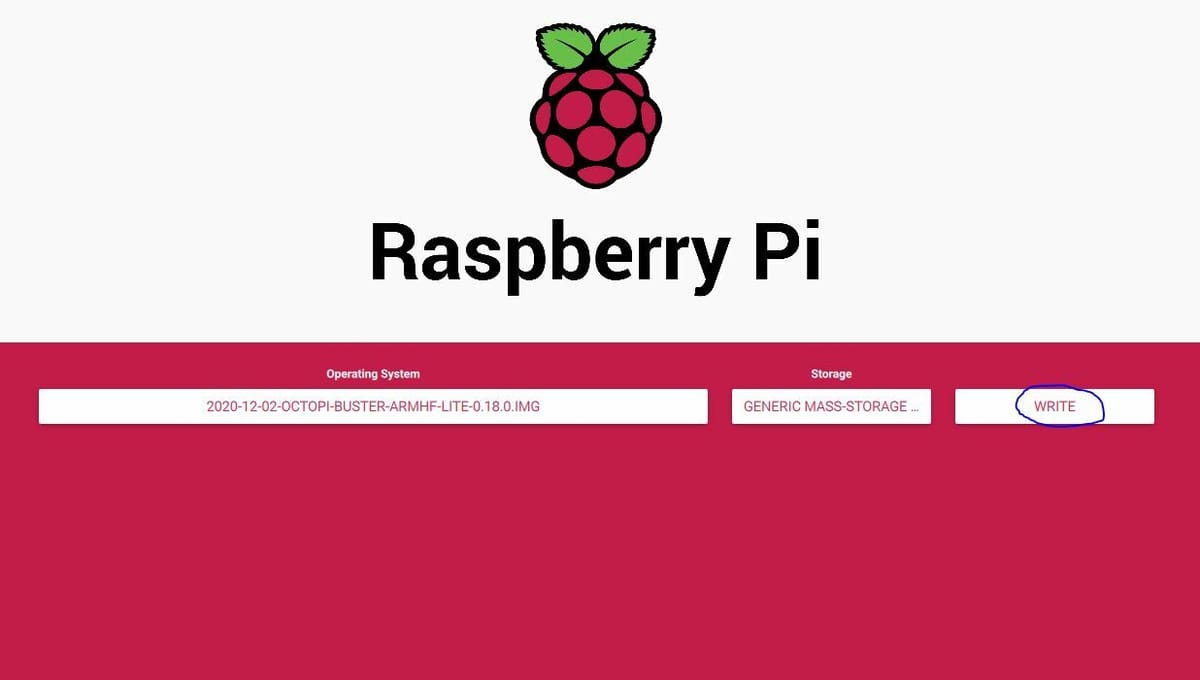
- Choose your inserted MicroSD card for the “Storage” tab and click “Write”. The flashing process will take a few minutes.
- Once complete, you’ll be prompted by your device to format the MicroSD card. Close this pop-up and don’t click “Yes”, as formatting the disk will erase everything on it.
- Open your device’s file explorer and verify that your inserted storage device has the OctoPi configuration files. If it doesn’t, try reflashing the OctoPi files onto the MicroSD card.
Although you have the OctoPi files on the storage device, don’t insert them into your Raspberry Pi board just yet. We still need to establish a network connection, which we’ll go over how to do in the next section.
Step #2: Set Up a Network Connection

Now that you’ve loaded your MicroSD card with the OctoPi files, it’s time to connect your Raspberry Pi to the internet. You can do this in two ways: over Ethernet or Wi-Fi.
The main difference is that, for Ethernet, you simply plug an Ethernet cable (connected to a Wi-Fi router) into your Raspberry Pi board. Ethernet will also most likely have a stronger, more reliable connection than a wireless connection. However, your Pi will need to stay within the cable’s length of your router. Wi-Fi works great too, and you shouldn’t notice a significant difference.
If you want to use a wireless Wi-Fi connection, you can follow the steps below for a Windows computer, and the process is very similar on a Mac.
- Insert your MicroSD card into your internet-connected device. Be sure to disregard and close the pop-ups asking you to format the MicroSD card.
- Open the file explorer on your device and locate the file labeled “octopi-wpa-supplicant” on the MicroSD card. Right-click this file, move your cursor over “Open with,” and select “Notepad” or another basic text editor.
- Check the type of encryption of the Wi-Fi network you want your Raspberry Pi to connect to. (For most private networks, this will be a WPA or WPA2 secured network.)
- Scroll down to where the text reads “WPA/WPA2 secured” or to the type of network you’ll be using (“Open/unsecured”, “WEP”) and uncomment (delete the initial ‘#’ from) the four lines that start with a single ‘#’.
- Locate the “Properties” of the Wi-Fi network you want to connect your Pi to. (To view the properties of a network, you have to be connected to it, so make sure your device is connected to the Wi-Fi network.)

- Copy the “SSID” from the network properties list and paste it into the Notepad file where the text reads “put SSID here”.
- Type the password to replace where the text reads “put password” here.
- Where the file includes a list of “country=” lines, uncomment the ‘#’ in front of your country name, and make sure there’s a ‘#’ in front of the other countries that you’re not in.
- Save the Notepad file, making sure it overwrites the file on the MicroSD card.
- Eject the MicroSD card from your device.
Now that you’ve added network credentials to your OctoPi configuration files, you can move on to the next step: booting up!
Step #3: Boot Up & Locate the IP Address
The next step in the installation process is to boot up your Raspberry Pi and find the IP address for your new server. The IP address will serve as the URL for accessing your OctoPrint interface, so it’s an important piece of information. Follow the steps below to finish the OctoPrint setup process on your Ender 3:
- Insert your MicroSD card with the OctoPi configuration files into your Raspberry Pi board. If you’re using an Ethernet connection, this is the time to plug the Ethernet cable into your Raspberry Pi board.
- Plug the Raspberry Pi power supply into a wall outlet and use your Micro-USB cable to power your Raspberry Pi.
- Turn your Ender 3 on.
- Connect your Raspberry Pi board to the mainboard on the printer with your USB cable (Mini-USB for the original and Pro; Micro-USB for the V2).
Finding the IP Address
Now that your Raspberry Pi is hosting your OctoPrint server, it’s time to find the IP address of the server to access the OctoPrint online interface. There are a few ways to do this, but we’ll only be going over two: using a web-based IP finder and using a monitor connected to your Raspberry Pi.
Method #1
On your internet-connected device, go to octopi.local. For some devices, this will locate and take you to the IP address of your OctoPrint server if it’s connected to the same network. Bookmark this page, which is the IP address of your server; this address stays the same every time you restart your computer, as long as you stay on the same network.
Method #2
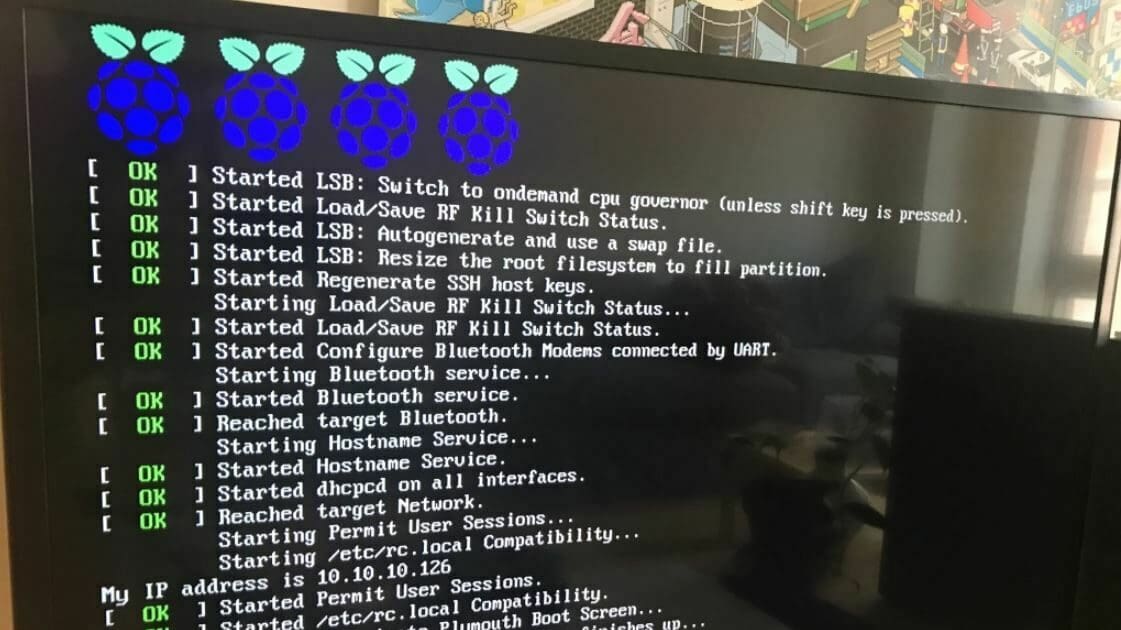
If the web-based method doesn’t work, you can use an HDMI cable to connect your Raspberry Pi board to a screen. From there, you can type in the displayed IP address into a web browser on your internet-connected device.
If you don’t see the IP address, try restarting your Pi and wait a few minutes so that the server can initialize. If prompted on the screen, type in the username and password for your OctoPrint server, which is by default “pi” and “raspberry”, respectively. This username and password may also be required to log into your OctoPrint online interface. Once logged in, you can change them in the settings.
Step #4: Install Plug-Ins
The final step for installing OctoPrint for your Ender 3 is to install some plug-ins to get everything working as it should. Not all Creality Ender 3s are shipped with the same default firmware, and some come with firmware not suitable for OctoPrint.
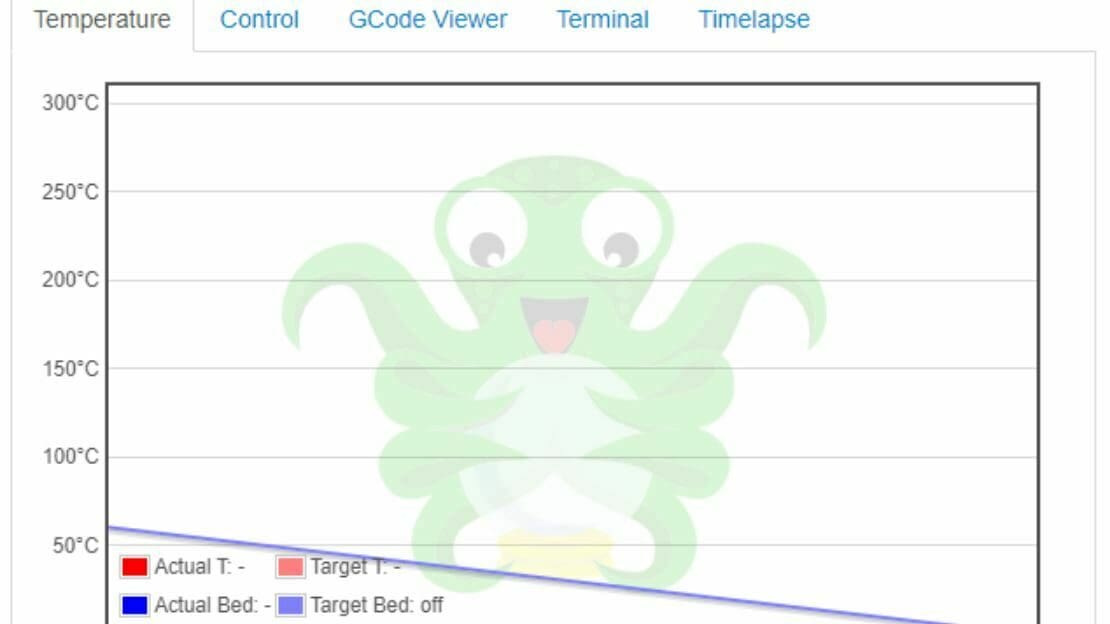
Printers with this faulty firmware run into problems with OctoPrint’s temperature reading because the printers report the temperature twice. As it’s the wrong format for OctoPrint, this causes the “Temperature” section in OctoPrint’s interface to be completely wrong or even unavailable. If the temperature reads 0° or no temperature at all, then you’ll want to install a couple of plug-ins created by some OctoPrint enthusiasts.
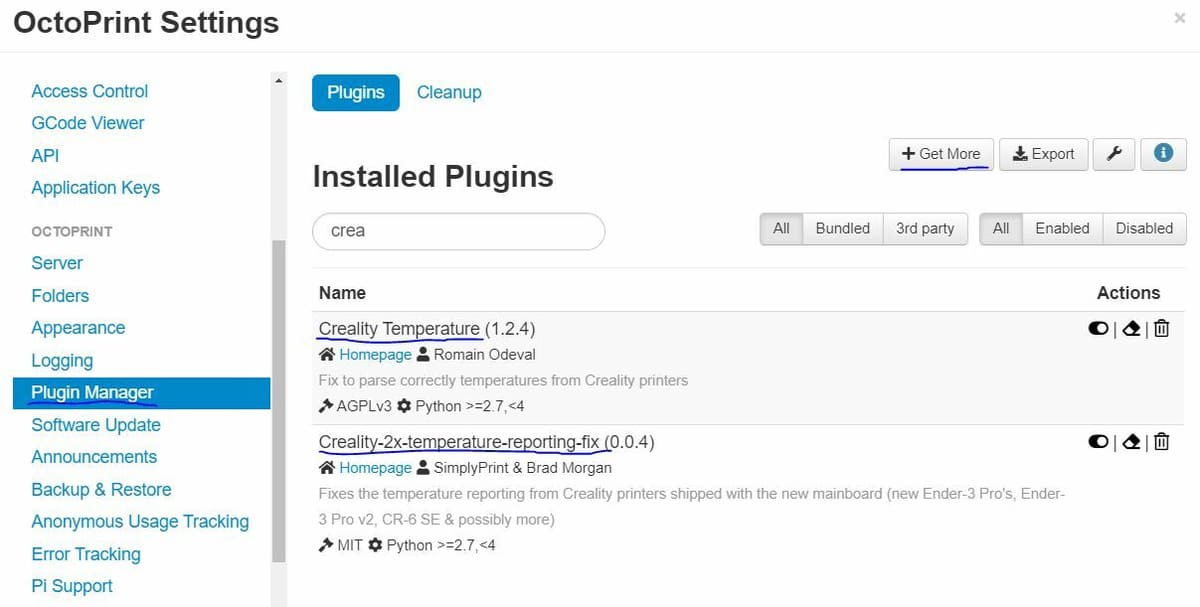
Two plug-ins to resolve this issue are the “Creality Temperature Fix” and the “Creality 2x temperature reporting fix“. You can follow the instructions below to properly install the plug-ins on your OctoPrint server:
- Open your OctoPrint online interface.
- Click the wrench icon, located in the top right corner of the interface.
- Scroll down to “Plugin Manager” and click “+ Get More”.
- Search for “Creality” and click download on the “Creality Temperature” plug-in first.
- Once the pop-up dialogue box reads “Done!”, restart your OctoPrint server.
- Repeat steps 1-3, search for “Creality”, and download the “Creality-2x-temperature-reporting-fix” plug-in.
- Restart your OctoPrint server and check your OctoPrint interface’s “Temperature” section to ensure that the displayed temperatures are correct now.
And that’s it! You’ve successfully set up OctoPrint on your Ender 3!
An alternative way to fix any temperature reading failures is to upload new firmware directly from the Marlin firmware homepage. That’s because the problem only exists with Creality’s custom firmware (which is based on Marlin). Using an unaltered version of Marlin firmware that’s compatible with your Ender 3 won’t contain the temperature issue.
License: The text of "How to Set Up OctoPrint for Your Ender 3 (V2/Pro/S1)" by All3DP is licensed under a Creative Commons Attribution 4.0 International License.