Ender 3 (V2/Pro/S1) Wi-Fi Support: How to Upgrade

The Ender 3 relies on a MicroSD card to print parts, but Wi-Fi can change that. Learn how to make the Ender 3, V2, Pro, and S1 wireless!
The Ender 3 is a very successful budget 3D printer made by Creality. Since its release, Creality has continued making newer versions of the printer, including the Ender 3 Pro, the Ender 3 S1, and the Ender 3 V2. On top of making 3D printers, Creality also offers upgrades for their printers, many of which are compatible with the entire Ender 3 series.
In the Ender 3’s stock setup, the main way to load and print objects is through the MicroSD card slot. Adding Wi-Fi support can allow you to print remotely, typically through an online interface. In other words, you can open a browser and control your printer from there.
The Creality Ender 3, Pro, S1, and V2 can all support a Wi-Fi connection, though there are a few different options, which we’ll look at in the following sections. Let’s get started!
Option #1: Creality Wi-Fi Cloud Box
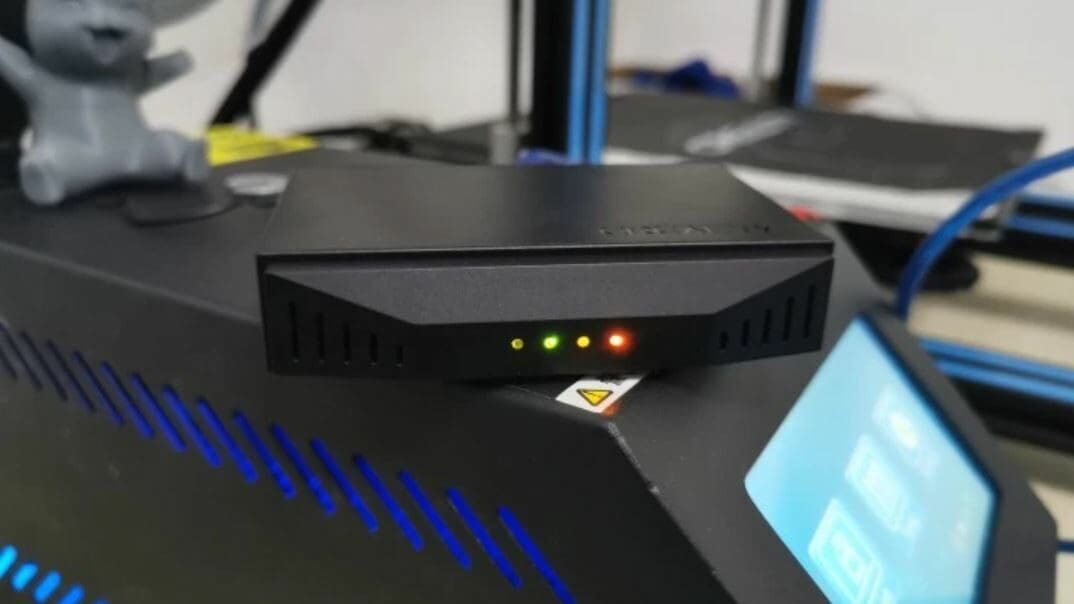
Our first method is to use Creality’s Wi-Fi Cloud Box, which establishes a Wi-Fi connection to most Creality 3D printers. The device connects to your printer’s mainboard with a USB cable, and you can access the interface by using the Creality Cloud app. The box contains an SD card, which the device uses as temporary storage to print models from the cloud.
Setup is easy. To gain access and find your printer, simply scan the QR code on the box. Through the app, you can download and slice models right on your phone and then send them to the Creality Cloud. You can even control temperatures and access a connected webcam. Once the model is sent, the Wi-Fi box will download it onto its SD card and print the model.
As elaborated on in TeachingTech’s review video, there seem to be problems with the compatibility of the Creality Wi-Fi box on printers with different mainboards. Additionally, other users have mentioned that there’s no support for Windows, and you can’t send G-code to the printer, only models that then have to be sliced in the app.
- Cost: ~$20
- Pros: Real remote printing, remote (temperature) control, Creality Cloud app with an integrated slicer, webcam access
- Cons: Compatibility issues, no Windows support
- Setup difficulty: Easy
Option #2: OctoPrint

OctoPrint is perhaps the most popular option, probably because it’s free and works via a single-board computer (SBC). Most people use a Raspberry Pi (though you can use other SBCs, too) with the OctoPi operating system to set up OctoPrint.
OctoPrint connects to your printer and other interfaces, like a camera, with the SBC’s ports. Using a Wi-Fi connection, it broadcasts any recorded data to your own OctoPrint interface.
Setup isn’t too tricky, but you’ll need to follow the instructions carefully. Check out our guide to setting up OctoPrint for your Ender 3.
Besides starting and pausing prints, controlling temperatures, and moving the different axes on your printer, you can also access an attached webcam, set up time-lapses, and more. OctoPrint gives you a web interface and an API key that you can use in other interfaces (Obico, 3D Geeks, etc.) to control all possible aspects of your printer.
Another benefit of the OctoPrint interface is the G-code terminal, where you can send G-code commands to complete other actions, such as a bed leveling sequence. OctoPrint is also open-source, and there’s a library full of amazing plug-ins that allow you to further expand its capabilities.
- Cost: ~$40 (for a Raspberry Pi)
- Pros: Full access to your printer, time-lapses, G-code terminal, webcam access, plug-ins
- Cons: Tricky setup, limited access to connected network (without any plug-ins)
- Setup difficulty: Medium-hard
Option #3: AstroPrint
AstroPrint is an OctoPrint alternative with a more user-friendly interface and slightly simpler installation. Similar to OctoPrint, AstroPrint connects to compatible printers with an SBC. It provides you with a Wi-Fi-integrated interface to control, monitor, and manage all your printers and even find and download models to the cloud.
You can build your Wi-Fi AstroPrint gateway (AstroBox) using a Raspberry Pi board. Setting up the gateway is fairly easy and AstroPrint offers a detailed installation and setup guide. There’s also an upgrade to include a touch display, the AstroBox Touch.
Inside AstroPrint’s interface, you can wirelessly set temperatures, move your printer’s axes, download models from their cloud-based library, slice them online, and send them to your Ender 3. There’s also an app that allows you to remotely watch your printers via a connected webcam. And for even more mobility and remote access, you can sync files between all of your devices.
Lastly, AstroPrint can be very useful for controlling and monitoring more than one printer, provided you upgrade your software plan. This feature can be even more useful when paired with the ability to collect analytics from all of the machines.
- Cost: ~$40 (for a Raspberry Pi)
- Pros: Full access to your printer, mobile app, analytics collection, multiple printer management
- Cons: Limited SBC compatibility
- Setup difficulty: Easy-medium
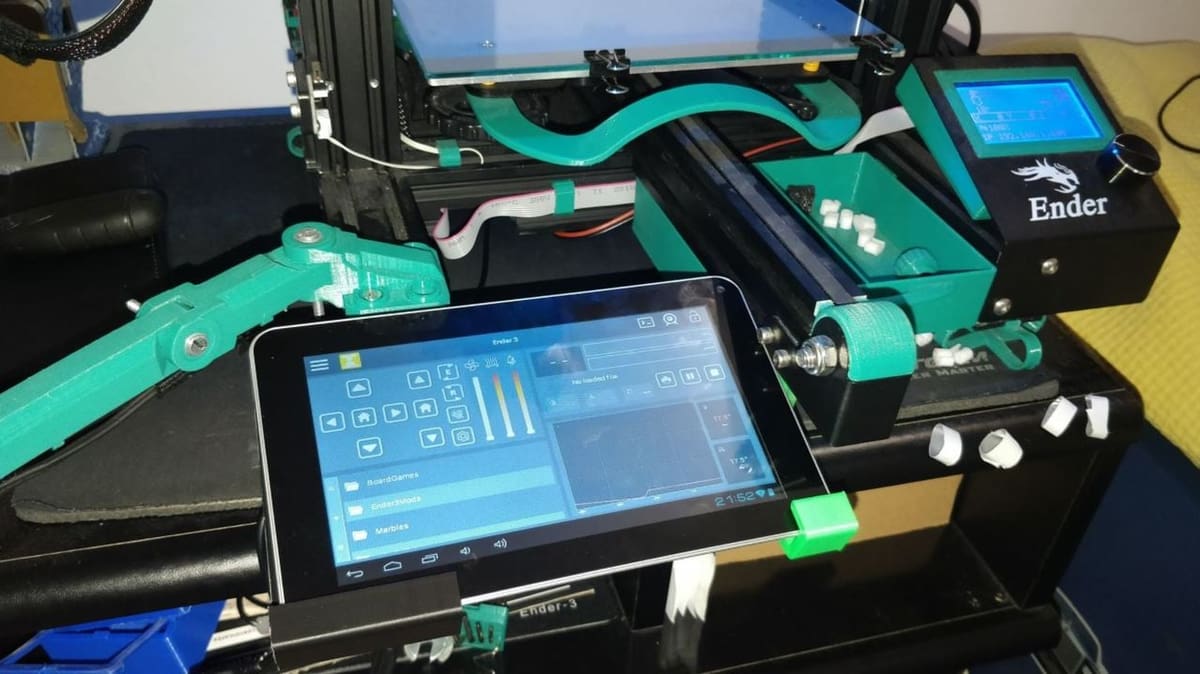
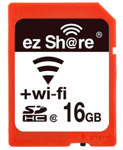
Option #4: Wi-Fi SD Card
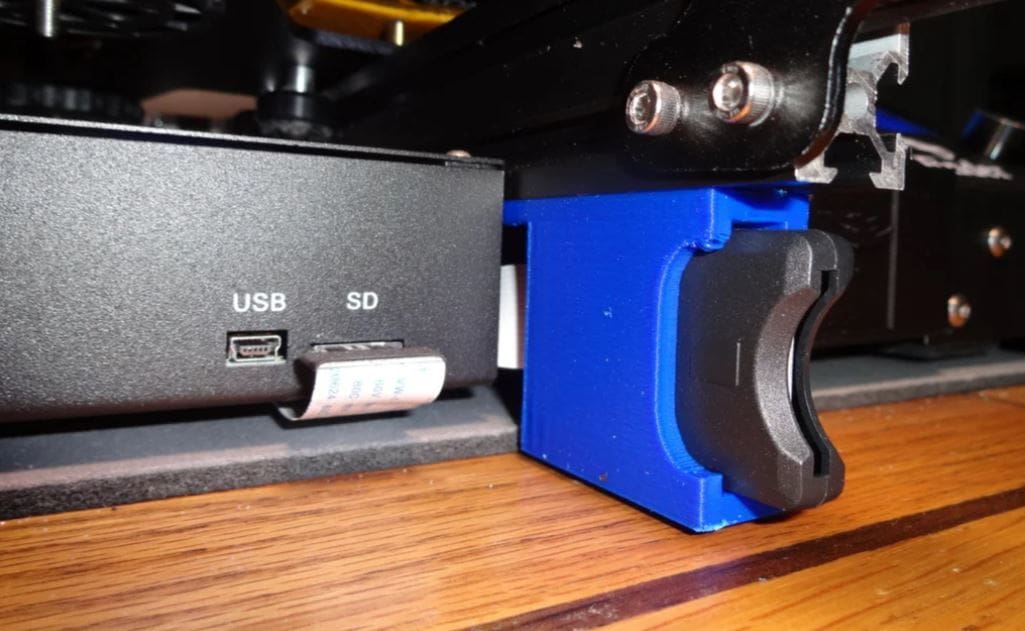
The Ender 3, Pro, and V2 all have a MicroSD card in their stock mainboards, and the Ender S1 has a full-sized SD card, which can be used to establish a limited-access Wi-Fi connection. All you need is a Wi-Fi SD card. And while you can’t get one in the MicroSD card size, you can get an SD-to-MicroSD card adapter. Then, once you plug the SD card into your printer, you can access its storage on the Wi-Fi network.
Setup is speedy and easy, but you’re limited in functionality: You can only transfer files over Wi-Fi and can’t control anything else. The inserted Wi-Fi card also can’t start prints on its own, so you’ll have to go to your printer and hit print manually. The range of remote access depends on the brand and style of the card, but you most likely won’t be able to access it from any further than 100 feet.
- Cost: ~$25
- Pros: Simple and easy operation, remote print loading
- Cons: No remote control, limited range
- Setup difficulty: Very easy
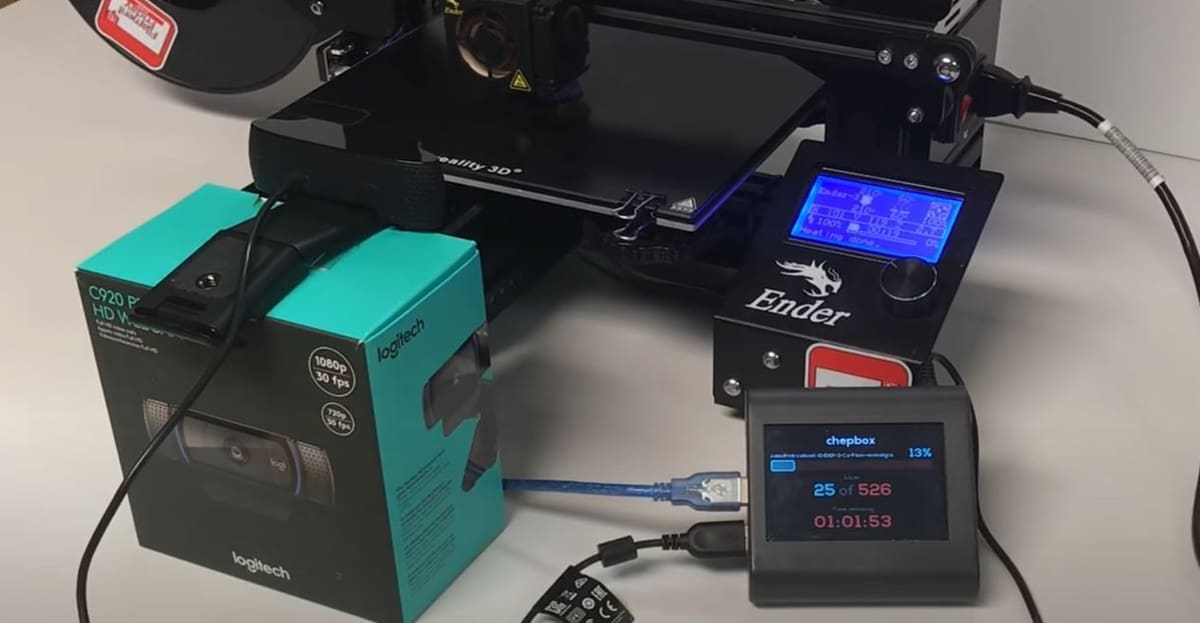
Option #5: Creality Sonic Pad
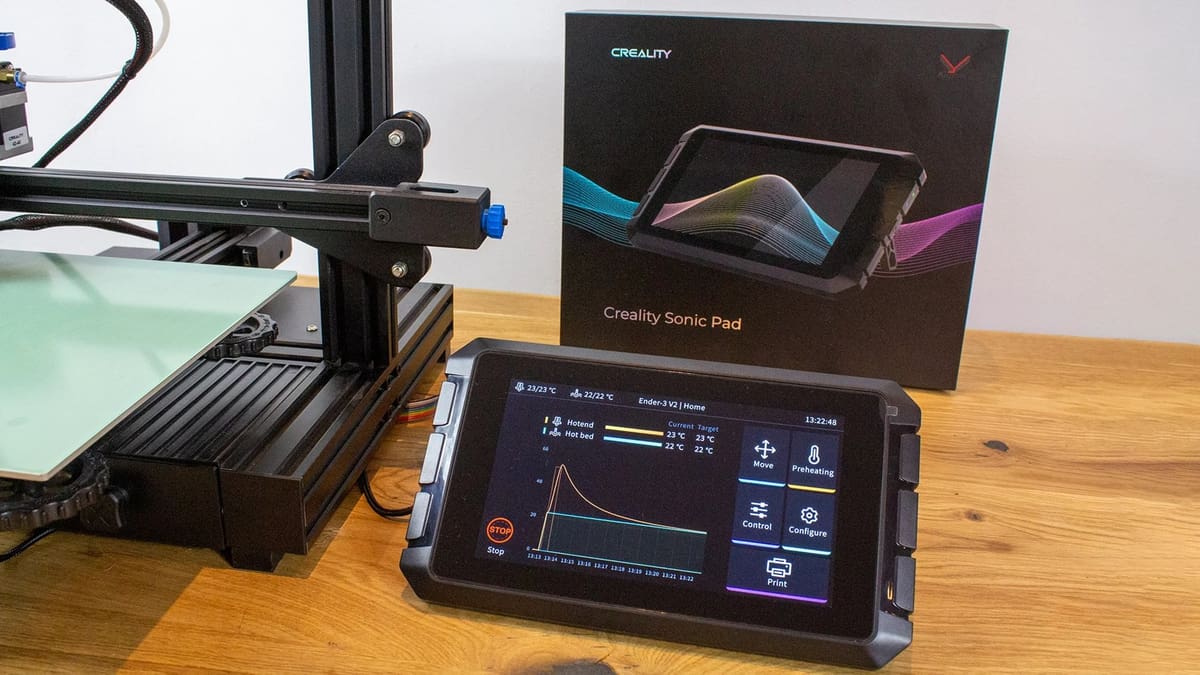
If you’re looking for a solution that will bring you more than just Wi-Fi connectivity, then the Creality Sonic Pad may be worth consideration. This system on a module (SoM) with a 7-inch touchscreen is made to get users up and running with Klipper without the intimidating firmware tinkering typically required. In fact, this pad is about as plug-and-play for the Creality Ender 3 series as it gets.
Connecting the Creality Sonic Pad to Wi-Fi and your printer is super simple using the walk-through instructions on the touchscreen interface. Select your printer from the list of preconfigured profiles, and the Sonic Pad will flash an SD card with the appropriate firmware. Plug the chip into your printer to finalize everything with configuration and calibration steps.
Going forward, you’ll control your 3D printer using the Creality Sonic Pad connected to your printer via USB. For remote control from your desktop, all you have to do is enter the IP address of the Sonic Pad in a web browser (on the same Wi-Fi network that your pad is connected to).
Within the web interface, you’ll be able to go beyond the basic control options like starting and stopping prints, setting temperature, sending macros, and viewing the webcam feed. A few other handy features are the ability to preview the uploaded G-code and view print history complete with stats like the amount of filament used and average print time.
- Cost: ~$160
- Pros: Full remote control, print job management, connection to multiple printers, webcam access
- Cons: Expensive
- Setup difficulty: Easy-medium
Option #6: Internet-Connected Mainboard
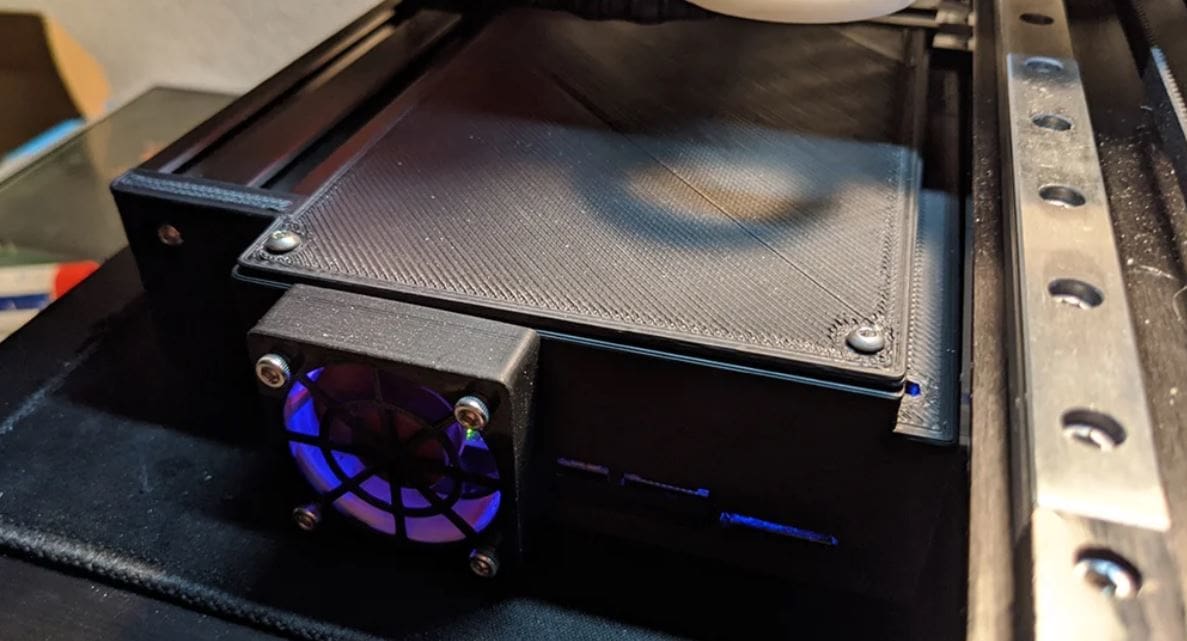
If you don’t want to use any of the other methods, you can also swap the mainboard on your Ender 3 (Pro and V2) with one that has a Wi-Fi module or an Ethernet port. With a Wi-Fi-supporting mainboard, you should be able to have some form of access to your printer remotely, depending on the interface and features offered by the board’s manufacturer. While no board is exactly the same, the Duet 2 WiFi, for example, gives you access to your printer’s movement, temperatures, and managing prints.
However, Wi-Fi isn’t always the most reliable or stable connection, and an interrupted connection could cause a print to stop unexpectedly. A more reliable way to connect your 3D printer to the internet through its mainboard is using an Ethernet connection. This wired connection typically offers super high download and upload speeds without the risks of disconnection. For this, all you need to do is install a mainboard with an Ethernet port on your Ender 3 and plug an Ethernet cable into the board and your router.
Unfortunately, internet-connected mainboards can cost a hefty amount, some upwards of $150. Furthermore, some may not fit in the stock mainboard covering, so you may need to 3D print your own casing. Setup might then be challenging because you’ll have to find firmware compatible with a Wi-Fi module or Ethernet port that can give you access to the printer remotely.
Some Wi-Fi-enabled boards compatible with the Ender 3 are the Duet 2 WiFi and the SKR Pro V1.2. There’s also a Duet 2 Ethernet variant, among many others.
- Cost: $50-$200
- Pros: Remote control, print job management, memory device uploading, integrated platform (can’t be unplugged)
- Cons: Expensive, many proprietary platforms
- Setup difficulty: Hard
License: The text of "Ender 3 (V2/Pro/S1) Wi-Fi Support: How to Upgrade" by All3DP is licensed under a Creative Commons Attribution 4.0 International License.
CERTAIN CONTENT THAT APPEARS ON THIS SITE COMES FROM AMAZON. THIS CONTENT IS PROVIDED ‘AS IS’ AND IS SUBJECT TO CHANGE OR REMOVAL AT ANY TIME.