The Creality Ender 3 V2 is one of the most popular printers on the market today, offering excellent print quality right out of the box. One of the best qualities of this second iteration of the original Ender 3 is its upgradability. For example, you can easily add automatic bed leveling or install a filament runout sensor, among countless other ways to improve the performance and usability of your Ender 3 V2.
A camera is a great upgrade to any printer, given that there’s always a risk of print failures if the machine isn’t properly calibrated. When adding a camera to your Ender 3 V2, you’ll need to mount it, position it to face your printer’s build space, and connect it to a computer that can process the feed and send it to a remotely-accessible site.
But how do you mount the camera on your Ender 3 V2? In this article, we’ll go over how you can use a camera on your 3D printer, as well as the specific methods for mounting it.
Ready to keep an eye on your prints?
Choosing a Camera
As we discussed, adding a camera is a popular upgrade for 3D printers, and it’s a pretty useful one, too. Cameras allow you to monitor your 3D printer’s progress while not actually being there, so you can check that your ongoing prints are running smoothly.
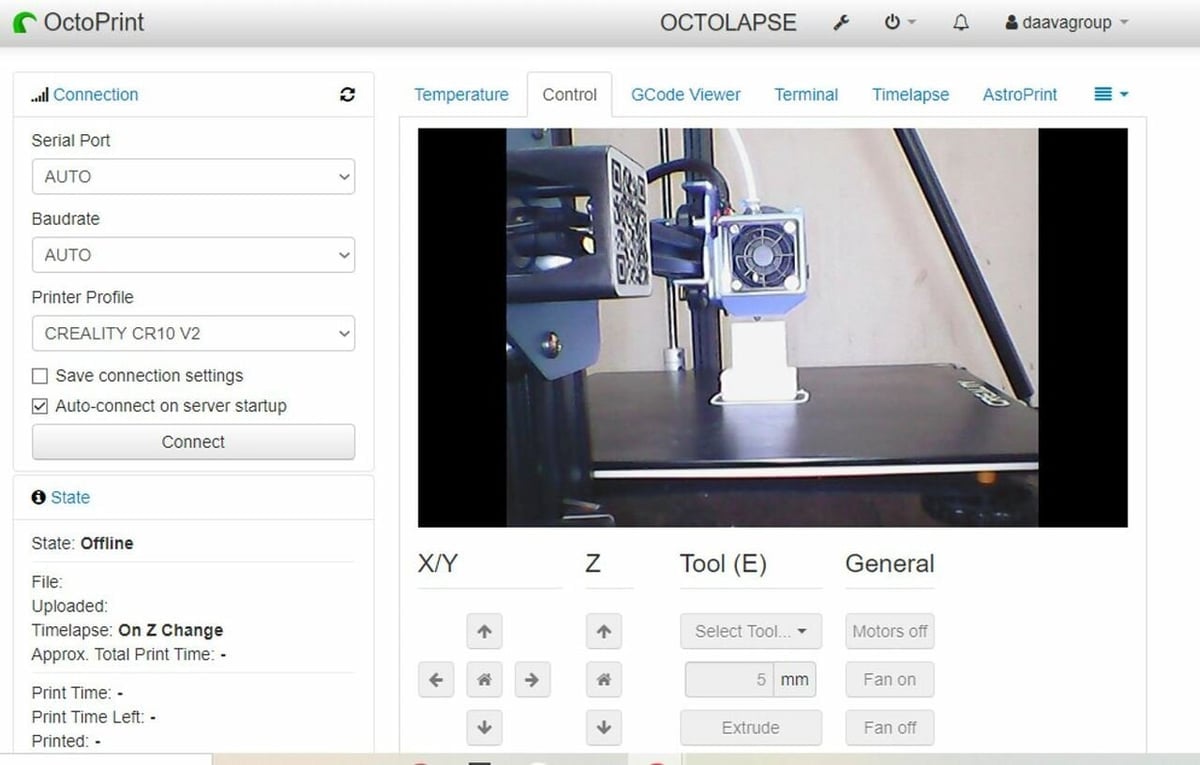
Perhaps the number one way people set up a camera for their 3D printer is through a remote printer control program, such as OctoPrint. OctoPrint runs off of a host computer, usually a Raspberry Pi board, and offers an online interface where you can control different aspects of your connected printer, like the temperatures and G-code. OctoPrint also supports cameras, and a live video stream can be shown on the online interface. To learn how to set up a camera on OctoPrint, you can read our guide.
Although OctoPrint may be the most popular method of setting up a camera, it’s certainly not the only one, with other options including AstroPrint and Repetier Server. Once you choose what method you’ll use to set up a camera for your Ender 3 V2, it’s time to choose the camera. There are many web camera options that can stream decent-quality video, but one of the more popular choices is a Raspberry Pi Camera Module 2 (the latest version).
The Raspberry Pi Camera Module 2
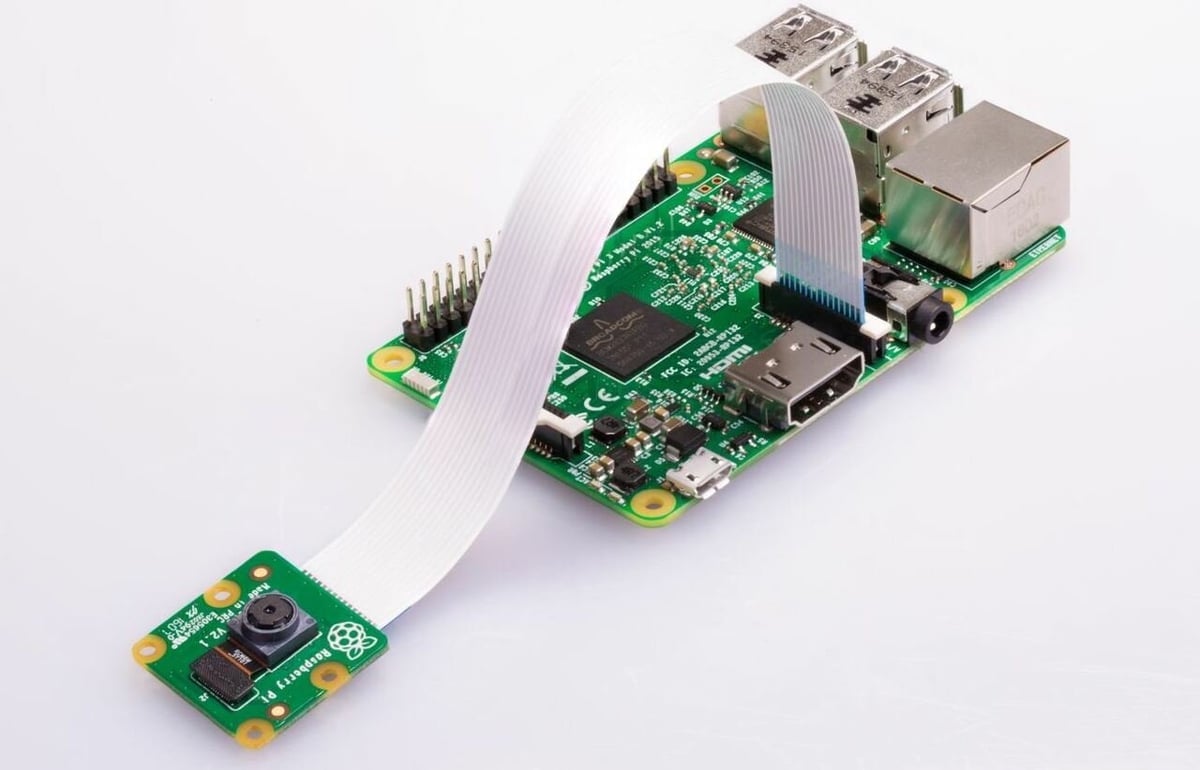
The Raspberry Pi Camera Module 2 is a camera designed to work on a Raspberry Pi single-board computer, like a Raspberry Pi 3B+ or 4. This automatically makes the Pi Camera a great choice for those running OctoPrint (or OctoPrint alternative) on a Pi board. That’s because compatibility between the camera and board is guaranteed for most Pi boards, as long as they have a CSI ribbon cable slot.
The Pi Camera also offers some decent video streaming features with its Sony IMX219 8-megapixel sensor. Moreover, according to Raspberry Pi, the Module 2 can stream 1080p quality at 30 fps as well as 720p at 60 fps; on top of this, the focus of the sensor is adjustable through the camera’s circular lense.
Overall, the Raspberry Pi Camera Module 2 is a great choice for an Ender 3 V2 camera upgrade, no matter what program you use to stream the video feed.
Next, find out how can you mount the Pi camera to your Ender 3 V2!
Mounting the Camera
Now that you know a little about how using a camera with the Ender 3 V2 works and some specs about the Raspberry Pi Camera Module 2, it’s time to cover how you can mount the device to your printer. Mounting a Pi Camera to the Ender 3 V2 isn’t too hard because the printer’s frame is comprised of V-slot aluminum extrusions, which are convenient for mounting attachments. Additionally, because the original Ender 3 is open-source and the Ender 3 V2 is very similar to it, the exact dimensions of every component are freely available.
All of this has allowed the large community behind the Ender 3 V2 to create many custom camera mounts, including many for the Raspberry Pi Camera. The best part about it is that most of the mounts can be 3D printed and the only other parts you may need are a few screws.
In the sections below, we’ve gone over a few of the best 3D printable Raspberry Pi camera mounts for the Ender 3 V2. Each mount differs in how it positions the camera on the Ender 3 V2, which gives you some options for choosing what perspective you want to watch from. For each camera mount, we’ll go over where the camera is placed, what other parts are needed, printing tips, and more.
Before we get into the options, though, it’s worth mentioning that not all of the camera mounts are specifically meant for the Ender 3 V2. Moreover, a few of the mounts are meant for Creality’s original Ender 3. However, we’ve made sure to check the community Makes on each model to make sure that users have been able to successfully use the mount on the Ender 3 V2.
Ultimate Sturdy Arm
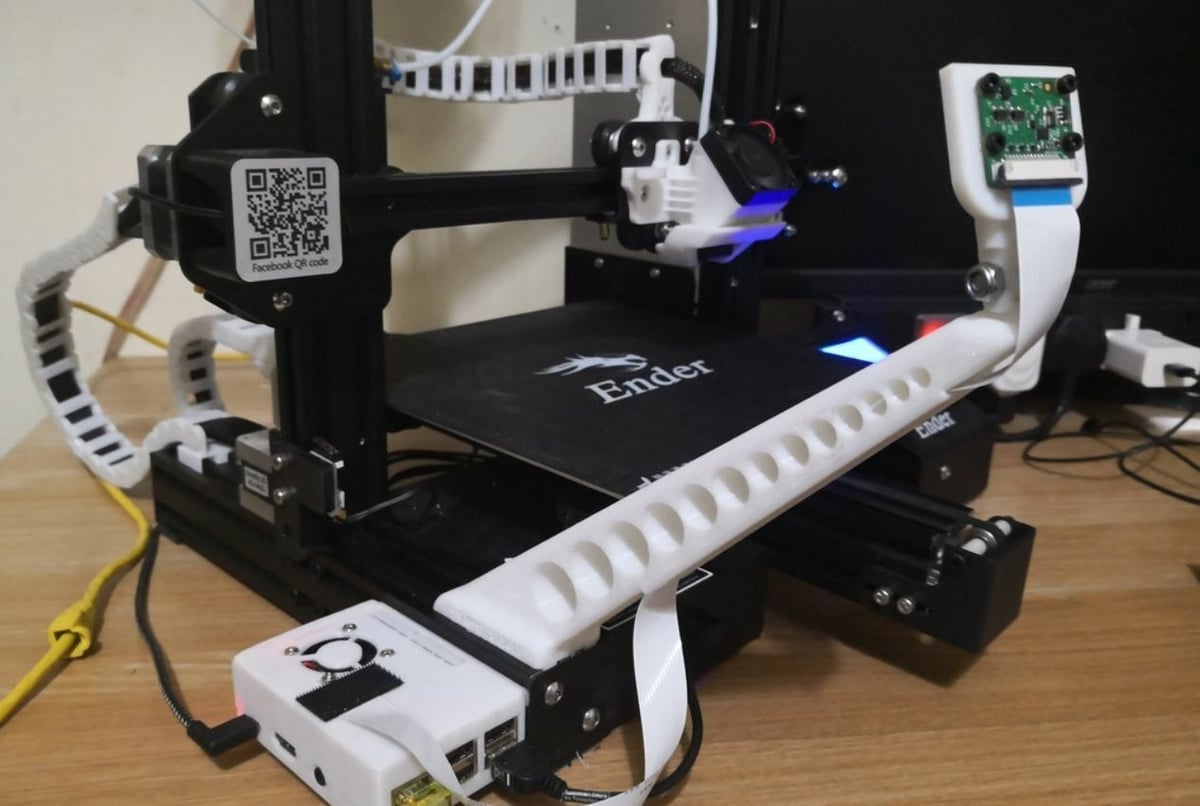
Our first mounting option is known as the Ultimate Sturdy mount, and while it’s meant for the original Ender 3, recorded Makes on Thingiverse confirm that it works on the Ender 3 V2 as well. The mount is a two-part arm with a beam-like structure and a single hinge near where the camera is mounted at the end of the beam with four screws. This hinge mechanism allows you to slightly adjust the camera’s viewing angle, but note that the camera’s base position is stationary.
For this mounting solution, you’ll need five screws in total and two 3D printed parts. You may also want a few zip-ties to secure the camera’s ribbon cable through the beam’s circular holes. As for printing, the designer listed that they used a 10% infill density and activated supports but didn’t use a raft.
- Camera position: Front left corner of the printer, high above the bed
- Adjustable? Yes, 1-axis
- Who designed it? Stewpercharged
- Where to get it? Thingiverse
Bed Mounted
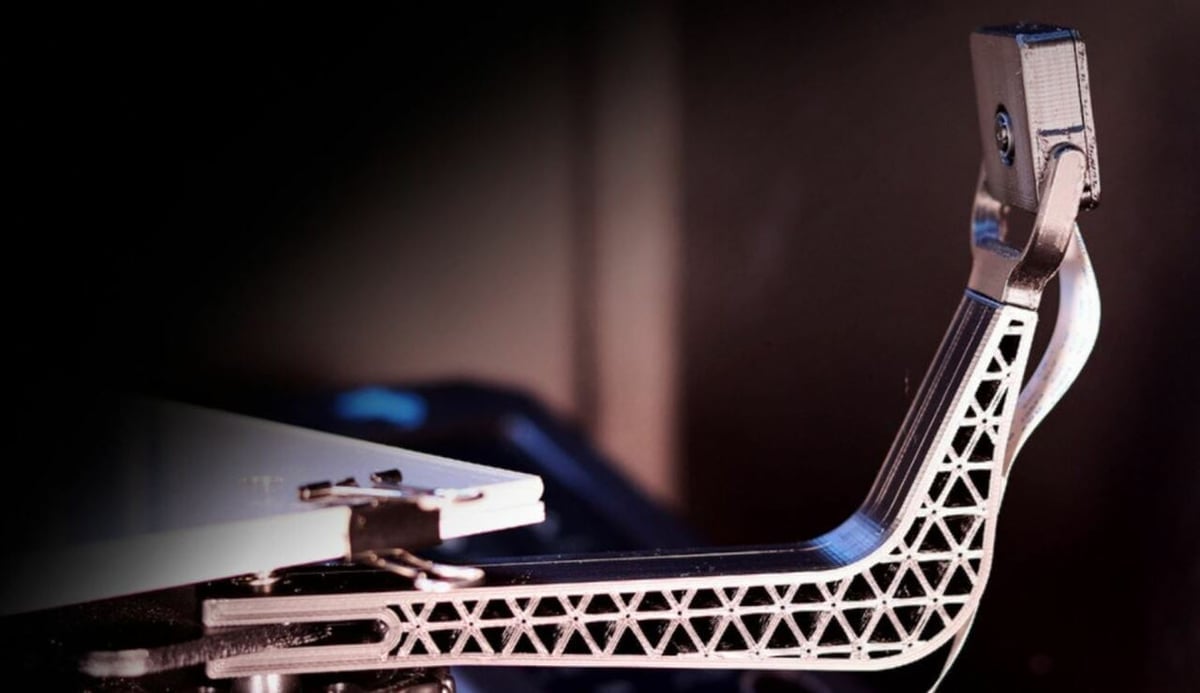
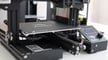
Second, this bed-mounted camera mount attaches to a corner of your Ender 3 V2’s moving bed underframe and gives you the viewing perspective as if you were looking right above the build plate. As pointed out by the designer, the benefit of this mount is that the camera stays the same distance from the printed part at all times. The mount is made up of three parts and the largest component, which we’ll call the main beam, has a truss-like structure throughout to give the mount some strength.
You can attach the main beam to one of the bed leveling screws using the circular hole at one end of the mount. The camera attaches to the main beam with two parts which create a pivot mechanism that allows you to adjust the viewing angle of the Pi Camera Module.
The designer listed a few of the settings used to successfully print the pieces for the mount: They opted for a 25% infill density, a 0.15-mm layer height, no raft, and supports activated.
- Camera position: In front of the bed, just a little bit above it
- Adjustable? Yes, 1-axis
- Who designed it? Needitmakeit
- Where to get it? Thingiverse
Articulated Z-Axis Arm
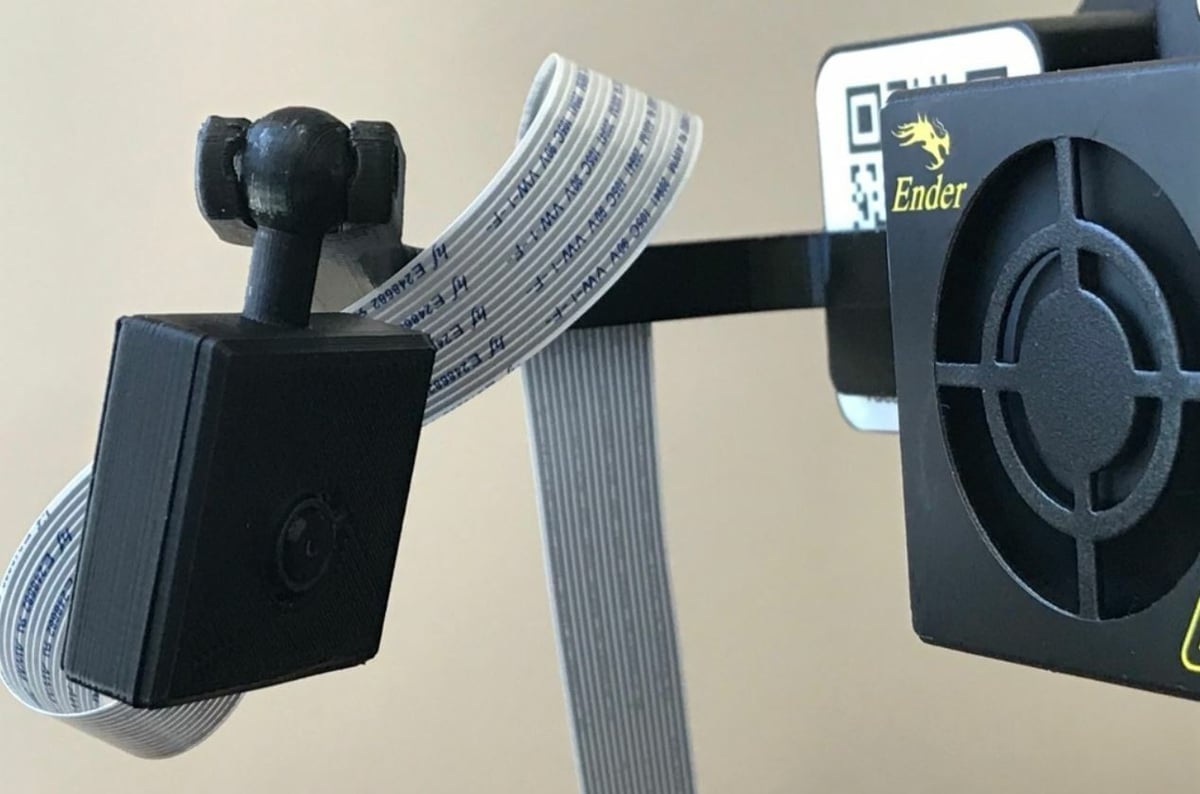
Next, this articulated Z-axis arm connects to the X-axis stepper motor housing that moves up and down along the Z-axis, hence the mount’s name. As it’s connected to a part that moves along the Z-axis, the viewing perspective will follow the printhead as it moves up, layer-by-layer. Like the first model, this mount was meant for the original Ender 3, but recorded Makes prove that it can also work on the Ender 3 V2.
The entire mount assembly is made up of four 3D printable components, including the arm, the back casing, and the cover. The first arm component clips onto the X-axis stepper motor housing, and the back casing connects to this piece through a ball joint. This ball joint allows you to move the camera’s viewing angle across multiple planes for the most adjustability.
The creator of this camera mount provided a few of the settings they used to print the pieces for this mount which you can look at to get a sense of how you can also properly make this mount. These settings include a 0.1-mm layer height, a 20% infill density, and no supports nor a raft. They also mentioned that they printed the pieces in PLA.
- Camera position: In front of the X-axis motor housing
- Adjustable? Yes, ball-joint
- Who designed it? ras434
- Where to get it? Thingiverse
Articulated Arm
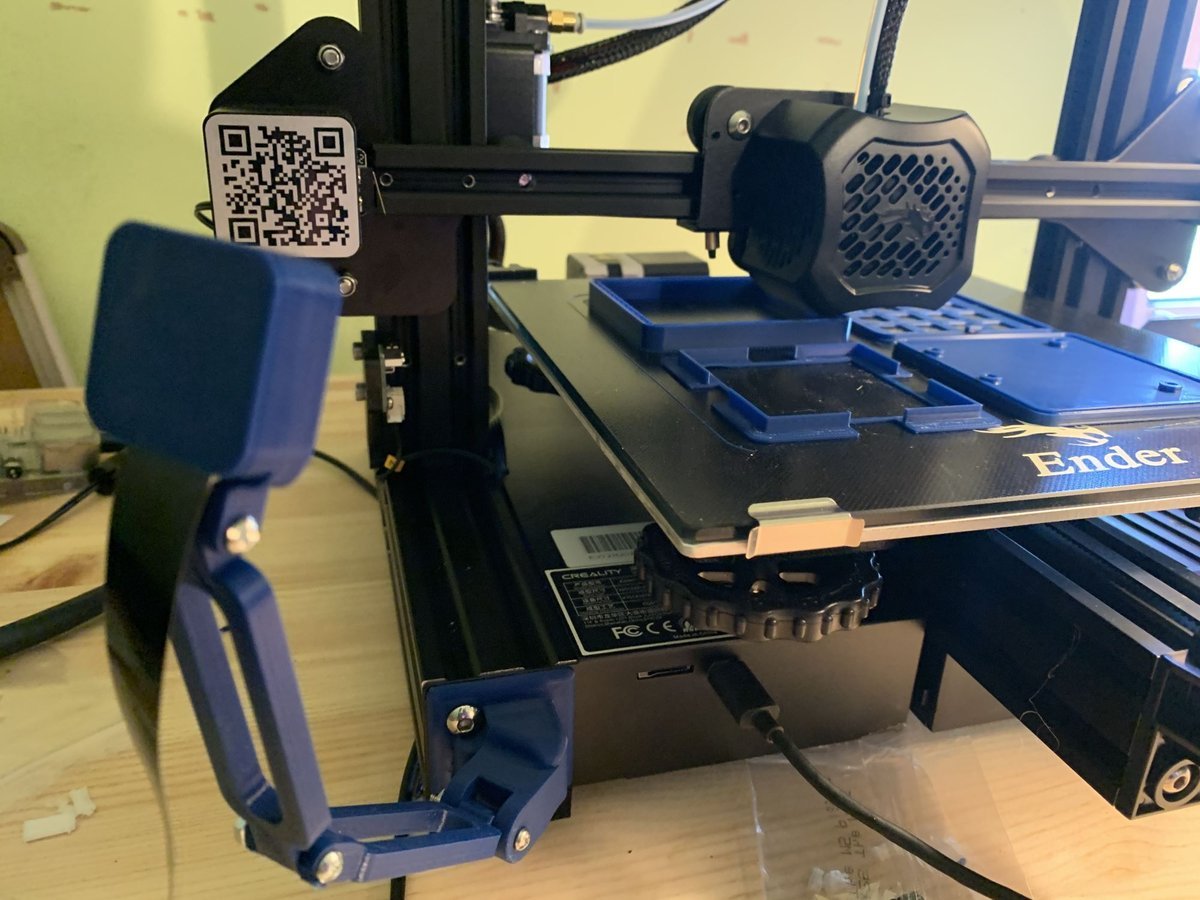
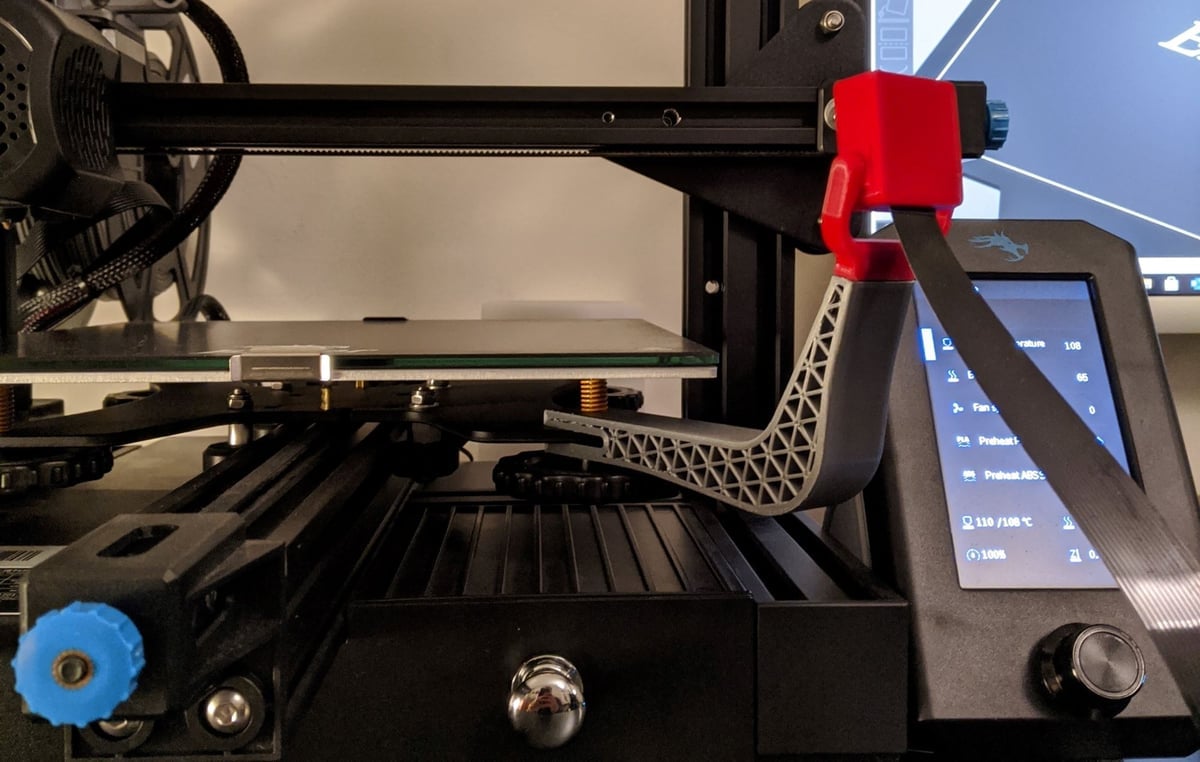
Our last mounting option is this articulate arm that connects to the bottom left-side frame of the Ender 3 V2. Like some of the other options we’ve mentioned, this mount is technically designed for the original Ender 3 but has been proven to work on the Ender 3 V2 as well.
The best part about this camera arm mount is that it’s articulated, meaning it contains a few joints that connect the different sections of the arm. This allows you to adjust the camera’s position and viewing angle in many ways because you can use many different combinations of hinge angles for the joints. In total, the mount uses five 3D printed parts, including a base attachment piece, two arms, and two camera casing pieces; you’ll also need six screws.
The designer indicated that they printed the 3D printable parts in PETG, but many recorded Makes show that you can also use PLA. On a similar note about printing, the designer provided a few of the settings they used, including a 0.2-mm layer height and a 20% infill density. They also wrote that they didn’t use a raft nor any support structures for the prints.
- Camera position: Front-left corner, above the bed
- Adjustable? Yes, 3-axis height adjustable
- Who designed it? austin3dprinting
- Where to get it? Thingiverse
License: The text of "How to Mount a Raspberry Pi Camera on an Ender 3 V2" by All3DP is licensed under a Creative Commons Attribution 4.0 International License.