The Best Ender 3 S1 (Pro) Cura Profile / Settings

The best temperature, print speed, and retraction settings, among others. Read on for the best Ender 3 S1 & S1 Pro Cura slicer profiles.
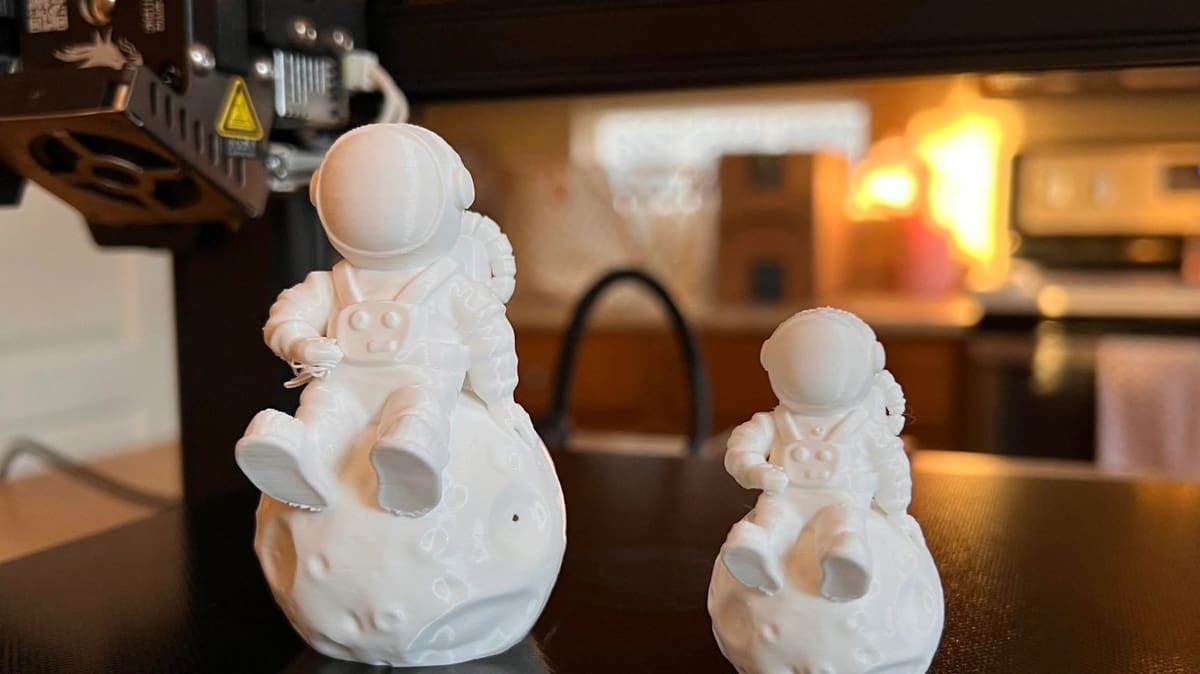
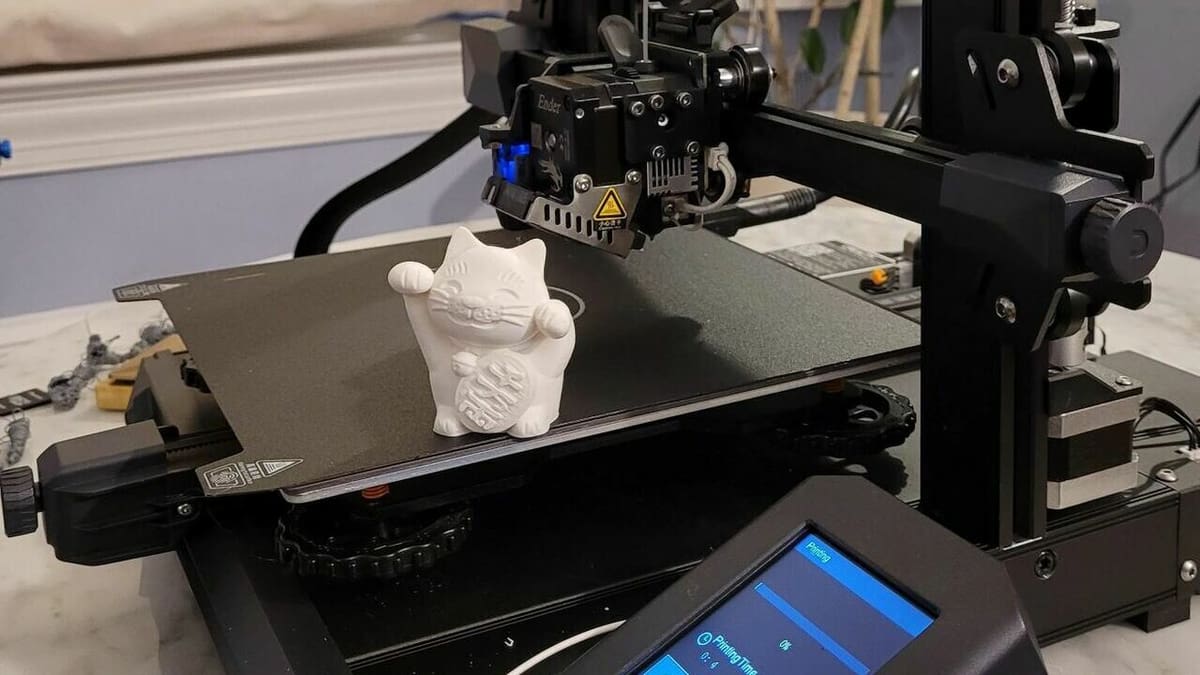
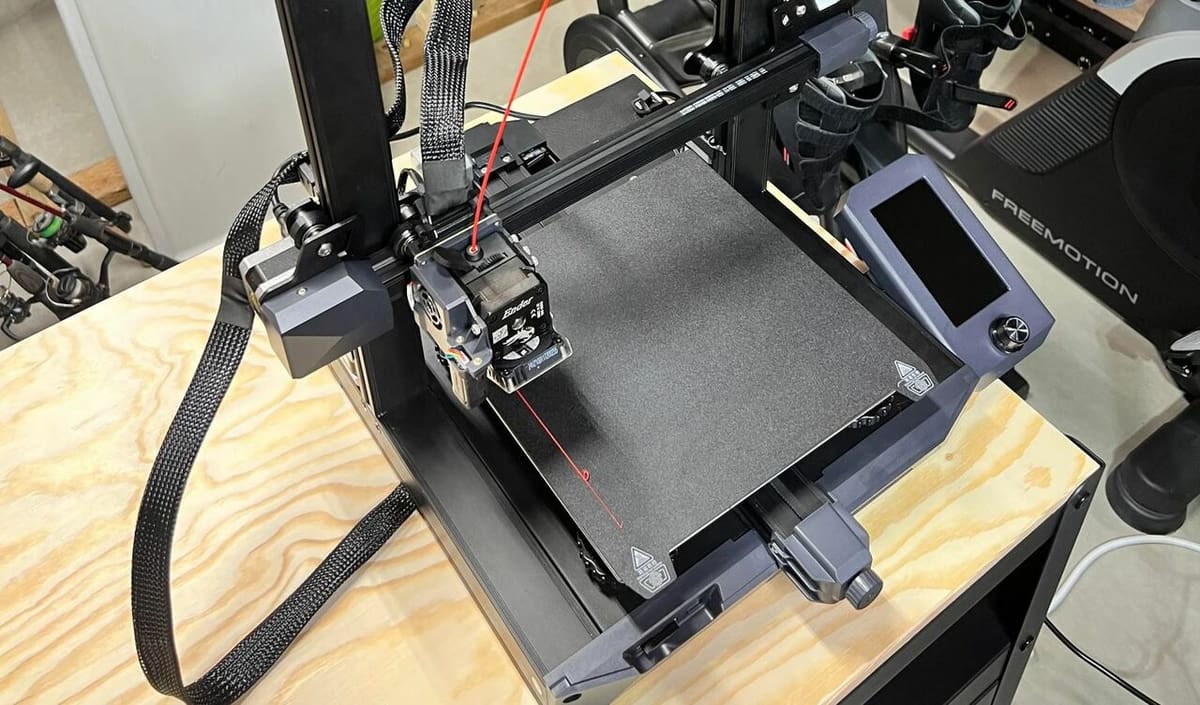
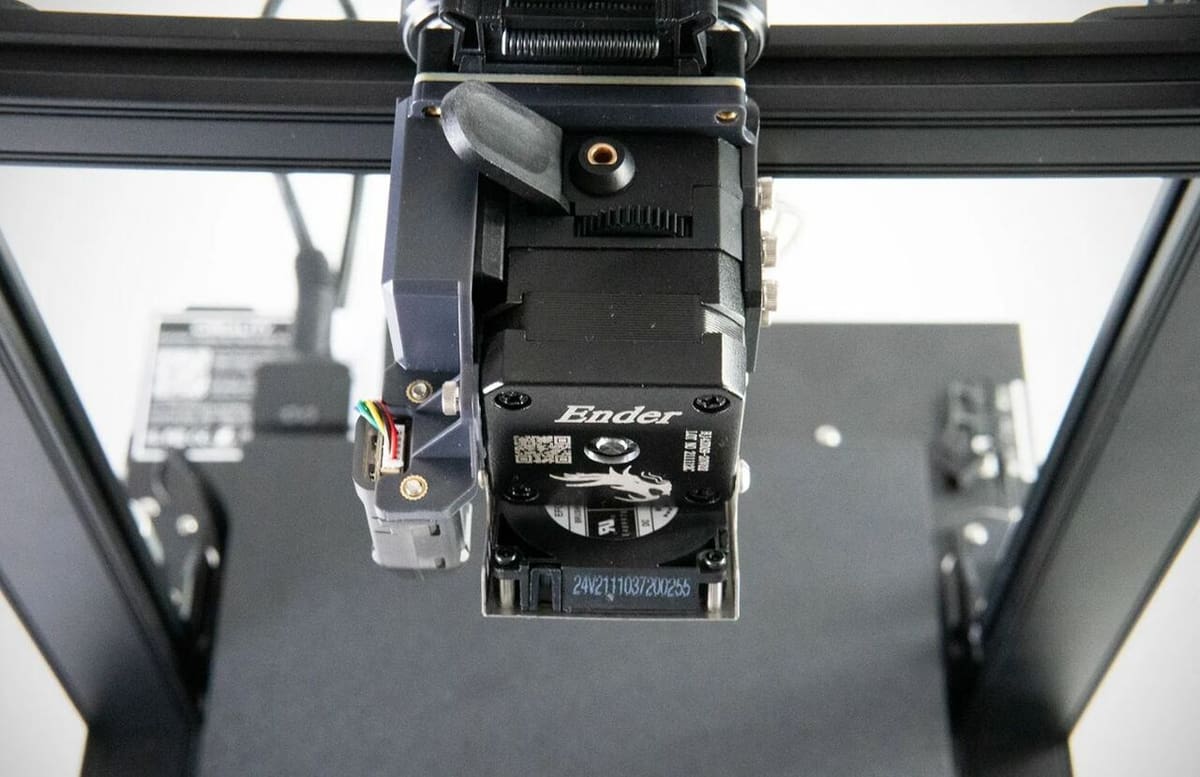
The Creality Ender 3 S1 and S1 Pro are Creality’s latest versions of the original Ender 3 3D printer, with an assortment of upgrades that previous versions of the printer lacked. With larger price tags of around $380 and 480, respectively, the Ender 3 S1 and S1 Pro feature a lot of new hardware that improves print performance and machine operability, such as a spring-steel build plate, direct drive extruder, and filament run-out sensor.
However, even with excellent hardware on a 3D printer, your prints will only turn out nice if you’re using the right slicer settings in your 3D slicer program. UltiMaker Cura is the most popular 3D slicer program for FDM 3D printers, with many adjustable settings that you can change on a slicer profile to account for certain new hardware, like a direct drive extruder. Furthermore, Cura 5.3 offers pre-made base slicer profiles for many Creality printers, including the Ender 3 S1 and S1 Pro.
In this article, we’ll go over the perfect Cura slicer profile for the Ender 3 S1 and S1 Pro, discussing the different settings used and the reasons behind them. Our recommended Cura settings are a great starting point for the Ender 3 S1 or S1 Pro, but slight adjustments may be necessary to further improve the quality of prints. Enjoy!
The Perfect Profiles
Below, we’ll first give you a snapshot of the final profiles for a few popular printing materials. It’s important to mention that these profiles are simply starting points that should work for most users, but you may need to change them slightly.
PLA
- Nozzle temperature: 210 °C
- Bed temperature: 60 °C
- Layer height: 0.2 mm
- Print speed: 60 mm/s
- First-layer speed: 20 mm/s
- Travel speed: 110 mm/s
- Retraction: 0.8 mm at 45 mm/s
- Build plate adhesion: Brim
- Brim width: 4 mm
ABS
- Nozzle temperature: 235 °C
- Bed temperature: 100 °C
- Layer height: 0.2 mm
- Print speed: 40-60 mm/s
- First-layer speed: 20 mm/s
- Travel speed: 110 mm/s
- Retraction: 0.8 mm at 45 mm/s
- Build plate adhesion: Brim
- Brim width: 4 mm
PETG
- Nozzle temperature: 240 °C
- Bed temperature: 70 °C
- Layer height: 0.2 mm
- Print speed: 40-60 mm/s
- First-layer speed: 20 mm/s
- Travel speed: 110 mm/s
- Retraction: 0.9 mm at 40 mm/s
- Build plate adhesion: Brim
- Brim width: 4 mm
Importing Profiles

Aside from the Ender 3 S1 or S1 Pro slicer profile that comes preloaded in Cura 5.3 and newer, you also can download profiles online and import them into the slicing program. Unfortunately, as the Ender 3 S1 and S1 Pro are so new, there aren’t as many popular options available. Still, you can download a pre-made slicer profile for the Ender 3 (Pro or V2) from popular enthusiasts like Chep and make a few small adjustments (e.g. retraction) to make it work for your printer.
On a similar note, you may have a great slicer profile for a previous version of the Ender 3 that you want to use as your base profile for the Ender 3 S1 or S1 Pro and make adjustments from there. You can do that by using your old Ender 3 profile and clicking “Create profile from current settings/overrides…” in Cura to ensure the original settings aren’t lost.
Getting Started

Before we get into the different settings for your Ender 3 S1 or S1 Pro, let’s first review how you can set up Cura for your printer. Below, we’ve provided the steps to downloading Cura and initially configuring it for your printer. If you already have the application installed, you can skip the steps:
- Go to UltiMaker’s Cura download page. Cura works with Windows, MacOS, and Linux, so it should work on your device.
- Click “Download for free” and follow the steps prompted by your device to install the application.
- Once installed, open Cura.
- If not prompted when you open the program, click the “Settings” button at the top left of the interface, move your cursor over the “Printer” tab, then click “Add Printer”.
- Select “Add a non-networked printer”.
- Scroll down to the “Creality3D” option, and click it to open the drop-down menu.
- Choose the “Creality Ender-3 S1” or “Creality Ender-3 S1 Pro” option. (If these options are not available, you may want to update to Cura 5.3 or newer.)
- Click “Add”, then “Next”.
Cura is now set up, but let’s make sure that all of the settings are visible:
- Click the print settings drop-down menu at the top right area of the interface.
- Click the three-dashes icon, then select “All” so you can view all of the available settings.
Now that you’ve properly configured Cura for an Ender 3 3D printer, let’s get into the specific settings to change for your Ender 3 S1 or S1 Pro!
Nozzle Temperature
Perhaps the most important setting for a 3D printer is the nozzle temperature, sometimes referred to as the hot end or printing temperature. This value determines how hot the nozzle on the 3D printer gets to melt the filament flowing in the hot end. The nozzle temperature you should use varies depending on the material of the filament you’re printing with.
The higher (hotter) the nozzle temperature is, the faster filament can be melted and extruded. Too high a temperature can lead to issues with over-extrusion, while too low a temperature can result in issues like under-extrusion.
For PLA, the most common 3D printing filament material, we suggest using a temperature between 180-220 °C. For ABS and PETG, which are two other popular filament material options, temperature ranges of 220-250 °C and 220-245 °C work great, respectively. Usually, the filament manufacturer provides their own temperature recommendations, and you should take this into account when deciding which temperature to use.
- PLA: 210 °C
- ABS: 235 °C
- PETG: 240 °C
Bed Temperature
The bed temperature is another very important setting for any printer with a heated bed, including the Ender 3 S1 and S1 Pro. The bed temperature affects the adhesion of a print because the hotter the printing surface is, the more likely melted filament will stick to it. Too low a temperature can lead to issues with adhesion such as warping, but too high of a bed temperature can cause other issues like elephant’s foot, both of which degrade the quality of a print.
Like with the nozzle temperature, different printing materials call for different bed temperatures. We suggest using a bed temperature of 60 °C for PLA, 100 °C for ABS, and 70 °C for PETG.
- PLA: 60 °C
- ABS: 100 °C
- PETG: 70 °C
Layer Height
Layer height is a print setting that affects the height of each printed layer of filament. Technically, a higher layer height means a stronger print and a smaller layer height will allow for more detail in prints because there are more layers on a model. This setting also significantly affects the time of a print because a larger layer height means fewer layers, so prints will finish faster.
For PLA, ABS, PETG, and practically any other filament material, a layer height of 0.2 mm is a great balance among print time, strength, and detail for prints. When changing the value, try to adjust it in increments of 0.04 mm, as this is the distance of a single step of the Ender 3 S1’s stepper motors. If you want faster prints, try going with 0.24-mm or 0.28-mm layer height. For more detailed models, a 0.16-mm or 0.12-mm layer height should work.
- Detailed: 0.16 mm
- Medium: 0.20 mm
- Strong: 0.24 mm
Print Speed
The print speed is how fast your printer extrudes filament, and obviously, the higher this value is, the faster prints will be. While we all want lower print times, a faster print speed is usually not the best when it comes to print quality because the melted filament has less time to settle and is pushed out more forcefully. Also, too high a print speed without a high enough nozzle temperature to support the increase in extrusion can lead to under-extrusion because the filament isn’t given enough time to melt.
Too low of a print speed also can cause problems, though, mainly through heat creep. Heat creep is a printing issue where the extra heat from the nozzle “creeps” up the hot end and melts filament before it should be, causing a clog in the hot end.
The optimal print speed differs depending on the filament you’re using as well as the temperature. If you’re using the temperatures we suggested a few sections back, a speed of 60 mm/s should be best for PLA. ABS and PETG can take longer to settle, so a speed in the range of 40-60 mm/s is more fitting.
It’s also worth mentioning that you want the first few layers of a print to be much slower than the rest to ensure the base of the print comes out decent. Cura allows you to control this through the “Initial Layer Speed”, which we suggest setting at 20 mm/s.
Lastly, the travel speed is also critical for the Ender 3 S1, and it defines how fast the printer moves its components (printhead and bed) during non-printing travel moves. The S1 has a direct-drive extruder, with the extruder and hot end both on the printhead carriage, meaning there’s some extra weight. For this reason, we suggest using a travel speed slightly slower than the norm, of around 110 mm/s.
- PLA print speed: 60 mm/s
- ABS print speed: 40-60 mm/s
- PETG print speed: 40-60 mm/s
- First-layer speed: 20 mm/s
- Travel speed: 110 mm/s
Retraction
Retraction is one of the more complicated print settings in Cura. Basically, it’s when the extruder draws filament backward from the hot end. Retractions are usually done for travel moves when the machine isn’t printing. This prevents excess material from oozing out of the nozzle due to built-up pressure in the hot end.
There are two main settings for retractions in Cura: the retraction distance and the reaction speed. The former is the distance of filament that the extruder will retract, while the retraction speed is how fast the extruder moves to perform the retraction move.
As we mentioned, the Ender 3 S1 and S1 Pro have a direct drive extruder, which places the extruder directly above the hot end. Direct drive extruders are more precise in their extruder moves compared to the Bowden-drive configurations seen on the other versions of the Ender 3.
As such, you can use a much smaller retraction distance on the Ender 3 S1 and S1 Pro than the original, Pro, or V2 Ender 3s. This is good because a smaller retraction distance means a lower print time and further reduces stringing on prints.
For the Ender 3 S1 and S1 Pro’s extruder, we suggest using a retraction distance of 0.8 mm for PLA and ABS, and going a little bit higher for PETG, with a 0.9-mm retraction distance, as this material is more prone to stringing. For the retraction speed, 45 mm/s for PLA and ABS, and a speed of 40 mm/s for PETG should work perfectly.
- PLA: 0.8 mm at 45 mm/s
- ABS: 0.8 mm at 45 mm/s
- PETG: 0.9 mm at 40 mm/s
Build Plate Adhesion
The last Cura setting we’ll go into detail over for the Ender 3 S1 and S1 Pro is the build plate adhesion. The build plate adhesion settings on Cura allow you to use either a skirt, brim, or raft to help ensure that your prints stick to the build plate.
The first option is a skirt, which is a perimeter around the outside of the area of a model. A skirt doesn’t actually do anything to keep the printed model adhered to the printing surface, but it allows you to check to see that your printer is properly extruding filament. Cura allows you to adjust the minimum length of the skirt and control how many lines (go-arounds by the nozzle) are used for the skirt.
Secondly, a brim is like a skirt, except it’s attached to the base of a model. A brim uses some extra filament and adds to the print time, but it can help keep a print’s first layer stuck to the build plate.
Lastly, a raft is like a separate print under the real print and consists of a small multi-layer printed surface that sticks to the build plate as well as the bottom of your print. A raft uses a lot of extra filament, adds a decent amount of time to the print job, and also can be difficult to remove from the desired model. However, on the bright side, a raft can almost guarantee that your printed model won’t have any warped sides and will stick to the bed.
For most prints, to ensure adhesion while keeping filament usage and print time down, we suggest using a brim. In Cura, you can choose “Brim” from the drop-down menu with a few other relevant settings. We recommend using a brim width of 4 mm.
- Build plate adhesion: Brim
- Brim width: 4 mm
Other Settings
Finally, there are a few other Cura settings worth briefly reviewing for the Ender 3 S1 and S1 Pro. These settings aren’t as specific to the Ender 3 S1 and S1 Pro as the other ones we mentioned in this article but are still important. Below, we’ve listed some of these settings and provided a quick description of them.
- Walls, also known as shells in other slicer programs, describe the overall layer thickness between the infill and the exterior surface of a printed model. The more walls you have, the stronger a model is, but the longer prints take. We suggest using a wall thickness between 1 and 2 mm, but check out our articles on wall thickness and shells to learn more.
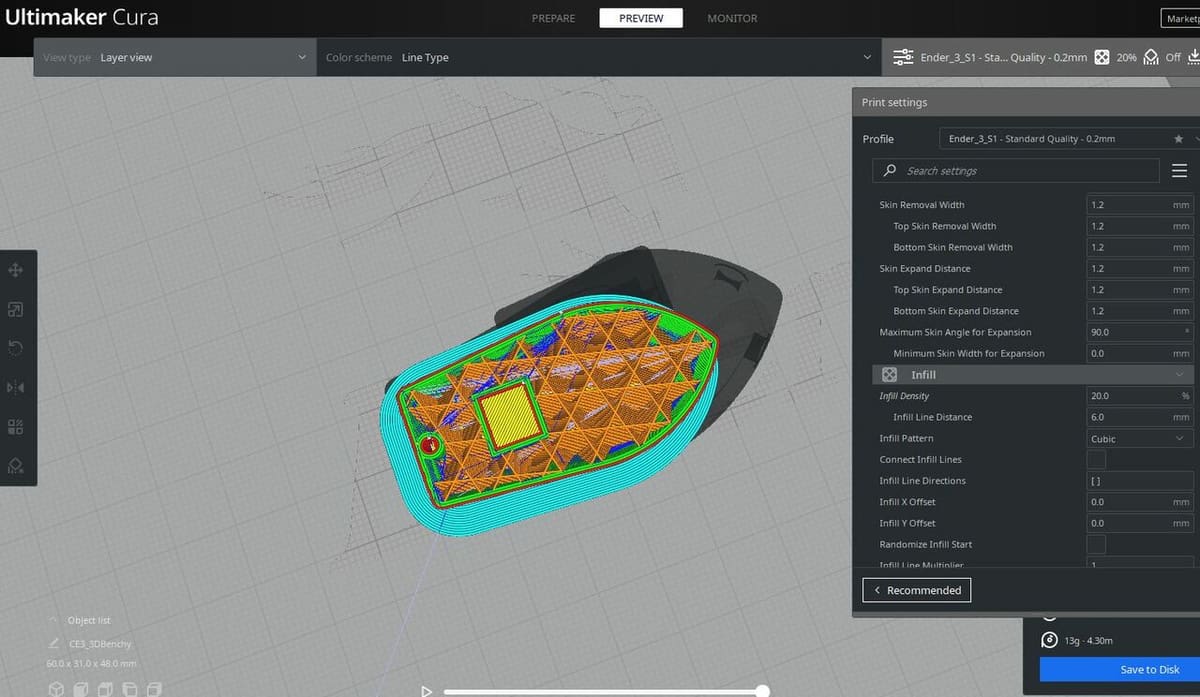
- Infill is the internal filling of 3D prints and is controlled by two main settings: infill density and infill pattern. The former is the percentage fullness of a model’s inside, while the latter is the pattern with which the infill is printed. Cura offers many infill patterns, like gyroid and cross 3D, but the grid and cubic patterns at a 10-30% density are great overall options. You can read our review of Cura infill patterns and infill in general to learn more about these slicer settings!
- Combing is a less popular slicer setting that controls the path the printhead takes to travel from one printing point to the next. There are a few different combing modes that can affect where model deformities like stringing are more likely to occur, but the “Within Infill” option is an excellent choice. If you’re interested in this setting, our guide to combing modes in Cura does a great job explaining each one and its benefits.
- Ironing is another, more niche setting in Cura. It’s a special printing mode that uses the nozzle’s heat to dissipate the layer lines on the top surfaces of a printed model to yield a better surface finish. Ironing usually isn’t activated, but if you’re printing models that you want to look very smooth, it might be a good idea to turn it on. Read more about this setting in our explanation piece about ironing for Cura.
- Special Modes and Experimental Settings sections in Cura contain the more rare and unique slicer settings. These settings typically have niche applications but can still be very useful. For example, “Spiralize Outer Contour” (a.k.a. vase mode) yields smooth single-wall prints for making vases and similar models. You can check out these modes and settings if you want to have some fun experimenting with your Ender 3 S1 or S1 Pro and its printing capabilities.
License: The text of "The Best Ender 3 S1 (Pro) Cura Profile / Settings" by All3DP is licensed under a Creative Commons Attribution 4.0 International License.