The Best Ender 3 (V2/Pro) PETG Settings

Try 3D printing PETG on your Ender 3! Learn how to find the best Ender 3 (V2/Pro) PETG settings for your needs.
Creality’s Ender 3 is one of the most popular hobby 3D printers due to its low price point and impressive print quality. Since its debut, Creality has released upgraded versions, including the Ender 3 Pro and Ender 3 V2.
All Ender 3s can print with a plethora of materials. PLA, PLA+, and Exotic PLA are the go-to filaments for most users. These filaments can print at low temperatures, have incredible strength, no warpage, little stringing, and good bed adhesion. On the other hand, ABS has high temperature resistance and flexibility under strain, but can release toxic fumes and usually requires an enclosure to limit warping.
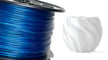
PETG might be considered the Goldilocks filament: It has similar printability to PLA while still having high heat resistance and elasticity under strain. PETG can also be food safe, though it can have significant stringing issues. Once you get the print settings dialed in correctly, you’ll find the Ender 3s are great machines to print this material with.
In this article, we’ll present a few tips for successful PETG printing on whatever Ender 3 you have. Let’s get started!
Bed Adhesion
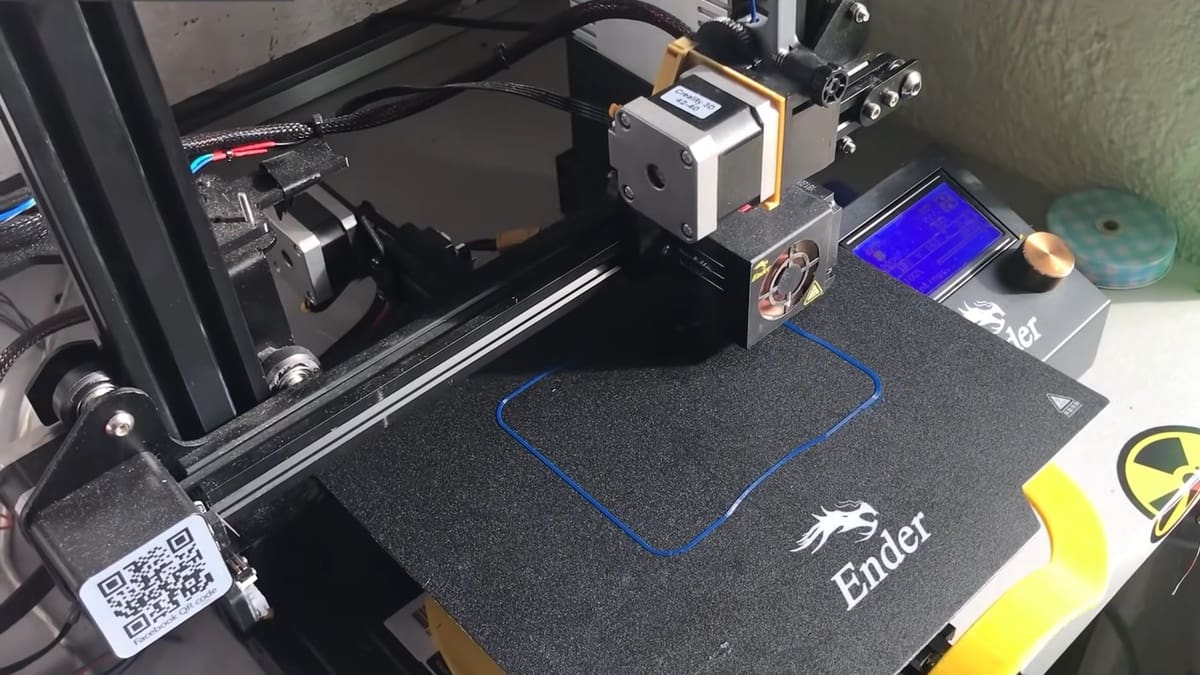
3D printing PETG on the Ender 3 can seem daunting, but with the right bed adhesion measures, you can use this material with ease.
Bed Temperature
Due to the high melting temperature of PETG, we recommend setting your Ender 3’s bed temperature to between 50 °C and 60 °C.
Build Surface
Covering the Ender 3’s print bed with blue painter’s tape is an easy way to keep PETG securely in place while still easy to remove. We recommend this method as your default. Another good option is Kapton tape, which should give you the same benefits of using blue painter’s tape, but might not have the same amount of adhesion.
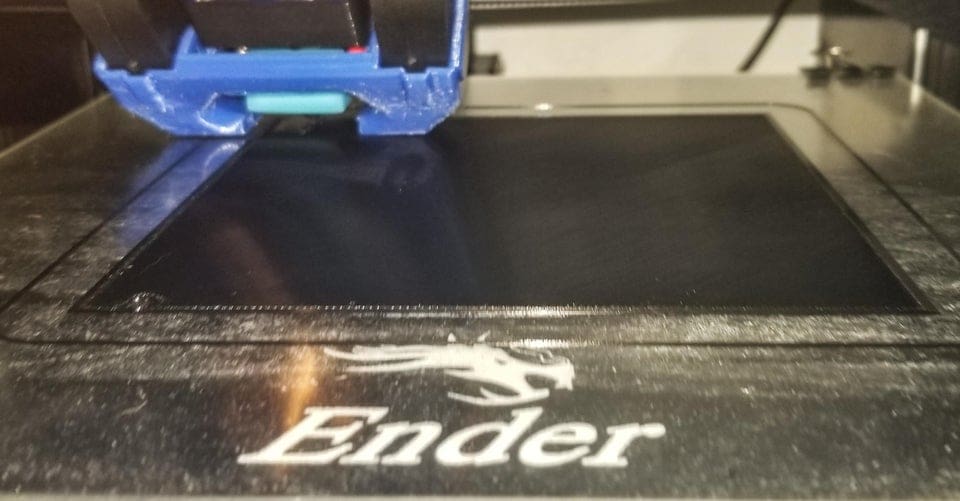
The standard Ender 3 and Pro build surface, BuildTak, is the ideal surface for printing PETG with the Ender 3. The material allows you to have excellent adhesion while providing an easy way to remove the print due to its flexibility. But be warned: An initial layer height that’s too small can cause PETG to fuse to the surface of the print bed, making it easy to cause damage during removal.
If you’ve equipped your Ender 3 with a glass build plate or you have the V2, watch out! PETG is notorious for sticking to glass so well that it can fuse to it. This fusing can be so strong that it removes chunks out of the glass bed, permanently damaging it. Therefore, it’s always a good idea to use a thin layer of hairspray, glue stick, or specialty bed adhesive.
Initial Layer Height
Simply put, PETG is different from ABS and PLA: We recommend increasing the layer height in 0.02-mm increments until you get it just right.
If you find you’re releveling your bed often, which of course will affect your initial layer height, you might consider upgrading your Ender 3 to have automatic bed leveling. If you want to install the BLTouch, check out our article for installing it on the Ender 3 or Pro. For V2 owners, we’ve got you covered too.
Print Temperature & Cooling
Printing PETG on your Ender 3 can prove to be troublesome if you don’t have the correct temperatures.
Hot End Temperature
For typical PETG, it’s recommended to use a temperature between 220 °C and 250 °C. However, the Bowden setup on the Ender 3s means the PTFE tube goes to the tip of the hot end, a configuration that has a temperature limit of the melting point of the Bowden tube. Therefore, it’s very important to keep the print temperature below 240 °C. This way, your PETG prints should still turn out great, without damaging your printer or releasing noxious fumes from melted PTFE.
Part Cooling Fan
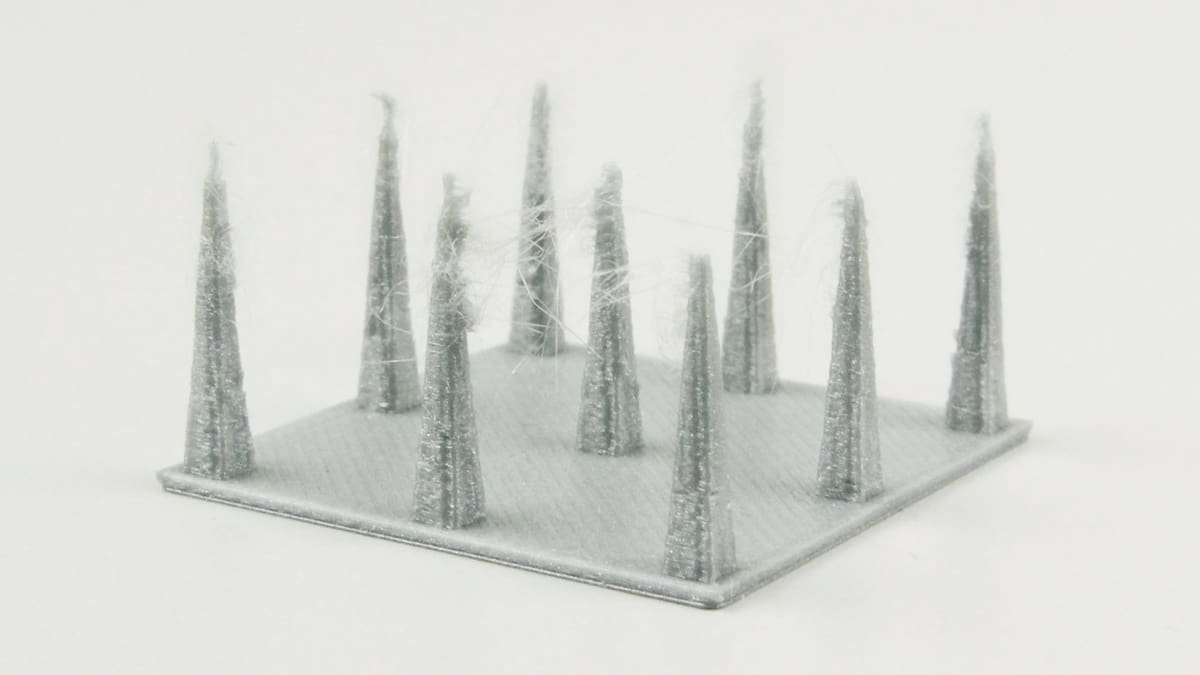
First of all, turn off the fan for the first two layers. Then for the rest of the print, set the fan speed as high as possible to increase detail and limit stringing. The higher fan speed helps the filament to not melt too far up inside the hot end.
However, if you’re looking for better layer adhesion and strength, print without a fan or with a very low fan speed. Your print will have much more stringing, but as PETG fuses well to itself when left hot for longer you’ll be rewarded with strong, smooth prints.

Print Speed
When PETG gets hot, it has more of a molten state that allows it to flow more readily than other filament types. The viscosity of the filament makes it more temperamental than others when printing. Here are our recommendations for PETG printing on the Ender 3s:
- Retraction speed: ≤40 mm/s
- Retraction distance: ~6 mm
- Print speed: 30-50 mm/s
As you can see, these values are very similar to those of PLA, hence the popularity of PETG. If you’ve tried different retraction distances and can’t get it perfect, try varying the retraction speed.
License: The text of "The Best Ender 3 (V2/Pro) PETG Settings" by All3DP is licensed under a Creative Commons Attribution 4.0 International License.