Ender 3 Extender Kit: What Is It & How to Install It?

The Ender 3 Extender kit can increase your print area to 400 x 400 mm! If you're running out of room, read on to learn how to upgrade.
Print Big
The Ender 3 is an impressive, yet affordable, 3D printer that’s open-source, making it a favorite among hobbyists and 3D printing enthusiasts. As an open-source printer, there’s no shortage of upgrades for this printer, from Dual Z, BLTouch, E3D hot ends, and many others.
The Ender 3, although having decent printing dimensions, isn’t suited for some makers’ larger ideas. Luckily, a company called Ender Extender has addressed this limitation with the creation of the Ender Extender upgrade kit.
What Is It?
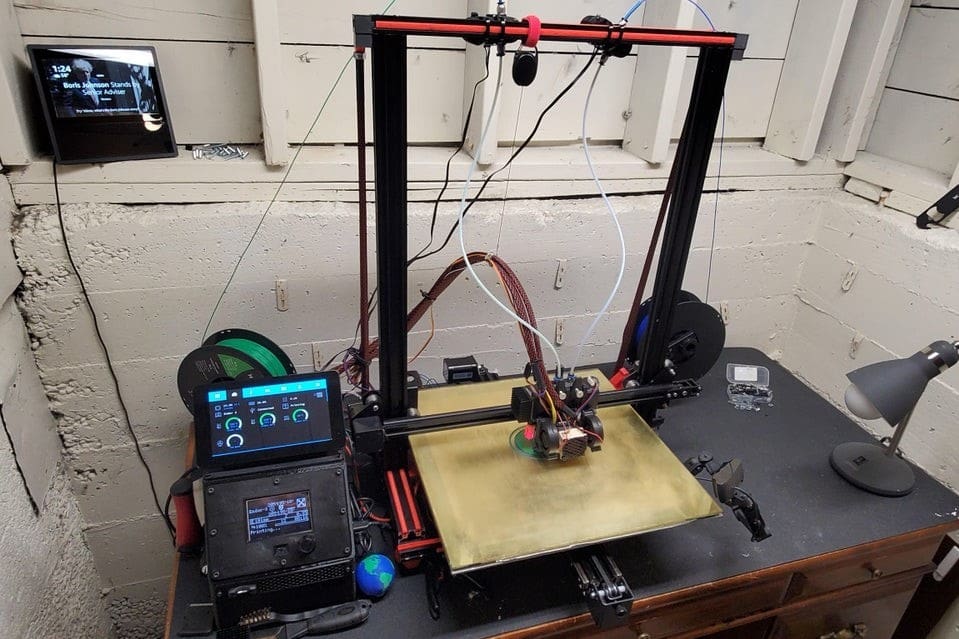
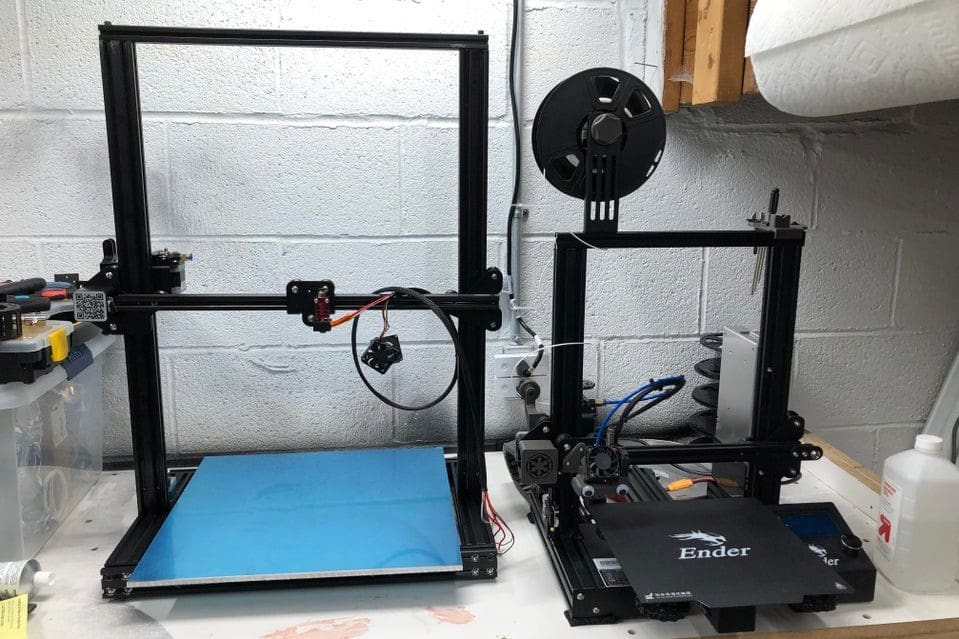
The Ender 3 Extender kit increases an Ender 3’s print bed from 235 x 235 mm to 400 x 400 mm. The kit is only for extending the Ender 3’s print area (X- and Y-axes), although Ender Extender has also released other types of kits, including to extend the Z-axis and to work with the Ender 3 Pro and the Ender 3 V2, as well.
The kit uses a combination of provided materials as well as a lot of the original hardware on the Ender 3, and it’s not the simplest of DIY projects. You can imagine that an upgrade like this is significantly more complex than some other common Ender 3 upgrades, and it also comes with a pretty expensive price tag, at about $150.
In this article, we’ll be giving you some pros and cons of this kit as well as a five-step guide for installing this upgrade. We’ve also listed what tools and materials you’ll need. Good luck!
Pros & Cons
This upgrade presents some major benefits when installed on your Ender 3. However, there are a few trade-offs for printing bigger.
Most of these drawbacks stem from increasing the Y-axis, but there are some downsides related to the kit itself, too. Check out the pros and cons below to see more.
Pros
- Significantly increases printing dimensions
- Community and company support
- Cheaper to upgrade Ender 3 than many large-format printers of similar dimensions (compared to Tronxy X5T 500)
- Heated-bed capabilities
- Auto-bed-leveling capabilities
- Most of the original parts are used
- Condenses LCD and control board covers so they take up less space
Cons
- Expensive
- Bed heating takes longer
- More weight for the Y-axis stepper motor
- Longer Bowden tube could result in retraction issues
- Extra wires might be needed for BLTouch and other electronic component upgrades
- No actual bed included in the kit (just a bed mounting frame)
- More weight being moved along the Z-axis because of longer X-gantry
- Extensive assembly
What You'll Need
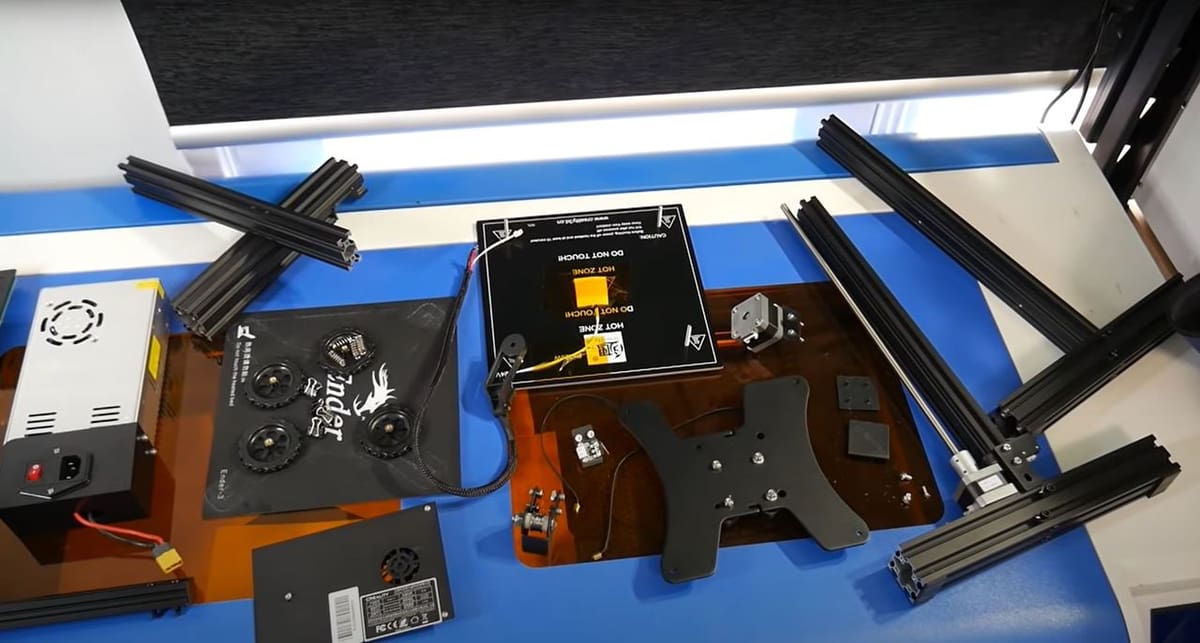
As we said earlier, the Ender 3 Extender kit uses some new parts along with most of your printer’s original parts. The kit includes many different pieces of hardware; see the full list of included parts on the project page. Aside from the screws, larger belts, and longer extrusions, this kit includes other parts such as a 500-mm PTFE tube and a large bed underframe.
It’s important to note that the Ender 3 Extender kit doesn’t come with wire extensions for the printer’s hot end. However, according to the manufacturer, if you follow the guide correctly and use the external LCD enclosure, you most likely won’t need the extensions anyway, although other configurations may require additional wire lengths.
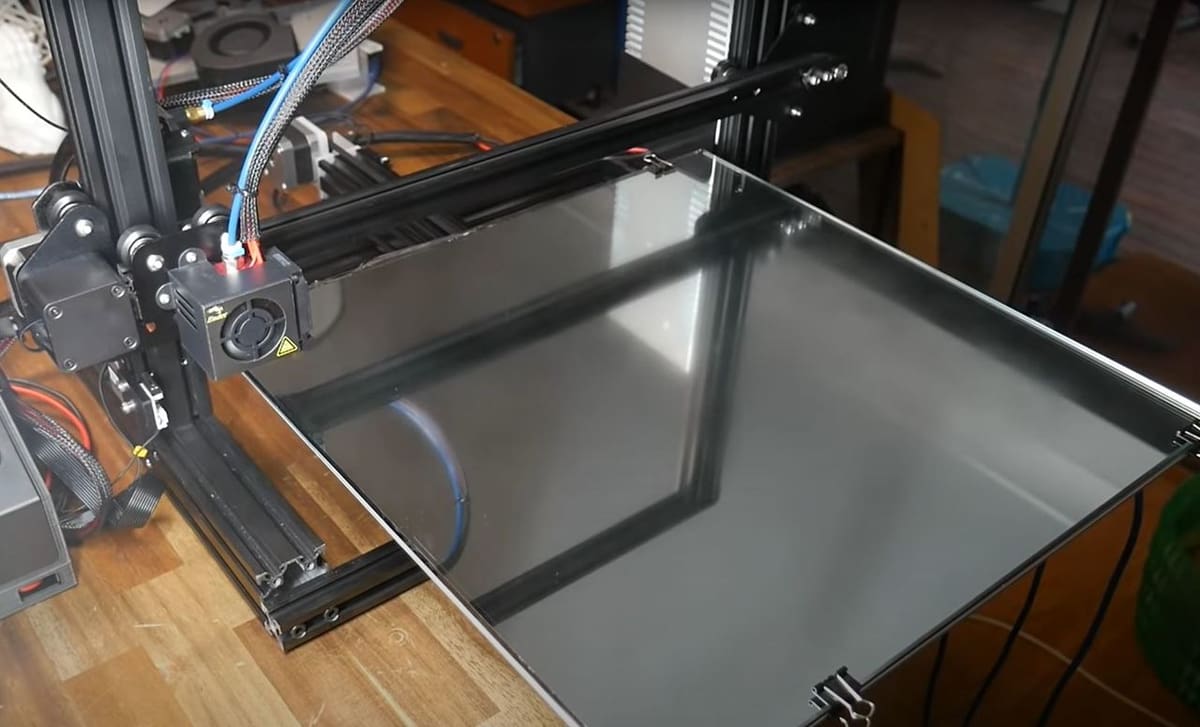
You will also need to source a print bed as the bed underframe isn’t designed to function as a real bed. While there are no build plate companies that make print beds of this size, you can always get a large, flat sheet of glass. One way to do this is to repurpose a mirror and cut it to size, however, make sure you’re cutting it safely and accurately.
Step-by-Step Guide
The steps listed below are only a summary of the main steps, and not every detail for installation is included in this guide. For more detail, you can check out the instructions page on the Ender Extender website as well as Teaching Tech’s guide on YouTube.
The process is divided into five steps, including both hardware and software changes:
1. Dismantle Your Ender 3
For this first part of the installation, you’ll have to remove all of the no-longer-necessary parts to make room for the new ones. You’ll need to remove the top extrusion, power supply unit (PSU), LCD mount, print bed, side frame extrusions, Y-axis extrusion, Y-axis motor, endstops, and more.
2. Install the New Parts
The second phase of installation consists of adding on the new parts. The kit includes larger replacements for some of the parts you removed in the last step, which should go right where their smaller counterparts used to be. Attach the new extrusions, belts, LCD brackets, and everything else!
3. Reassemble Your Printer
The third step for upgrading your Ender 3 with this kit is to reassemble the printer. This means reattaching all the old parts (except those that have been replaced) as well as doing any final touches to the printer regarding hardware. You should add all the motors back, reinstall the PSU, attach the Bowden tube, and so on.
4. Configure the Software
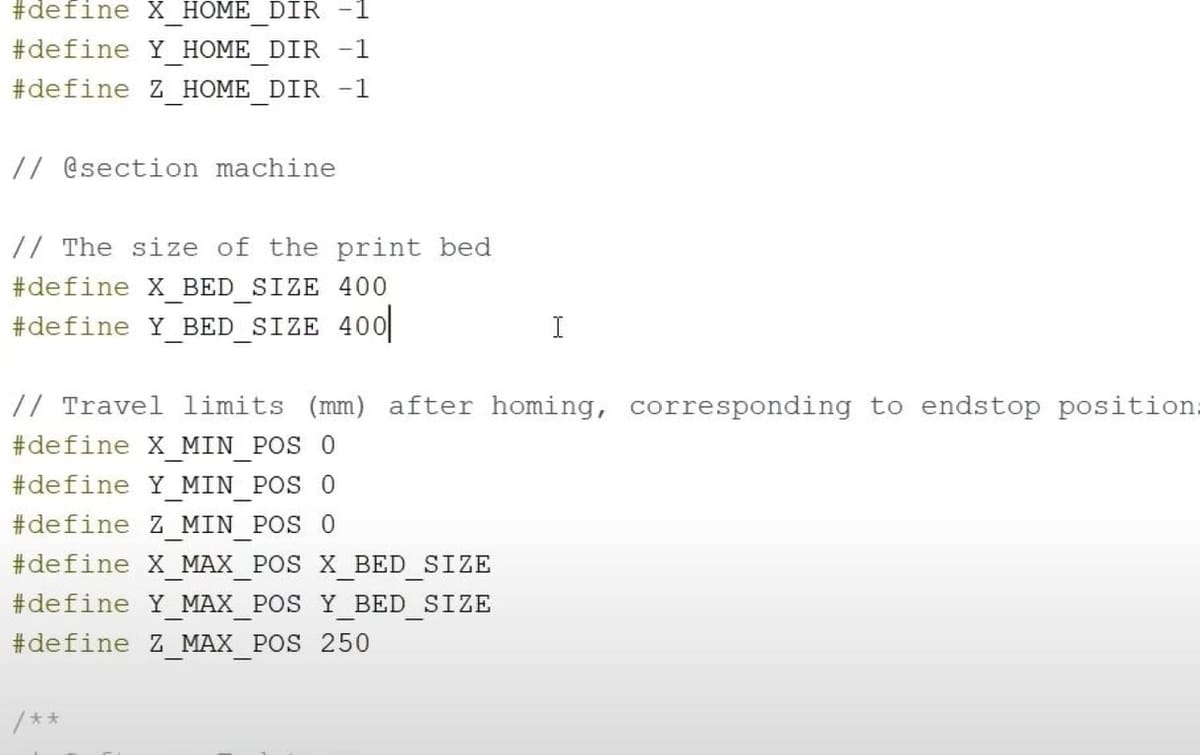
For setting up the online part of this upgrade, you’ll need to edit your Ender 3’s firmware as well as your slicer. You need to change the limits or boundaries that your firmware and slicer have for your Ender 3 to the new ones (400 x 400 mm). To do this, you can use a firmware editor and the settings on your slicer program.
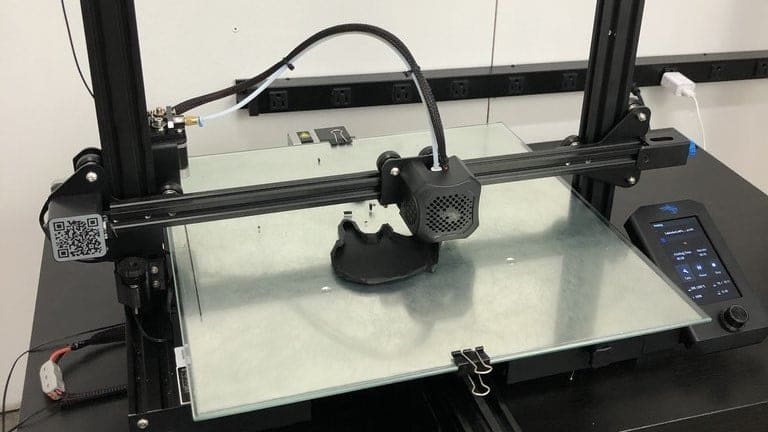
5. Post-Installation Checks
Now that you’ve finished the upgrade, make sure to level your bed, adjust retraction settings, speeds, and more. Also, be sure to tighten all the screws up and check that all the hardware is functioning properly. Once you’ve done that, you’re ready to try out your first big print.
Consider your Ender 3 extended!
Community Opinions
Although this kit isn’t super popular, it has grabbed some attention online. The kit is only sold through the company’s website and there are no customer reviews. However, the comments on a Reddit post about the upgrade reveal some community thoughts.
One commenter noticed how the Bowden tube is so long that it might lean on the bed, which could potentially damage the tube and even a print. Another commenter was concerned about the stability of the build plate along the Y-axis. The original poster of the thread replied saying that it’s perfectly fine.
The original poster also replied to another commenter saying that the installation is easy as long as you go slowly. Other comments suggest that a long Bowden tube could add too much weight to the X-carriage, which might lead to printing issues such as ringing.
It seems that despite some issues with the upgrade, most people are fascinated by the end result.
Where to Learn More?

This upgrade, like all upgrades and alterations, may not work on your first try. However, practice makes perfect and you’ll probably have to do some adjusting to master printing on your new and improved Ender 3.
For support from other users, consider joining the Ender Extender Facebook group. This is also a great place to learn more about the upgrade as well as other tips and tricks. Or, for official assistance, you can contact Ender Extender through their website.
The Ender Extender kit is only available to buy directly from Ender Extender, and will set you back just under $150 for the 400 x 400 mm kit, with different prices for the other Ender Extender kits.
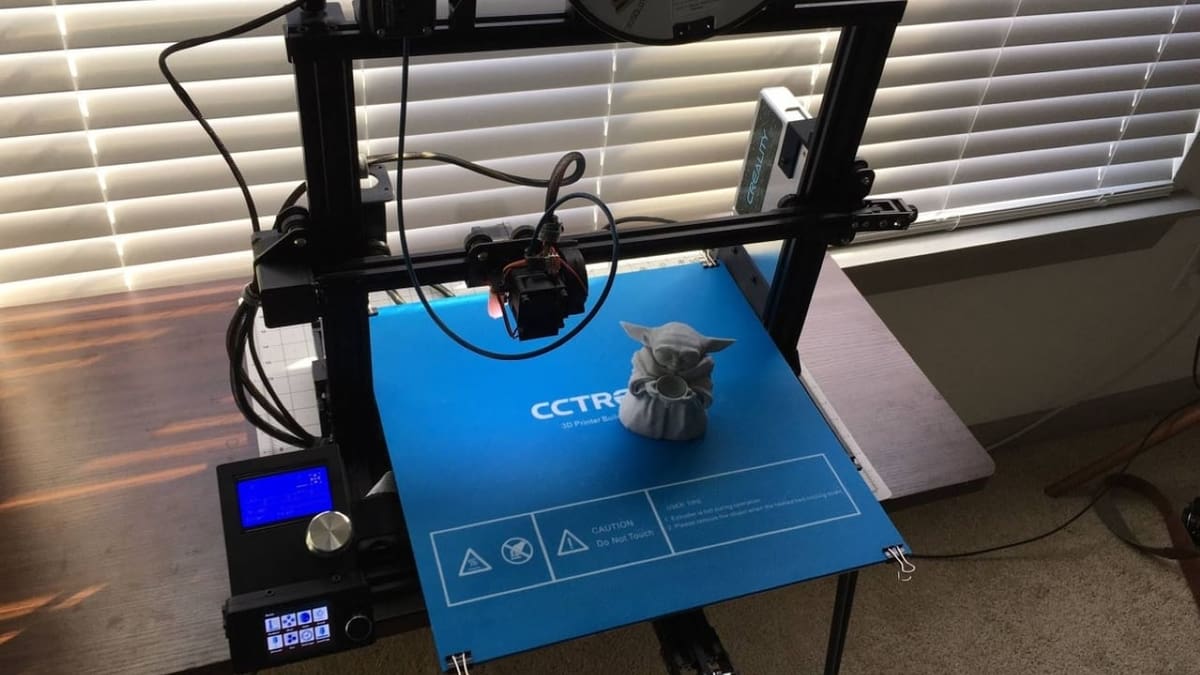
Lead image source: khanable_ via Reddit
License: The text of "Ender 3 Extender Kit: What Is It & How to Install It?" by All3DP is licensed under a Creative Commons Attribution 4.0 International License.