If you’ve ever noticed that your first layer is slightly larger than the rest of your print, you’ve experienced a common 3D printing problem known as elephant’s foot.
While most of the time it’s not noticeable, elephant’s foot can pose a big problem when printing objects for practical applications. It drastically decreases tolerances, making it much harder to fit pieces together.
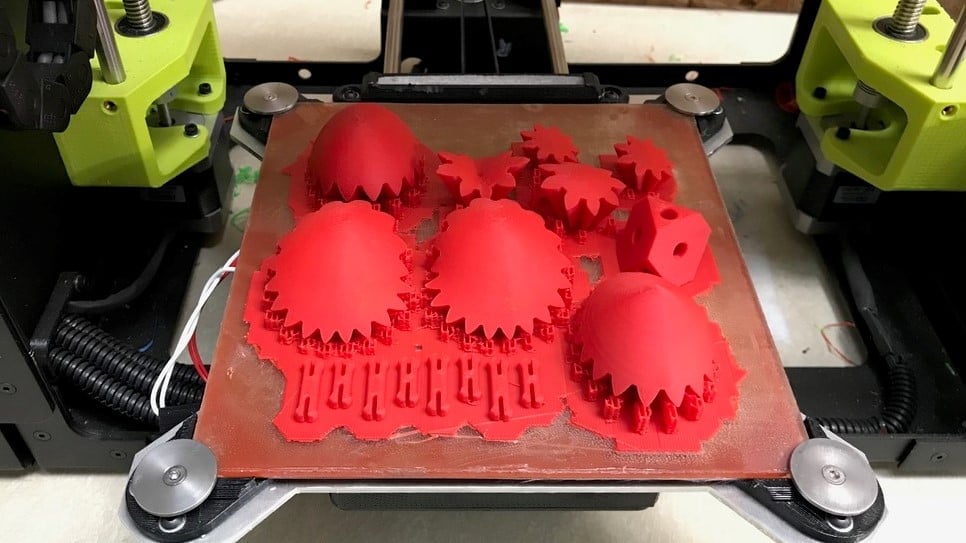
This defect often arises in larger prints, as it’s caused by the weight of the object pushing down on the first layer. If it’s not yet fully cooled, this weight results in bulging of the first layer.
The good thing is, there are simple ways to try to solve this issue. From adjusting the bed temperature to adding a bed adhesion assistant, with a few more options in between, let’s go over some different tricks to avoid seeing your prints with elephant’s foot.

The Cure
As we’ve explained, elephant’s foot most often occurs as the result of an uncooled first layer. If the temperature of the print bed is too high or there’s insufficient cooling, the first layer may not cool properly, causing elephant’s foot.
Here are a few things to try to reduce or even completely resolve elephant’s foot on your prints:
- Level the print bed and adjust your nozzle: Before trying anything else, make sure your printing conditions are ideal. Sometimes elephant’s foot is simply the result of an unleveled build plate or an incorrect nozzle height. These issues cause the first layer to be squished too far down, forcing it to bulge out. Fortunately, they’re easy to fix, as it’s simple and quick to level the build plate and slightly increase the nozzle height (in your slicer).
- Lower the bed temperature: Incrementally lower the temperature of your bed by 5 °C until it successfully prints without any bulging. If you lower it by more than 20 °C outside the recommended temperature and the problem isn’t getting better, the elephant’s foot is likely to be caused by something else.
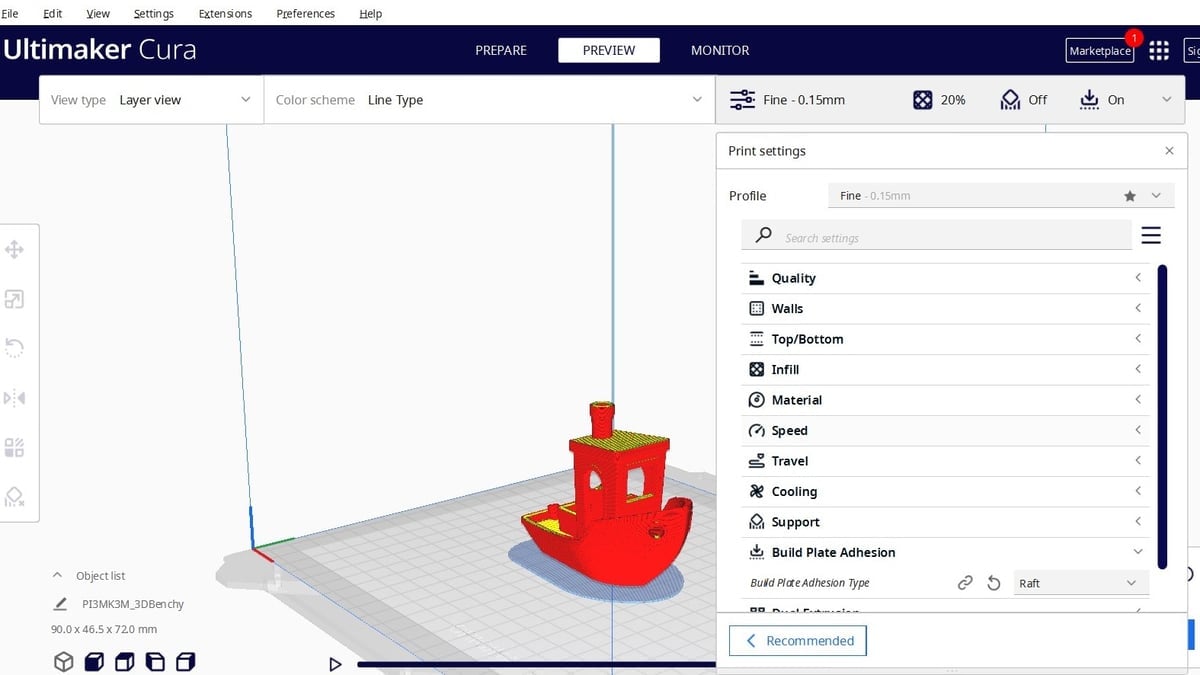
- Print with a raft: Since the problem exists between the first layer and the bed, a raft can take the hit for you. This is less of a solution and more of a workaround, but it can be very helpful if, for example, you really need one piece to slot into another.
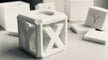
- Add chamfers to your model: In some rare cases, elephant’s foot can be extremely difficult to get rid of. Instead of tweaking your printer, it may be easier to simply alter the model. By putting a small 45° chamfer on the bottom edge of the print, you can mitigate the effects of elephant’s foot.
- Check the eccentric nut on the Z-axis: As some readers have commented, a problem that can lead to something similar to elephant’s foot is over-extrusion in the initial layers. This could be due to the eccentric nut on the Z-axis being too tight – particularly on the side opposite the motor (in a single Z rod setup) – which can cause the gantry to lag behind for a few layers.
And that’s it! These are a few easy tricks to try to avoid (or at least reduce) elephant’s foot on your prints. You might like to try a few test prints to get the perfect settings for your filament before printing something important. Good luck!
License: The text of "3D Printing Elephant’s Foot – Easy Fixes" by All3DP is licensed under a Creative Commons Attribution 4.0 International License.