When it comes to manufacturing, there are many digital file types (e.g. OBJ, STL, 3MF) that can be used interchangeably across various machines and printers, but some machines, such as CNC machines, can only read certain formats.
Among CNC machine users, the data exchange format (DXF) is especially popular because it’s perfect for sharing drawings that can be cut on a CNC router. Unfortunately, not many CNC machines are equipped to read DXF files and instead can only read G-code.
In this article, we’ll go over what the files are and different ways to convert a DXF file to the G-code format. Namely, we’ll go over ABViewer, DXF2Gcode, Carbide Create, and Autodesk’s Fusion. Enjoy!

What Are DXF & G-code Files?
DXF is Autodesk’s open-source version of their proprietary drawing (DWG) file format. It’s a vector graphic file format that stores drawing information as a sequence of “groups”. And since they’re open source, these AutoCAD drawing files can be used on non-Autodesk platforms.
However, certain machines, such as CNC routers, can’t interpret a DXF file; they can only read G-code. G-code is a programming language that uses alphanumeric commands to tell a machine how to perform a task.
Converting a 3D model file (e.g. STL, OBJ, 3MF) to G-code can be done using a slicer, but CNC machines require a slightly different program called a G-code generator. G-code generators allow you to add the specific instructions needed to achieve the desired cut or etching on your target part, given specific tooling or material requirements. There are many G-code generators out there, but not all of them can convert DXF to G-code.
While the specific steps for converting DXF to G-code will depend on which program you use, the basics of conversion are, essentially, to take the drawing and adapt it into steps detailing how the CNC machine will perform the cut. These are then converted into a G-code script that the CNC machine can read and follow.
Method #1: ABViewer
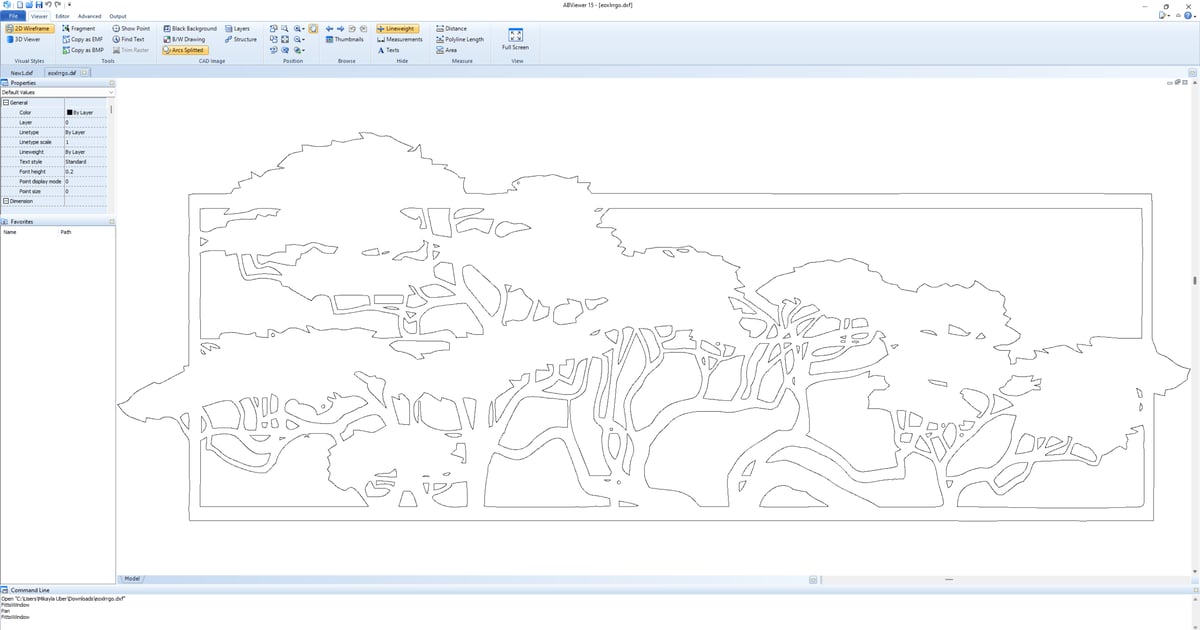
Our first method is ABViewer, a popular file conversion tool from CAD Soft Tools used by both makers and businesses to convert many different file types. ABViewer supports DXF to G-code conversions, so you can create the G-code for your CNC machine to cut a DXF drawing. There’s a 30-day free trial, but the professional version costs ~$95 for a perpetual license.
The software offers convenient controls, an intuitive UI, and it’s easy to learn to navigate and use. It also has many great tools that give you control over how your cutting job will be carried out. When generating G-code from a DXF file, you can scale the drawing, adjust the rotation direction, and experiment with layers, blocks, sizes, and text styles.
Instructions
- Open the File menu in the top-left corner, and then open your DXF file.
- Edit the file as required using the tools.
- On the Output tab in the top-left corner, select the CAD to G-code icon. All drawing contours will be converted by default. If you don’t need to convert certain contours, deselect them in the Processing queue window.
- Click the Convert icon; the G-code will be generated automatically.
- Click the “Save G-code” button, then enter the output file name and click “Save”. The file will be saved with the NC extension (.nc), which stands for numerical control (from “CNC”).
Method #2: DXF2Gcode
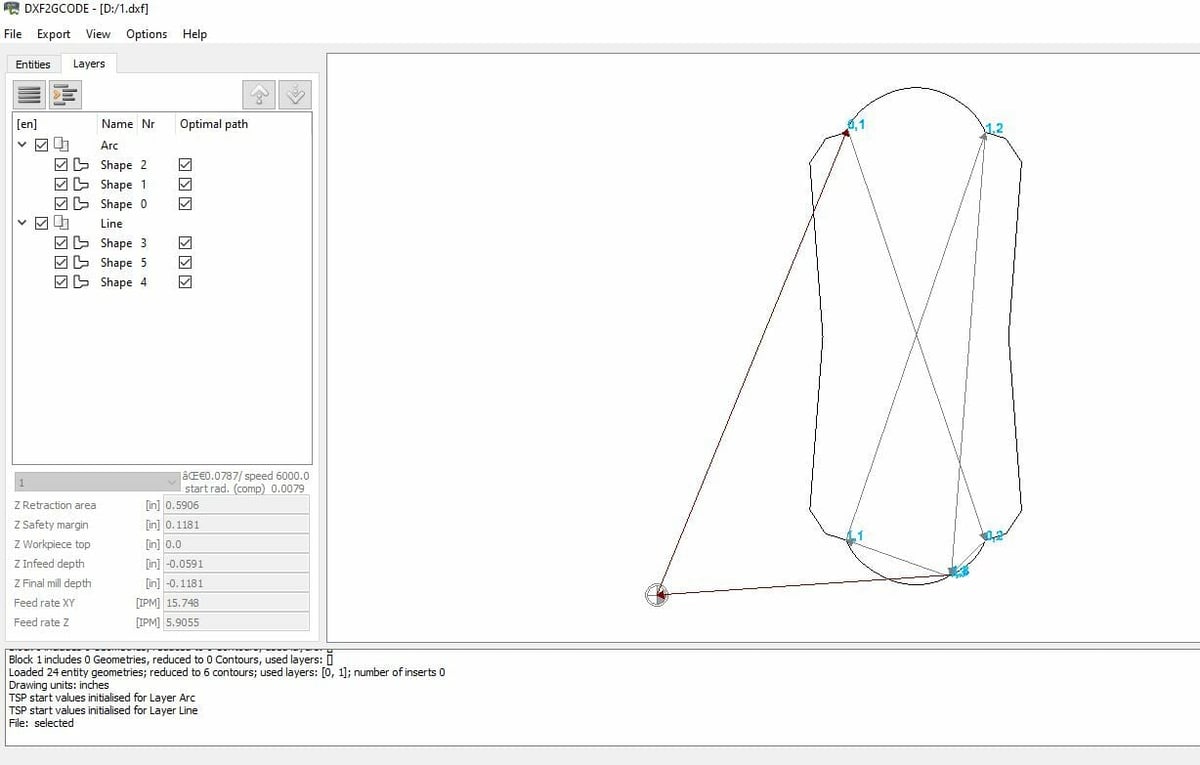
Our second method for converting DXF to G-code is using the free and open-source DXF2Gcode. DXF2Gcode is, as the name implies, a program for converting a DXF file into G-code – specifically, G-code for LinuxCNC, with the file type “.ngc” – and is meant for CNC machine users. While the platform and interface might seem a little simplistic, it’s a reliable and effective program.
The tool functions as a CAM program, too, allowing you to configure how you want the DXF file to be cut by your machine. It has some great CAM features, such as a layer selection tool, a layer view mode, an automated basic tool path generator, and more. Additionally, DXF2Gcode has an array of settings covering rotation speeds, depth, position offsets, and more.
All of these features and tools leave the user with more control over how the drawing is cut, which is great.
Instructions
- Click the File menu in the top-left corner. Then, click “Open…” and select your DXF file.
- From the Layers tab on the left side of the interface, select all the shapes you want to include in your cut.
- Click the “Options” button and select “Configuration…” Here, you can adjust the configuration settings, such as the machine settings and more.
- Click the “Export” button and select “Optimize Paths”.
- Finally, review the generated G-code, click the “Export” button again, select “Export Shapes”, and save your LinuxCNC G-code file.
Method #3: Carbide Create
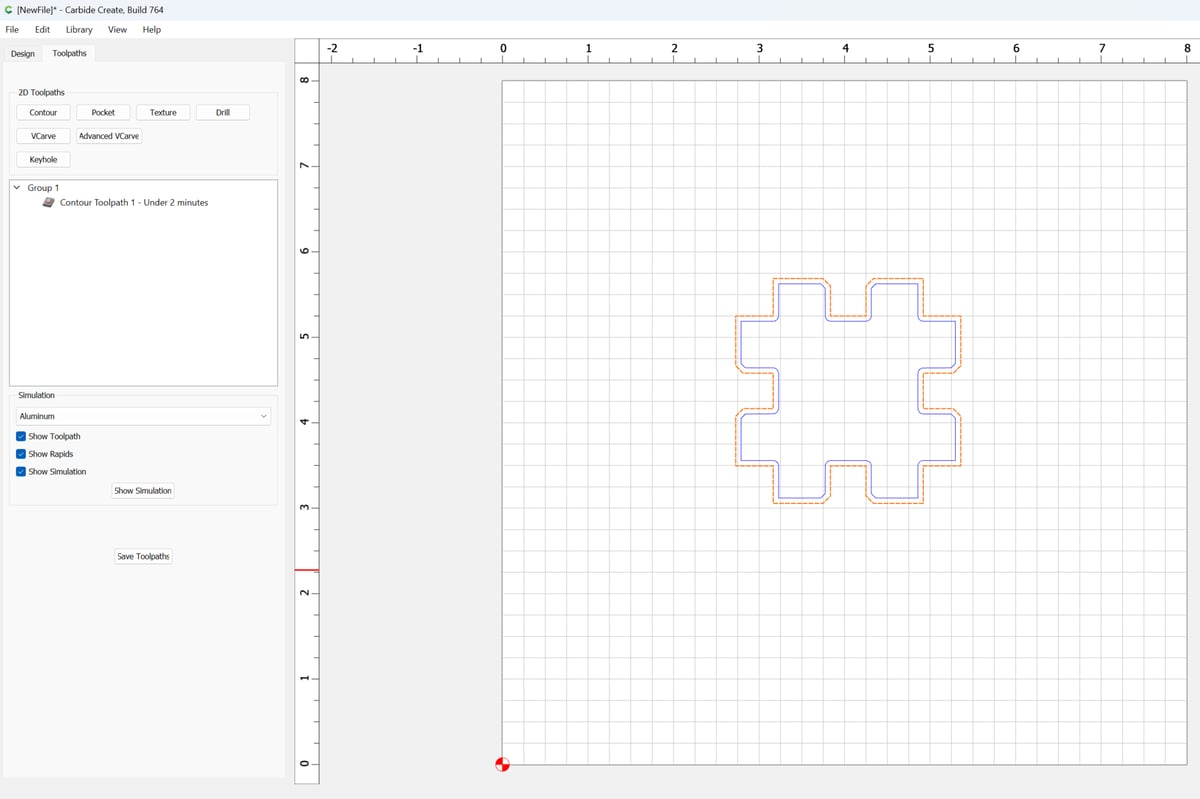
Next, we have another CAM and file conversion tool: Carbide Create. Like DXF2Gcode, Carbide Create is open source and free to use, making it a great asset to have on hand for converting other CNC machinable files (e.g. DWG, SVG, etc.).
Carbide Create is a great platform for converting a DXF drawing to G-code, and it has many features that enable it to do more. There are even built-in 2D modeling tools that allow you to create your own drawings. These include using basic shapes (e.g. squares, circles), creating 2D text, using background images, aligning sketches, and more.
The program’s CAD features allow for creating toolpaths, engraving, contouring, and V-carving. It also has a tool library where you can select which toolhead you’re using on your CNC machine and, once converted, you can use the built-in G-code simulator to ensure your G-code is correct. Adjustable CNC settings include speeds, feed rates, offsets, and more.
Clearly, Carbide Create is a program to be reckoned with given its many unique features.
Instructions
- Open the File menu in the top-left corner, then click “Open” and choose your DXF file.
- In the Design section of Carbide Create, make any desired adjustments to the drawing.
- Select the “Toolpaths” button to create whatever toolpaths you’d like.
- Click the button with “Save GCode”.
- The first time you use the program, you’ll have to select a post processor. We went for “Basic G-Code”. Otherwise, you can find the “Select Post Processor” option under the Edit menu.
Method #4: Fusion
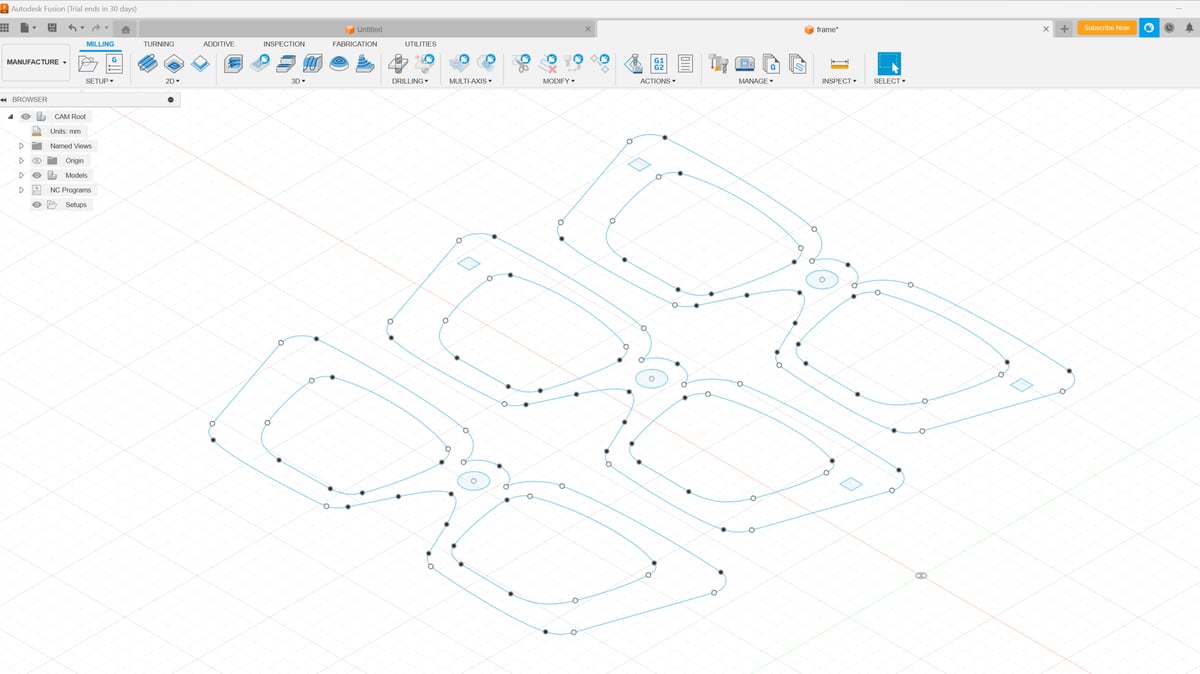
Our last method is to use computer-aided design (CAD) software or a similar program with CAM functionalities. Here, we’ll be using Fusion because it works very well as a tool for generating G-code. Fusion is an Autodesk program with many different capabilities, and it accepts a wide range of file formats for importing, including DXF.
Fusion has a great interface and you can easily convert a DXF file to G-code in the Manufacturing tab. Once imported, you can then select the Milling section to prepare your DXF model for conversion to G-code by adding in any specific cutting jobs, like the “Face” feature.
For each cutting job added to your DXF model, you can adjust the different CNC machine settings, such as spindle speed. Once created, you can save your cut as an “.nc” file, and these files are accepted in many CNC machine programs that process the G-code.
Fusion also has many other adjustable CAM tools that you can use and learn more about in our guide to Fusion and CAM.
Instructions
- Open the File menu in the top-left corner, and select “Open…” Then, select your desired DXF file to import.
- Click the drop-down menu in the top-right corner (which should read “Design”) and select the Manufacture tab.
- In that tab, select the “Milling” section across the top toolbar.
- Add in any cutting or milling jobs you want and adjust the necessary settings for these instructions.
- Click the icon with “G1 G2”, which provides post-processing options and can be found on the top toolbar in the “Actions” section.
- In the pop-up screen, click “Post” and your .nc file will be saved to the set location.
License: The text of "How to Convert DXF to G-code: 4 Easy Ways" by All3DP is licensed under a Creative Commons Attribution 4.0 International License.