Cura & Linux: How to Make Them Work Together

Running Cura on Linux is easier than you think. With a few quick steps, get Cura onto your Linux machine and you're ready for a first print!
The Best Is Simple
In the world of 3D printing, slicers are programs that convert digital 3D models into printing instructions for your 3D printer.
Ultimaker’s Cura is one of the most popular slicers. It’s powerful, easy to use, and has great support. It’s also open-source, making it arguably the best slicer for people getting into the community-driven area of 3D printing.
Installation
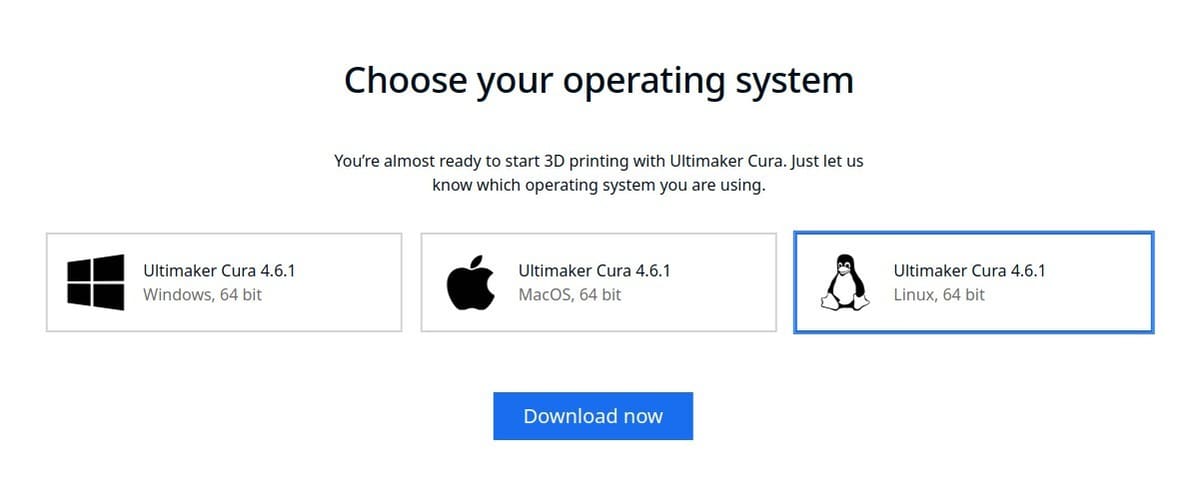
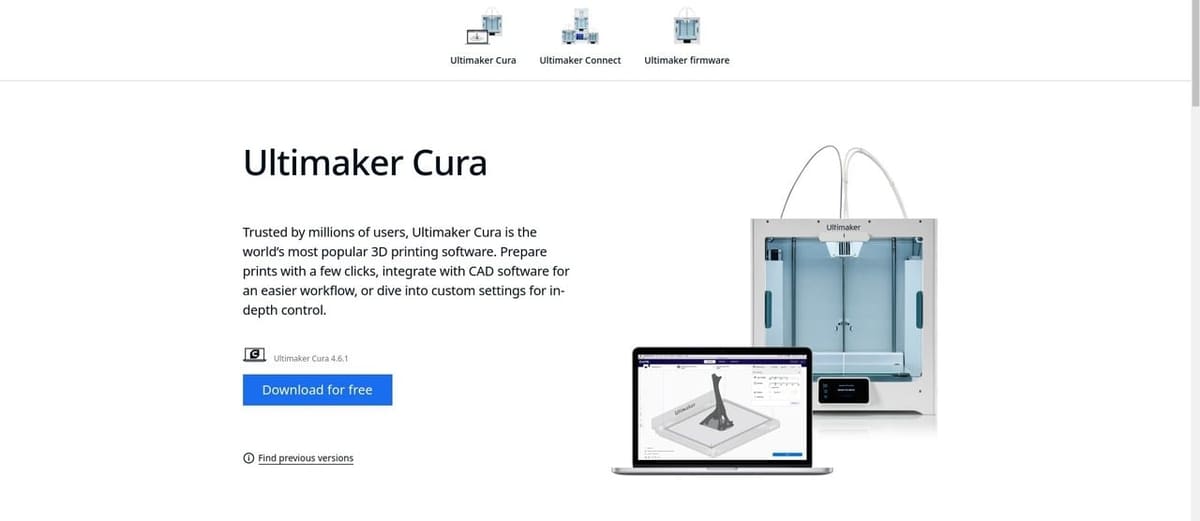
Cura can be used on Windows, Mac, and Linux machines, and you’ll find the most up-to-date version on Cura’s download page. Simply choose your operating system and download.
Although Cura for Linux can be downloaded directly from Cura’s website, the file type isn’t executable by default on Linux.
To fix this, once you’ve downloaded the Cura application for Linux, you’ll have to navigate to your download directory. Select and right-click the file. Then, click on “Properties”.
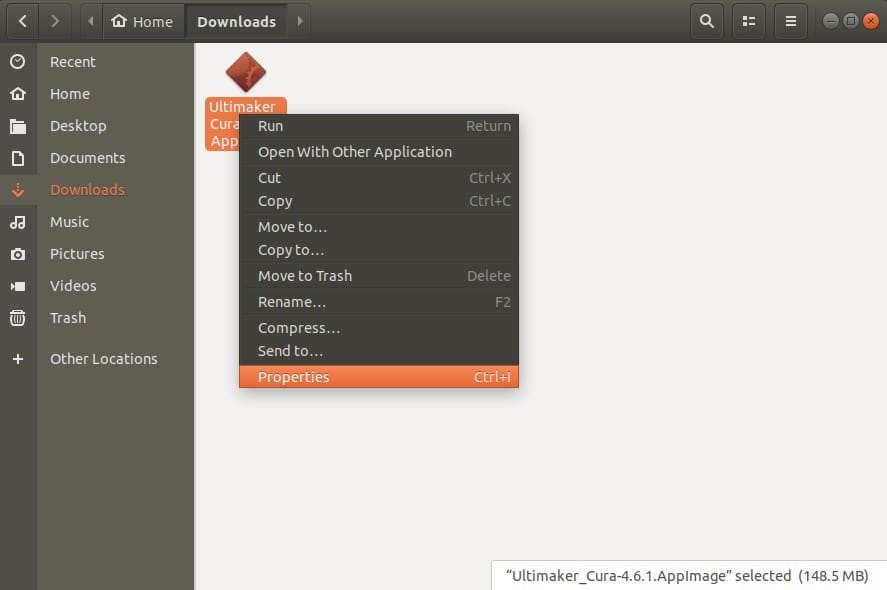
From the Properties window, switch to the Permissions tab by clicking on it at the top right.

You’ll then have to check to enable “Execute: Allow executing file as program”.
After those few easy steps, you’ll be able to double-click the file and run Cura.
Getting Started
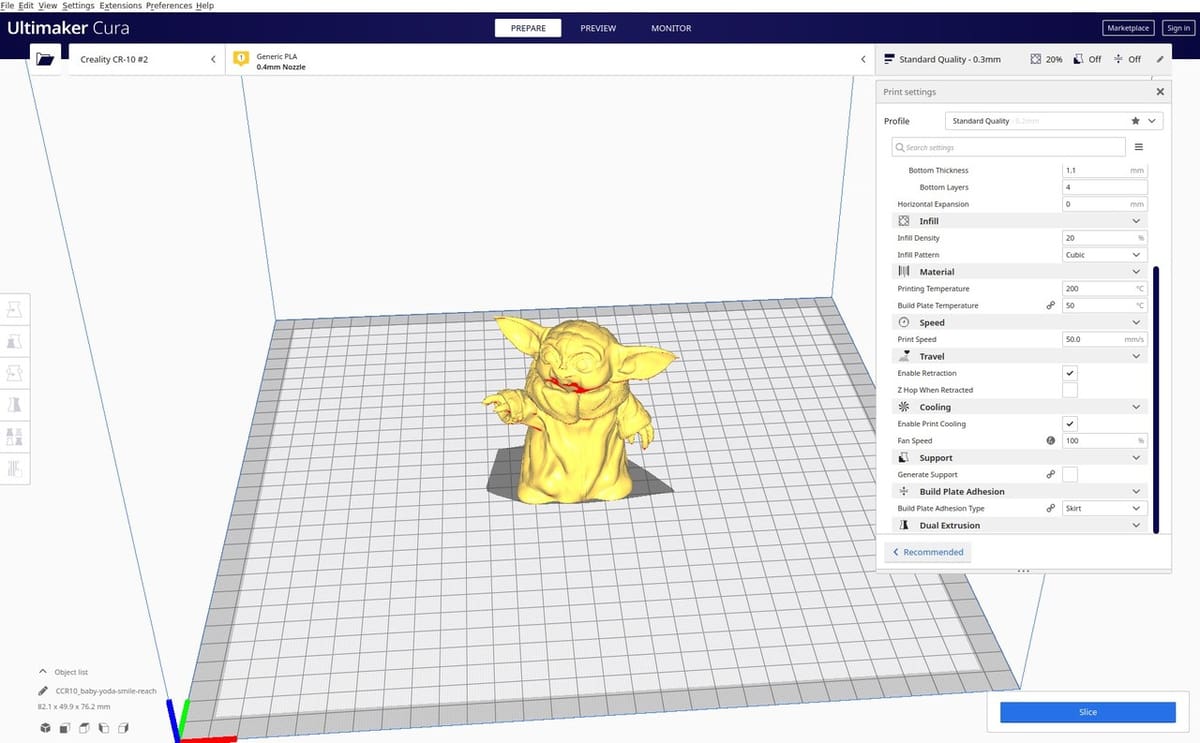
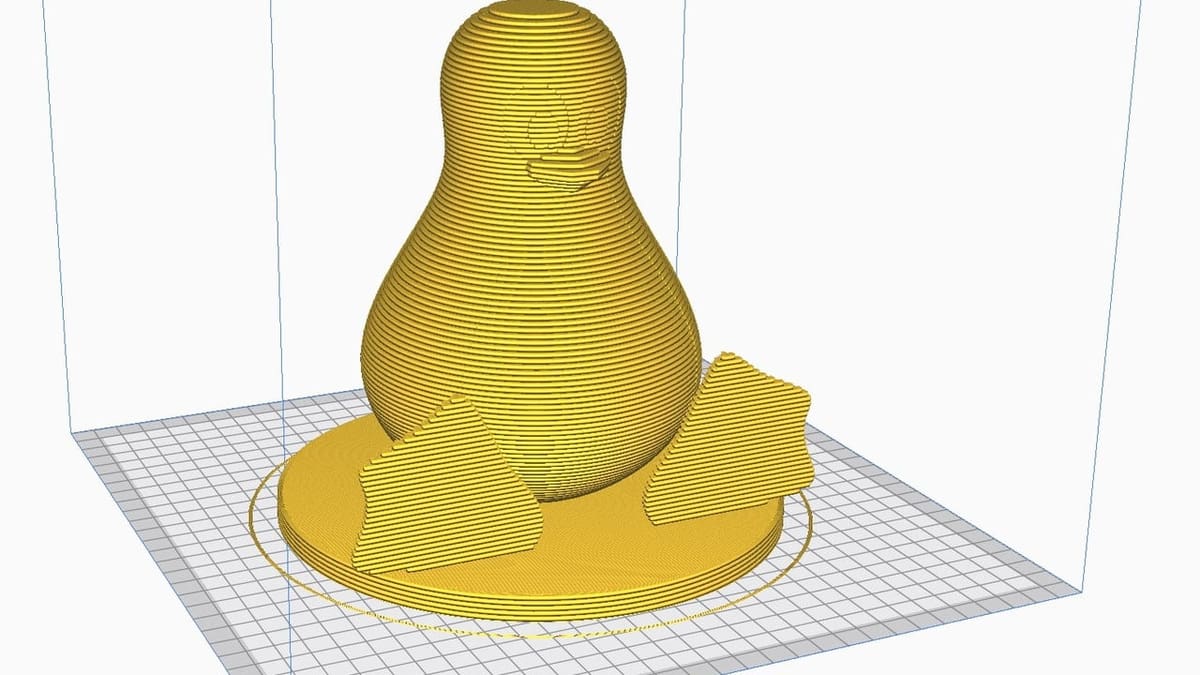
Once you’ve installed Cura on your Linux machine, its time to start slicing! Simply drag in or open an STL file that you’d like to slice. Need help finding a file? There are many websites that offer downloads of free 3D printable models.
Whatever model you choose, either one you’ve designed yourself or one you’ve downloaded, you can customize Cura’s settings for your printer and desired print quality. Then, Cura will generate a G-code file that can be run on your 3D printer. Last but not least, it’s time to print!
License: The text of "Cura & Linux: How to Make Them Work Together" by All3DP is licensed under a Creative Commons Attribution 4.0 International License.