Blender: Low-Poly Design – Simply Explained

If you're trying out new modeling techniques in Blender, low poly could be the one for you. Read on to learn about this unique style!
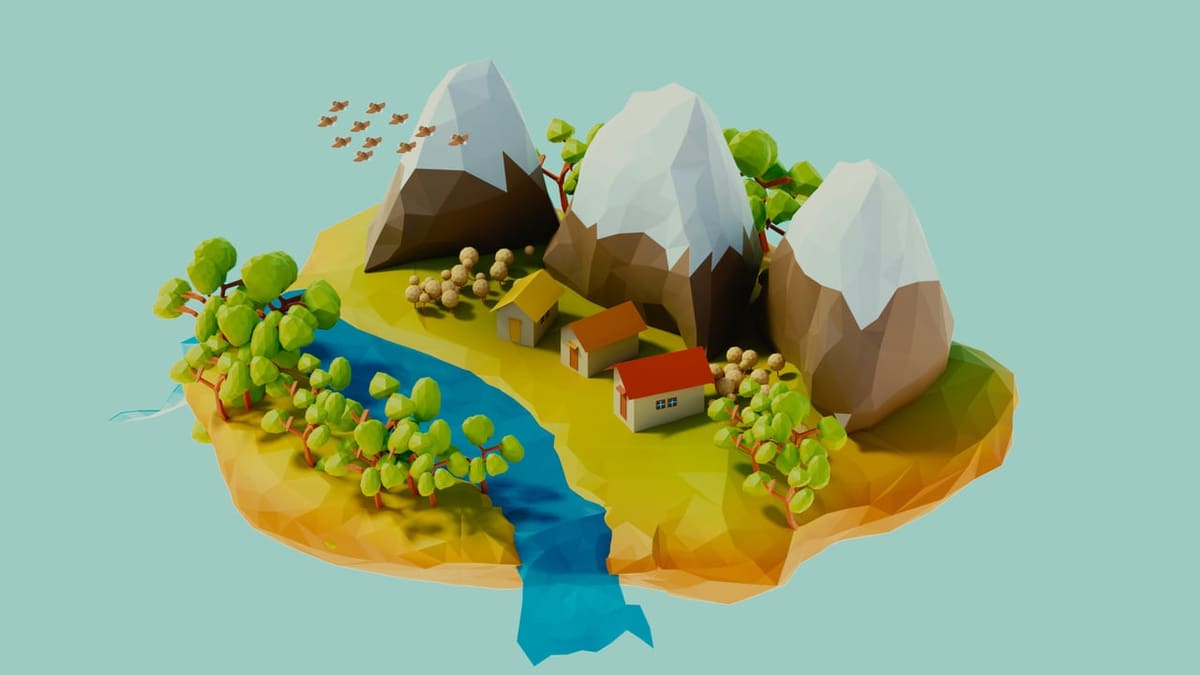
Low-poly is a modeling technique used to achieve stylistic, geometric recreations of real-life objects. The “poly” is short for polygon, and it refers to the number of shapes in a mesh. The mesh is the amalgamation of all the vertices, surfaces, and edges that make up a 3D object, and low-poly designs, accordingly, use a low number of polygons in their meshes, resulting in that stylistic shape.
All models use polygons, but with other types of modeling, the mesh has a much much higher number of elements, so the shapes of the individual polygons are less noticeable. Typically, for low-poly models, a character will have around 300 polygons.
Low-poly models are popular in the video game industry because they’re lighter to render and use in games, and can be faster to model. From a design standpoint, low-poly models allow the designer to push the boundaries of how a character or object looks, similar to making a caricature of the real thing, which can be an interesting way to make your scene or game look unique.
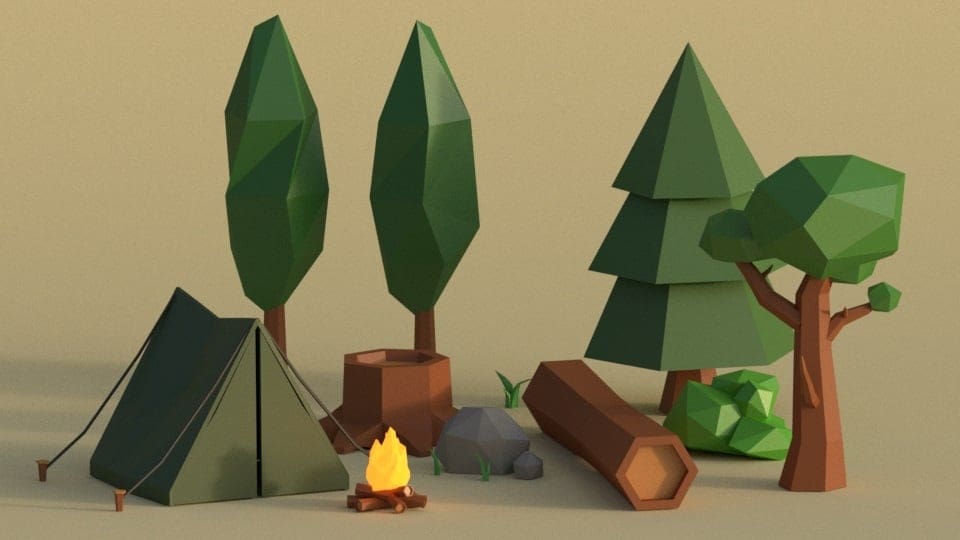
In 3D printing, low poly is also a popular technique because the regular shapes and lack of fine detail make objects straightforward to print. The simplicity of this design style makes a great starting point for beginners to both model and print.
Why Low Poly?
Your modeling style is a mix between technical skill and artistic preference, and both will be greatly influenced by the polygon count. Your modeling style is also not something you can force but rather something that will develop and improve with time, the more you practice. However, there are always parameters that you need to choose, like whether to use low-poly, organic, or hard-surface modeling to make your object. This will affect the type of products and final look of what you create.
There many instances when low poly is the most attractive option. For long projects, where you have to animate a lot of frames, low-poly modeling is a practical choice. It lightens the workload, allowing you to work on perfecting the animation rather than sinking time into the models. Low-poly designs are especially popular in projects worked on by a team, like mobile game modeling, as they’re easy to recreate. As long as the style is charming, the animation is fluid, and you use good shaders, low poly is a good choice for gaming.
In regards to 3D printing, low poly is popular to create simple designs like puzzles and for objects that require dual extrusion. Some people like to make printed sets with this method because it gives the set a sense of unity in style. Newcomers to 3D printing sometimes start by printing low-poly projects, as the simple geometries allow you to get to know the machine and the printing material, without worrying about small details in the design.
Low Poly in Blender

Blender is a free and open-source 3D modeling program that’s used by everyone from hobbyists to professional film studios. In addition to its modeling capabilities, Blender can handle textures, rigging, lighting, animation, and everything in between. It’s a great program to learn, whether you want to work with static models for 3D printing or get into the world of animation, and one of its many capabilities is low-poly modeling.
There’s a very similar process that’s followed for modeling any object in Blender, changing mostly in how much you repeat a step. But it’s easy to get the hang of, and you’ll be developing your own style before you know it. So, let’s look at how to get started on low-poly modeling using Blender.
Step 0: Before You Start
- The first thing you need before you start modeling is an idea of what you want to model. If it’s an animal or a difficult shape you haven’t modeled before, using a reference image might be a good idea. You can add images in the Add menu, which can be used as guides and deleted later.
- The best approach when you’re doing the first-layer drawing is to work perpendicular to a plane. This first-layer drawing consists of getting the initial 2D shape right, which you will then make 3D. If you’re doing an animal, for example, you’ll want to work perpendicular to the vertical plane, but if you’re working on a slim shape, like a palm tree, it might be better to work perpendicular to the horizontal plane.
Step 1: First Layer Drawing
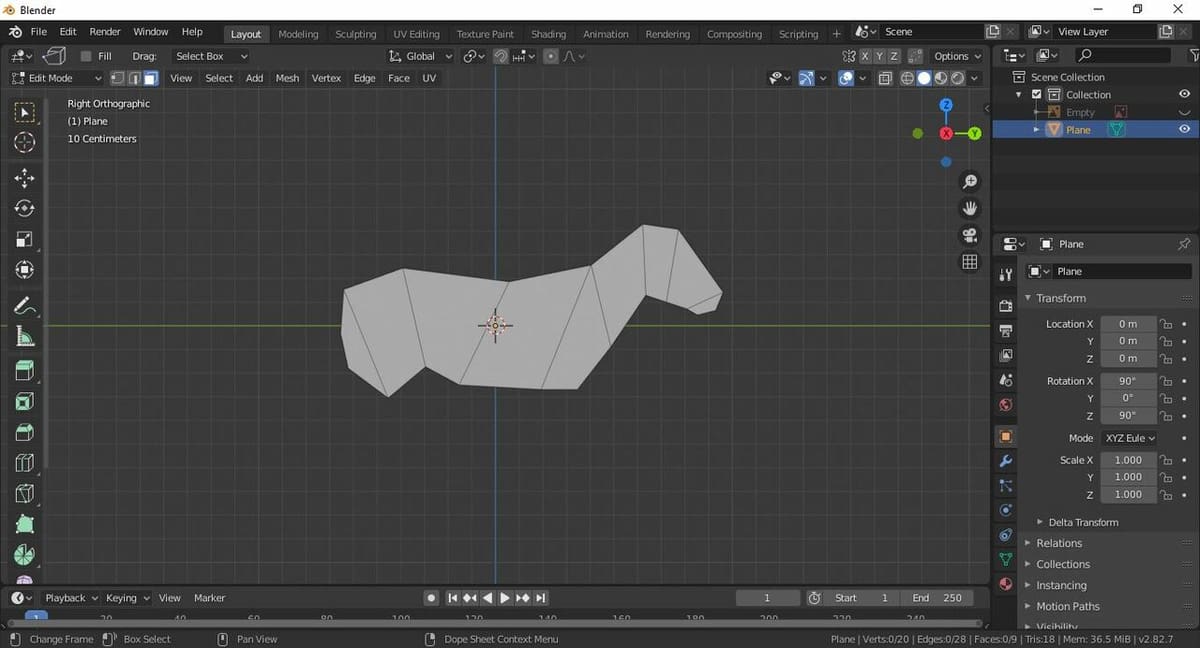
- Start with a plane, which you can get in the Add menu, in mesh. You’ll move around the vertices of this first plane to get an approximate 2D shape of your desired model. It is recommended to do this in edit mode, with your model view set to wireframe and your selection type set to vertex.
- With that first shape ready, with the edge select tool, select one of the edges and press E to extrude another shape from that edge. Move around the vertices of that shape too, until they’re in a shape that contributes to the desired final shape. Then repeat this process over and over until you have the desired initial 2D shape of your model.
Additional Tips
- Going back to the palm tree, in that case, this first layer could be to simply create a pentagon or a similar shape for the base. In the case of an animal, like an elephant, this shape could require a bit more work.
- The idea is to extrude 2D shapes little by little and gradually shape them into a geometrical recreation of your desired model. However, be careful not to add too much detail in this first layer as the idea is to have a simplified version. Too much detail now will make your work harder in the long run because you’ll probably be adding more shapes as you go.
Step 2: Make It 3D
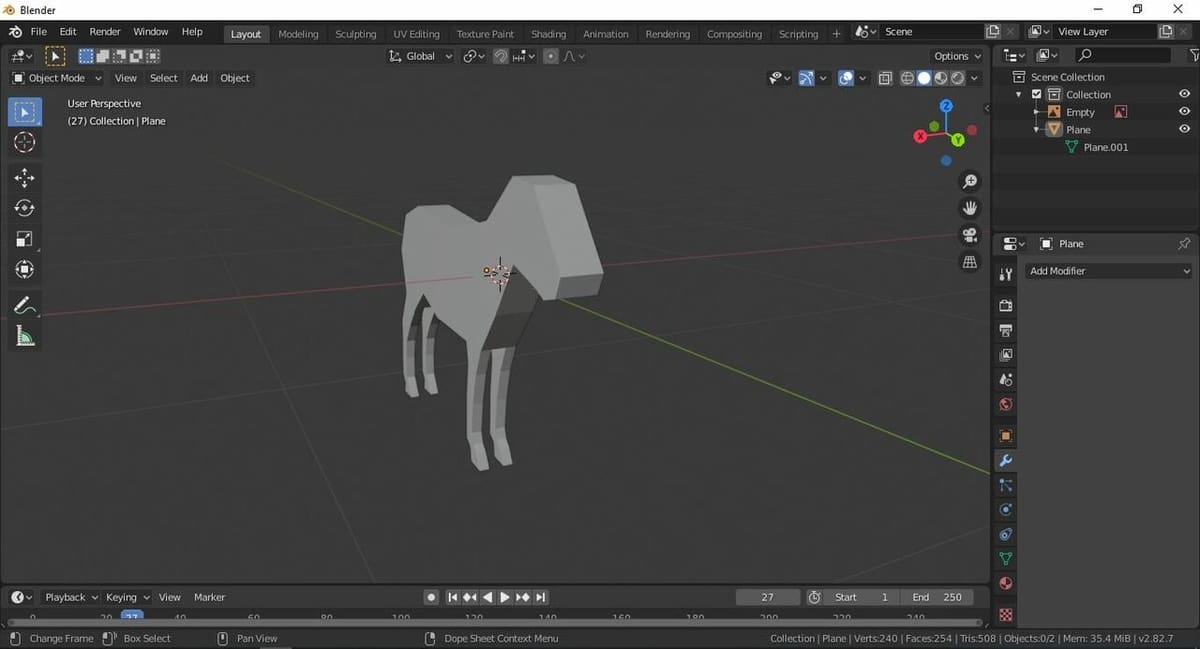
- With the base of your 2D drawing done, select all the faces of your 2D drawing and press E to extrude it up to a thickness you consider appropriate. The distance of the extrusion depends on what you’re modeling – a palm tree will need to be a lot taller than an animal is wide.
Additional Tip
- Extruding a model will be easier by switching to solid view instead of wireframe and while having face select active.
Step 3: Add Detail
- Now you have a 3D model. However, at this point it will look like a block, with not much detail or resemblance to the real object. The next task is to play with it until it looks good and detailed.
- Some useful tools to know are G to move and S to scale. Remember to switch between edge, vertex, and face select, depending on what you want to move around. Another useful tool is ctrl+R, which creates an edge subdivision inside an already existing face, allowing you to add more detail later on.
Additional Tips
- If you’re working with a symmetrical model, it’s a good idea to model only half of it and, by using the mirror modifier, automatically generate the other half. If you want the mirrored parts to stick together, you should check the “Clipping” option in the modifier (for example, you would do this for an animal’s body to attach the two halves but not for its legs, to keep them separate).
- If you wanted to create something like an oak tree, you would create a plane for the base, extrude it up to a certain point, then scale it a little so it’s not just a rectangular prism. You can even rotate it. From the new plane generated at the top of the trunk, extrude again, and so on, to achieve the final shape of the trunk.
And that’s it! The rest is up to how much detail you want to add to your model. More polygons means more detail, but also more time modeling.

Reducing Polygons
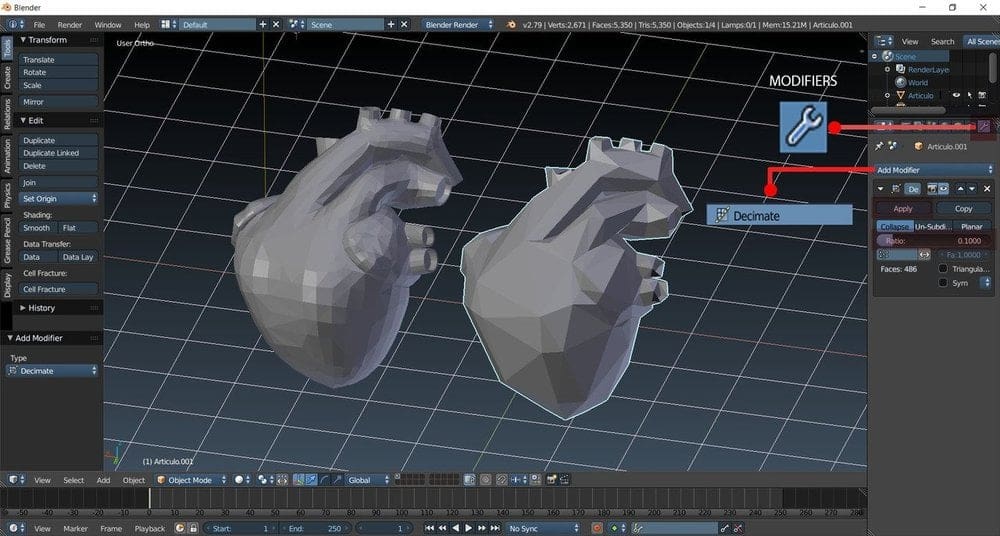
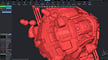
If you like the low-poly look but don’t want to model an object from scratch, Blender has a way of making more organic-looking low-poly models by using the “Decimate” modifier. This tool reduces the vertex and face count of a mesh with a simple slider, which will give the low-poly appearance we’re looking for.
Once you’ve loaded a higher-poly model into Blender, right-click the model in Object mode and find the modifiers menu (wrench symbol). Click “Add Modifier > Decimate” to access the tool. Move the slider or enter a value and watch how the appearance of your model changes. Once you’re satisfied with the result, hit “Apply”. Just don’t go too low or your object will no longer be recognizable! And be careful: It’s not possible to get that detail back by sliding the other way once it’s saved – you’ll have to start from the beginning.
License: The text of "Blender: Low-Poly Design – Simply Explained" by All3DP is licensed under a Creative Commons Attribution 4.0 International License.