The Best DIY Arduino 3D Printers

Building your own Arduino 3D printer can be challenging but rewarding. Check out some of the best projects!
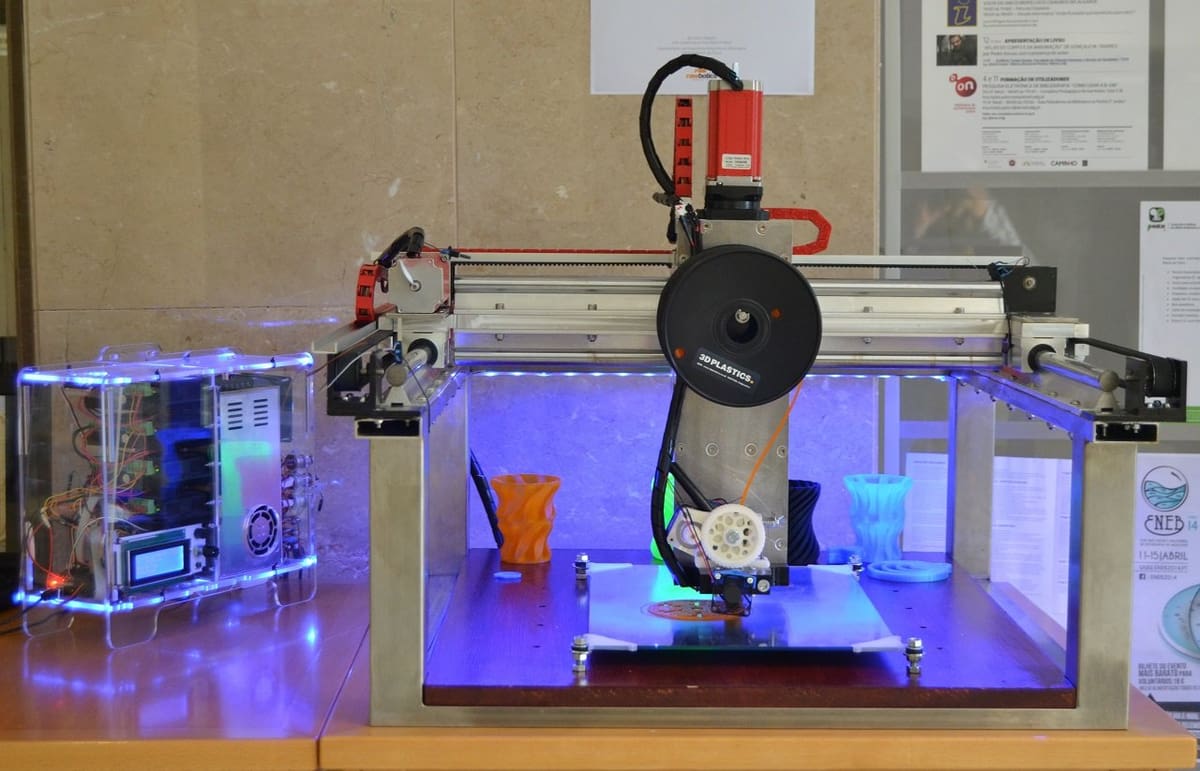
An Arduino 3D printer, as you might be able to guess, features some of its control components based on Arduino. It can be the mainboard, the drivers’ board, the display, or some sensors, among others. When putting together a home-built 3D printer, Arduino is a very popular option because the boards are open source, they’re available almost anywhere, and there’s a lot of documentation online.
It’s important to note, though, that although Arduino is a very beginner-friendly development platform, building a 3D printer is never a beginner task. There are a lot of variables to understand, programming to customize, and wiring to do, so it’s not recommended to jump right into it without some previous Arduino experience.
In this article, we take you through some of the best Arduino-based DIY printers. These will be classified with a level of difficulty but, again, even when we say “easy” we don’t mean it’s Arduino beginner-friendly, but that it’s straightforward in comparison to other DIY printers. All these printers are FDM machines of varying types, with some presenting a greater challenge than others.
But before we get into the printer projects, let’s look more at the history of DIY 3D printing.
The Beginning
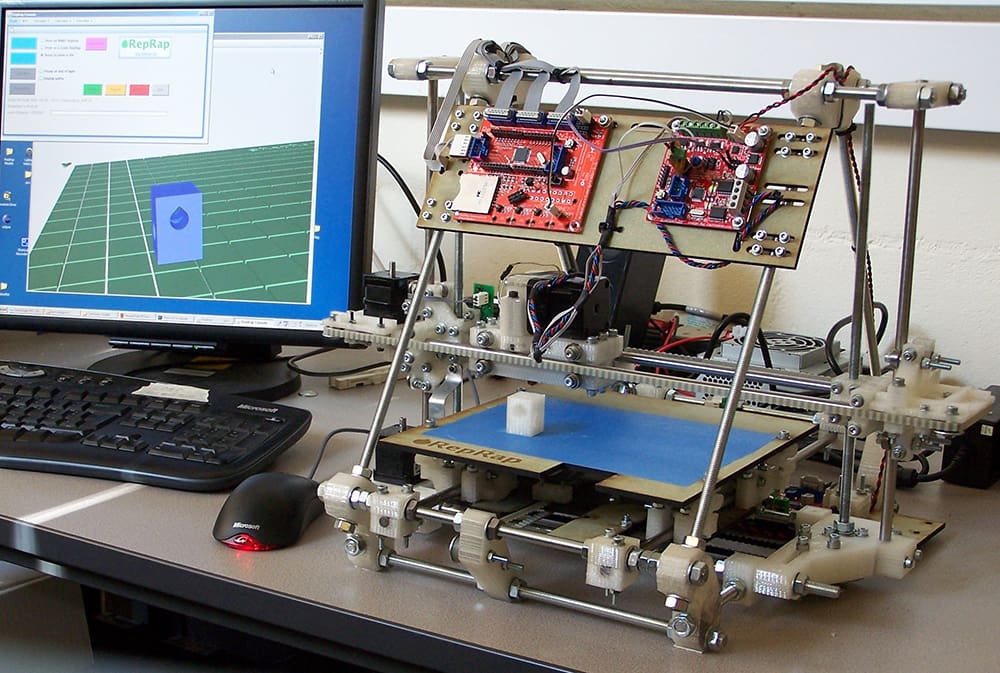
The DIY 3D printing scene was popularized by the RepRap project. RepRap stands for “replicating rapid prototyper” and was a project founded by Adrian Bowyer in 2005 in the UK. The purpose of the project was to develop a homemade 3D printer that could have enough basic functionality to 3D print the rest of its own components.
In 2006, the team was successfully able to start printing their own printer using that same printer. And around the same time, Massimo Banzi was creating the first Arduino board in Italy. Thanks to this, during the development of the RepRap printers, they were able to switch to Arduino and complete their mission.
Both projects worked together amazingly because they featured an open-source approach to make previously too complex technology available to the masses cheaply. This is how the Arduino DIY 3D printer combo was born.
The Middle
Before long, 3D printer companies that wanted to capitalize on the RepRap movement started using Arduino or Arduino-compatible boards to produce their printers.
Such is the case of MakerBot, who you might have heard of for their printers or as the company behind Thingiverse. The company initially used a RepRap Motherboard v1.1 with a Sanguino, which is an Arduino-compatible board that had more pins and double the RAM and storage of the comparable Arduino board at the time. Not only did this influence the popularity of Arduino, but the creation of Thingiverse brought us to the collaborative community we have today, where people share their designs for free and allow others to remix them. This is part of what has helped advance the DIY 3D printer scene.
Finally, Ultimaker used Arduino Mega 1280 or 2560 boards in their 3D printers. This is another way that Arduino became a popular platform for 3D printing control. Additionally, thanks to all these open-source factors, there’s a lot of documentation to keep bringing new people into the DIY 3D printer scene.
The Present
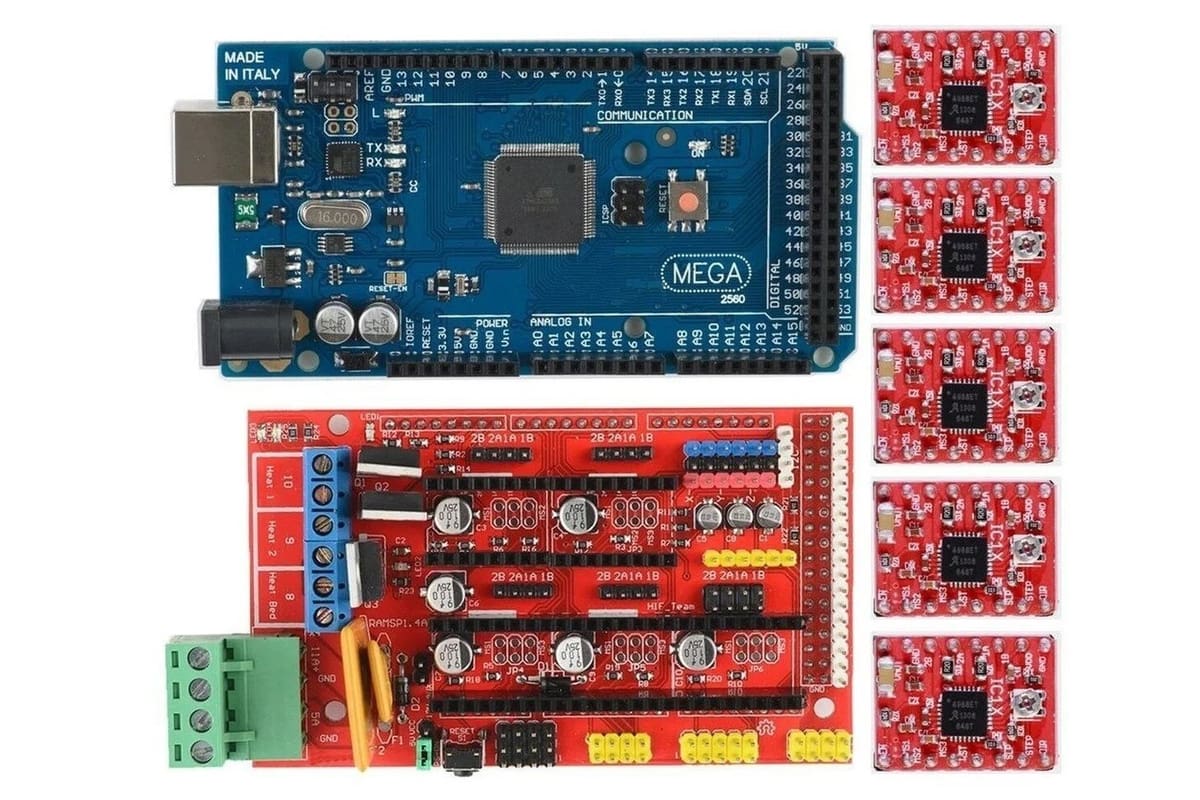
Nowadays, Arduino boards are the heart and soul of most 3D printers, especially for RepRap and other DIY 3D printing projects. Instead of building up the components from scratch, there are bundles like RAMPS, which stands for “RepRap Arduino Mega Polulu Shield”, designed specifically for 3D printer control. We can also find the RAMBo, which stands for “RepRap Arduino-compatible Mother Board“, which is a class of RAMPS motherboard.
Additionally, you can buy DIY bundles that include the most common transmission parts for a 3D printer. If you’re building your own machine, it’s guaranteed you’ll see some of these: NEMA stepper motors, leadscrews, timing belts, displays, end stops, V-slotted extruded aluminum profiles, and steel bars. There are even open-source firmware packages like Marlin that can be customized and used on different motherboards, including Arduino.
Many makers now share their DIY 3D printers online so anyone can replicate them, and we’ve gathered some of the most impressive projects so you can try your hand at one of them.
Ultimaker Original+
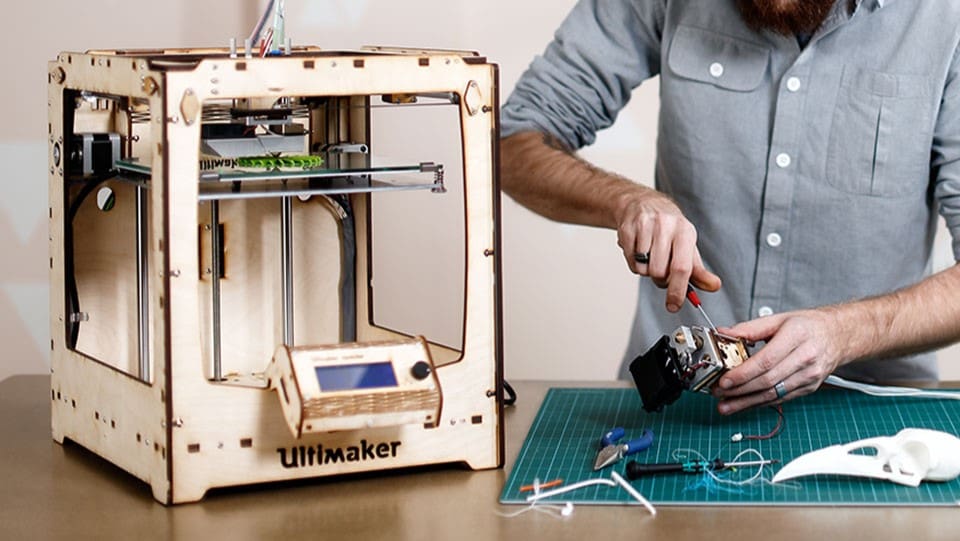
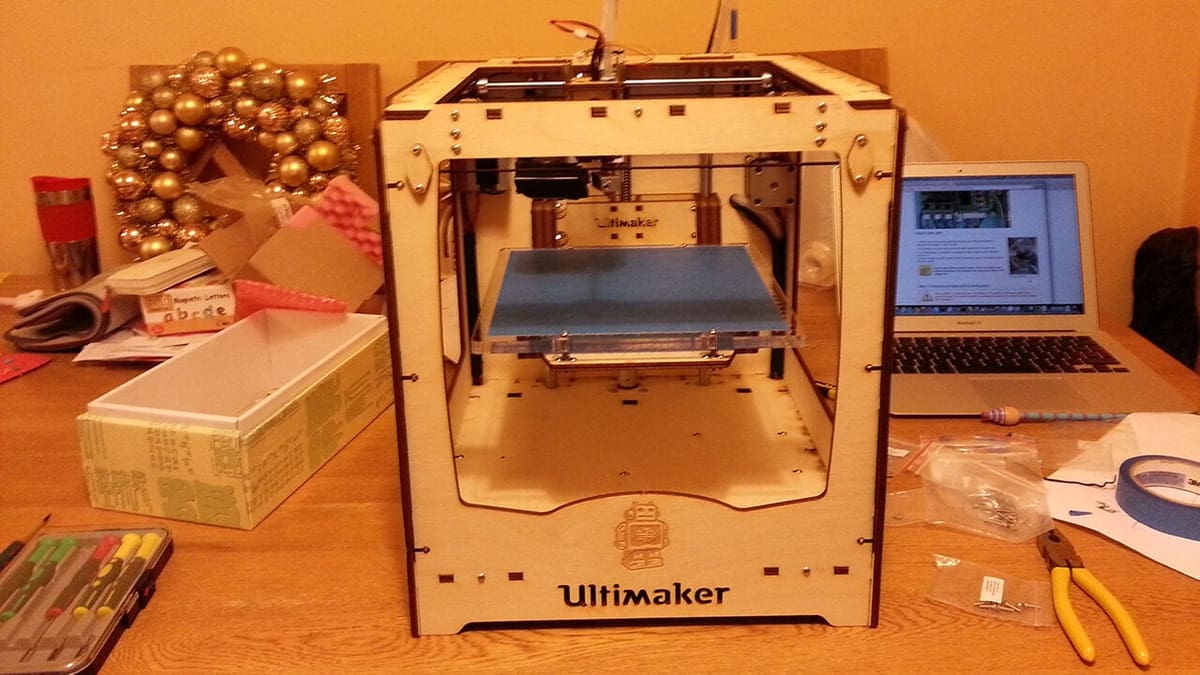
The Ultimaker Original+ is a great way to start, especially if the task of building your own 3D printer seems a bit daunting. This is purchased as a bundle, so it comes with the firmware and all the parts, and all you need to do is follow the assembly instructions. This means you need almost no previous knowledge and you won’t need to make too many decisions or think too hard.
It’s a great way to get to know all the ins and outs of a 3D printer, and also of Arduino, since this printer uses an Arduino Mega. It’s a CoreXY design, it doesn’t require any 3D printed parts, and it has features like a heated bed so you can print in different materials.
- Difficulty: Easy
- Designer: Ultimaker
- Key components: Arduino Mega, heated bed, DIY bundle
- Where to get it: Ultimaker Original+
Buildersbot
This 3D printer has one key component that makes it an advanced project: It can work as both a CNC machine and a 3D printer, simply by changing the toolhead of the machine. Therefore, it needs additional parts, even more reliable stability and sturdiness, and more complex firmware.
The creator provides the full instructions, but be ready to do some heavy lifting. The build also includes a heated bed and has a working area of 500 x 700 x 200 mm. And remember, if you use it as a CNC machine, you may have to do a bit of cleaning and maintenance before being able to use it for printing.
- Difficulty: Advanced
- Designer: aldricnegrier
- Key components: Arduino Mega, RAMPS, NEMA 23 stepper motors, timing pulleys, leadscrews, line supports, Kress milling spindle, J-head extruder
- Where to get it: Instructables
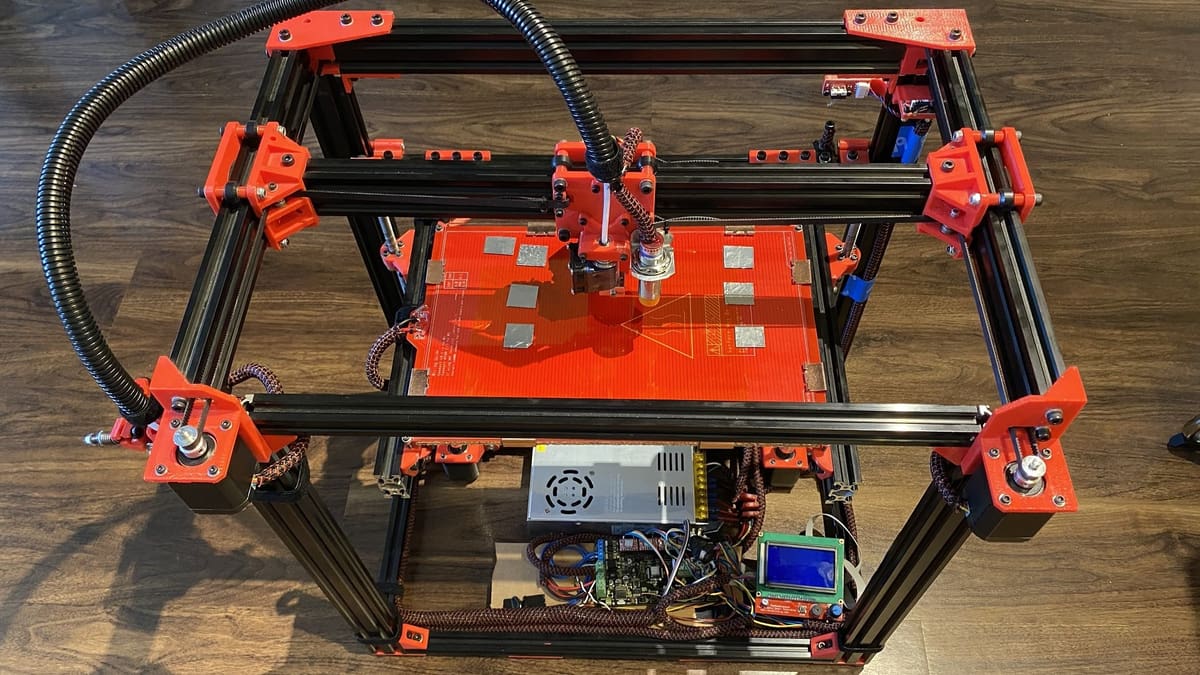
D-Bot Core-XY
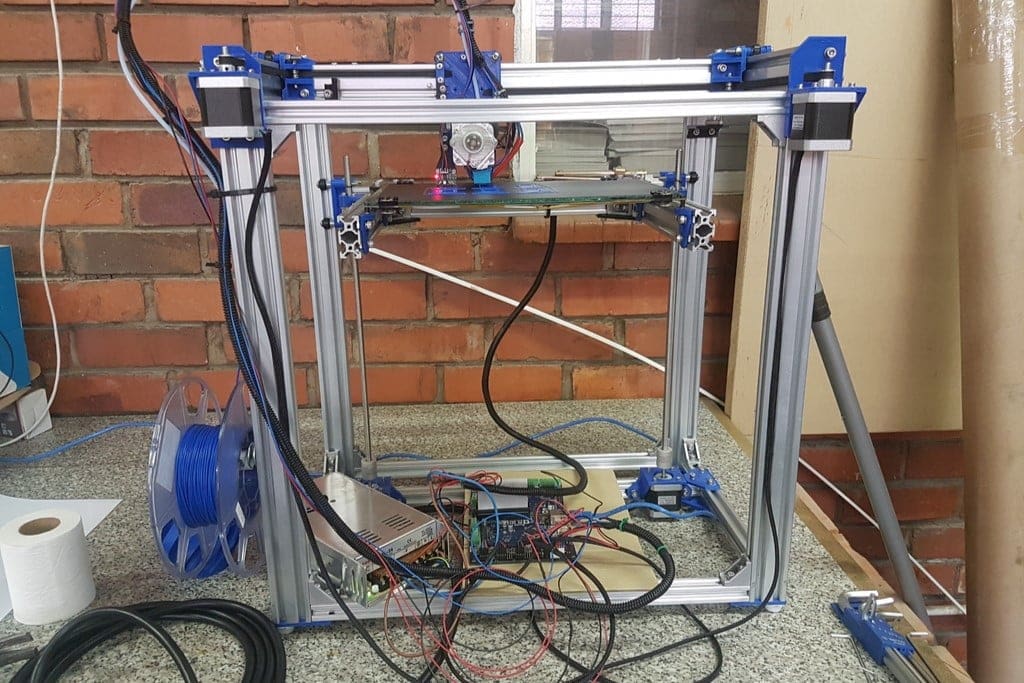
This is another iteration of a CoreXY 3D printer but this time using 3D printed parts, following the RepRap philosophy. You can use another 3D printer or a 3D printing service for the parts. This design has been successfully replicated 142 times, as shown in the Makes, which means we know it can be done.
In addition to the parts provided by the creator, there are links to other Thingiverse files used in the building of this machine, such as the display enclosure. The printer has a printing volume of 300 x 200 x 325 mm and the creator estimates it costs around $550 to make.
- Difficulty: Intermediate
- Designer: spauda01
- Key components: Arduino Mega, RAMPS, 3D printed parts, V-slot extruded aluminum profiles, NEMA 17 stepper motors
- Where to get it: Thingiverse
Mendel
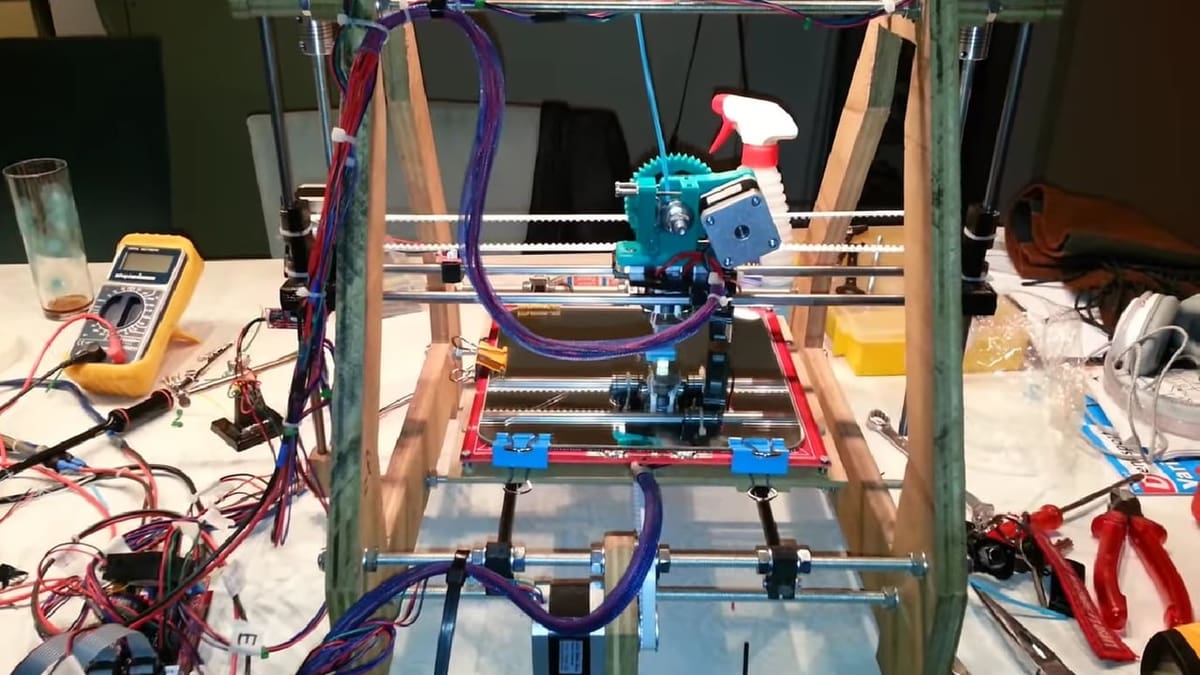
To add some variety to the mix, this is a Cartesian 3D printer. This means that it uses a similar moving principle to CoreXY, but in this one, the print bed moves forward and backward along the Y-axis and the nozzle across the X- and Z-axes. In contrast, in a CoreXY machine, the print bed moves up and down the Z-axis and the nozzle in the XY-plane.
Even though it uses a slightly different technique, it’s still pretty easy to make, as it’s mostly constructed from plywood, which is accessible to get and work with. It also uses some steel bar rods and leadscrews. The creator ended up 3D printing some parts due to limited access to CNC tools, so you can assess which method of manufacturing is best suited for you.
- Difficulty: Easy
- Designer: bram2202
- Key components: Arduino Mega, RAMPS, NEMA 17 stepper motors, stepper drivers, linear bearings, mechanical end-stops, 8mm shafts
- Where to get it: Instructables
Delta 3D Printer

To bring even more variety to the list, a delta printer! Delta printers use a triangular system of coordinates to convert the Cartesian information received from the G-code into combined triangular movement. In a Cartesian printer, for example, X10 would cause 10 mm of movement along the X-axis of your machine. With a delta printer, even though the instruction signals only one direction, the three arms of the printer would have to move to achieve this.
This printer is better suited for round prints such as vases, but it can also be more challenging to make, because of the complex movement system.
Like the first selection, this is a DIY bundle you purchase and follow the instructions to assemble. If you want to dive into DIY delta printers, a bundle is a good way to start, because you don’t have to do the hard thinking, figuring out sizes and proportions, and the firmware.
- Difficulty: Advanced
- Designer: GreatScott!
- Key components: Arduino Mega, RAMPS, DIY bundle
- Where to get it: YouTube
Honorable Mentions
Finally, we have two special mentions that aren’t as practical to create at home, but we still thought were worth sharing.
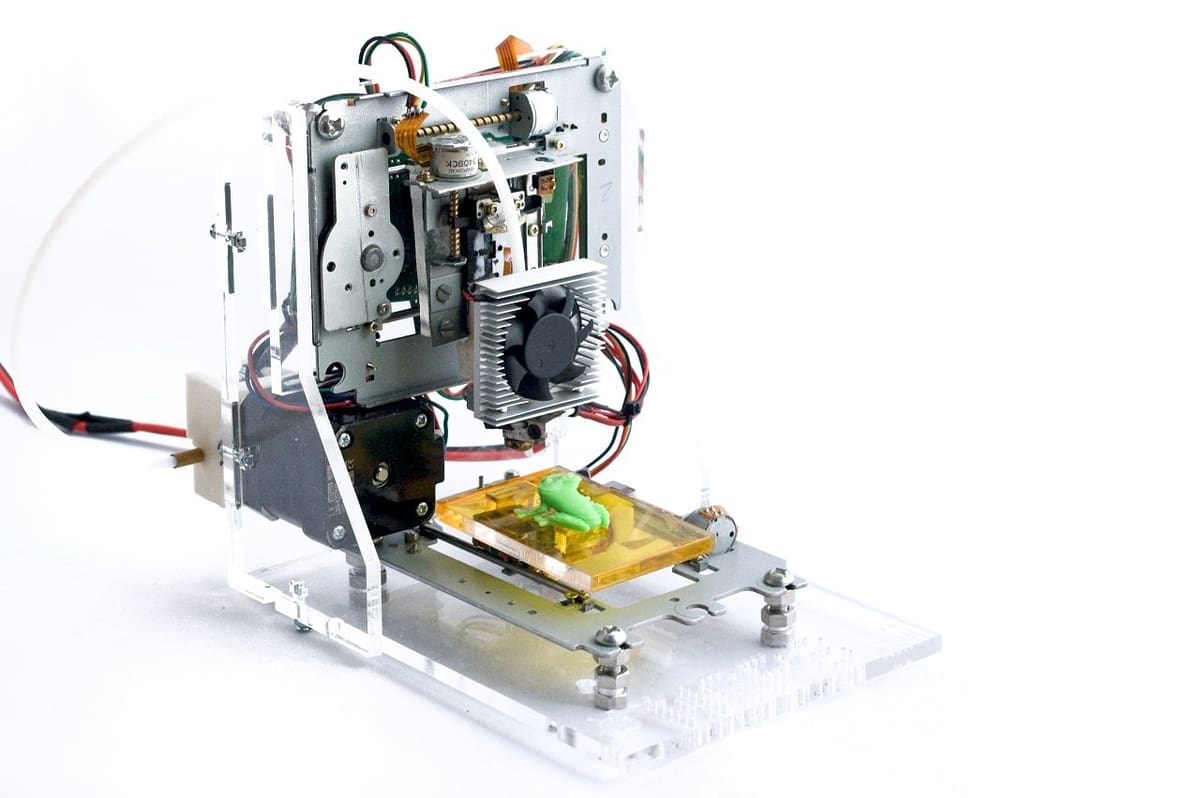
eWaste
This is a small-scale 3D printer that uses, as the name indicates, electronic waste. Things like DVDs and floppy disk drives, which you have no longer any use for, can be repurposed to create a 3D printer. It’s not viable for everyone to get the materials for this printer, but if you’re into retro technology, this could be your next adventure.
- Designer: mikelllc
- Where to find it: Instructables
Arduino Materia 101
The day that Arduino went full circle and released their own Arduino-brand 3D printer was an incredible day for science. It’s a given that such a printer would deserve a mention on our list. However, support for this printer is pretty sporadic at the moment, and it’s difficult to find it in stock. If you’re passionate about building one, it will take some research to track down a kit.
- Designer: Arduino
- Where to find it: Arduino Project Hub
License: The text of "The Best DIY Arduino 3D Printers" by All3DP is licensed under a Creative Commons Attribution 4.0 International License.