AutoCAD Hatch: Commands, Patterns, & More

If you want to make your AutoCAD drawings stand out, you might want to use hatching. Read on to find out all about AutoCAD hatch patterns!
What Is It?
Say you’ve finished a 2D drawing in AutoCAD and included all your necessary views, added every dimension, and finished it off with your notes and bill of materials. You’ve covered everything from your title block to those last pesky bits of clean-up. Yet, you might be missing one last step that will truly define your parts and bring your drawing to life… hatching!
Simply put, “Hatch” is a command in AutoCAD that lets you fill in an area with a pattern. There are three standard hatch types to chose from: pattern, solid, and gradient.
Once you’ve selected your hatch type from one of those three, you can further customize and make it your own by changing the color, scale, angle, and transparency.
When you create a hatch pattern, it’s all one joined entity like a group made up of a bunch of different lines and points. This helps keep your drawing file size smaller than if you just copied objects.
Between the combinations of hatch types and customizing, you can create pretty much any hatch design you can dream up!

In this article, we’ll explain why hatching is such a valuable tool, how to do it, where to get more hatch patterns, and give you some tips to speed the process along.
We know you have more drawings to get to, so let’s get started!

Usage

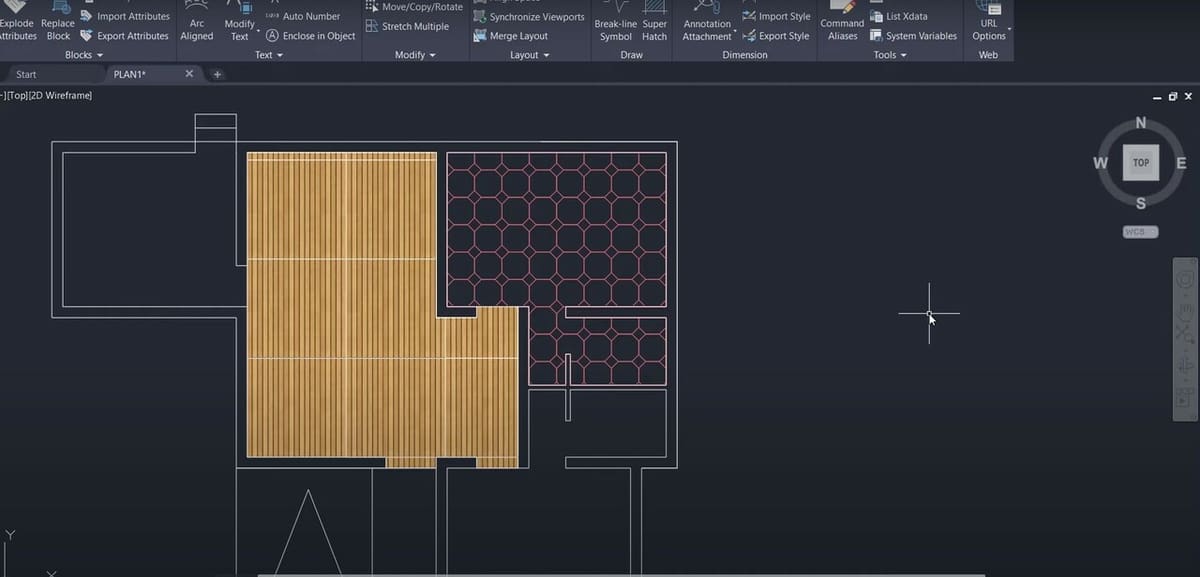
Hatching can improve the readability of drawings for manufacturing, civil engineering, architecture, and other fields. Essentially, hatching differentiates parts on your drawing, especially in section views that show multiple parts or materials.
As an example, many manufacturing drawings will assign separate hatch patterns to individual materials to give you a quick reference of what the parts are made of, such as steel vs. aluminum.

In the field of architecture, hatching really brings landscape drawings to the next level, adding differentiation for features like grass and trees.
You can also play with solid color options, changing transparency, and layering.
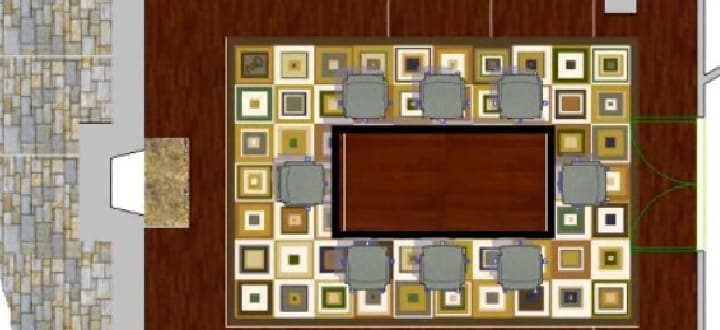
Hatching also adds shadows and images to enhance your drawing views and create realism.
For example, you can create your own floor tile or backsplash patterns, or a customized paint job for your car.
How to Do It

Now, we’ll walk you through the steps of adding hatching to your AutoCAD drawings. Open up your drawing file then follow along with the steps below to add your first hatch!
Step 1: Hatch Command

Click on the Hatch tool in your upper Home tab ribbon or type “Hatch” (or ‘H’) in the command line to open the hatch ribbon.
We’ll now work left to right across the hatch ribbon panels.
Step 2: Boundaries
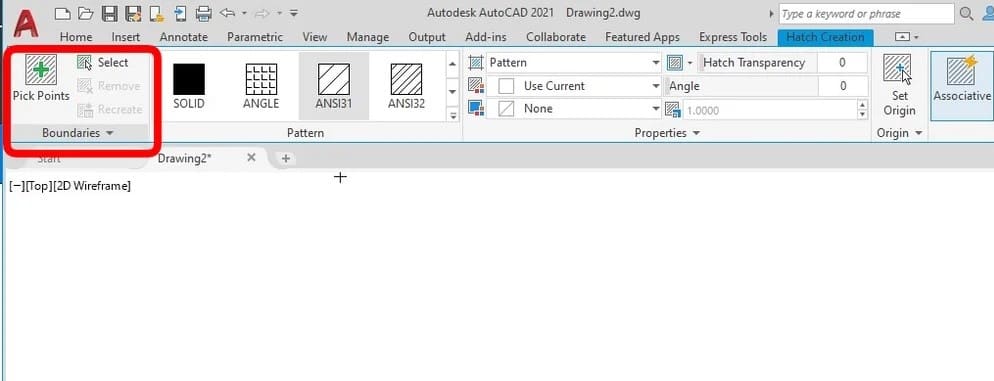
The boundaries panel gives you some options for how to select where you want to apply hatching. It’ll also let you modify your hatch later.
The two most common are:
- Pick points: Click inside a closed shape and voilà: It’s hatched!
- Select objects: Individuality select the elements of a closed shape. This could mean a lot of clicking, but it’s a very accurate method when you’re dealing with complex shapes.
Step 3: Pattern

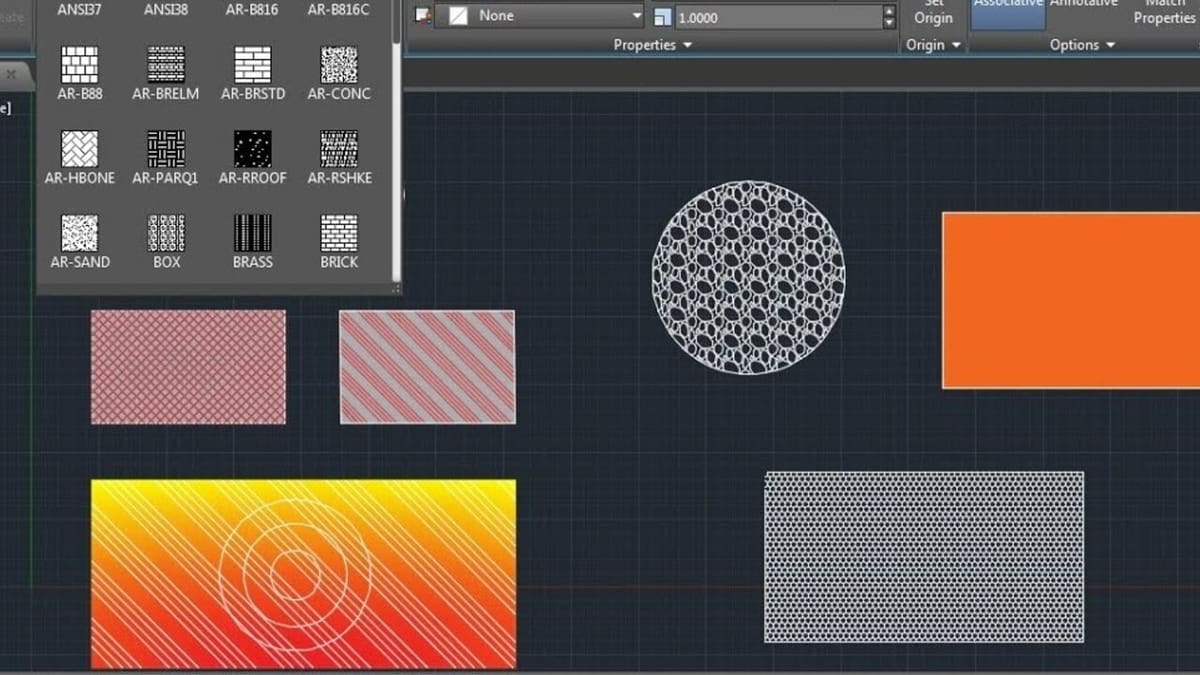
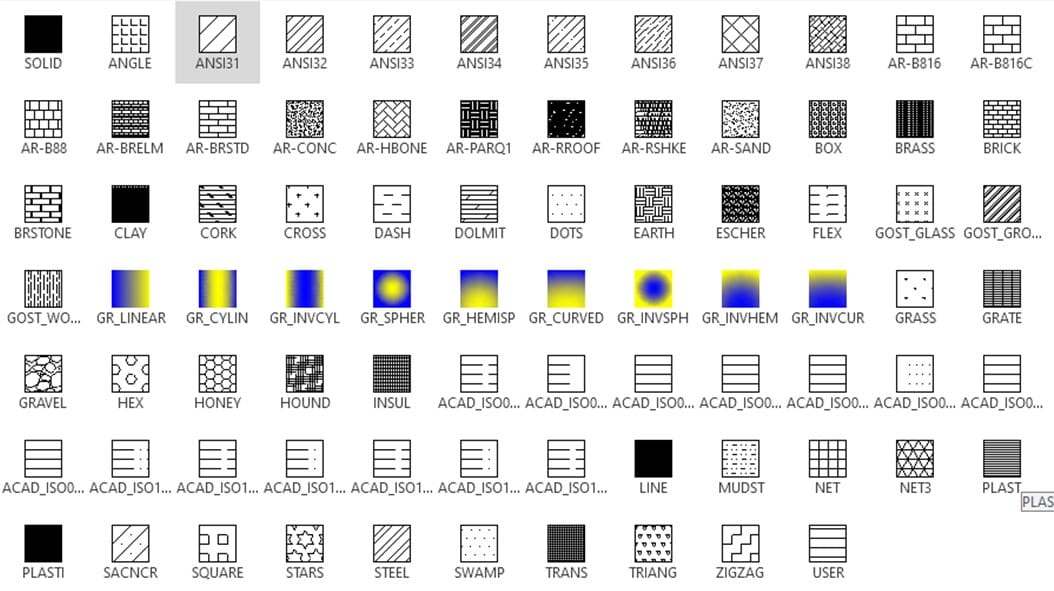
Once you’ve selected the pattern panel, you can scroll through and check out all the preloaded patterns AutoCAD has to offer. This is the panel that lets you select what “type” of hatch you want to apply:
- Pattern: AutoCAD comes with over 70 predefined industry-standard hatch patterns to choose from. (If you’re interested in creating your own, we’ll cover that a bit later.)
- Solid: This type lets you fill an area with one solid color, either a preset or customized one.
- Gradient: A gradient is displayed as a smooth transition between two colors of your choosing in either a circular or linear pattern.
Step 4: Properties
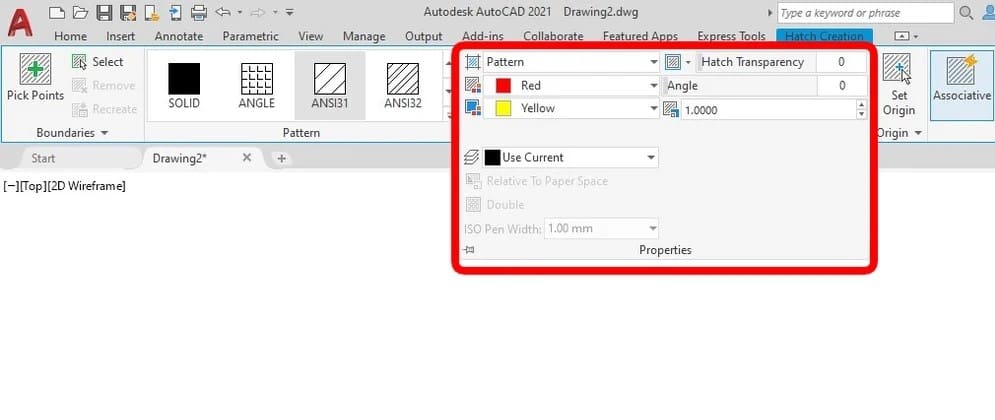
The properties panel is where you select a layer for your pattern and create some cool effects in your hatching.
By adjusting the angle, the transparency, and the scale of your pattern, you can come up with endless possibilities. If you get overwhelmed with all the options offered, use the default settings and your pattern will be just fine.
Step 5: Origin

“Origin” shifts your hatch pattern to be aligned perfectly with a selected point. Use this if you want to control where the pattern starts from.

This is a good example of a time you might want to use the “Set Origin” option. It’ll let you move and manipulate where the pattern begins so you can align objects to your specifications.
Step 6: Options
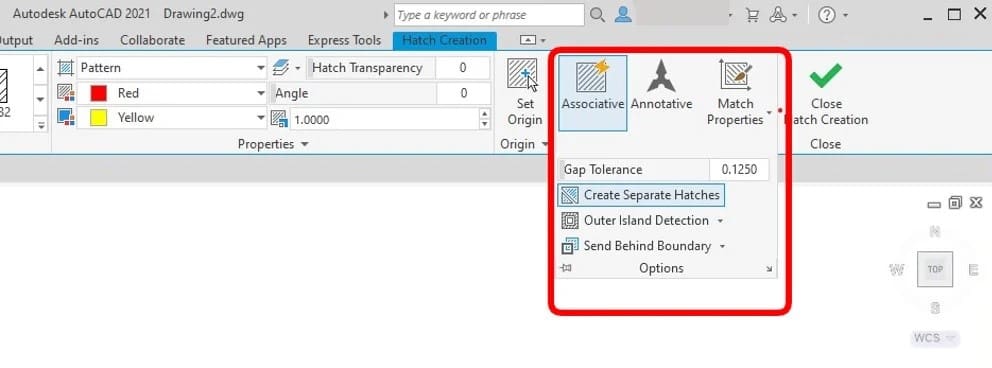
The hatch ribbon Options panel lets you customize a few final properties of your pattern.
- Associative: Controls if hatches update automatically when you adjust their boundaries.
- Annotative: If you’re using viewports, this will adjust the hatch size to match the viewport scale.
- Match Properties: Matches the properties of a hatch pattern to another you’ve already made.
You can also dive deeper by adjusting “Create Separate Hatches”, “Outer Island Detection”, and “Send Behind Boundary” and seeing what effects these have on your patterns.
Step 7: Saving & Closing

Warning! Once you’ve selected your hatch pattern and adjusted it just the way you want, don’t forget to click the big green “Close” checkmark at the end of your ribbon, or all your work will have been for nothing.
If you want to modify your hatch after you’ve created it, double click on any hatch to select it, and the hatch ribbon will automatically reopen.
Additional Sources
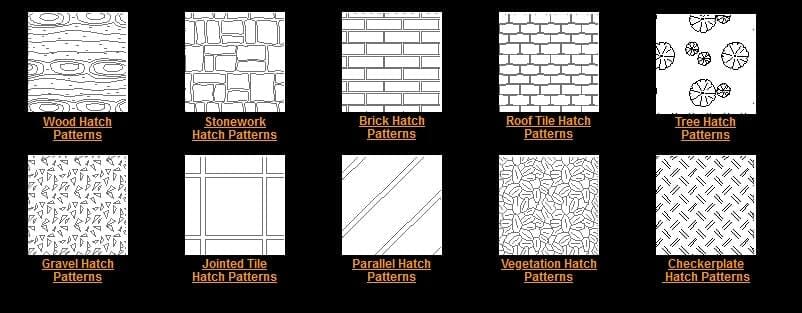
If you’re looking for a hatch pattern beyond the preloaded ones, check out the following sites:
- CADhatch.com has loads of free AutoCAD hatch patterns. Aside from their wide selection of original patterns, the site also offers a hatch generator, hatching tricks, and an installation guide for their downloadable patterns.
- ArchBlocks is a paid site that boasts around 400 high-quality AutoCAD hatch patterns for download. We like that they cover a wide variety of fields, from architecture to mechanical, and everything in between. They’ve used the Design Center feature in AutoCAD to group the patterns into categories, so you can easily select individual components to insert into your drawings.
- DWG Free is a free site that offers about 900 different patterns to cover all your needs. No sign-up is required and their patterns are compatible with all versions of AutoCAD beyond 2007. We liked that they also included electrical symbols. It might take you a little longer to find what you’re looking for in their vast library, but it can be worth the time.
Make Your Own

If the hatch patterns that are included in AutoCAD don’t meet your needs and you can’t find what you’re looking for on a third-party site, you can also make your own!
You have three options when it comes to creating your own hatch patterns:
- There are free downloadable hatch pattern generators, like from CADhatch.com, that you can use in all your drawings.
- The AutoCAD express tool SuperHatch command allows you to create hatches directly in AutoCAD, though you can’t transfer these hatches from one drawing to another; they live solely in the drawing file they were created in. For more, check out this YouTube tutorial.
- You could also simply use Notepad (or any Unicode text editor), save it as a PAT file, then loading it into AutoCAD. For more on this option, there’s a helpful YouTube tutorial.
Tips & Tricks

If you get stuck along the way, here are some hints on how to take your hatching beyond the basics and speed up your drawing process:
- Sometimes your hatching tends to work its way to the front of your drawing and hides entities you want to select. An easy fix for this is to use the HatchToBack command.
- Want to know how to get rid of gaps that are keeping your patterns from working? Here’s an article on how to fix holes in your hatch.
- Use AutoLISP to quickly make a custom hatch of only lines and points.
- Add a background color to your hatch pattern.
- Create a ceiling pattern that’ll keep your drawing going faster by getting a smaller file size.
- HPQuickPreview turns off your hatch preview for complex files to speed up your drawing work.
- Snap to or ignore hatch lines to control what you select, making your work more accurate when placing and working around a hatch.
- Learn how to trim a hatch.
If you want to find out more, check out AutoCAD’s knowledge network for more suggestions.
Lead image source: CAD CAM Tutorials via YouTube
License: The text of "AutoCAD Hatch: Commands, Patterns, & More" by All3DP is licensed under a Creative Commons Attribution 4.0 International License.