The 10 Best Arduino LED Projects

Maybe you've used an Arduino to blink some LEDs. What now? Check out the best Arduino LED projects, including light sensors and an LED cube.
The Arduino ecosystem includes a range of beginner-friendly development boards, usually incorporating an Atmel 8-bit microcontroller. These boards are widely used in schools, maker spaces, and sometimes even in commercial projects.
The first Arduino board was released in 2005; since then, its global community has produced plenty of cool Arduino projects, including items that you can 3D print.
A common project for beginners usually involves blinking an LED – the project board equivalent of “Hello World” in programming. After getting familiar with the classic blink sketch, thanks to plenty of documentation and libraries available, you can take your LED projects to the next level.
In this article, we’ll look at some of the most impressive LED builds that utilize an Arduino!

Nanoleaf Replica
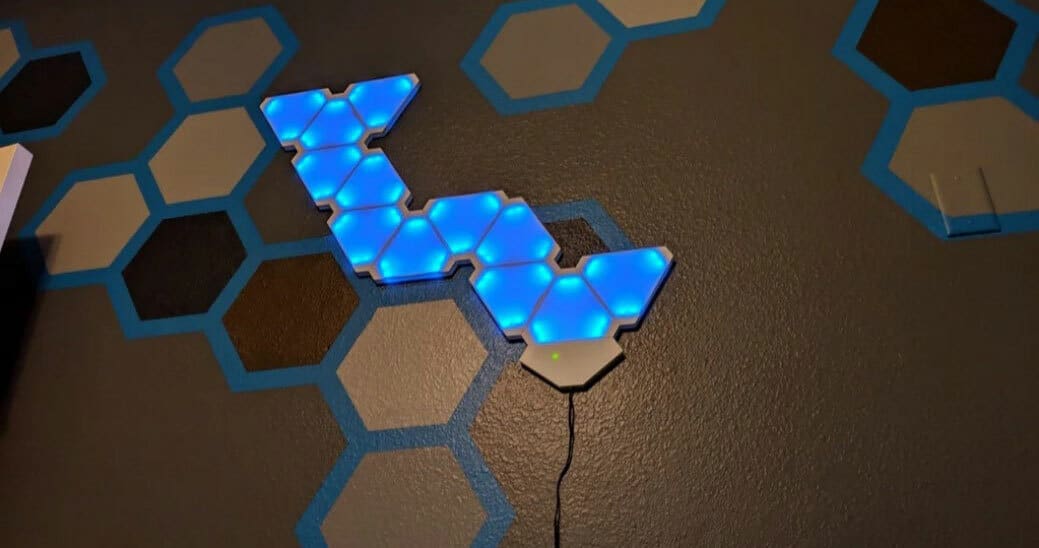
The Nanoleaf light panels are popular commercial LED lighting by the company Nanoleaf. With an Arduino, LED strips, and some 3D printed parts, you can make your own light panels at home.
There are a few DIY Nanoleaf projets around, including this smart, modular build from the maker community. Alternatively, for an even smaller build, check out this mini Leaf. Another option is a mini Leaf that houses the tiny Raspberry Pi Zero W.
- Who designed it: TiKro
- Difficulty: Intermediate
- Core components: Arduino Nano, BEC 3A/5V, capacitor, screw clamp terminal, PCB
- Where to find it: Thingiverse
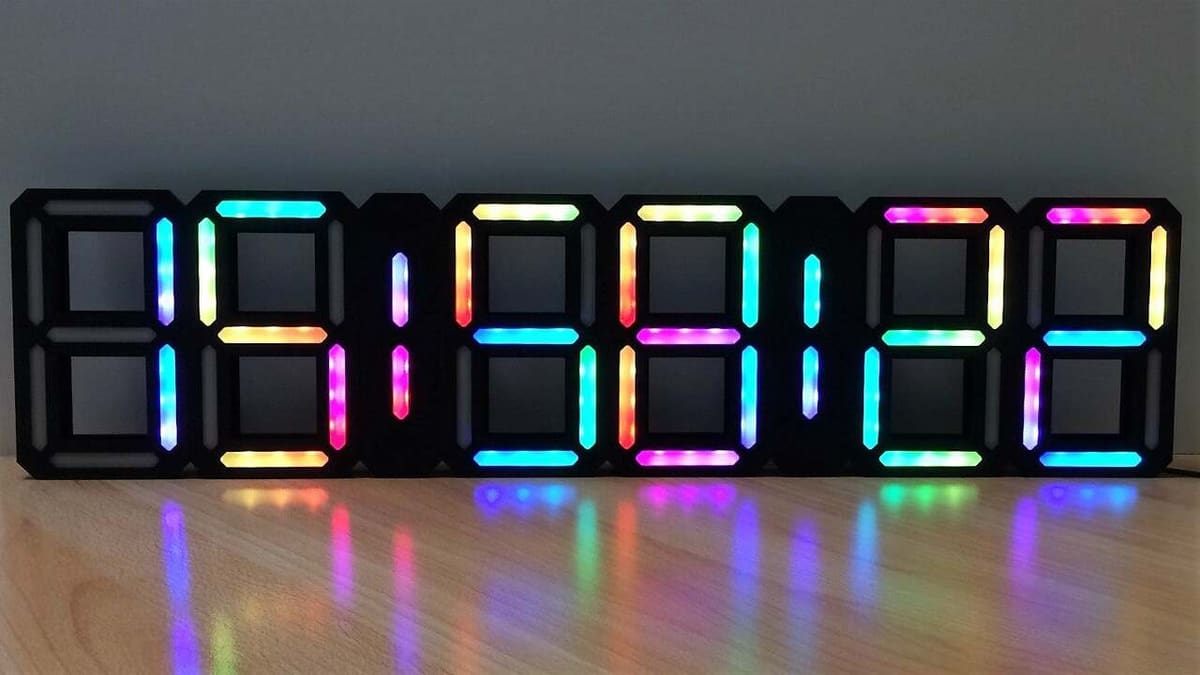
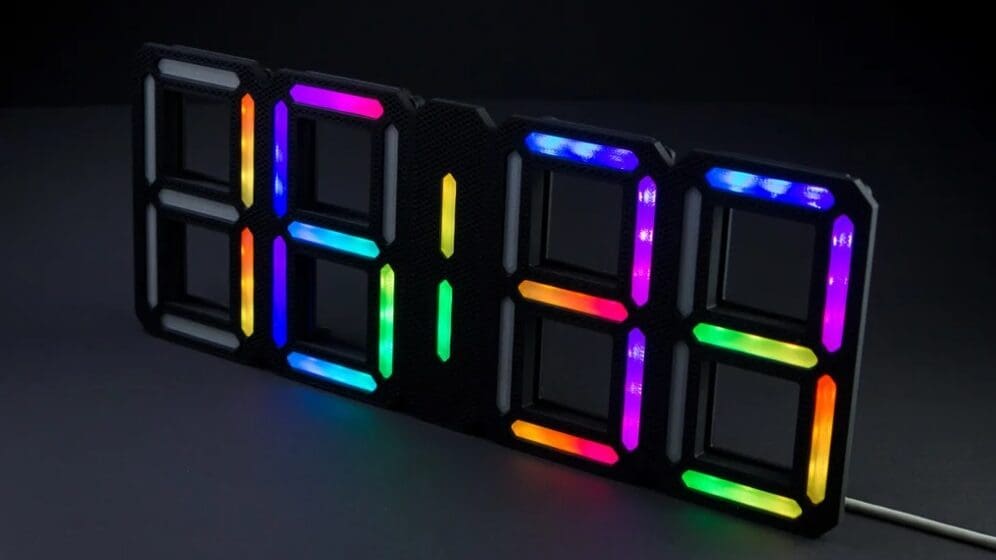
Retro Segmented Clock
We’ve come a long way from the first patent for a digital clock in 1956. Now, with the accessibility of a wide range of electronic components and additive manufacturing, you can build your own illuminated clock!
This is a seven-segment LED clock built with an Arduino Nano or Arduino Pro Mini. Every segment can be lit in a different color, and the colors and combinations are limited only by your imagination!
- Who designed it: parallyze
- Difficulty: Intermediate
- Core components: Arduino (Nano or Pro Mini), RTC module, LED strips, switches, resistor
- Where to find it: Thingiverse

Double Helix Lamp
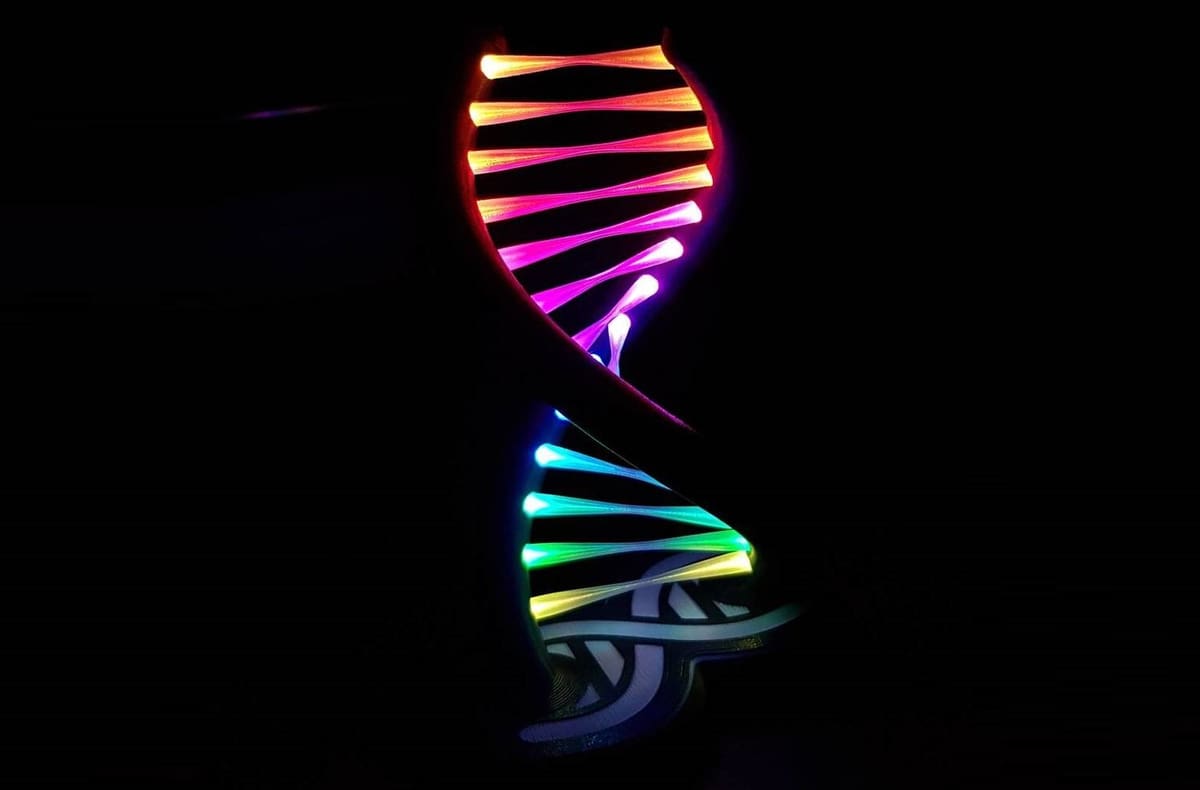
Building your own lamp is cool enough. For those who love biology, or just enjoy a geeky aesthetic, this RGB double helix lamp is an impressive build, but its components are surprisingly simple.
The maker has provided a multi-part model of this 3D printed double helix lamp. The recommended resolution is 0.2-0.3 mm, and you shouldn’t need a raft or supports. Once printed, construction involves WS2812B LED strips and an Arduino Nano as well as a switch.
- Who designed it: Hedo
- Difficulty: Intermediate
- Core components: Arduino Nano, LED strips, micro switch, power supply
- Where to find it: Thingiverse
Programmable Light-Up Matrix Dress

As its name suggests, this is one hi-tech dress! It has programmable LED strips attached underneath the outer layer of the dress, sparkling in RGB.
The maker completed this wearable project with some knowledge of sewing, soldering, and electronics. Some tips were given, including that you avoid cutting up the LED strips into separate LEDs. This is because you’d then have to solder them together, which according to the maker was laden with problems since the wires kept snapping off. For simplicity’s sake, it’s recommended that you use vertical LED strips instead. If possible, use silicon-covered LED strips to limit damage due to bending.
- Who designed it: mikaylas123
- Difficulty: Intermediate
- Core components: Arduino Uno, Addressable LED strips, soldering iron, a dress, additional fabric and sewing materials to attach electronic components
- Where to find it: Instructables
LED Cube 4x4x4
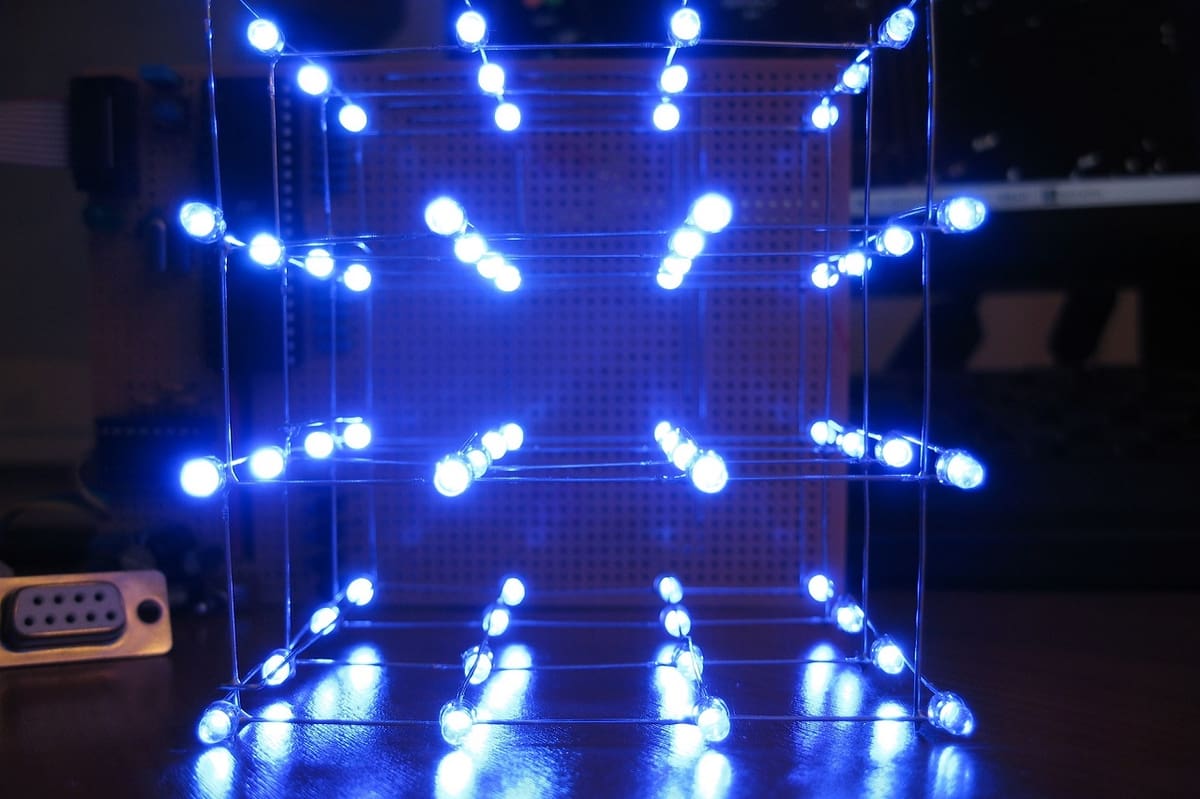
The classic LED cube is another project you may want to create. While the maker of the pictured project opted for an Atmega16 chip, it’s equally possible to create LED cubes with Arduino microcontrollers, as in this project using an Arduino Uno.
To build the 4x4x4 LED cube (or even the 8x8x8 if you’re very committed), you’ll need a lot of time and patience to solder the 64 LEDs together. The Instructable goes into a good amount of detail to walk you through the steps for construction and programming.
- Who designed it: chr
- Difficulty: Intermediate
- Core components: Arduino or Atmega16 microcontroller, LEDs, resistors, transistors, 10uF capacitors, ceramic capacitors, tactile switch buttons
- Where to find it: Instructables
Servo Flower
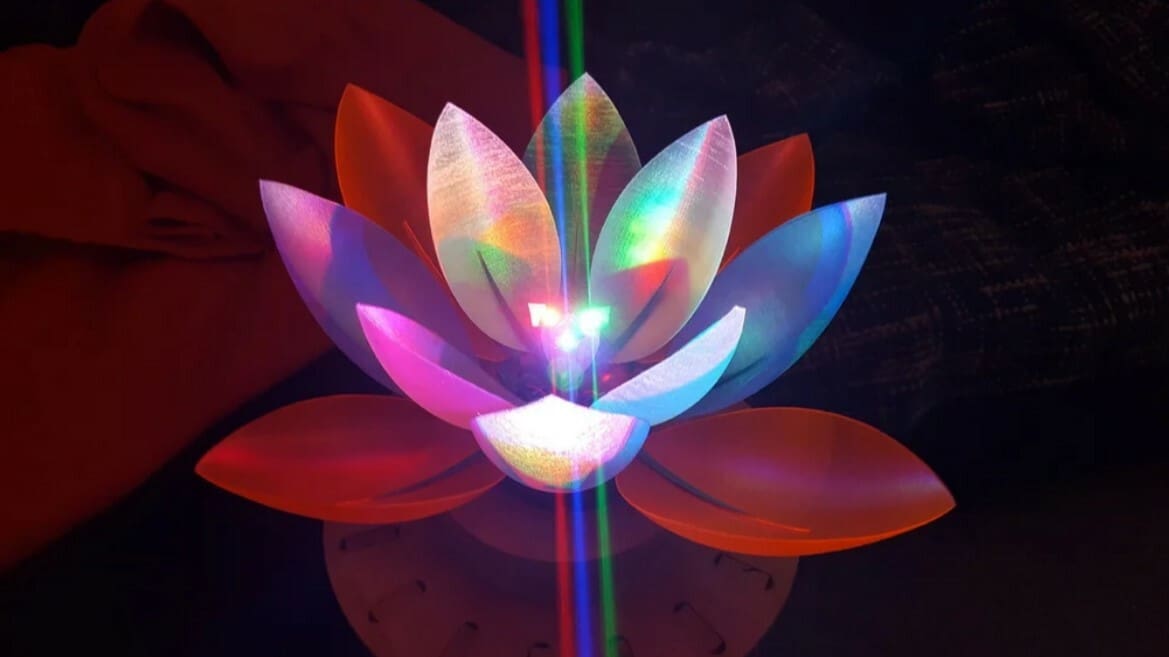
This beautiful lamp, shaped like a lotus flower, was made with the Arduino Uno! Each of its 12 leaves can move as they are connected to SG90 servos, which in turn are controlled with the Arduino microcontroller.
The maker notes that the model was printed in PETG filament. You’ll need a fair few other parts to put this together, but the results will justify your efforts! You can watch it in action in the maker’s video.
- Who designed it: JobSmolders
- Difficulty: Intermediate
- Core components: Arduino Uno, LEDs, servos, light-sensitive resistor, potentiometer
- Where to find it: Thingiverse
Ambient Light Sensor
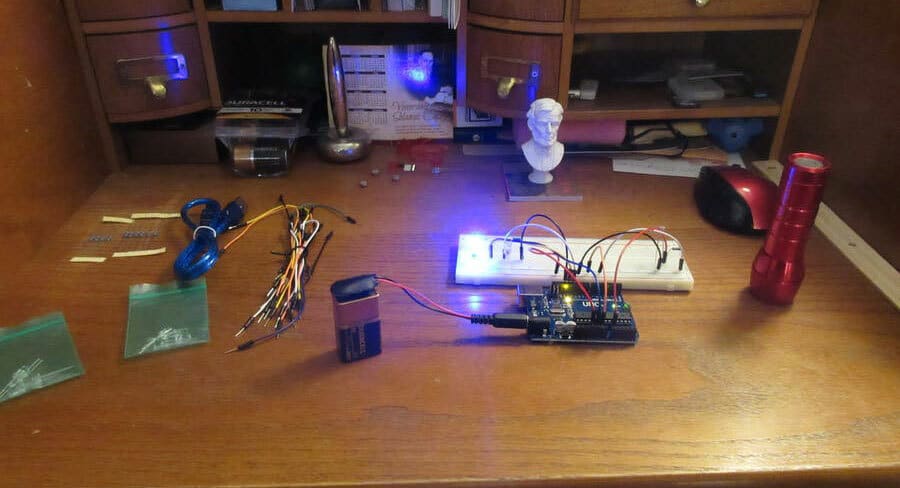
The photoresistor, also called a light-sensitive resistor, is a basic component in most electronics starter kits. Here, the maker demonstrates its practical use with an Ardino Uno and a few LEDs, as well as a bunch of resistors to create a DIY ambient light sensor. It can be programmed to detect when the room is bright, at an average light level, or dark.
- Who designed it: DCamino
- Difficulty: Beginner
- Core components: Arduino Uno, photoresistor, LEDs, resistors, jumper wires, breadboard
- Where to find it: Arduino Project Hub
Bluetooth-Controlled Hat
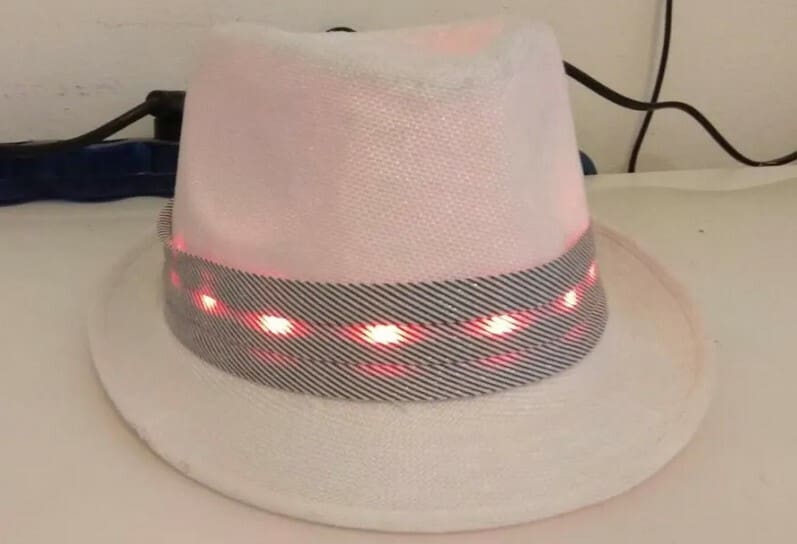
There are plenty of light-up hats available at stores, but for a fraction of the cost, you could build your own smart hat with an Arduino Pro Mini. And the advantage of building your own is that you have full control of the programming!
This build utilizes Bluetooth technology with an HC-05 module, addressable WS2812B LED strips, a portable 3.7V LiPo battery, and a hat! The maker has even made a mobile app for it. Check it out to make your own!
- Who designed it: EyalSch
- Difficulty: Beginner
- Core components: Arduino Pro Mini, SparkFun FTDI Basic Breakout, HC-05 Bluetooth module, addressable LED strip, 3.7-V LiPo battery, a hat
- Where to find it: Arduino Project Hub
BlinkyCube
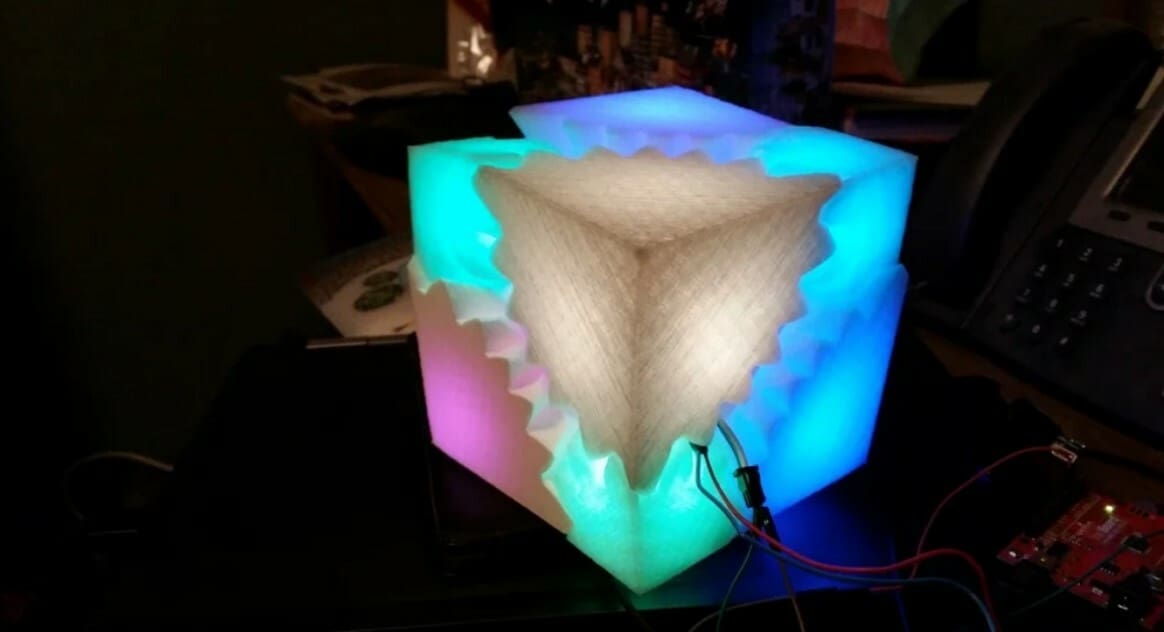
Not your typical LED cube! The BlinkyCube was remixed from a geared cube model to fit RGB LEDs as well as the Arduino Nano.
The code was written with the FastLED library and the maker states that half a kilogram of filament was used.
Glow-in-the-dark filament was used for the pictured build. However, it’s noted that white material may diffuse the light better.
- Who designed it: plasmaton
- Difficulty: Intermediate
- Core components: Arduino Nano, LEDs, 3.7-V battery, boost converter
- Where to find it: Thingiverse
Zenyatta's Orb of Destruction
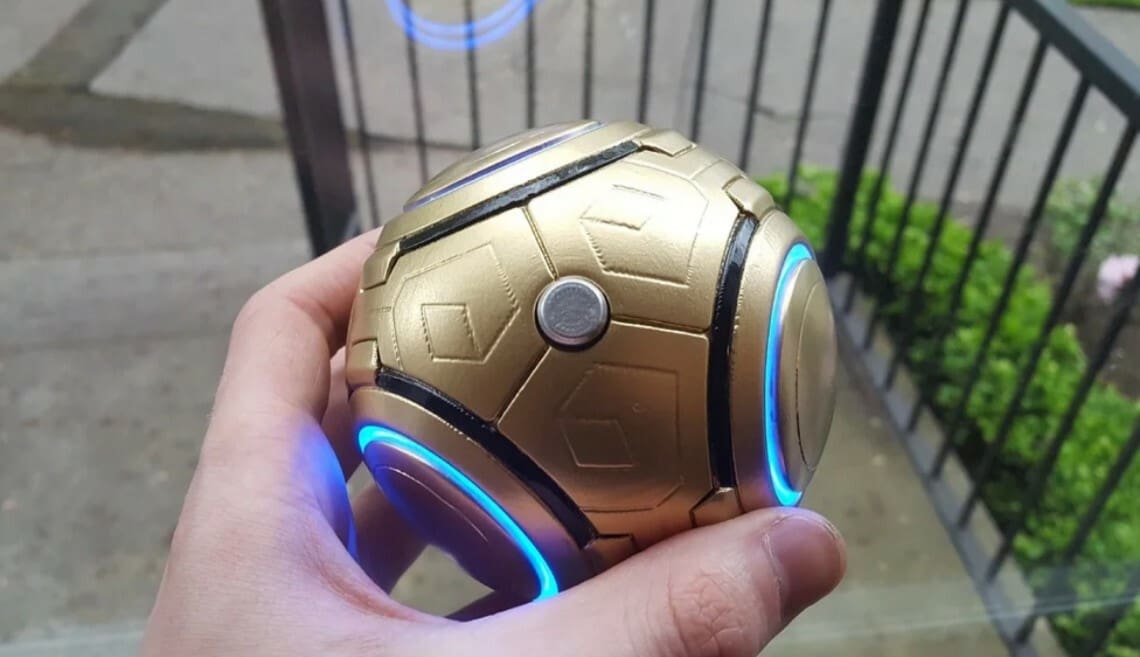
This is the Orb of Destruction, found in the video game Overwatch. The maker created this with an Adafruit Pro Trinket that is based on the ATmega328p, also found in the Arduino Uno. However, other Arduino microcontrollers, specifically ones of a smaller size such as the Pro Micro or Nano, could also be used.
To illuminate it, a 16 RGB LED ring was used. Not sure how to program it? No fear, the maker has included a basic sketch that will have the orb cycling through the colors of the rainbow!
- Who designed it: Daniel_W
- Difficulty: Intermediate
- Core components: Adafruit Pro Trinket or Arduino microcontroller, Adafruit Pro Trinket LiPoly backpack, RGB LED ring, 1000 uF capacitor, resistor, 3.7-V battery
- Where to find it: Thingiverse
Lead image source: parallyze via Thingiverse
License: The text of "The 10 Best Arduino LED Projects" by All3DP is licensed under a Creative Commons Attribution 4.0 International License.