Ender 3 V2 Z Offset: How to Adjust It

Z offset is an important feature to get right. Learn how to correctly set your Ender 3 V2 Z offset so that you can optimize your 3D prints!
The Ender 3 V2, an upgraded version of the original Ender 3, is an excellent printer for hobbyists, packed with a lot of new technology, both in hardware and firmware. The V2’s new firmware includes the latest Marlin features like 32-bit board compatibility and provides users with a super simple way to adjust the Z offset.
In this article, we’ll go over the ins and outs of adjusting the Z offset on your V2. We’ll first discuss what Z offset is, followed by a few different ways to adjust it. If you’re actually looking to do this on an original Ender 3 or Ender 3 Pro model, check out instead Ender 3 (Pro) Z Offset: How to Adjust It.
But for all of you V2 users, you’re in the right place. So, let’s dive in!
What is It?
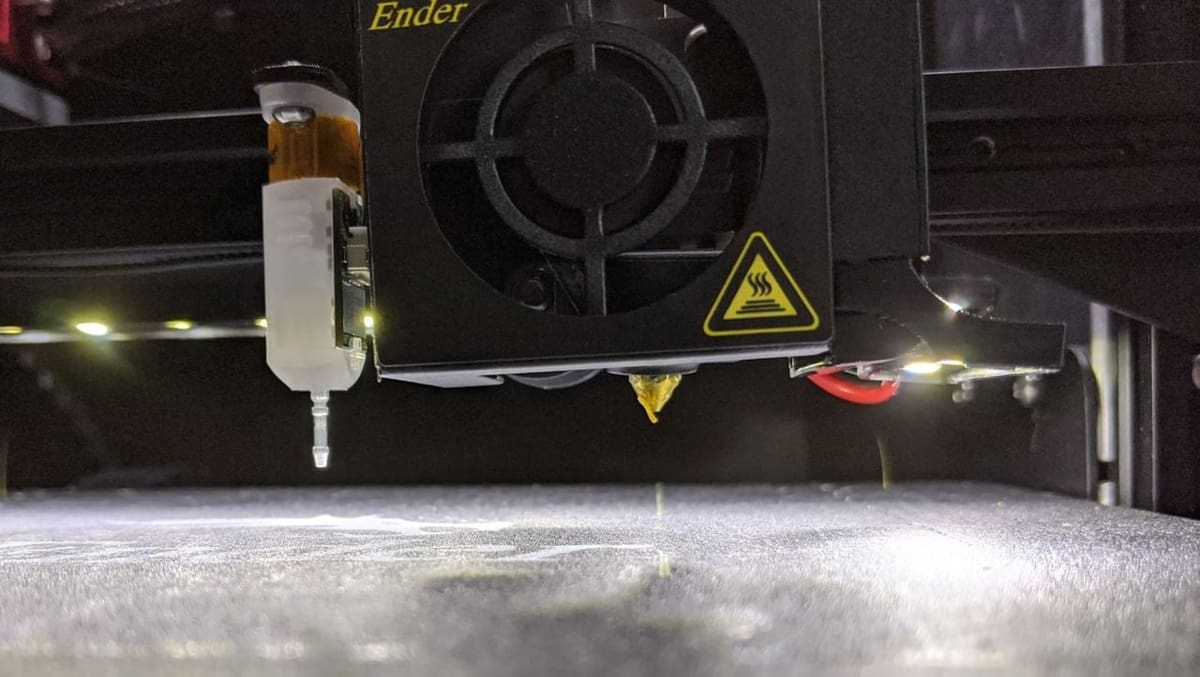
Z offset is the distance between the printhead’s programmed and real positions along the Z-axis. Preferably, this distance should be the same distance between the hot end’s home position (the Z-axis endstop) and the print bed so that the nozzle is slightly above the print bed for a good first layer.
The Z offset is incorporated into the printhead’s Z-axis height at all times, regardless of its bed position. With a non-zero Z offset value, if you tell your printer to move to a certain Z height, it will add the Z offset value to the instructed height and go there.
It’s Not the Same as Bed Leveling
Changing your Z offset doesn’t level your bed. In fact, it has no interaction with the print bed at all: Adjusting your Z offset can only affect how close your printhead is to the bed. On the other hand, bed leveling exclusively involves tilting the print bed to meet the printhead and doesn’t change the Z-axis height at all.
It’s vital to have a level bed before adjusting your Z offset because, even if you’re Z offset is well-calibrated, an uneven bed will still prevent a good first layer.
In this article, we’ll only be going over how to adjust the Z offset, not how to level your V2’s bed. However, you can check out our article on leveling your Ender 3’s bed to learn exactly how to do it.
Multiple Options
When it comes to changing the Z offset on your v2, there are a few ways you can do it.
Z-Axis Limit Switch
First, you can change the offset by moving the Z-axis limit switch. This hardware-based method is rarely done and mainly used with a new printer for more significant changes like adding a new print bed or when the Z-axis endstop is misplaced significantly too high or too low. Manually adjusting the endstop isn’t super accurate, as you’re just moving it up or down by hand.
Slicer
Second, you can use a slicer program to adjust the Z offset setting. This method can be done with settings in slicers like Cura and Simplify3D and is pretty straightforward. Using a slicer to include a Z offset even when you’ve already set one can be useful for accommodating different materials – with slicer profiles, for example – when they need more or less space (e.g. PLA vs. PETG).
Custom G-code
Third, you can send G-code commands using a G-code terminal to adjust the Z offset. This method isn’t prevalent, as it requires some knowledge about G-code and isn’t significantly more beneficial than using a slicer or the printer’s interface to change the offset.
Firmware
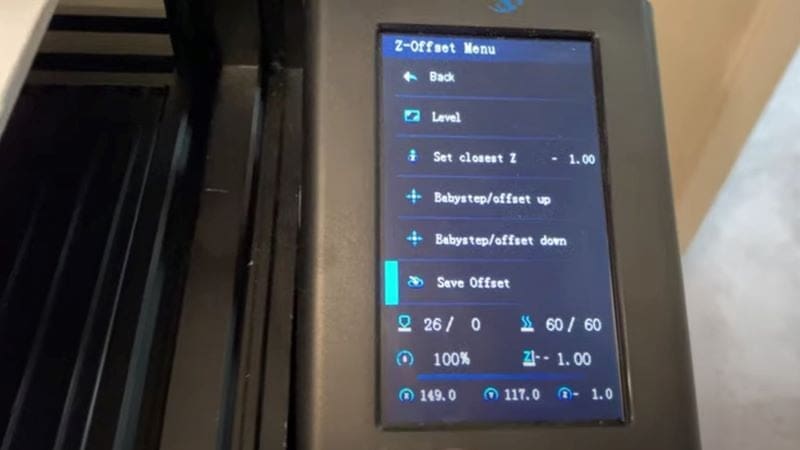
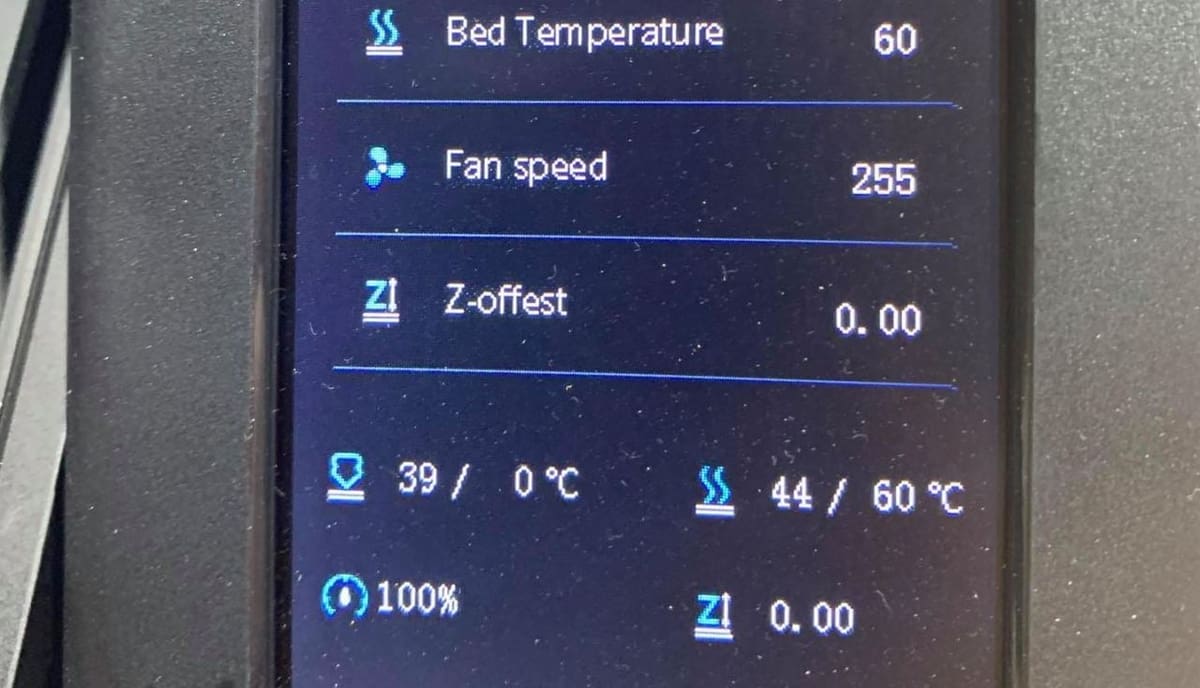
Lastly, you can change your printer’s Z offset through the interface. This method is commonly done to set a “default” value after calibrating hardware, but it’s also useful for small and quick adjustments. Using the V2’s interface, you can make adjustments to the Z offset in real-time.
Before getting started, make sure your Ender 3 V2 is loaded with the stock firmware (for the V2) or a similar firmware with the same features. Like we said earlier, you should also level your bed as much as possible before adjusting the Z offset.
Once the bed is level, go to the Z offset settings in the tune menu to adjust the Z offset in real-time. Then, bring your printer to its home location (auto home) and change the Z offset value so the nozzle is just above the bed. A larger number will mean more distance between the nozzle and bed, while a smaller number will do the opposite.
And that’s it! Read on if you need any troubleshooting assistance.
Tips & Tricks

While adjusting the Z offset, you might run into some issues. Below, we’ve listed some helpful tips and tricks for changing and maintaining the Z offset on your Ender 3 V2.
- Don’t mess with the bed: It’s important to not twist the knobs under the print bed, which will consequently mess up the Z offset.
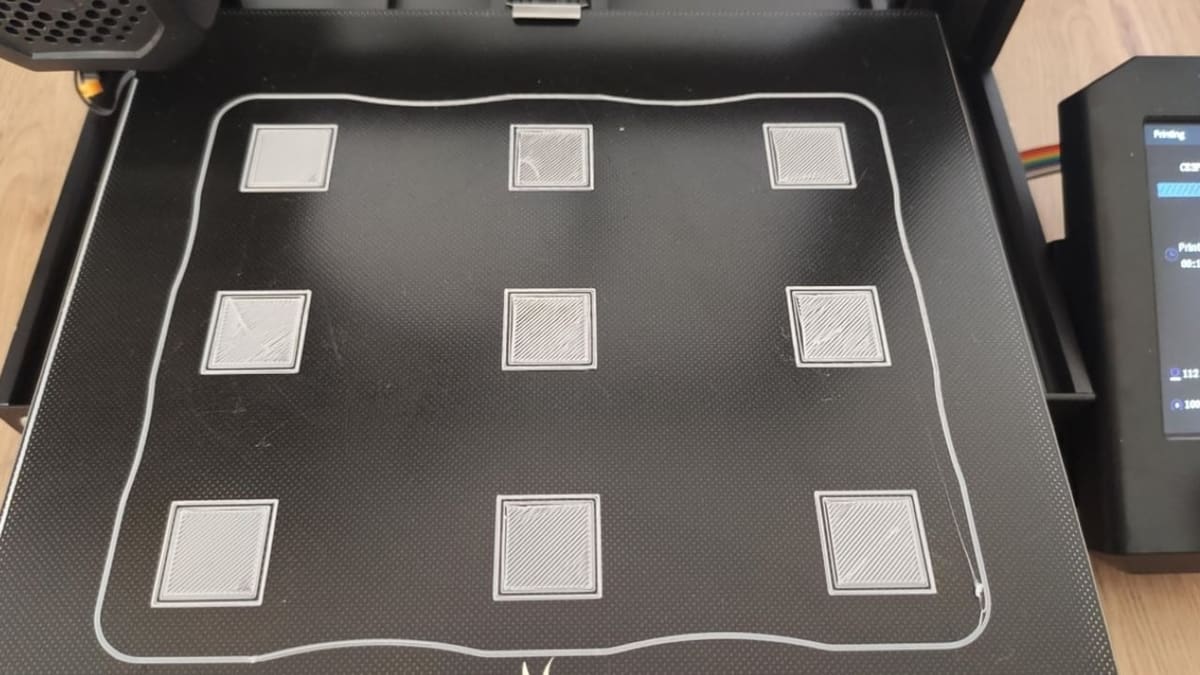
- Test and adjust: To test the Z offset, you should do a test print, see how the first layer comes out, and then readjust the Z offset accordingly.
- Heat the bed: Temperature expands surfaces, including the glass bed that the Ender 3 V2 comes with. This means that, if you adjust the Z offset before heating the bed, the real Z-axis height will be lower than what you set it to because the bed became taller. To prevent this from happening, you should heat the bed before doing any form of Z offset adjustment and bed leveling.
- Save the Z offset: On the Ender 3 V2’s new mainboard, the printer automatically stores its onboard memory to the loaded microSD card. Some users have pointed out that the Z offset figures only save to the printer when the microSD card is plugged in. You’ll want to make sure you have a microSD card in the printer so your current settings will save.
- Adjust when you make changes: When you change the build plate, nozzle, X-axis carriage, or any other part that could interfere with the distance between the nozzle or print bed, you should readjust the Z offset.
If you’re still having issues, there are more tips and troubleshooting in our article Ender 3 (Pro) Z Offset: How to Adjust It that may work for the V2 as well.
License: The text of "Ender 3 V2 Z Offset: How to Adjust It" by All3DP is licensed under a Creative Commons Attribution 4.0 International License.