How to 3D Print a Name Tag Using Tinkercad

Creating personalized objects has never been so easy thanks to Tinkercad. Read on to learn how to 3D print your very own name tag!
Tinkercad offers a unique toolbox of creative features and an intuitive workflow that’s geared toward anyone – even kids! Its ease of use and wide array of abilities make it a favorite for beginners who are just getting started with 3D modeling and 3D printing.
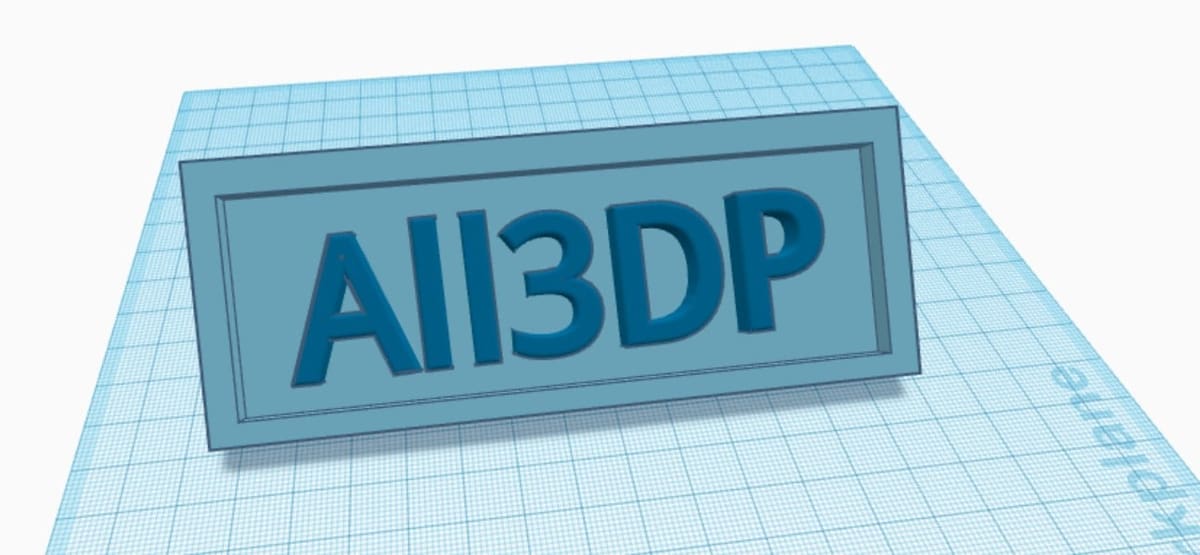
In this article, we’ll show you how to make one of the most classic projects in Tinkercad: The name tag! Name tags can be a brilliant tool for many situations. These include creating a personal identification for your office, labeling your holiday luggage, or even designing a quirky present for someone who loves their name.
We’ll be presenting a method that you can use to create a name tag with an optional stand or hook to use as a key chain. The procedure is almost identical, with the exception of small some small features. So without further ado, let’s get tinkering!
Step 1: Create a Project & Get Comfortable
Creating a project in Tinkercad is easy. First, you’ll need to create an account if you haven’t already. Here’s how:
- Go to Tinkercad’s website.
- Sign up for an account or log in to your current one. Once complete, you should be brought to the “Your designs” page.
- Select the big plus button under “3D Designs” to start a new project
If you’re not already familiar with the basics of Tinkercad, now is a good time to familiarize yourself with the layout of the program. Here are some key points that will help you follow along with this tutorial:
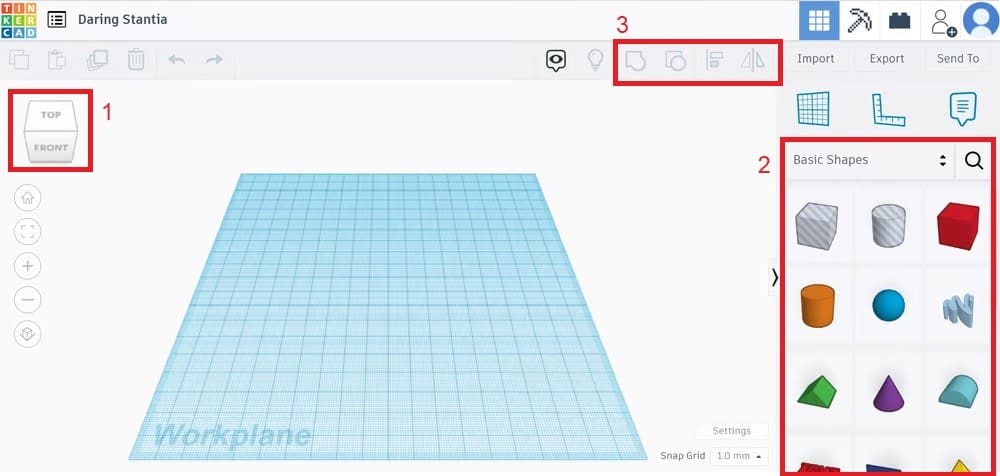
- Adjusting your view: To rotate your view, simply right-click and drag. To pan the view, click the middle mouse button and drag. For viewing from specific angles, you can use the view cube (1). Zoom in and out by scrolling.
- Workplane: This is the blue square grid that sits front and center, and it’s the build surface in Tinkercad.
- Menus and Tools: The Shape Panel is where you can search and grab geometries (2). Once you’re working on shapes, you can use the Group and Ungroup, Mirror, and Align tools (3). A little Shape Window will appear in the upper right corner next to the Shape Panel when you select a shape in the Workplane.
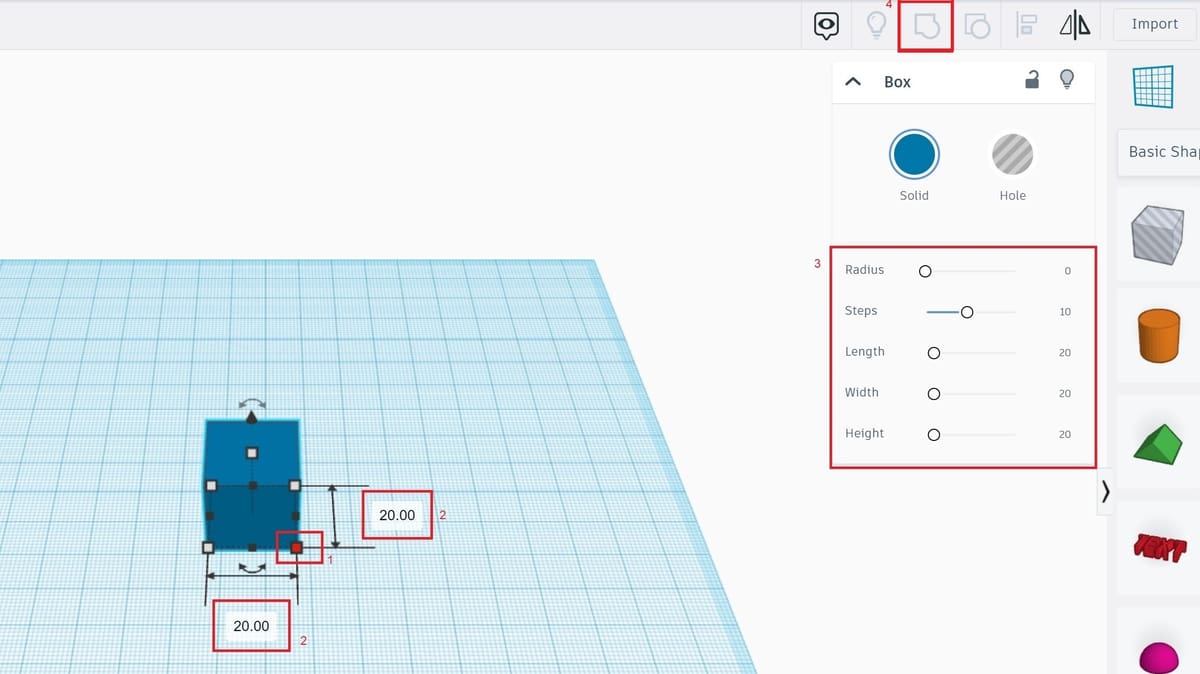
- Shape resizing: To access the dimensions of a shape, select the object and click on a white square at the corner of the dotted outline (1). Notice the dimensions now appear in a text box (2). Simply click on the text box and enter your desired dimension. You can also scale the shape by pulling on one of the white squares or move the slider for the corresponding setting in the shape box (3). Hold the “Alt” key to scale in both positive and negative directions. Or hold the “Shift” key for uniform scaling.
- Shape grouping: To group, select the first object, then hold down “Shift” and select the second object. Both objects should stay highlighted. Then, click on “Group” (4) to combine the shapes (or “Ctrl + G”). You should now have a single shape.
Now onto the fun stuff!
Step 2: Create the Base
The first step to designing our name tag will be creating the base. Let’s get right to it:
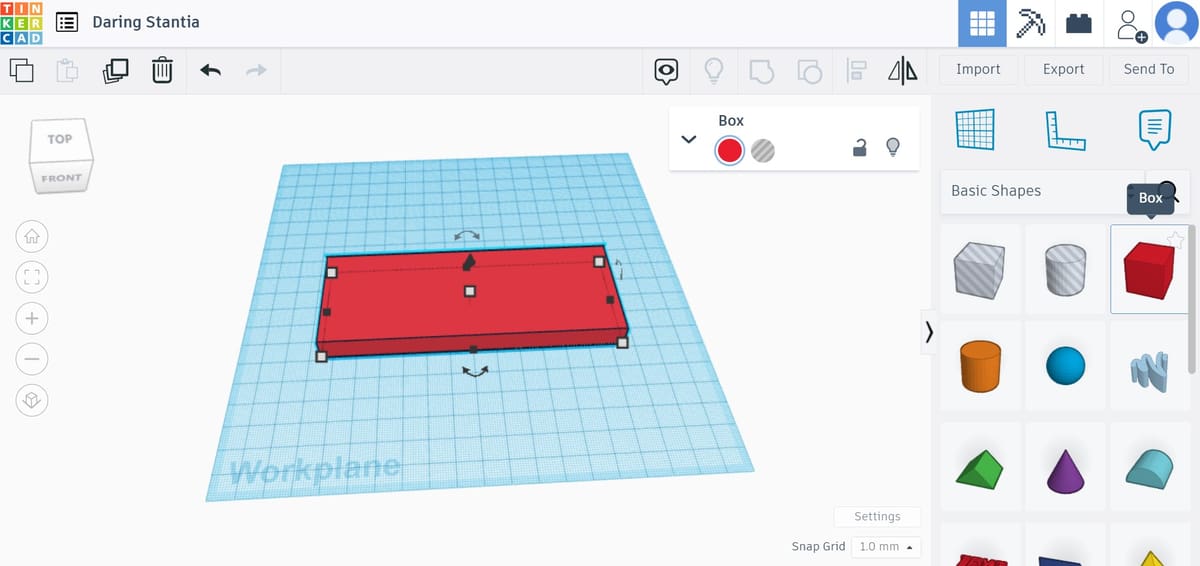
- To start, click and drag a box from the Shape Panel and place it in the Workplane.
- Resize the cube’s dimensions to 130 mm long, 50 mm wide, and 10 mm tall.
This will serve as the base on which we will add the letters. These dimensions will work for a desktop name tag, but if you’re going for a keychain, more fitting dimensions would be 60-70 mm long, 20 mm wide, and 5 mm tall.
Step 3: Create a Border
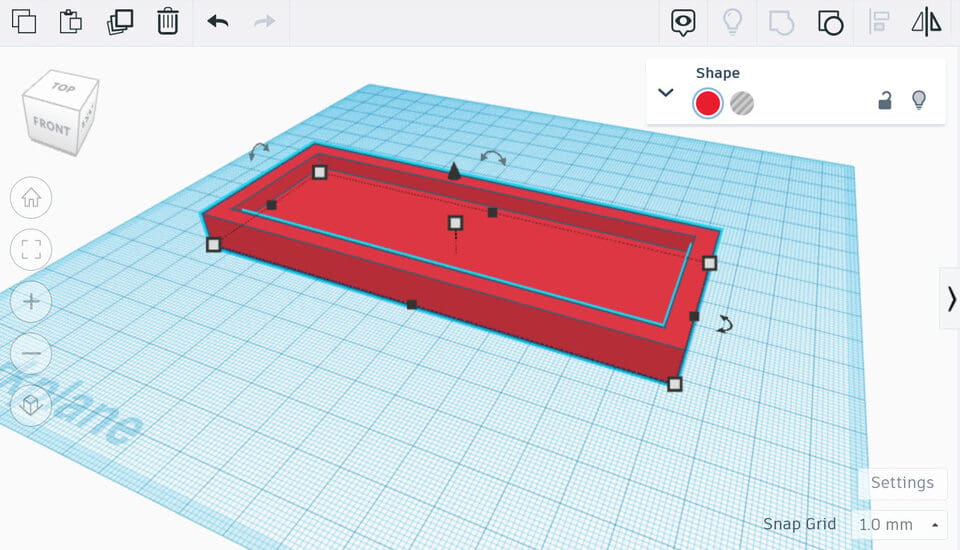
In order to create an impressive name tag, it’s worth adding a nice border to the base to surround your name, though you can skip this step if it’s not your style. To achieve this, we will use the “Hole” shape feature to act like an eraser, cutting away at the material inside of the base to give us a nice border! Here’s the breakdown:
- Select the base and duplicate it by pressing “Ctrl + D”. Use the little arrow above the shape to move it along the Z-axis directly above our base so we have a better view.
- Change the duplicate from a “Solid” to a “Hole” in the Shape Window. It should change to a translucent gray color.
- Hold down “Shift” and use the white squares to resize the hole to 120 mm long, 40 mm wide, and 5 mm tall, or enter the new dimensions manually.
- Move the hole back down along the Z-axis until you have your desired border height.
- Group the base and the hole. The hole shape should disappear, leaving its indentation on the solid base shape.
Step 4: Add the Letters
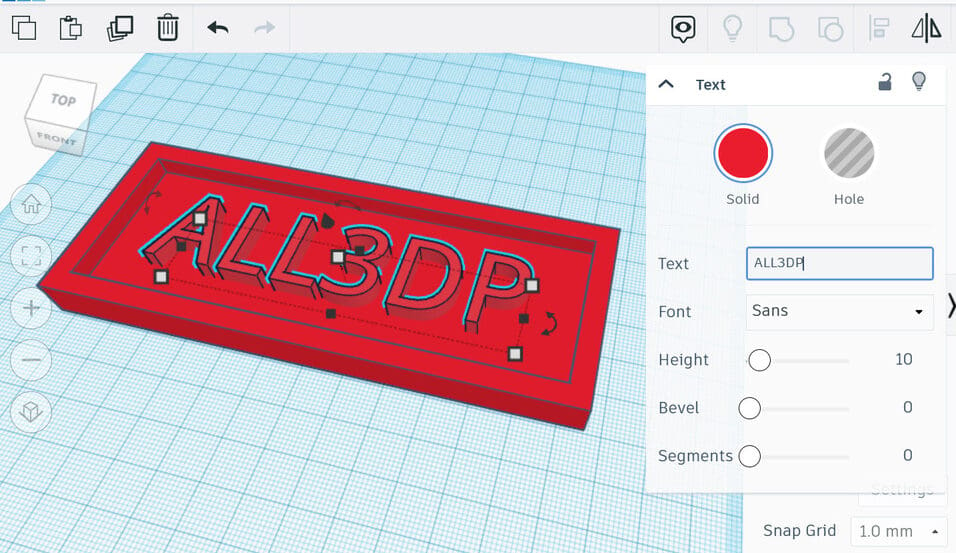
Next, we’ll add the letters. There are a few different options when it comes to text. You can use individual letters from the Shapes Library or use the “Text” shape from the Shape Panel. For this tutorial, we’ll be using the “Text” shape:
- Grab the “Text” shape from the Shape Panel and place it in the Workplane.
- In the Text Shape Window, change the text in the box to whatever you’d like. Options to change the font are in this window as well.
- Select both the text and the base, then click the “Align” tool (or press “L” on your keyboard). Center the text on the base by clicking on the black circle that appears on the XY plane directly in between the base and text shapes.
- Scale the size of the text or base as needed, then make any adjustments to the Z-axis position of the text.
- Group the text and the base.
And now you have a name tag! All there’s left to do is to add some extra features depending on how you plan to use it, then export for printing!
Step 5: Add a Keyhole (Optional)
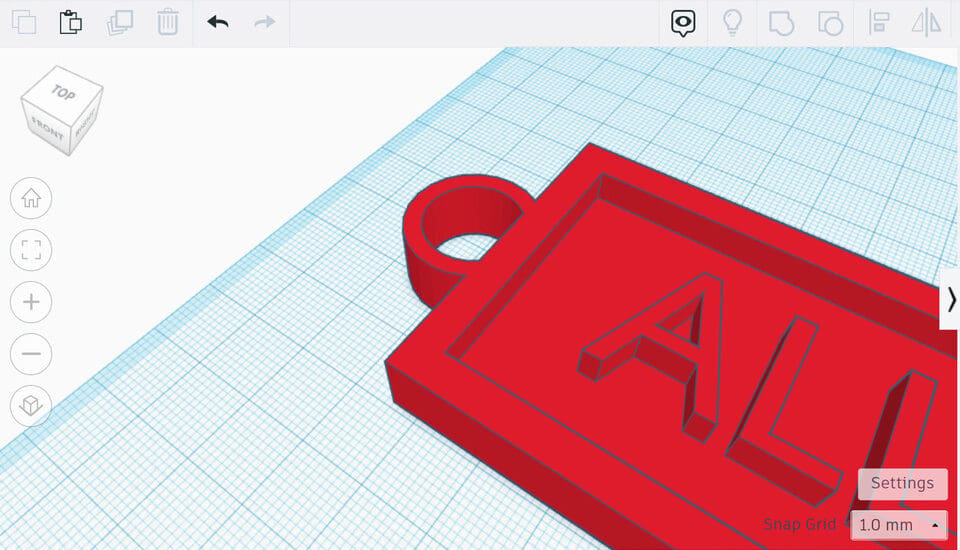
You’re almost done! If you want to add a keyhole so the name tag works as a keychain, it only needs a few more steps:
- Drag a tube from the Shape Panel and place it in the Workplane. If you can’t find it, you can search for it by clicking on the magnifying glass symbol (“Search shapes”), at the top of the Shape Panel.
- Position the tube on the left-hand side of the nameplate to create an arch-like shape off the base.
- Use the “Align” tool to center the tube along the width of the base.
- If you’d like, in the Shape Window for the tube, you can increase the “Wall Thickness” to improve the durability of the ring or play around with the “Bevel” settings to suit your style.
- Group the name tag and the tube.
Alternatively, if you’re not sold on the shape of the tube or you want to put even more skills to the test, you can do the following:
- Drag a cylinder from the Shape Panel and place it in the Workplane.
- Position the cylinder on the left-hand side of the name tag.
- Add another cylinder and modify its X- and Y-axes measures (but not the Z-axis, as we don’t want to make it shorter than the existing cylinder).
- In the Cylinder Window, instead of “Solid”, select “Hole”. This means that the shape will create a hole with its specific characteristics in other shapes when grouped.
- Move the “hole cylinder” into the “solid cylinder” and align them (manually or with the “Align” tool). Group them and you should have a cylinder with a hole through it.
- Use the “Align” tool to center the cylinder along the width of the base of the name tag.
- Group the name tag and the cylinder.
Step 6: Add a Stand (Optional)
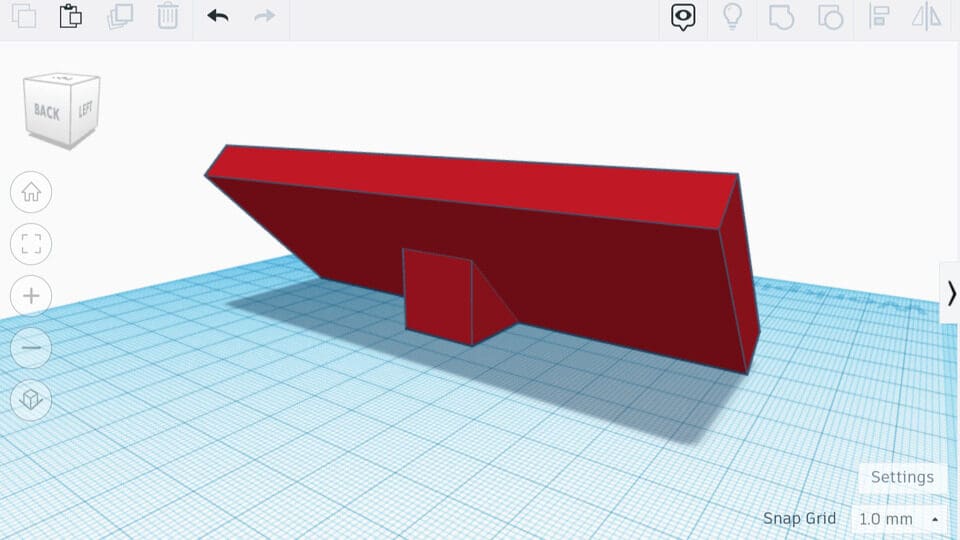
If you’d like to put this name tag on a desk or flat surface, you can add a stand so it can sit upright and be easily visible. So, without further ado:
- Select the name tag and use the double-headed arrow above the shape to rotate the name tag 45°, or more if you’d prefer a more upright display position. The text should be facing up.
- Move up the name tag up so the bottom edge is flush with the Workplane.
- Drag a wedge from the Shape Panel and place it in the Workplane.
- Rotate, resize, and position the wedge so that the diagonal face is flush with the back of the name tag.
- Use the “Align” tool to center it along the length of the base.
- Group the wedge and the name tag.
Step 7: Export File

Congratulations! Now you have your very own name tag in Tinkercad. To export it, follow these last steps:
- Make sure that everything you want to export is selected, then click the “Export” button, which is right above the Shape Panel.
- Then, select your preferred file type. STL, OBJ, and GLTF are compatible with 3D printing, but STL is the most common 3D file type for this.
And that’s it! Happy printing!
License: The text of "How to 3D Print a Name Tag Using Tinkercad" by All3DP is licensed under a Creative Commons Attribution 4.0 International License.