![Featured image of [Project] Create Your Own Multicolor 3D Printed Filament](https://i.all3dp.com/workers/images/fit=scale-down,w=1200,h=675,quality=79,gravity=0.5x0.5,format=auto/wp-content/uploads/2019/05/04174110/3d-filamen-e1556984663305.jpg)
[Project] Create Your Own Multicolor 3D Printed Filament

Have you ever wanted to make your own multicolor materials? Now you can by...3D printing filament? That's right. Thingiverse user Turbo_SunShine shows us how to repurpose your filament to create new color combinations!
Filament. It’s the food that you feed through your 3D printer to create and innovate objects that satisfy the appetite of your imagination. But unless you have a machine with dual-extrusion 3D printing capabilities, your 3D printed creations will be restricted to a single color. That is, unless you think outside of the box, or in this case, outside of the filament spool.
For today’s Weekend Project, we’ll look at a unique filament production process developed by Thingiverse user Turbo_SunShine. No expensive filament recycling machines, no having to deal with plastic pellets, all you need to make your own 3D printable filament is….filament?
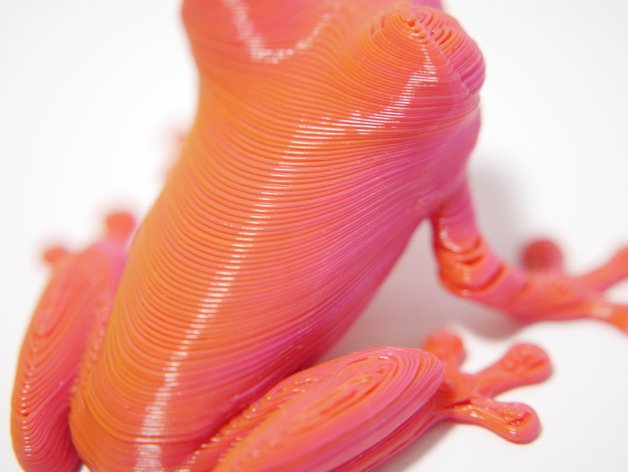
You read that right. Using a few different spools of filament, you can combine them into a multicolor material concoction. “Its sounds crazy, but it works! This technique will allow you to create one offs, and to color match your 3D-prints,” the maker states about his project.
In the span of a few weeks, this project has become one of the most popular on the Thingiverse. A number of makers have shared their own multicolor objects created by following this distinct method. Let’s take a look at how you can make your own colorful filament strands out of those dull spools that have been collecting dust.
What You Need & How to Build it
The STL files for the DIY filament can be downloaded from Thingiverse. Turbo_SunShine has uploaded three different versions that provide you with specified amounts of material, including 7 grams, 30 grams, and 110 gram. Keep in mind that the longer version has not been tested yet, so print at your own risk!
This project is specifically designed to create 1.75mm filament. Your 3D printer should have at least a 200 x 200mm build volume.
It might seem complicated, but the basic idea behind this project is changing out your filament mid-print, allowing you to lay down a new color on top of the spiral pattern being printed. Once completed, the winding filament on the print bed can be reloaded into the printer and used to create vibrant, multicolor objects.

For slicer settings, use 100 percent infill and turn off combing. According to Turbo_SunShine, he’s still working on perfecting the slicer settings, as the middle of the print tends to be less consistent. He also recommends increasing flow to 150 percent, but you should also experiment to find the best settings for your 3D printer.
And that’s all you really need to know to get started on this simple, yet extraordinary Weekend Project. If you need more information, check out the maker’s YouTube video below, as well as the various makes that other Thingiverse users have come up with.
License: The text of " Create Your Own Multicolor 3D Printed Filament" by All3DP is licensed under a Creative Commons Attribution 4.0 International License.