Over the past few years, 3D printing technology has integrated itself into the fashion industry on a large scale, from the shoes we wear on the running track to the gorgeous garments that models strut on the runway. But you don’t have to be a high-end fashion designer to make your own unique clothes, all you need is a 3D printer and some creative inspiration.
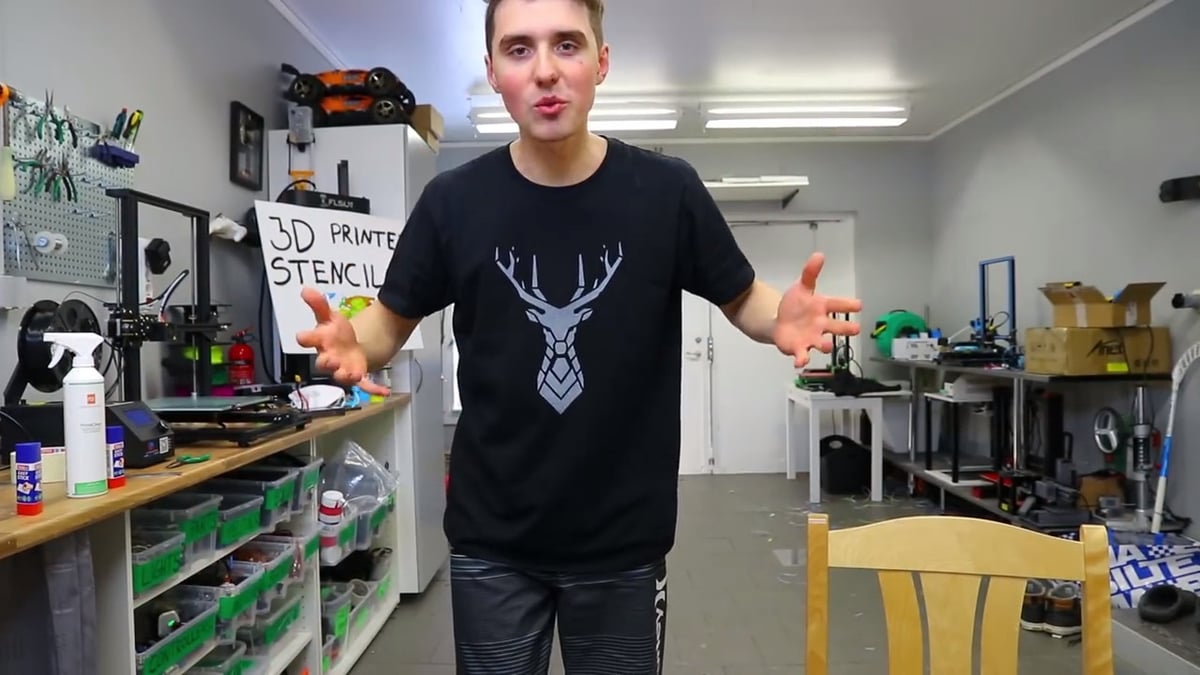
How so? Well, one maker named Simon Sörensen, known best for his DIY-centric YouTube channel RCLifeOn, has recently uploaded a step-by-step guide on how to design 3D printed stencils and then transpose those designs onto a T-shirt.
In his video, Sörensen shares a few vibrant shirt designs, including a geometrically-driven deer and a colorful map of the world. Thankfully, the maker goes over every step of the process, making it easy for anyone with a 3D printer and the right software setup to follow along and even create their own 3D printed stencils.
Interested in freshening up your style with some custom T-shirts? Let’s take a closer look at this project.
What You Need & How to Do it
First things first, you’ll need a 3D printer and some filament to make the actual stencil. In addition to that, here’s what else you need in order to create your very own T-shirt designs:
- Adobe Illustrator or another graphics editing software (such as Inkscape)
- Fusion 360 or another type of CAD software
- 3M Spray Mount
- Fabric Spray Paint
Once you have acquired everything from the checklist above, you can start to design your own stencil. Working in a graphic design program like Adobe Illustrator, you can upload the image that you want to transform into a stencil. This part is easy. Simply click on the image and select the “Image Trace” setting, and then export and save the resulting graphic as an SVG file.
Next, insert the SVG file into Fusion 360 or another CAD software. From here, the stencil design can be trimmed and thickened in preparation for 3D printing. According to Sörensen, the stencil itself doesn’t have to be thicker than two layers, or about 0.4 mm. The resulting print is flexible, but also thick enough to block the spray paint from bleeding through.
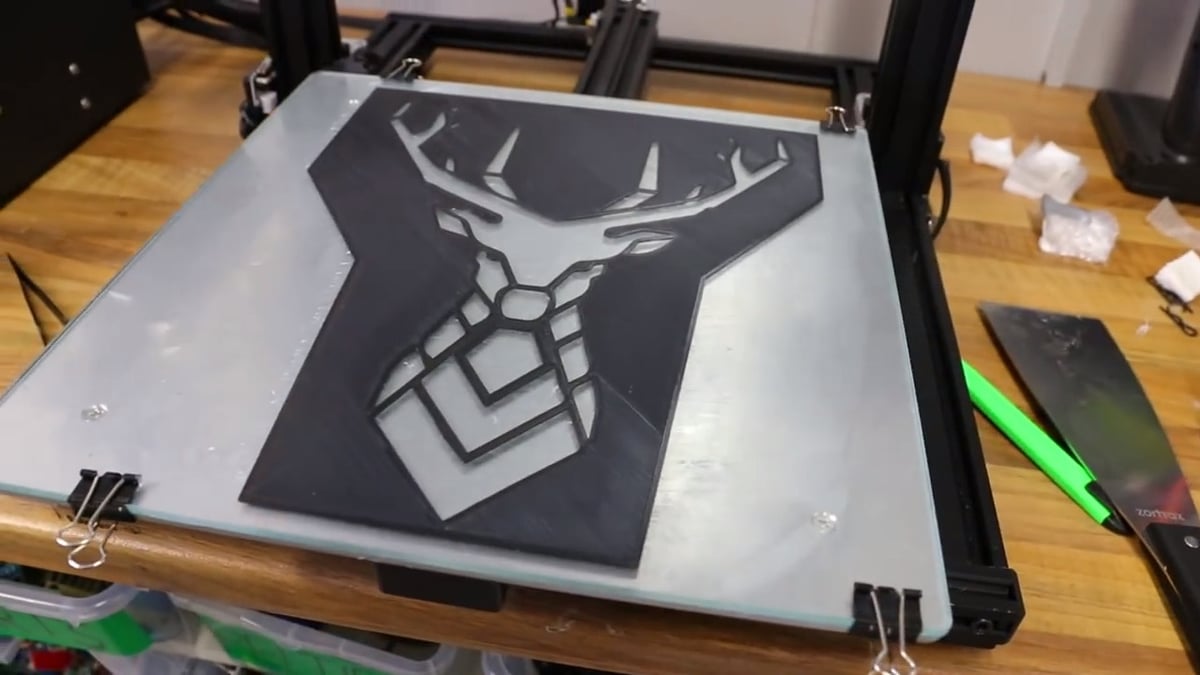
After removing the stencil from the print bed, it’s time to spray paint the design onto your T-shirt. First, put a piece of cardboard or foam into the shirt to prevent the paint from soaking through into the other side of the garment. Using some spray adhesive (Sörensen uses 3M Spray Mount), you can attach the stencil to the shirt and keep it in place for the upcoming paint job.
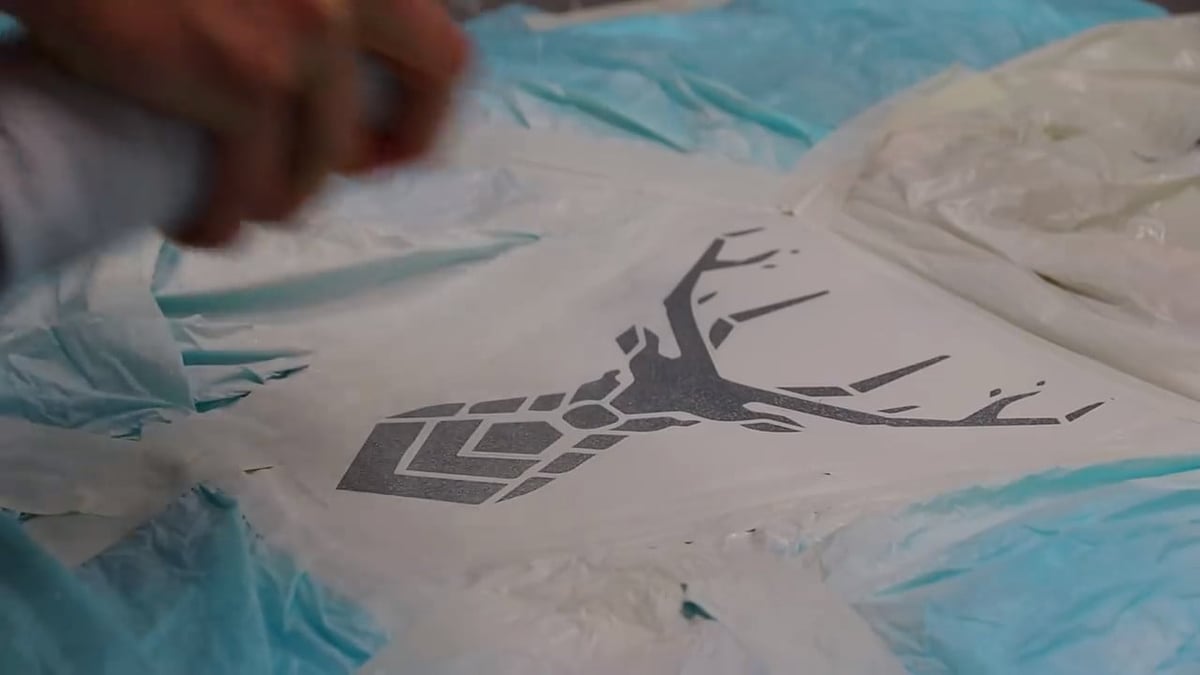
Taking your color(s) of choice, the final step is to spray paint the design into the fabric. Sörensen recommends using a decent quality shirt in order to ensure that the paint sticks to the cloth. As you can see in the video below, his results are truly staggering! Be sure to take a look to get some inspiration for your own designs.
License: The text of " Create a Custom T-Shirt with 3D Printed Stencils" by All3DP is licensed under a Creative Commons Attribution 4.0 International License.