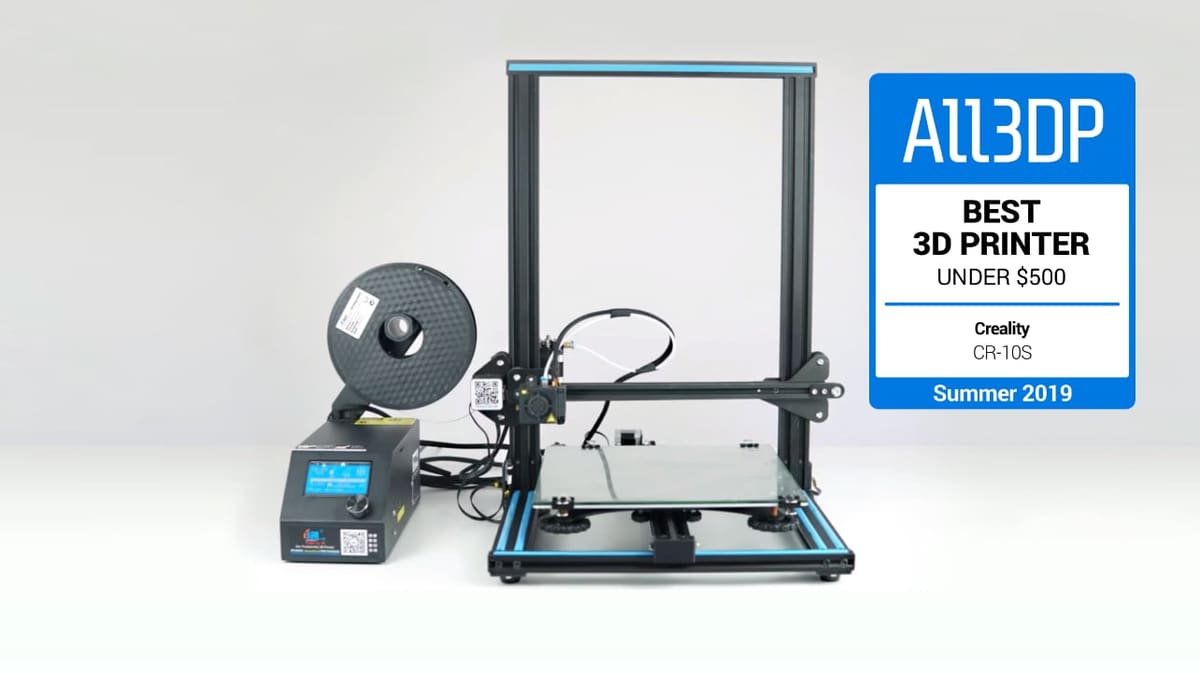
Creality CR-10S Review: Great 3D Printer Under $500
Rating

Early 2019, the popular Creality CR-10S got an update and dropped in price under $500. Reason enough to review it again. Learn about its additional perks and upgrades to elevate your printing to new heights.
Since Chinese manufacturer Creality published the genre-defining CR-10 2016, they made a lot of variants, improvements and modifications to the popular printer – and most of them can be found in the model Creality CR-10S. Let’s see what difference a small “S” can make.
This printer boasts a few upgrades which its predecessor, the Creality CR-10, lacks. But are these perks worth the increased price or are you better off sticking to the old one (which still is a great machine for an affordable price)? Read our review to find out.
Don’t Miss: Creality CR-10 Review: Great & Affordable
Verdict
Pros:
- Standard build volume that dwarfs most printers
- Easy assembly
- Simple design & few moving parts are easy to troubleshoot
- Large prints make for impressive fun
- Handles fine detail well
- Removable glass print bed
- Good value
- Intuitive control box
Cons:
- A little difficult to level the bed
- Bed takes a long time to heat up
- Filament spool placement is very precarious
- Prints have a tough time sticking to glass bed
Verdict:
This big, budget-friendly printer is worth buying over the CR-10 for one reason alone: A filament sensor. Sure, the sensor is awkwardly added on and is a bit clunky and annoying, but the purpose it serves – especially when printing the large prints this machine is capable of doing – is worth it. A secondary reason is the resume print function, which, in cases where there is a power failure, saves your print to be continued once the power returns.
But comparisons to the CR-10 aside, the CR-10S is an excellent machine on its own. It’s relatively inexpensive and is easy to customize and upgrade, which are just some of the reasons we’ve given it our ‘Best 3D Printer Under $500’ award.
Features
New Features
Better Z-axis
The Creality CR-10S now offers a second rod for the z-axis, which improves the build quality by reducing wobble in the prints. When printing taller models, this reduced wobble really helps to keep everything consistent.
Auto-resume feature
In case of a power failure, the Creality CR-10S remembers where it left off and will resume printing when you start it up again. Again, especially if you’ll be using the entire build volume of this printer, this is a really useful printer. No one wants to wait a few days for a print only to have it all go to waste because of a power failure.
Filament Runout Detection Sensor
This is a new feature that‘s found more often with Chinese 3D printers now. You run the 3D printed sensor between the spool and the hotend. If the filament runs out, the mechanical sensor picks up the information and pauses the print, so you can resume later. This is one of the major improvements of the Creality CR-10S and it is a real print saver — especially when taking advantage of the machine’s huge build volume, where a filament spool may have to be replaced partway.
Old (But Still Cool) Features
Pre-assembled
Although being marketed as a 3D printer kit, the Creality CR-10S comes mostly pre-assembled. All you have to do is to mount the Z-axis to the base, connect the cables and you’re ready to 3D print. This shouldn’t take longer than 30 minutes.
In the box, you will find just some parts:
- Two pre-assembled frames
- Tools for the assembly of the Creality CR-10S
- Some spare parts
- Spatula for removing the print from the glass bed
- Needle for cleaning of clogged nozzles
- Teflon tube
- PLA filament spool
- Filament holder
- Tape to make prints stick to the bed
- USB cable
- AC cable
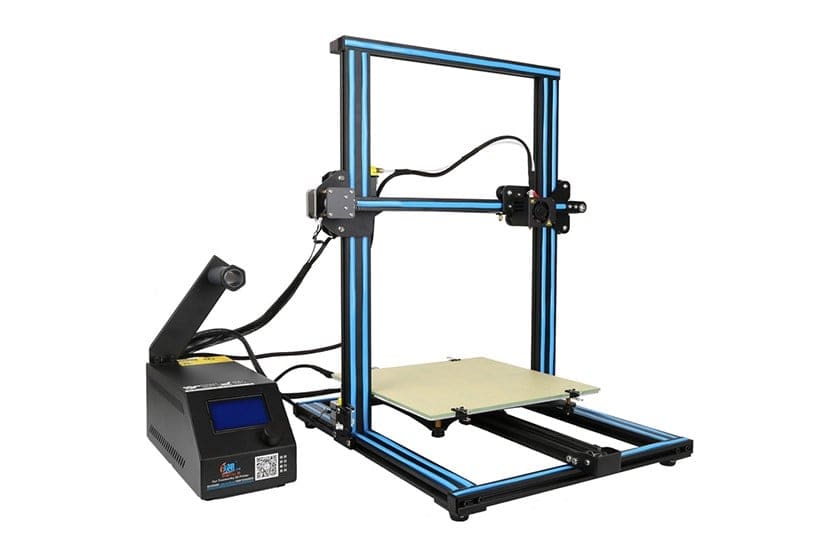
External control board
As with Creality CR-10, the power brick and controls are located in a separate external “brick”. The spool holder is mounted on top. While this makes sense — if the spool holder was on top of the printer it would make the machine even taller and would add more wobble to the prints — it also can be very unstable (we suggest taping it to your workspace to avoid a filament spool falling off midway through a print. Trust us, this happens). The heated bed now also uses a MOSFET for electrical safety.
Heated bed
The Creality CR-10S has a heated bed that lets you operate and experiment with a lot of materials. This fella, though he heats up to a toasty 100°C, takes a long time getting ready. Also, despite the fact it’s heated, it’s not an ideal printer for filaments like ABS in its stock state, because it lacks an enclosed build space (but this is something you can certainly add to your printer if printing with ABS is important).
Removable glass bed
The bed can easily be removed to pluck the print off. Also, Creality throws in a roll of tape if you don’t want to print on the bed directly. Though the bed is sturdy and does the job, the glass plate bed suffers a lot of warping and non-stick issues, so it’s important to glue that baby down.
Printing
Here’s a ride through our CR-10S 3D printing adventures – from prints that test out technical aspects of the machine to our user experience and fun prints.
Autodesk Kickstarter test
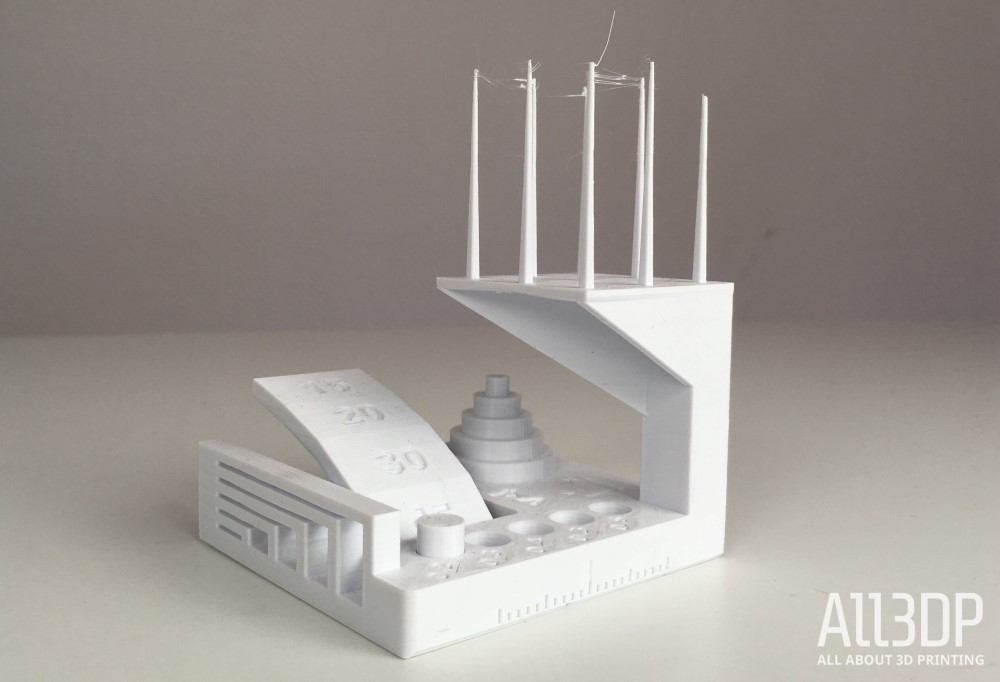
The Autodesk Kickstarter test looks at an FDM printer’s precision – read more about it here. The CR-10S achieved the following results:
- Dimensional Accuracy: 5 of 5 points
- Fine Flow Control: 2.5 of 5 points (the spikes were printed to their full height, but we encountered some stringing at the top)
- Fine Negative Features: 4 of 5 points (almost all pins were removable by hand)
- Overhangs: 2 of 5 points (overhangs showed some minor irregularities)
- Bridging: 5 of 5 points (no bridges contacted the surface beneath them)
- XY Resonance: 2.5 of 2.5 points (no ringing detectable)
- Z-Axis Alignment: 2.5 of 2.5 points (no layer registration effect visible)
Overall, the printer scored 23.5 out of a possible 30 points. (For comparison, a Prusa i3 MK3S scores 24.5 on this test.)
3DBenchy test
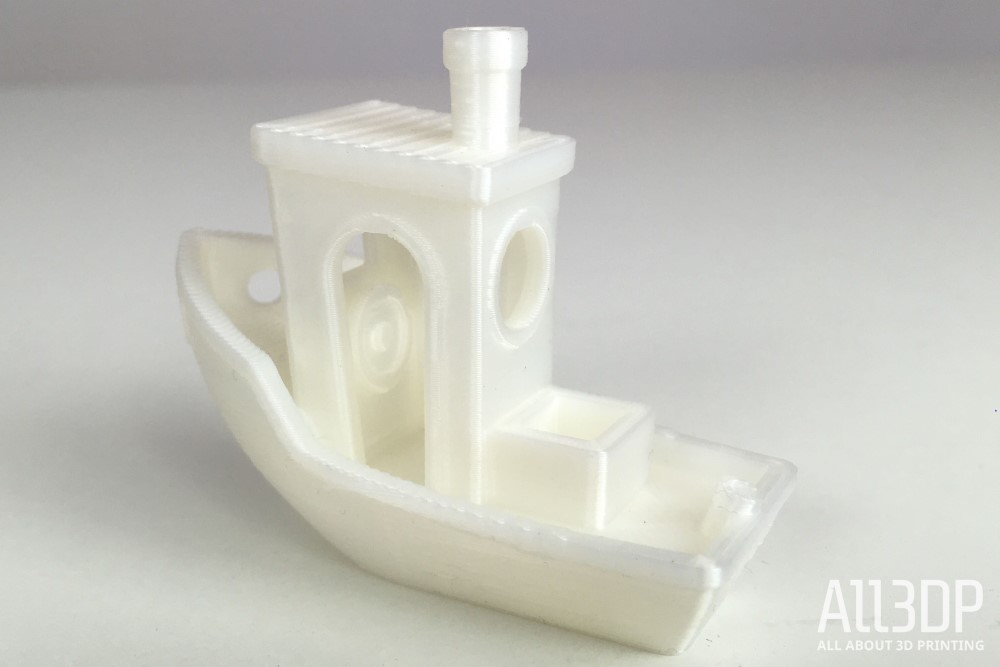
The beloved torture print didn’t pose much of a challenge to the CR-10S, which printed it with ease, navigating the overhangs well. It did have a few zits here and there, but otherwise was a good print.
Fun prints
A bigger build volume lends itself easily to more fun. Finding large models to print on this machine was refreshing. First up was a looong giraffe neck attached to a big giraffe head. Unfortunately, this print failed about 20% in after the two-kilogram filament spool flew off. Tragic!
We highly recommend securing the control box to whatever surface it’s on so it doesn’t tip over when you’re using a particularly big spool of filament (something you’re more likely to do with this printer since it can handle such big prints). We taped ours down and — though it’s very ugly — it worked like a charm.
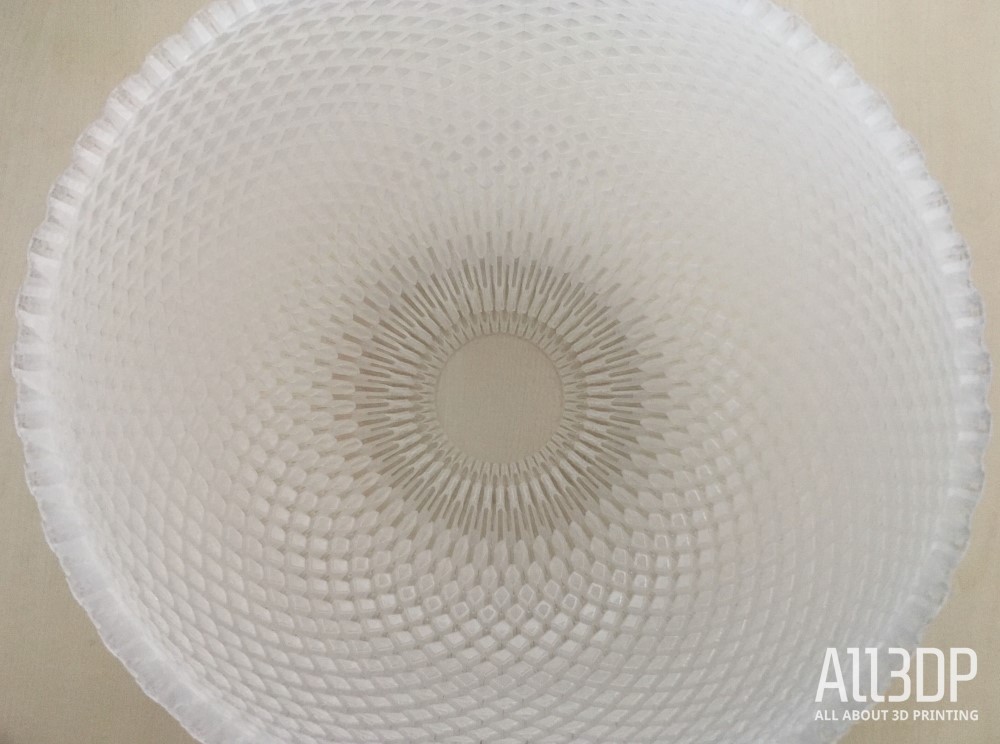
Next, we (very ambitiously) tried out the spiralize outer contour mode on Cura to print an enormous vase taking up almost the full volume of the build space. It went incredibly well until it failed about 60% of the way through. We think this was partly because the vase was so bendable it accidentally got caught by the hotend and shifted a bit.
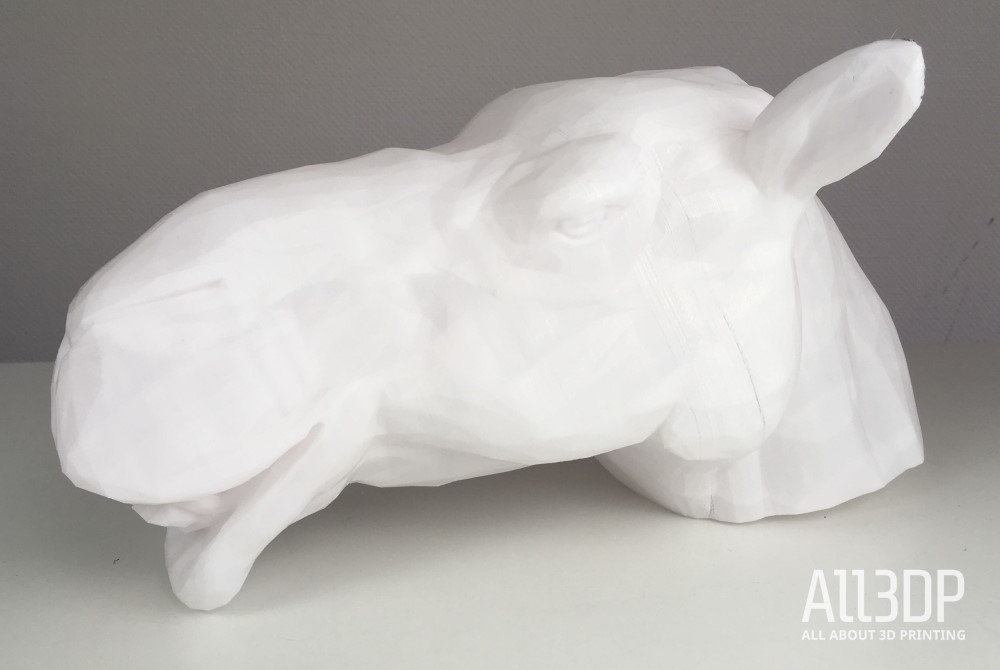
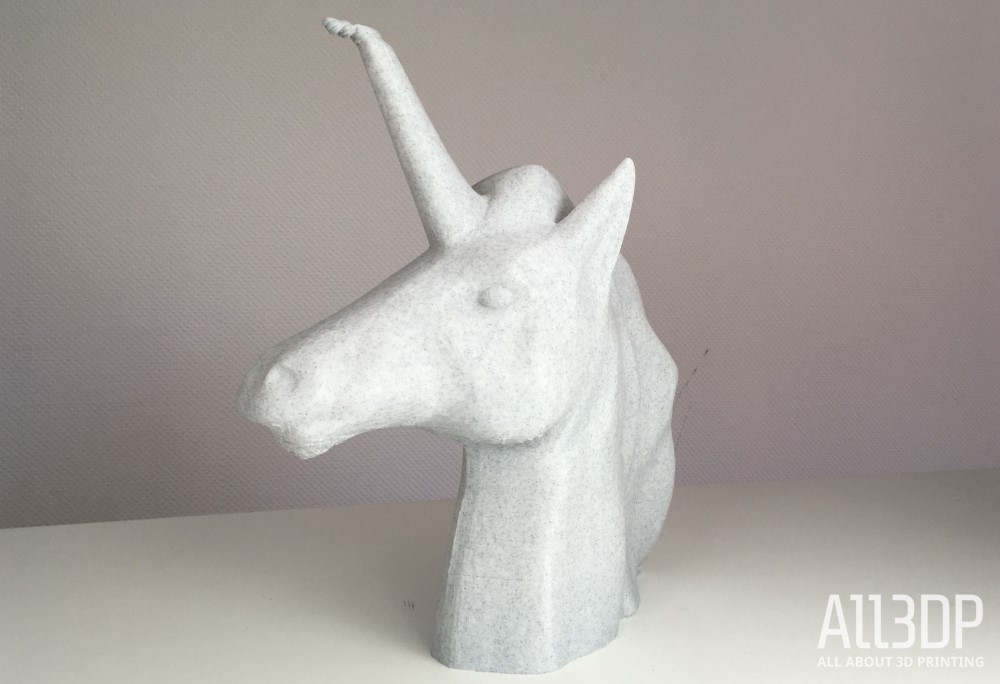
But other than those two mishaps, the printer merrily printed for hours upon hours while we made a camel head and a unicorn, both large prints designed to test as much of the build volume as possible.
Helpful tip: Make sure the build volume is not blocked in any way. It seems like a no brainer, but we didn’t realize we had a bar preventing the X-axis from going up to the full height of the space. This resulted in the unicorn’s horn getting tragically smushed. Again, entirely our fault and not the CR-10S’s.
Otherwise, CR-10S printed beautifully. It did what was asked of it very well and solidly delivered results. Along with churning out the larger prints, it was also able to handle the fine detail of smaller prints as well.
Final Thoughts
If big prints are what you’re after, the CR-10S offers reliability and good quality prints at an excellent price point. In fact, even if you’re not planning on printing camel and unicorn heads, this is a solid printer which handles fine details excellently.
Just be sure you have enough room to keep this bulky machine and have patience when using it because it takes a long time to heat up. But, if you’re willing to give it some time, it will give you some glorious prints for your trouble.
Tech Specs
Here are the cold, hard technical specifications for the Creality CR-10S 3D printer:
PRINTER SPECS
- Printing technology: FDM (Fused Deposition Modeling), single extruder
- Build volume: 300 x 300 x 400 mm
- Layer resolution: 0.1 to 0.4 mm
- Filament diameter: 1.75 mm
- Nozzle diameter: 0.4 mm, 0.3 mm
- Print speed: 80 to 200 mm/s
- Connectivity: USB, micro SD card
- Input rating: 110V/220V AC, 50/60 Hz
- Working Voltage: 12V DC
- Max nozzle temperature: 270 °C
- Max heated build plate temperature: 100°C
SOFTWARE
- Software: Cura
- File types: OBJ/STL/G-code
- Supports: Windows 7 and above
PHYSICAL DIMENSION
- Frame dimensions: 490 x 600 x 615 mm
- Printer weight: 10.3kg
- Shipping container dimensions: 540 x 640 x 310 mm
- Box weight: 14 kg
Differences between the CR-10, CR-10S and CR-10 Mini
But what are the differences between all the CR-10 models? Currently, there are five models you can buy.
Creality CR-10: This is the standard model that came out early 2017. It‘s currently the most affordable model but comes without a filament sensor. Also, most of the components aren’t improved.
Creality CR-10 Mini: The build volume is slightly smaller (300 x 220 x 300mm instead of 300 x 300 x 400mm), but overall, you get an impressive feature set.
Creality CR-10S: This is the updated version of the Creality CR-10. It costs slightly more than the CR-10.
Creality CR-10 S4: This one has an even bigger build volume of 400 x 400 x 400mm. Otherwise, it‘s based on the Creality CR-10S.
Creality CR-10 S5: Yes, it gets even bigger. It comes with a build volume of 500 x 500 x 500mm. It‘s the tallest in the series.
Where to Buy
You can buy the printer from popular online stores.
You can reach the Chinese manufacturer Creality on their English homepage. If you have questions regarding the 3D printer, you can apply for the user-moderated Facebook group.
License: The text of "Creality CR-10S Review: Great 3D Printer Under $500" by All3DP is licensed under a Creative Commons Attribution 4.0 International License.
CERTAIN CONTENT THAT APPEARS ON THIS SITE COMES FROM AMAZON. THIS CONTENT IS PROVIDED ‘AS IS’ AND IS SUBJECT TO CHANGE OR REMOVAL AT ANY TIME.