The Best Slicing Software is Probably The One You Already Have

When you’re just setting out 3D printing, don’t overthink the slicer. Picking the right one for you is probably much simpler than it seems.
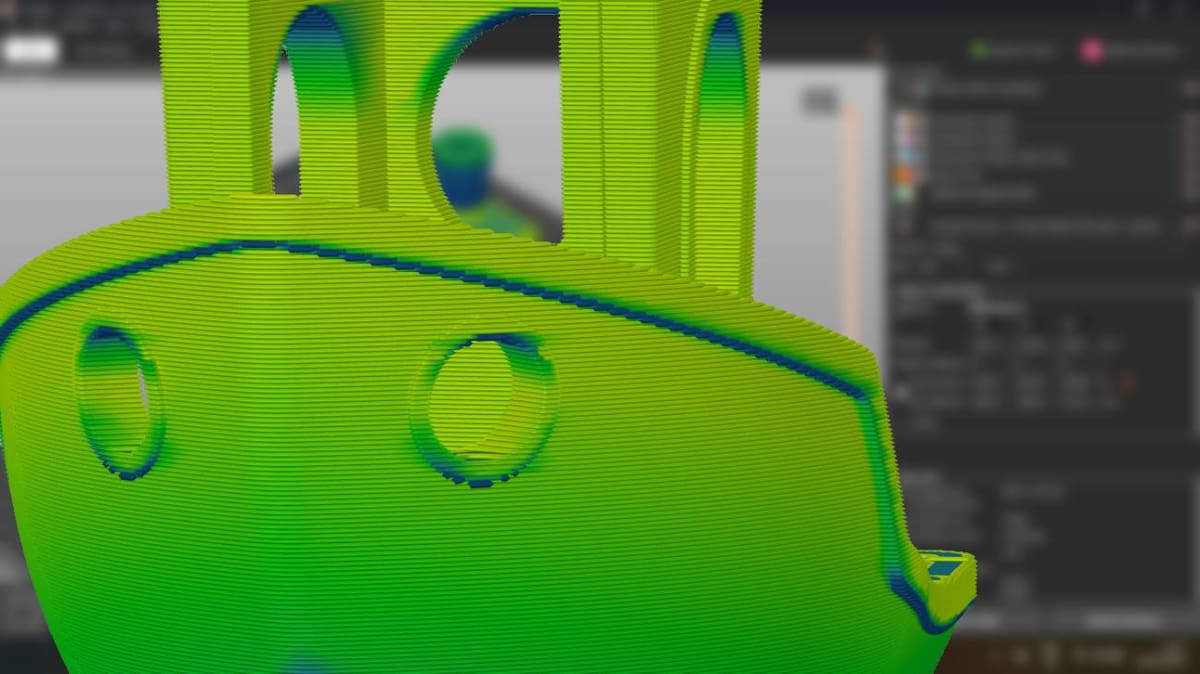
Going from 3D model to 3D printed part isn’t quite as straightforward as choosing the object and clicking “print” (though we’re getting close!). First, you need to slice the model, and for that you need a slicer.
A slicer is 3D printing software that generates “G-code” – a file that your 3D printer can understand, containing all instructions it needs to follow to achieve the desired print. While slicing software can look intimidating, brimming with terminology and options for customization, the core function they do is basic and for the most part, requires very little from you.
If you’re just getting started with 3D printing, our first tip is to start with the slicer provided with your 3D printer, or rather the one recommended by your printer’s manufacturer. Following that, we have a few directions to nudge you in if, after time, your printer’s default slicer is leaving you underwhelmed. This might be for a few reasons, be it a lack of cutting-edge and popular features, frustration with the UI or understanding of the features, or maybe you’re just a little alternative and want to use what most others aren’t.
At the end of this guide, we answer some essential questions about 3D slicer software in general, giving you the foundation to know what to look for when you’re ready for your next slicing software.
But for now, let’s start with the best 3D slicer software tools for your 3D printer.
Get our bi-weekly newsletter for the latest 3D printing news, deals, and guides.
We do not share your information! You can unsubscribe at any time.
By subscribing you agree to our Privacy Policy.
The Best Slicer for Beginners is The One That Comes with Your Printer
It might seem like an obvious point to make, using the software that comes with your machine, but there’s a historical basis for the idea that you might not want to do that. A few years ago, the expected experience, particularly with cheap 3D printers from China, was for them to ship with outdated versions of Cura and require a lot of effort on your part to set up machine and material profiles. This software was rarely updated, and the expectation to make it work was on you, the user.
Those days are behind us, thankfully, though the advice to ditch the manufacturer-provided slicer may persist in some circles. It is broadly the case though that modern 3D printers ship with optimized slicing software that offer smooth, connected experiences that integrate well with the hardware. There are differences, of course, but the integration is much tighter.
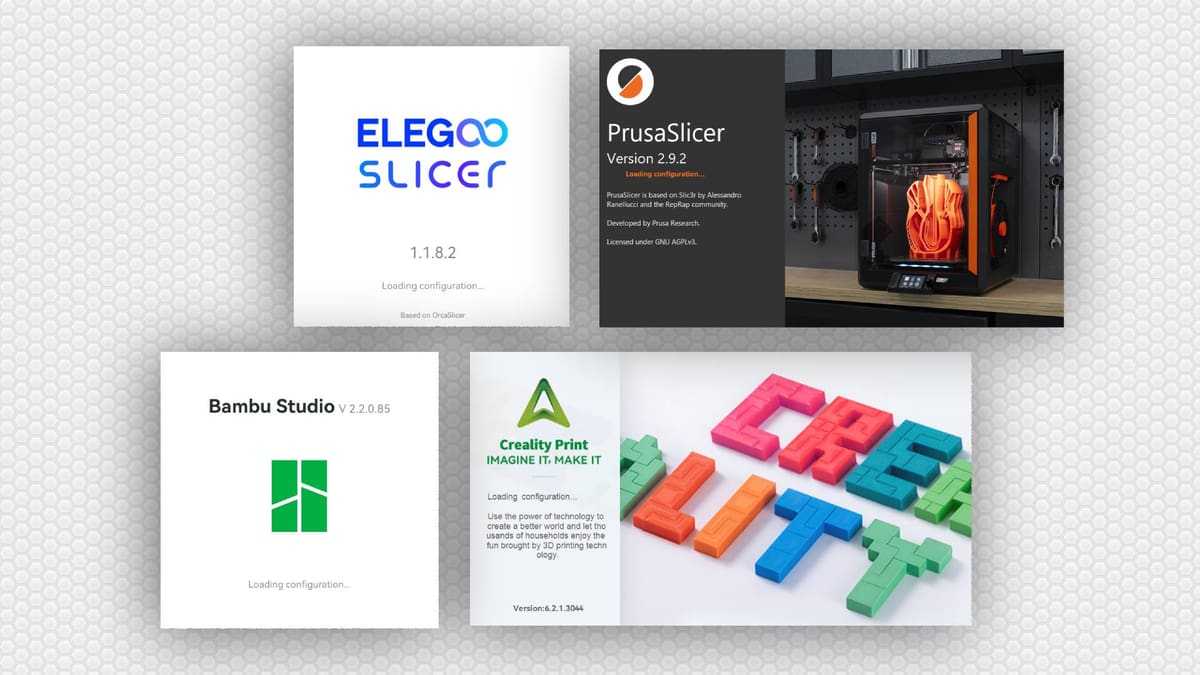
For the most part these slicers all share feature sets, deriving from open source work across Cura, PrusaSlicer, Bambu Slicer, and Orca Slicer. Some credit and give back to the projects they lean on more than others, so if ethical and equitable usage of open source software is important to you, it merits further investigation. No two 3D printer manufacturers are alike in this regard.
Ultimately though, the likelihood is that the best vanilla experience you will have with your new 3D printer is with the slicer provided by your manufacturer, so stick with it, become familiar with it, and simply put some printing hours under your belt.
Now hear me out. For a process that deals with 3D objects so abstractly, one that requires some heavy visual-spatial thinking, there’s a bizarre lack of slicing software that teaches you the toggles and values right there in the software itself.
The likes of Prusa Slicer, Bambu Studio, and Orca Slicer all link out from their myriad settings to websites and wikis to explain each setting in detail, and those guides are detailed, granted. But do you really want to be jumping back and forth from browser to slicer when you’re just starting out? Not us, that’s for sure.
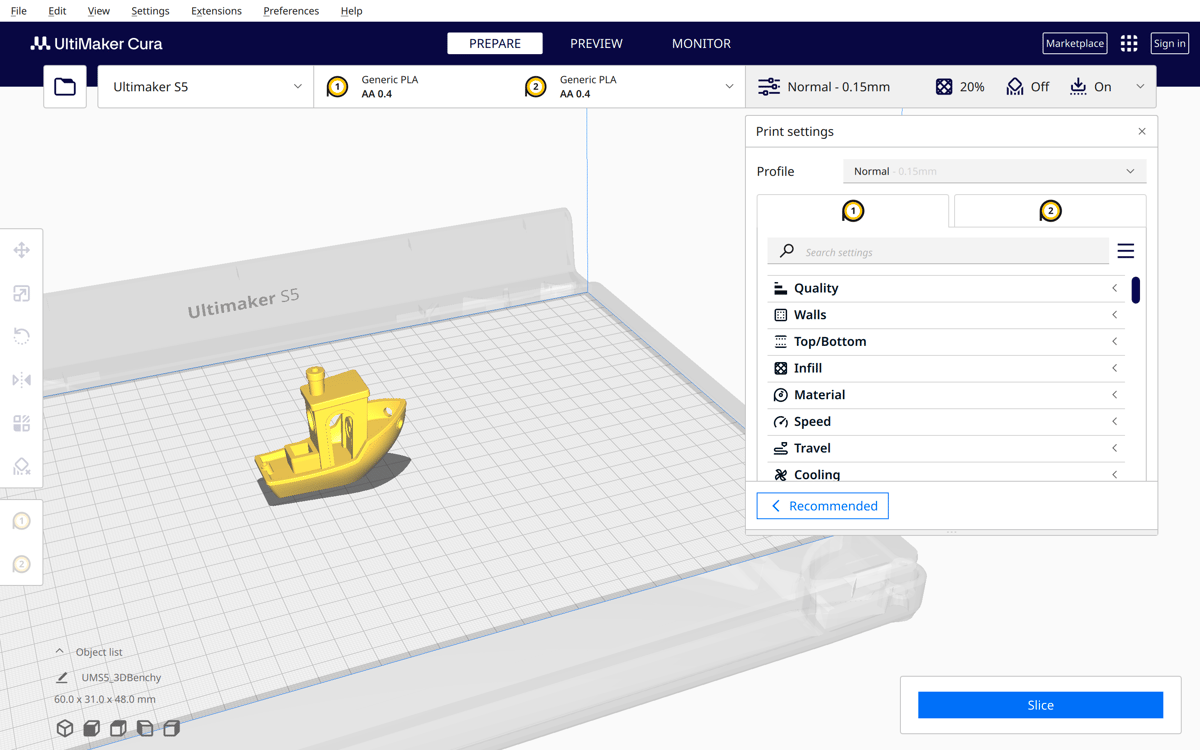
This is one area in which the UltiMaker Cura software still shines. Cura’s open source nature and plug-in library means that industrious users have been able to create their own feature enhancements, like the perpetually popular Settings Guide by user GhostKeeper. Install this plugin and hover over a setting and, unlike other slicers which offer a brief description and a link to open a tab in your web-browser, a full easy-to-digest explanation, often including diagrams, of the setting and what it does pops up.
It has, to date, the best in-slicer knowledge dump, and despite being several years old and subject to shifting popularity thanks to manufacturer-provided slicers improving, we still think this aspect of Cura trumps other contemporary slicers.
Add to that Cura’s clean user interface and easy-to-understand “basic” settings, which can be expanded to deeper settings at a click, we find they keep Cura a solid recommendation for reducing the mental load and learning slicing basics at your own pace, no browser-tab juggling or menus-within-menus required.
A couple of cautionary notes, though. Cura’s baked-in printer library is pretty outdated, meaning you’ll need to set up a printer profile for yourself and shuttle the prints from computer to printer via physical storage if you’re using a relatively modern 3D printer. Not impossible, but certainly a task that using the manufacturer-default slicers skips. That, and there’s little support for multicolor printing beyond dual extrusion or filament changing scripts or pauses. If you’re using a multicolor printer with an AMS-style filament changer, Cura is not going to be able to take advantage of your hardware’s full capabilities.
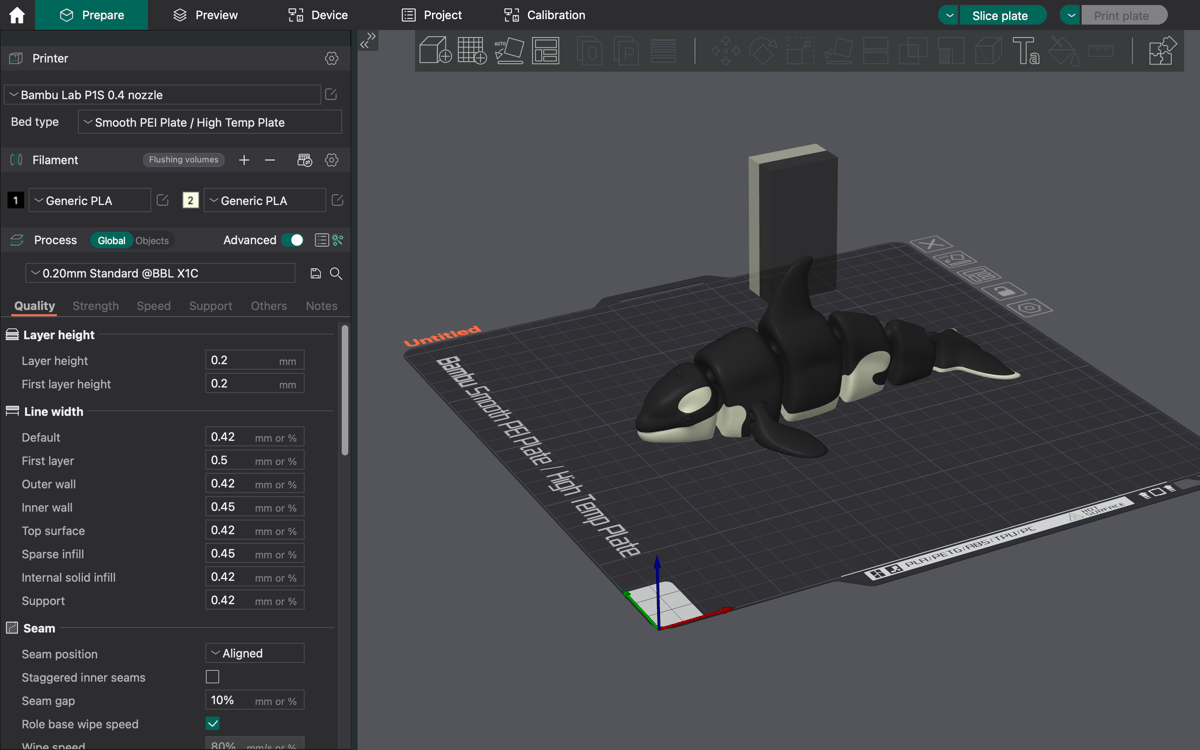
The go-to third-party slicer for modern times, Orca Slicer is a pretty deferential fork of Bambu Studio, which itself builds upon Prusa Slicer and adds some ideas of its own. Ultimately, this big attributional soup probably means very little to you. What does matter is that, as is more often the case in 3D printers slicers, Orca Slicer is a largely community-driven endeavor. Technologically savvy users contribute bugfixes and features as well as suggestions for improvement that often, in time, fold into the program.
In practical use, Orca Slicer takes the best bits of Bambu Studio and Prusa Slicer, the products of two of desktop 3D printings most cutting-edge companies, and adds its own fixes to the mix, oftentimes beating the others to the punch with logical, community-requested features.
We’re recommending it as a daily driver for most for the reason that getting started is likely simple, thanks to the vast library of community-contributed printer profiles. The chances are that your printer is already there.
That, and Orca Slicer incorporates a wealth of calibration tools that can help you to refine and improve your slicing settings, resulting in cleaner prints without the need for widespread, siloed knowledge. It’s all in the slicer.
Going further, Orca Slicer generally benefits from in-demand and trending features early, with new ideas from the big two incorporated quickly and community-generated ideas often appearing here first.
While Bambu Lab machines are included in the preset library, it’s worth noting that as of Bambu Lab’s tightening of third-party software integration, Orca Slicer is not able to remotely interact with online, up-to-date Bambu Lab hardware unless they’re first toggled to LAN mode only and connected that way.
Adventurous users can check out the nightly builds – the latest features and fixes as they’re developed, or stick with the stable releases, which roll out on a regular basis via the Orca Slicer GitHub repo.
We see you. You’ve rolled your eyes at the other recommendations; they’re dull. Expected, even. “Give me a software rec. to sink my teeth into” you scream. Fine. If you want something really different, then check out Lychee Slicer, an independent freemium slicer that.
What started out as the go-to resin 3D printing alternative has, in recent years, branched out into filament 3D printing too, meaning this all-in-one slicer can service all corners of the desktop 3D printing space.
I don’t think it’s as cutting edge or immediately useful as Orca Slicer, personally, but Lychee Slicer handles the slicing workflow in a novel way, splitting it into separate stages and presenting them in a more visual way.
There’s a healthy community of users contributing machine and material profiles, too. It may not be open source, but the community aspect is something that is diminished in other slicers, ironically, so Lychee Slicer’s army of users is actually a strength here.
There is a free version, with ads (the modern condition), but to get the full benefit from Lychee Slicer, you’ll have to subscribe to unlock additional features and an ad-free experience. Fortunately there are often sales – just wait them out before you hit “subscribe”, if you don’t currently see one.
Essential Questions about 3D Slicer Software
So, what does 3D slicer software do? A 3D slicer is a piece of software running on a computer. It acts as an interpreter for your 3D printer. You feed it a 3D file type, usually one of STL, 3MF, or OBJ file. The 3D slicer software then cuts the object into a sequence of horizontal layers with a path for the printhead to follow – line by line, layer by layer.
After analyzing the file and offering you choices and settings, the software generates a “G-code” file tailored to your machine. It describes coordinates, nozzle and bed temperatures, fan control, printhead speed, and other variables.
Why is 3D slicer software so important?
A 3D model alone is not a printable file. You need slicing software to take this digital construct and interpret it in a way your 3D printer can follow, as dictated by your 3D printer’s parameters, the material you’re using, and your preferences for the printed file.
What separates a good 3D slicer software from the bad?
Personal preference will play a greater role than any fundamental differences in the performance of the different slicing software. We liken the question to be less about a slicer being “good” and more about it being “right” for your situation and setup.
Not all slicers are equal, even though many are forks of another. Because of this, there are some generalities you can count on. The majority of desktop slicing software use your computer’s CPU to crunch the numbers. 3D previews of the models may tap your GPU, but for the most part how “quick” your computer is will play a role in how zippy the slicer feels, rather than the software itself.
What are the best 3D slicer settings?
It can be tricky, finding the right setting, but we’ve put together a handy guide to slicer settings and how to set them up.
Which slicer is the right one for me?
As we state above with our picks, it’s highly likely that the slicer your 3D printer shipped with is an optimal choice. If you have irreconcilable issues with that, then a simple option lies in Cura, which explains options well and has a beginner-friendly user interface. For everything else, there’s Orca Slicer, which blends usability with modern features and frequent updates.
License: The text of "The Best Slicing Software is Probably The One You Already Have" by All3DP is licensed under a Creative Commons Attribution 4.0 International License.