We love key organizers. They not only look so much better than your average keyring, they are also very practical. Until now, you could find these tools only on Kickstarter or in specialized shops. Now you can 3D print and assemble your own. The project a great start for 3D printing beginners.
The topic of this week’s 3D printing project comes in many forms and variations: It’s the 3D printed key organizer. There are many varieties of key organizers (also to be found under “key holders”) on Thingiverse.
We chose this particular Swiss army knife style key holder. It is called the “Proteus key holder”, and it was made “designer, teacher, maker” Proteanman. He states: “This works like a swiss army knife with your keys folding into the holder. Each holder is designed to have an equal number of keys at each end. The center bolt keeps the keys from crossing onto each other. You can fit as many keys as you want on this, just have to get a long enough bolt.”

Proteus Key Holder: What Do You Need?
So, let’s get started. Here‘s what you need:
- 3D printer
- 3D printer filament, preferably PET-G or ABS.
- STL files
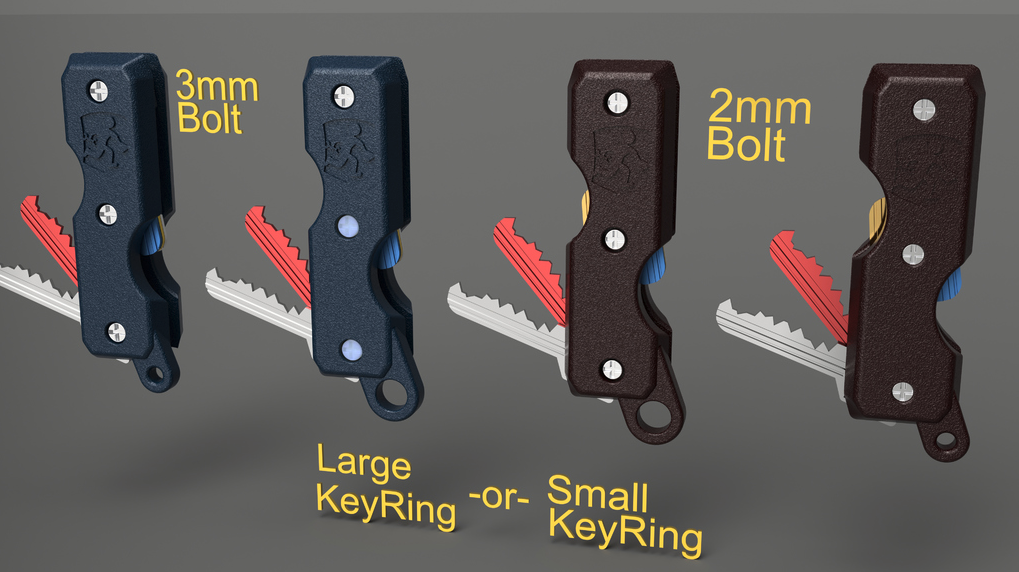
- 3x bolts: Depending on how many keys you want to add, you need 3mm bolts or 2mm bolts.
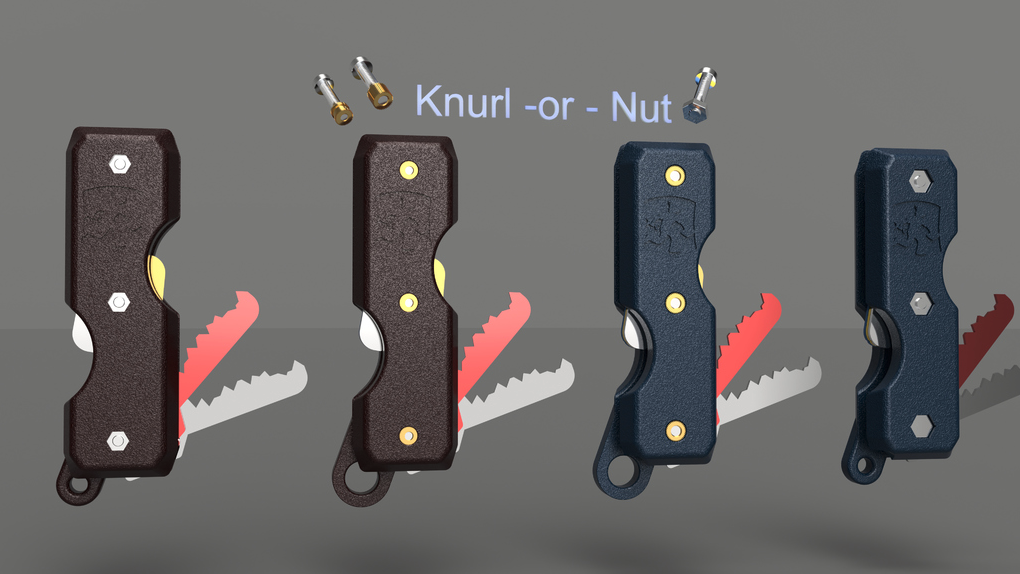
- 3x nuts or knurls: You can buy these in packages online. Check the image below for knurl dimensions needed.
- keyring: if you want to attach your creation somewhere, you can add a keyring to your key holder – but this is purely optional.

Proteus Key Holder: Putting it all Together
Actually, printing, and assembling this project is manageable for beginners.
First, you decide how many keys you want. Then you choose if the key organizer should be held together by knurls or bolts/nuts. Knurls are easier to use and more reliable than standard nuts.
Depending on your choice, you calculate the length of the bolts/knurls. Here’s an example: You have 6 keys, that’s 3 at each end of the key holder. 3 keys total make up for 10mm width. Add + 6mm for the key holder body insets (each one has 2mm). So all in all, you’ll need a 16mm bolt length.
More information can be found on the Thingiverse page of the project.

Then you start 3D printing the parts. The inside of each part should face the print bed for best results. You won’t need additional supports for printing. If you want to make the piece strong and durable, use a high infill setting: 75% or above should do the trick. The designer recommends ABS or PET-G filament – it is way more durable than the notoriously brittle PLA.
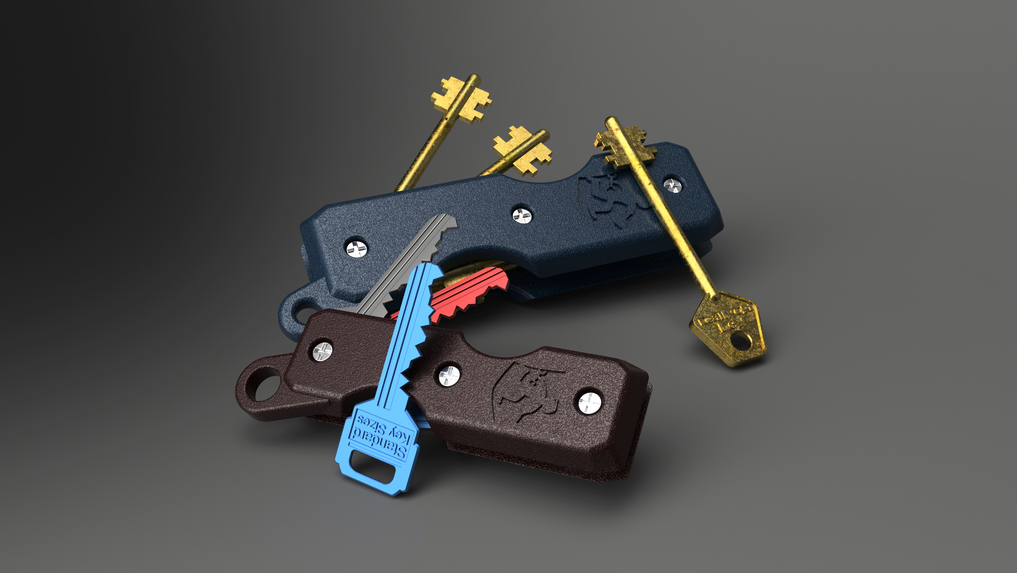
As you can see in the rendered image, there’s a longer version that lets you add older key types to the holder.
You find additional instructions right here. Happy unlocking.

License: The text of "Project of the Week: 3D Print a Key Organizer" by All3DP is licensed under a Creative Commons Attribution 4.0 International License.