The CEL Robox is a micro-manufacturing platform from the UK. In this ALL3DP video, Thomas Sanladerer takes us through unboxing and setup.
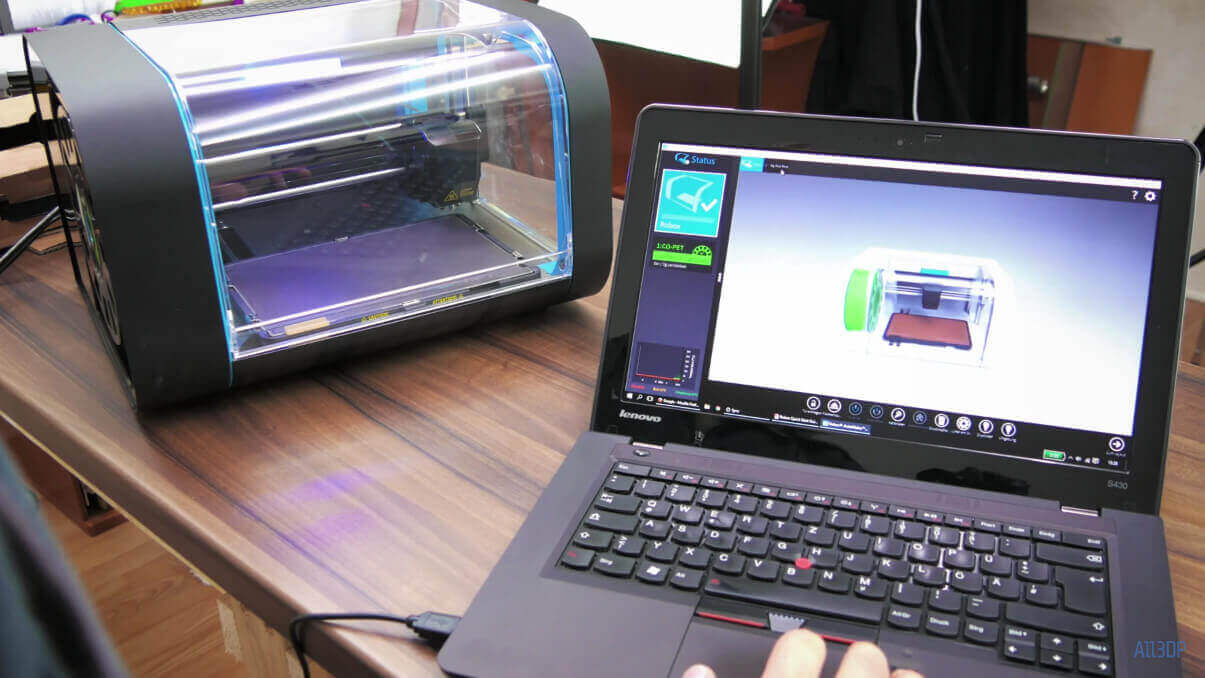
This is the CEL Robox, a UK-made micro manufacturing platform. The one we have here is basically a 3D printer, so let’s have a look at what it takes to get this thing going.
By all means, this is a fancy printer. It’s still a regular filament-based 3D printer with a decently-sized build volume, but it’s already promising with a super-fine 20 micron maximum layer resolution and support for all the major filament types from PLA to Nylon, and even Polycarbonate, one of the trickiest materials to print. We’ll definitely try those out.
If we head over to the “Features” side, you’ll see what makes the Robox stand out from the crowd. I think it’s fair to say that this thing is filled to the brim with sensors and smart add-ons.
Key Features
First off, the head uses their HeadLock system which integrates an automatic bed leveling system and allows you to swap the entire print head quickly.
Integrated into that print head is the QuickFill dual nozzle technology, which basically lets the printer switch between a really small and a really large nozzle in the same print, the idea behind it being that the larger nozzle will be used for areas of the print where speed matters more than quality, and the smaller one vice-versa.
Then there’s the SmartReel system, which is supposed to automatically detect which Robox filament you install and adjusts the print setting accordingly.
Lastly, on the hardware front, it’s got the SmartExtruder System as well, which, again, adds more sensors to the filament path in an attempt to make it easier to use and more error-proof.
And on the software side, it comes with their proprietary AutoMaker software, working hand in hand with all those hardware features.
Unboxing the CEL Robox 3D Printer

Alright, so let’s dig in…
Actually, there isn’t all that much to unbox here. There’s a small accessories box on the side and the actual Robox in the center, wrapped in a textile carrying bag. The CEL Robox itself is only very lightly packaged and doesn’t take that much preparation to get ready.
After removing the transport fasteners, this particular unit was ready to go right away. It did come with a spool of ColorFabb XT filament pre-installed, but usually you’d get that separately in the accessories box.
Speaking of the accessories box, you’ll also find a safety information booklet inside, along with a USB drive with a few 3D models and the AutoMaker software. There’s also the power and USB cords, a pair of tweezers, a few alcohol wipes for the printbed, a small bottle of lubricant for the linear axes, and a set of cleanup tools, which — interestingly enough — are a four-pack of mini chisels.
Producing the First Print
From here on out, getting to the first print was smooth sailing.
After installing the AutoMaker software — which is available for Windows, Mac and Linux — you can start loading up your own STL files immediately and print them with the predefined printing profiles. Alternatively, what I did was to use the “my first print” option, which loads up the Robox mascot and prints that.
Now, if this printer had not come with the SmartReel already in place, installing that would have been something that needed to be done up until now. Installing filament is rather simple: With no filament in there, you simply grab the loose end of the filament spool and push it into the feed hole until the printer automatically grabs onto it. It will then feed the filament right up to the print-head and ask to purge it (if there was a different filament loaded beforehand).
The print process itself starts with the printer checking if the front door is closed, then it starts heating the bed and the nozzle, measures the bed surface for that auto-tramming (a.k.a. auto-leveling magic), cleans the nozzle and then starts the print.
It is kind of unsettling to have the entire print space locked away with almost zero means of correcting anything that happens in there, but so far, this process worked out very well each time and did prove quite reliable.
At this point you can disconnect your host computer from the printer, since all the processed information for the print has been transferred to the Robox itself. But you can still reconnect a computer at any time and check on the print process. This is useful since the Robox itself doesn’t offer any kind of information on what it’s doing, other than that ambient LED strip, which just always seems to glow blue.
This test print took roughly two hours, and it did it all by itself with practically no setup or calibration and only minimal user input.
So there you go, that’s the entire setup process for the CEL Robox in a nutshell.
Be sure to check out the in-depth All3DP review of the CEL Robox, and find out how well all these super-fancy features work in day-to-day use… or if you’d be better off sticking with a simpler printer.

License: The text of "CEL Robox 3D Printer: Unboxing & Setup (VIDEO)" by All3DP is licensed under a Creative Commons Attribution 4.0 International License.