Create Your Own “Baby” Formlabs 3D Printer With Form 2

At the recent Formlabs User Conference, an attendee became the star of the show with his miniaturized 3D printed BabyForm2 3D printer.
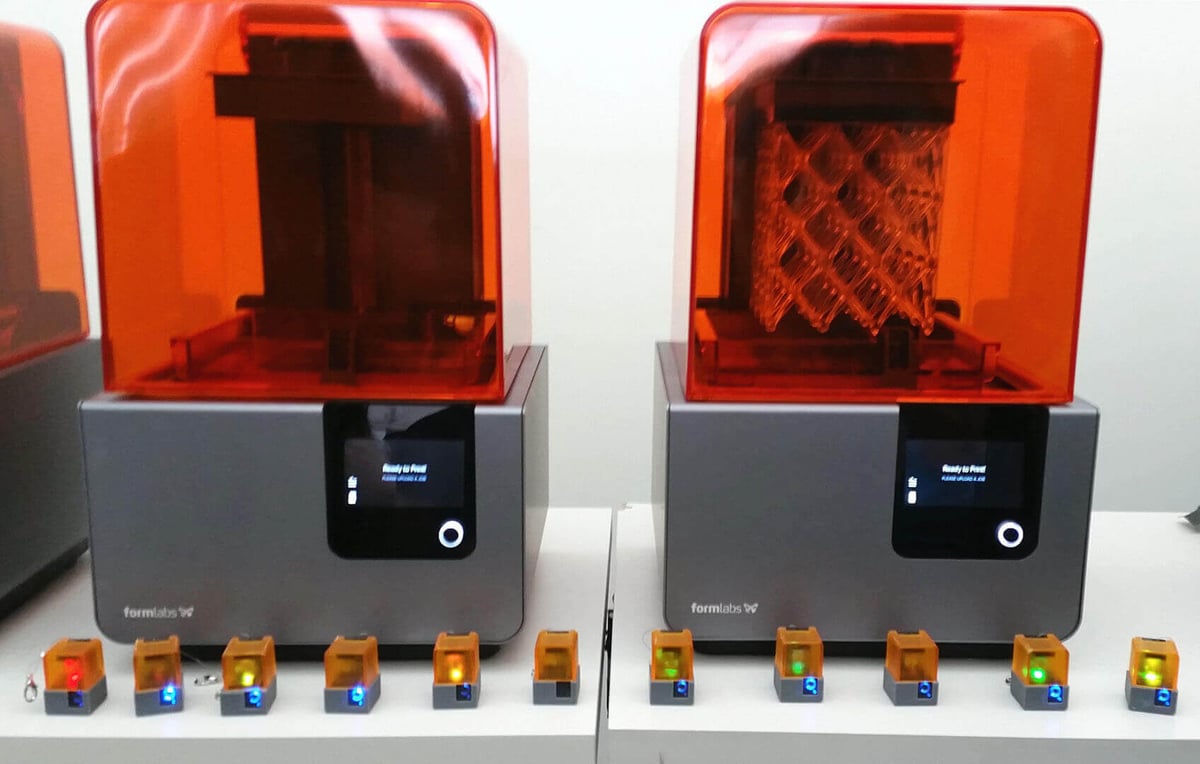
If you’re at all familiar with the 3D printing industry, chances are you know about the Formlabs Form 2. This desktop SLA machine is constantly ranked among the highest quality printers on the market. From your everyday maker to dental professionals, this resin-based printer has become the go-to for a wide range of applications.
Learn more about the Form 2: Formlabs Form 2 Review: Great Resin 3D Printer
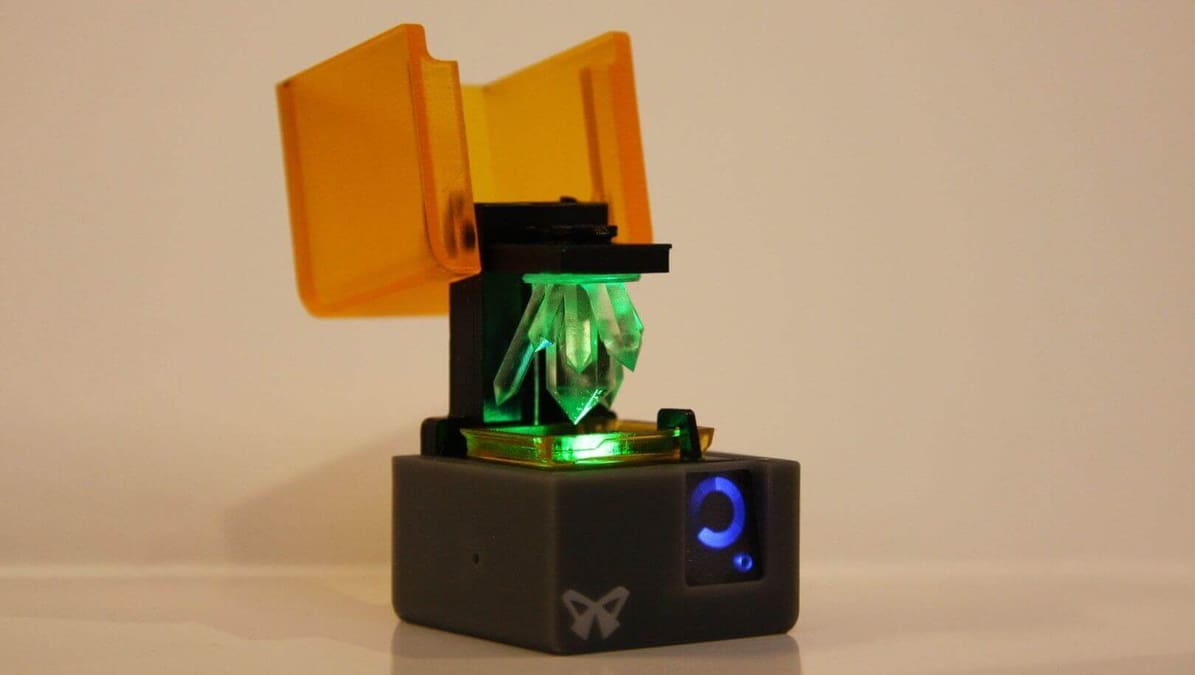
Earlier this month, Formlabs hosted the Formlabs FUSE Conference at the MIT Media Lab. This convention brought together the growing community of Formlabs users to discuss best practices, hacks, applications, and more. At the event, an attendee named Richard Kagerer showed up with a number of “BabyForm2” 3D printers. This little ornament is a miniaturized version of the Form 2 printer, and is also printed on an actual Form 2.
Although this maker didn’t bring enough BabyForm2 for everyone, he recently turned up on the Formlabs Community Forum to share his step-by-step guide detailing how to build this tiny printer yourself. This DIY project takes a bit of patience and practice, but the final result is a magnificent and colorful replica of the famous Form 2 3D printer.
The BabyForm2: The Perfect Little Project For Fans of Formlabs (Or DIY Projects In General)
The BabyForm2 might look small on the surface, but making one requires a fair amount of materials. Luckily, Kagerer has detailed everything very clearly in his forum post, starting with the materials needed to complete the project. In addition to the model files, he also suggests using black, gray, clear, and white resin. Additionally, you will need a paperclip, CR-2032 battery, two 3mm LED lights (1 blue & 1 RGB), magnets, and a few other tools.
For those who want to go above and beyond, Kagerer shares instruction on how to tint the resin with an amber color, which will represent the Form 2’s lid. The BabyForm2 can be made without this dyed resin, but it also gives the miniature the authentic Form 2 aesthetic. All of the .form files have been optimized to print with a 100µm. You can see the printable parts in the image below.

Once the print is complete, you can remove the pieces with a scraper knife or the removal tool that comes with the Formlabs stock finishing kit. Small parts, such as the butterfly and glass components, should be handled using tweezers. After post-processing with alcohol, it’s time for the intensive assembly portion of the project. We won’t get into all of that here, but Kagerer shares everything you need to know in his forum post.
The final product is a colorful BabyForm2 3D printer, the perfect decoration for your workshop or office desk. By replicating every intricate piece from the Form 2, this project gives a firsthand look at how the printer operates. Not to mention, the LED lights provide a colorful look that will leave your friends in awe.
Are you interested in creating your own BabyForm2? If so, check out the step-by-step instructional guide here!

License: The text of "Create Your Own “Baby” Formlabs 3D Printer With Form 2" by All3DP is licensed under a Creative Commons Attribution 4.0 International License.