Build a 3D Printed Raspberry Pi Security Camera in 9 Easy Steps

Love’em of hate’em, surveillance cameras are everywhere. They were installed to prevent acts of vandalism, theft, robberies or just for ye plain olde surveillance.
The use of surveillance cameras on your property is allowed in most countries, as long as you provide some visible information (a.k.a. signs). Most Makers have all the stuff laying around to build a 3D printed surveillance camera – they just need the proper case files. Instructables user tlankford, who lives on his sustainable farm, is working on some exciting projects like from anti-poaching drones and greenhouse automation, designed a security camera for 3D printing.
Without further ado, here‘s what you need to build a 3D printed camera:
1. A Raspberry Pi Model B: The Raspberry Pi will be the heart of your camera. The microcomputer is making your camera connectable, versatile and open for modifications.
2. SD Card: This is the “hard drive” of your camera. Also, you’ll install the operating system for it on the cards memory.
3. A DIY Camera Kit: “Sainsmart NOIR” with flat cable for Raspberry Pi is the camera being used. “Noir” stands for “no Infrared filter”, which means you’ll be able to get a better image at night. The camera provides a 5 Megapixel image with a 1080p resolution.
4. Edimax Wifi adapter: The Wi-fi adapter optional if you want to have the camera connected via Wi-Fi. If not, you can connect the Pi via Ethernet.
5. 5V 2A Power Supply with Micro USB plug: The whole apparatus needs power. 2 ampere is a must for operation without blackouts.
4. Ethernet Ccable: You can connect through Wi-Fi later, but at least for the initial configuration, you’ll need a cable.
5. Screws: Various lengths, M3 and M4. For details see the Instructable.
6. Acrylic Disk: Because we can’t 3D print see-through camera housings yet.
7. The 3D Printed Camera Case

You find all the files at Thingiverse, the detailed assembly instructions on Instructables.
If you don’t have access to a 3D printer, you can have the case printed at a 3D printing service provider. If you want the best available price, please resort to All3DP’s price comparison service.
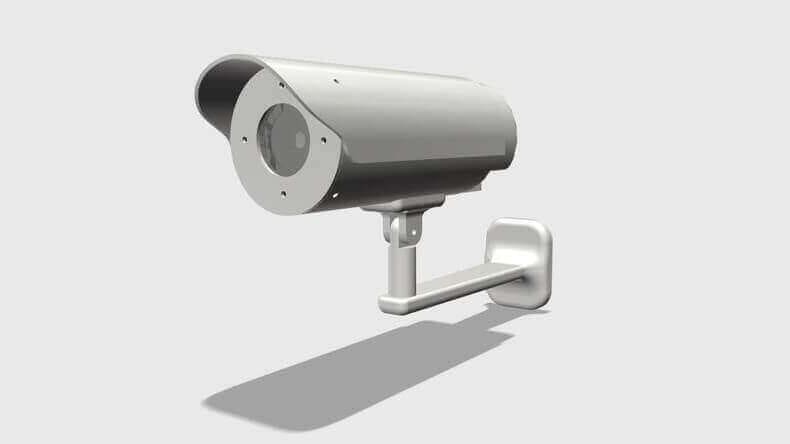
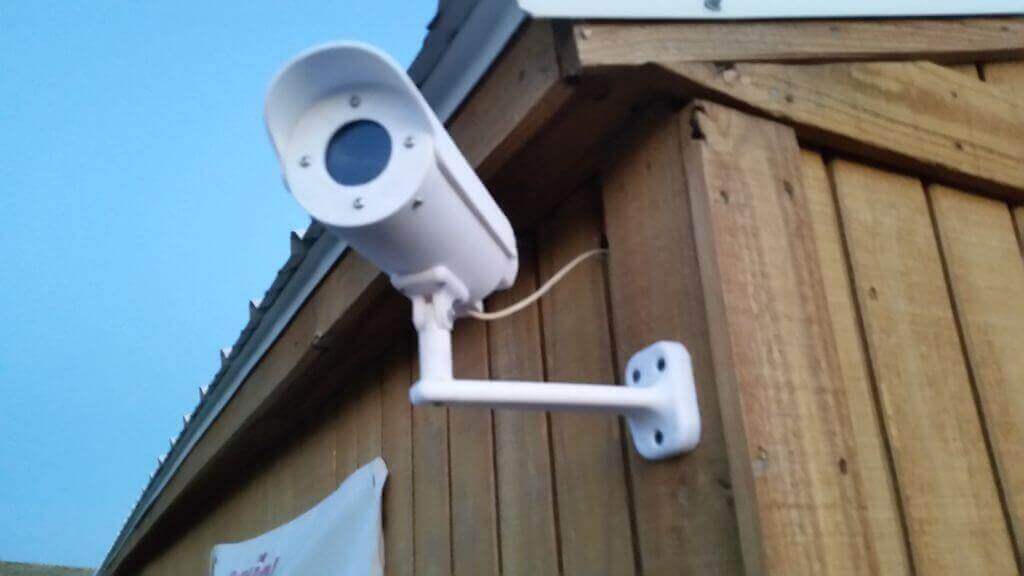
The 3D printed camera housing has a wall mount and holes for the wiring. It looks just like you’d expect a CCTV camera to look. The CCTV alternative made with open source software, and components allow room for further improvements.
The project’s creator dreams of adding multiple cameras to his setup. Some of them will be pan- and tiltable with servo motors and equipped with infrared lights to enable night vision.
8. The Software: The Raspberry Pi Security Camera’s software is motionPie, an open source project by Calin Crisen. The software allows you to build impressive security systems and features such as distributed processing and storage. The Raspberry in the camera can still do other tasks at the same time. Furthermore, the project will be ready to take different hardware configurations and upgrades in the future.
If you want to go Big Brother the full way, you also can set up a whole network of 3D printed security cameras.
License: The text of "Build a 3D Printed Raspberry Pi Security Camera in 9 Easy Steps" by All3DP is licensed under a Creative Commons Attribution 4.0 International License.