The Mintion Beagle: Plug-and-Play Time-Lapse Camera

Creating 3D print time-lapes is unnecessarily complicated, but the new Beagle Camera from Mintion may have solved that.
Those beautiful stop-motion videos of 3D prints magically growing on the printer bed can be annoying to set up. You need to get a Raspberry Pi, a suitable camera, and time to get the whole thing working with suitable software like OctoPrint. With the price of hardware as it is, that can also get a little expensive. Mintion’s Beagle camera at just $70 aims to solve this with its relatively cheap and straightforward solution.
In The Doggy Bag
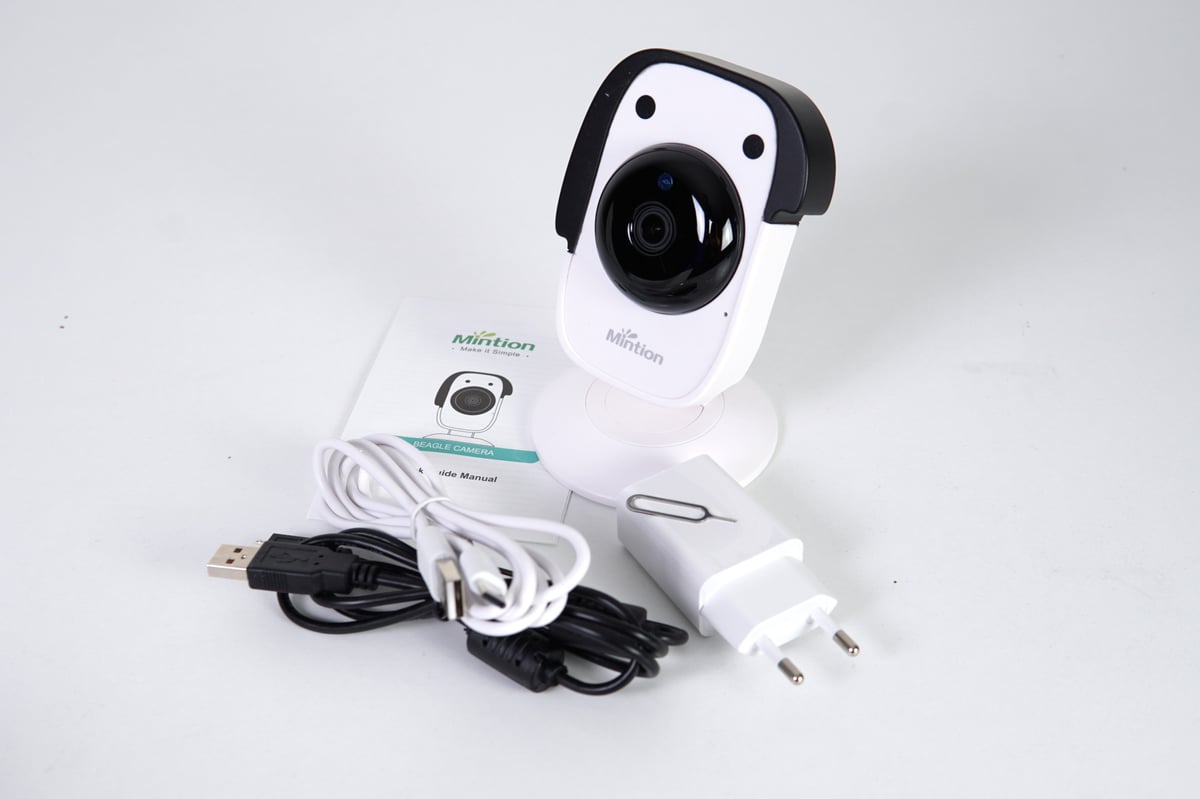
Included in the box are the Full HD Beagle camera, an instruction pamphlet, a power adapter, a USB-C cable, a Micro-USB cable, a pin to reset the camera, and a 32 GB MicroSD card.
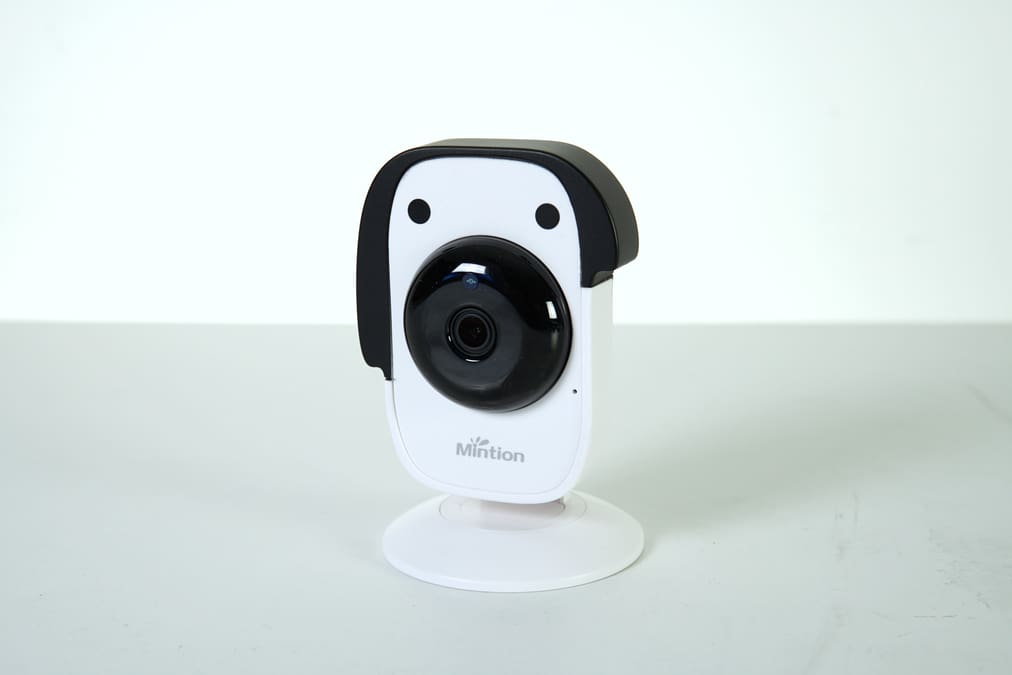
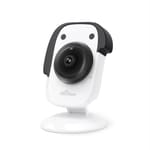
The camera looks like a cute dog, with the lens making up its muzzle — hence the name. FYI, it has nothing to do with BeagleBoard, if that came to mind.
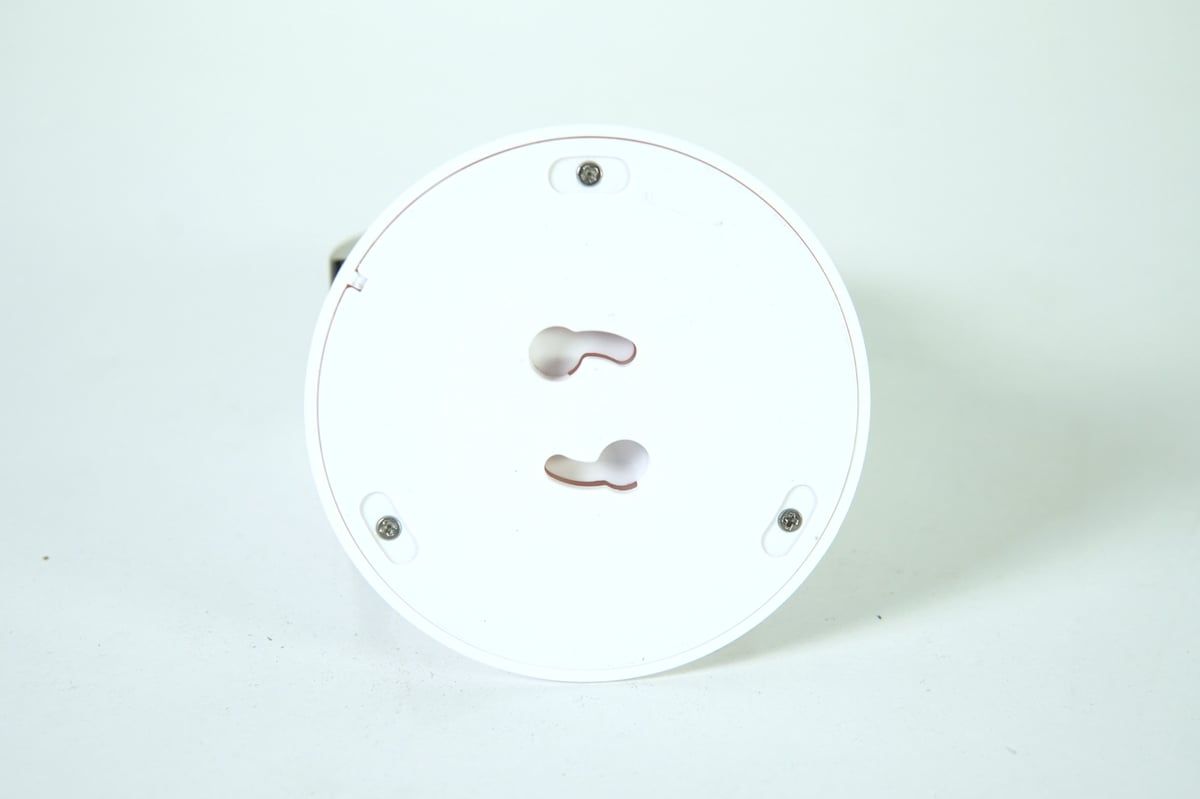
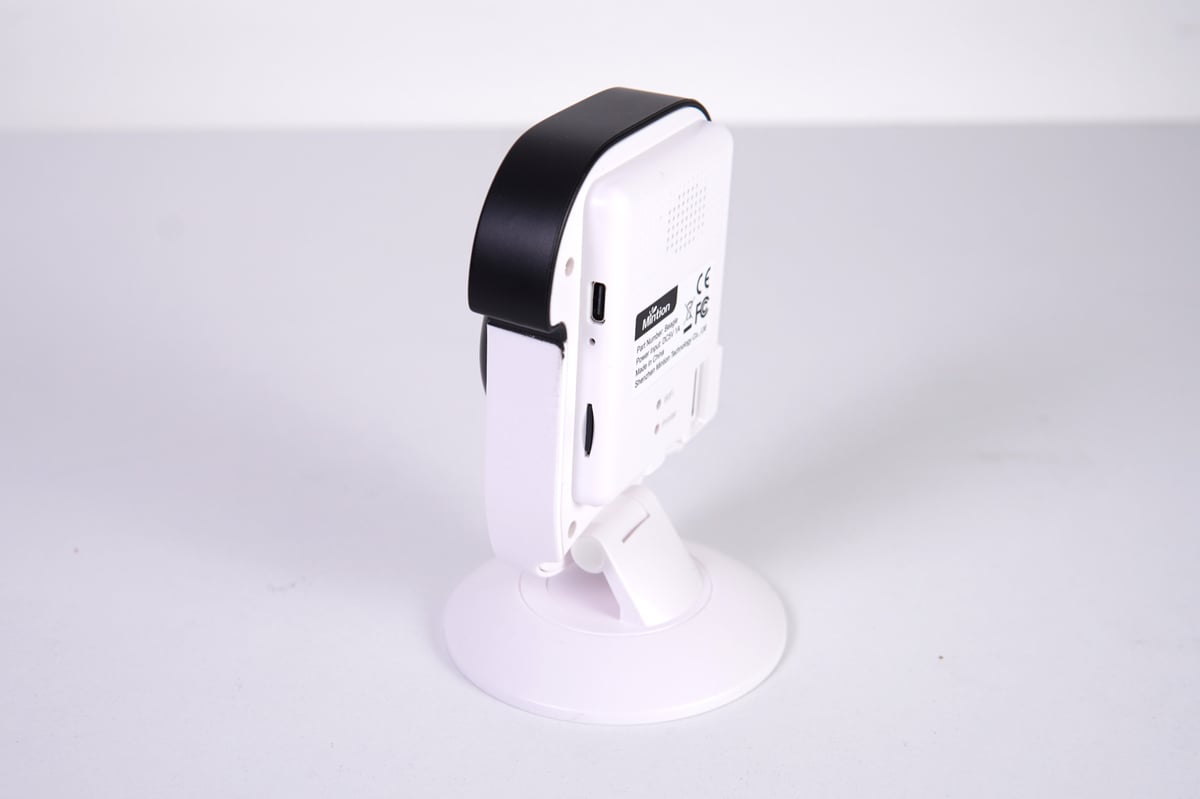
There are two mounting holes on the base with no standard camera mounting adapter included in the package. The camera’s plastic base has no rubber coating or any sort of grip.
The Setup
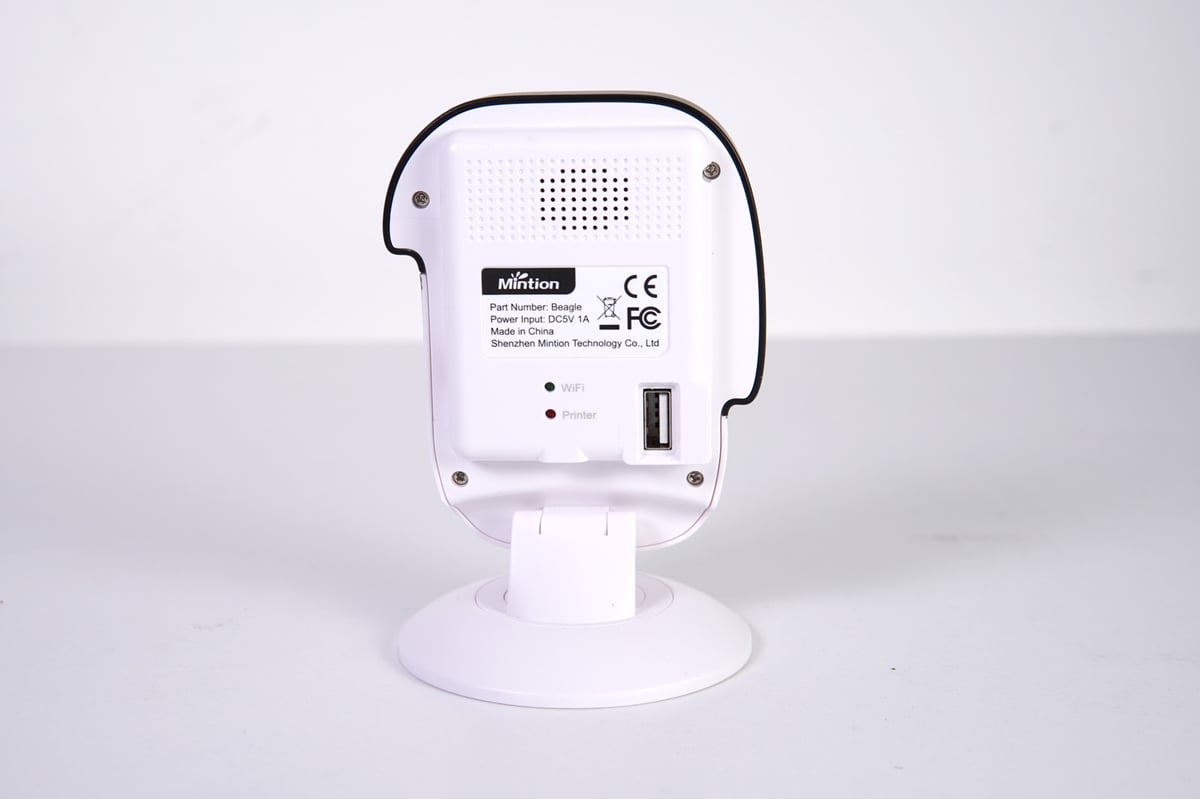
The camera takes about 10 minutes to set up. You’ll need a Wi-Fi connection and a smartphone, but all the necessary cables are provided unless your printer uses something other than Micro-USB. In that case, you’ll need to source the appropriate cable to connect the printer yourself. The Beagle has two USB ports: one USB-C exclusively for power and a USB-A to connect to the printer.
Unlike OctoPrint, which pretty much works with any 3D printer, the Beagle only works with a select few listed on Mintion’s website. We tested the camera with a Creality Ender 3 S1, which is supported, and an Elegoo Neptune 3, which isn’t.
The setup was simple. Simply install Mintion’s app, “Beagleprint”, then add a new printer and select “AP configuration”. Follow the instructions on the pamphlet and you should be greeted with a loud “successfully connected to the Wi-Fi” audio clip from the camera.
Once that’s done, you can connect the camera to the printer and select your model from the list of options. When your printer is powered on, it will show the camera as connected. After this, you should be able to access your printer from the Beagle’s app or web interface.
To access the web app, you can easily find the camera’s IP address in Beagleprint under “Camera Information” in the settings. Just enter the IP address in your browser and you can log in. The default password is mentioned on the login page.
That’s all there is to it.
Watchdog
The camera works well, with colors that look accurate in a well-lit room. There is a color night mode for darker rooms, but we don’t recommend it. The output is so grainy that it’s unusable. We found the infrared camera mode to work best. It works in absolute darkness and, while it may not be the best option for time-lapses, it is excellent for monitoring the printer in dark areas like a basement.
When recording, the resulting video probably isn’t as clean as you could get with a good OctoPrint setup. Even with ideal lighting conditions, the video isn’t crisp. There is always a bit of fuzziness, especially at the edge of objects. But it does produce the magical print time-lapse effect very well. You can watch our YouTube video below to see what we are talking about.
Since the poor image quality is simply the result of a low-quality camera, there is no real way to fix it. The videos seem great for sharing over chat or on email, but for something like YouTube you are better off investing in an OctoPrint setup.
If, while using the setup, you find focus is a problem, there is a way to fix that. You can open up the camera and manually adjust the focus by turning the lens. It’s not hard to do, but it is annoying to have to open the back of the camera to fix something so trivial. If the nose of the dog were more flush with the body it might have been possible to do the adjustment from the outside.
Securing the camera in place is another problem. Without actually mounting the camera, it is almost impossible to keep it in place. The power and USB wires tug on the camera and, without at least a rubber base, it easily moves. So, without installing a mount or a rubber dampener the best you can expect is shaky time-lapses.
Since the Beagle uses a non-standard mount, you will have to download a 3D printable mod for the camera. Thankfully, you can find a blog post listing all the available mods on the downloads page on Mintion’s website.
Remote Control
After the entire setup is done and you’ve securely placed the Beagle camera near your printer, you can run your printer from anywhere. To start, you will need to upload a G-code file from the app or web interface. Run it, and you can watch your printer live via the camera.
The Beagleprint app lets you control the nozzle and bed temperature, which is helpful if you need to make adjustments remotely for better printing. A live graph reports these temperatures as you print. You can also control the position of the X-, Y-, and Z-axes — though it is best to move the printer slowly due to video lag. Likewise, the extruder can be remotely triggered to retract or extrude at a given length.
Interestingly, the web app has some extra features compared to its mobile counterpart. You can examine every layer’s tool pathing in the 2D review section, and visualize the object and its placement on the bed in the 3D review section. But, both the 2D and 3D review tabs don’t seem to work as intended, the prints don’t appear in the correct location on the screen. The actual prints turn out fine, though, so it isn’t a big issue. But, this is possibly why the feature isn’t included in the app. The web app’s main page also shows the layers that have been printed and the time remaining for the print to complete.
We preferred the web interface generally, as it felt much more organized and easier to use. Downloading the resulting time-lapses and sharing them was also simpler through the web interface. Both interfaces lack a direct share button, but locating the downloaded files on the web interface was simpler than on the mobile app.
Workhorse
The camera worked with both the Creality Ender 3 S1 and the Elegoo Neptune 3. For the Ender 3, we just selected the appropriate printer, and for the Neptune 3, we chose the profile of its predecessor, the Neptune 2/2s. In both instances, the printer worked flawlessly. It gave the proper readings and printed accurately for a time-lapse.
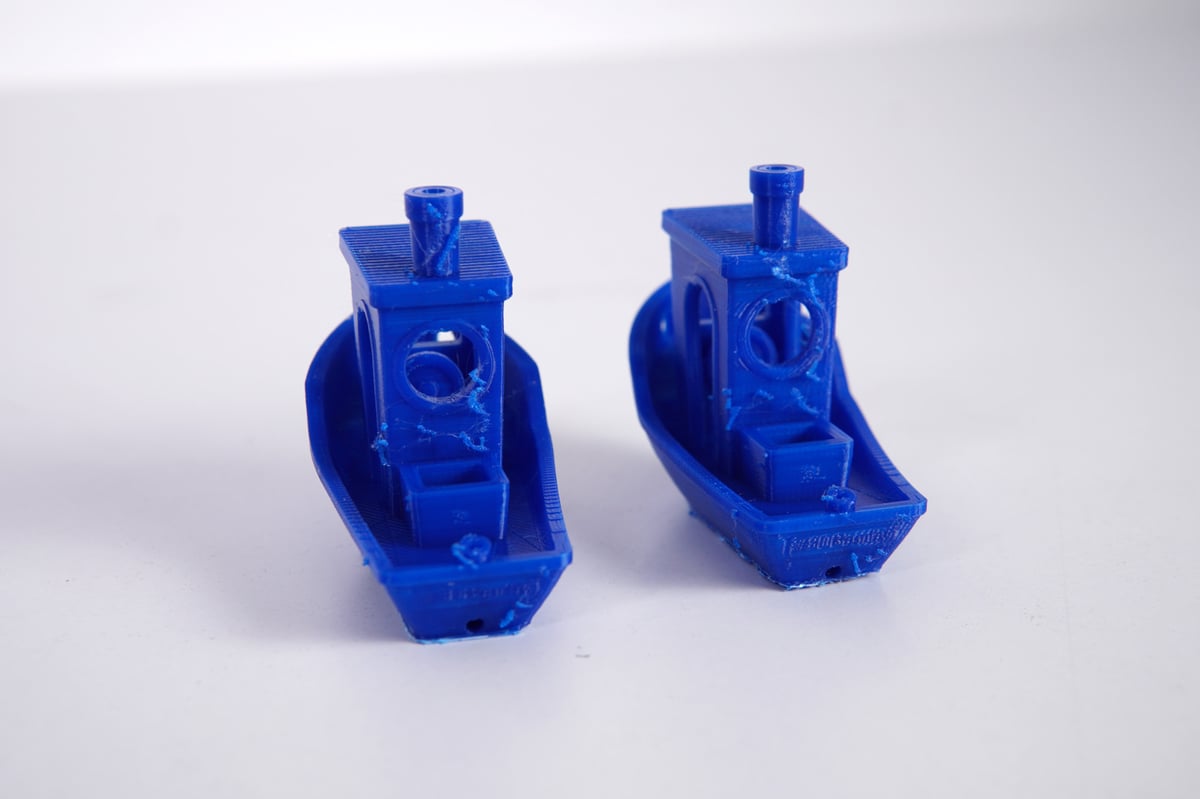
The dirty secret about stop-motion 3D prints is that the head moving out of position for the picture creates imperfections in the print. All the prints made while using the time-lapse feature suffered from a seam at the back where the print head moved away from the print to pose for its picture. This is a problem that could be found with any time-lapse setup, though, so isn’t unique to the Beagle. Printing without the time-lapse feature eliminates the unseemly seam.
The camera itself is very reliable. It didn’t heat up or shut down during any of our tests. Even when it was on and working remotely over a long weekend, we experienced no issues.
A single Beagle camera can be attached to only one printer at a time, but the Beagleprint app lets you add multiple cameras to monitor several printers at once. For each camera, you can add up to three users as long as they are registered with their own Beagleprint account.
Firmware Fumbles
Mintion uploads firmware updates regularly, adding new features with every new version. It’s effortless to upgrade your camera: just upload the file to the MicroSD’s root directory and plug the camera into a power source. It will upgrade in two to three minutes. But, since there’s no screen on the camera itself, the only way to check that your camera is updated is to try and connect to it from your app in about five minutes. If the update is complete, you’ll be able to connect.
While the upgrade process is simple, do ensure it is connected to the power source during the entire procedure. Power failure at this point can cause the Mintion to brick.
One of our test units did get bricked, in fact, but support from Mintion was quick. Having contacted Mintion anonymously, we got an email back within 15 minutes with a file and instructions on how to unbrick the camera.
Unfortunately, the file didn’t work. We got in touch with Mintion again and asked what the solution was, but weren’t anonymous at this point. Mintion offered a replacement unit and further mentioned that any customer would receive the same treatment.
Who’s a Good Boy?
Overall, the Mintion Beagle was easy to use. It does make those lovely time-lapses, but the quality is not great. However, the Beagle camera adds much more value as a simple solution to remotely monitor your 3D printer.
Though the Beagleprint app is functional, we feel it still needs a little work. But, the product’s support is encouraging, with regular firmware updates and quick response times from customer service.
The Beagle is not as robust a solution as OctoPrint, but it is plug-and-play. If you’re just looking to get your printer on Wi-Fi, there are cheaper options, like the Fiberpunk Node we tried out recently. But, the Beagle at $70 still has its place among these solutions simply because it’s so easy to set up and use.
License: The text of "The Mintion Beagle: Plug-and-Play Time-Lapse Camera" by All3DP is licensed under a Creative Commons Attribution 4.0 International License.
CERTAIN CONTENT THAT APPEARS ON THIS SITE COMES FROM AMAZON. THIS CONTENT IS PROVIDED ‘AS IS’ AND IS SUBJECT TO CHANGE OR REMOVAL AT ANY TIME.