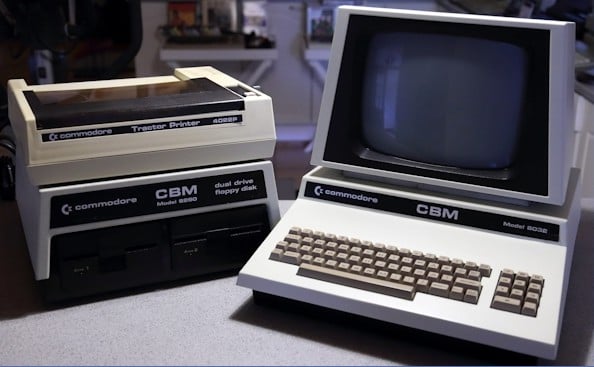
Do you miss the iconic 70s look of personal computers? Specifically, the Commodore PET model 8032? If so, you will be interested in a project developed by Lorenzo “Tin Cat” Herrera.
Production of the Commodore PET 8032 started in 1980, making them one of the first personal computers available to the public at the price of US-$1,500 (or $3,287 today). The machine was based around the legendary 6502 processor (later to be found in the popular Commodore 64), running 1 Mhz and offering an 8-bit data bus and – hold your breath – 32 kilobyte free RAM.
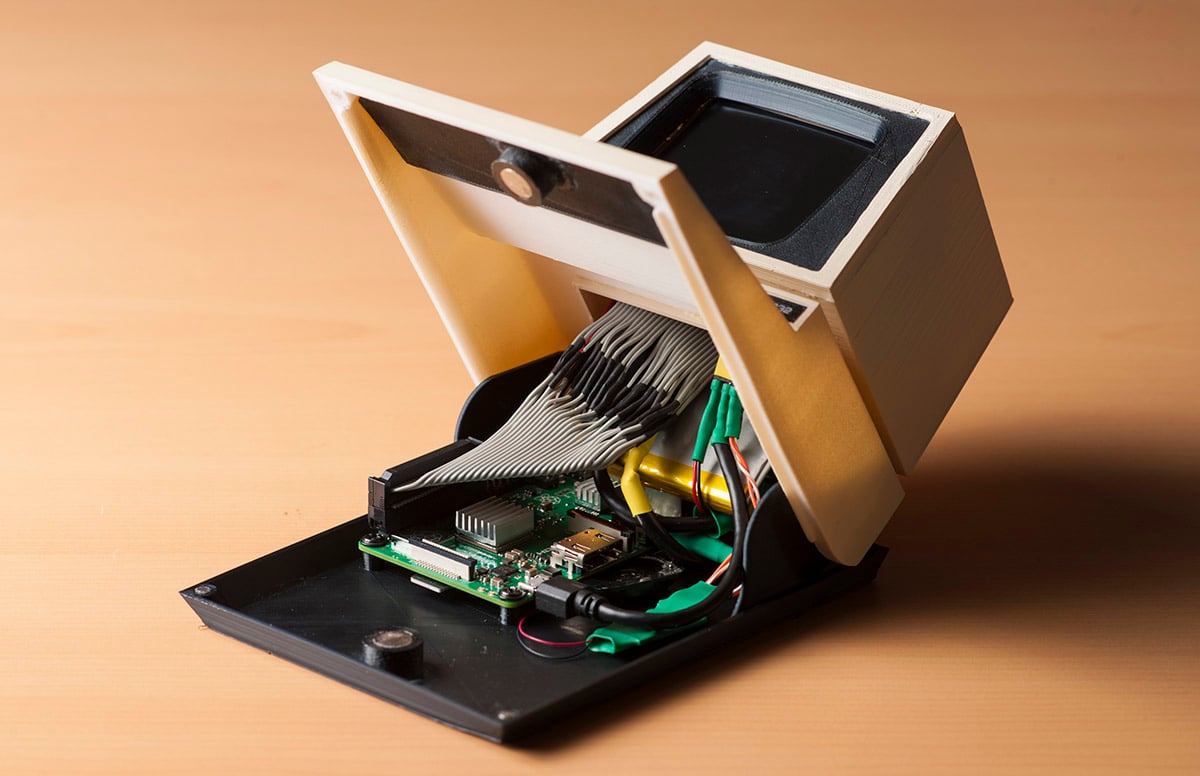
To honor the retro computer, Herrera developed his own version which involves fitting a Raspberry Pi inside a miniature 3D printed shell. He said: “This is one of the most iconic-looking computer of the 70’s, it reminds us of an era of frenetic innovation, harsh competition and bold design choices that shaped the computer industry as we know it today.”
The resulting 3D printed copy of the computer is as accurate as possible and, as well as looking great, is fully-functional with a working screen and the Pi connected to a Bluetooth keyboard. Furthermore, Herrera designed the print to hinge upwards to “reveal its guts, just like the original!”
He even produced an awesome video with stylish green wireframe graphics and a catchy retro synth soundtrack that would make “Stranger Things” proud:
Do You Dare Follow Herrera’s Commodore PET Model 8032 Instructions?
Herrera has created an official website for the instructions which go with building your own Commodore PET Model 8032. He first starts with what you’ll need.
This includes everything from a 3D printer and Raspberry Pi to a male IDC 26 pin socket and “the usual simple soldering stuff, glue and some patience.” If you’re struggling to source parts, Herrera is selling electronic part kits to make your life a little easier.
After sourcing parts, you’re ready to begin. Herrera has done the hard work of designing and modeling parts which you can download and print from GitHub. There are eight parts in total in individual STL files, ready to be sliced.
Herrera explains: “Each piece is oriented to optimize printing quality and minimize the risk of a failed print as much as possible. I recommend you to keep this orientation and to add supports when slicing. Also, don’t forget to choose the right plastic color for each piece.” You can find this information, here.
Want to paint your Commodore PET? Do so after printing. After your paint has dried, assembly involves glueing together your prints, keyboard and display.
Next steps involve installing RetroPie, screen drivers, and wiring the power socket and screen. Thankfully, Herrera’s instructions are well laid out and easy to follow but this part of the project isn’t for the inexperienced.
After your final assembly, the last step is a little easier – print out labels so your Commodore Pet looks authentic. If you made it this far, congratulations. Herrera has further modifications you can make such as adding sound, making your Commodore PET portable and painting it.
If you manage to follow all of Herrera’s instructions successfully, make sure to get in touch with him as your work will be featured on the website.
Source: Raspberry Pi
License: The text of "Create a Miniature Commodore PET 8032 Replica Using a 3D Printer and Raspberry Pi" by All3DP is licensed under a Creative Commons Attribution 4.0 International License.