The Brunel Hand 2.0
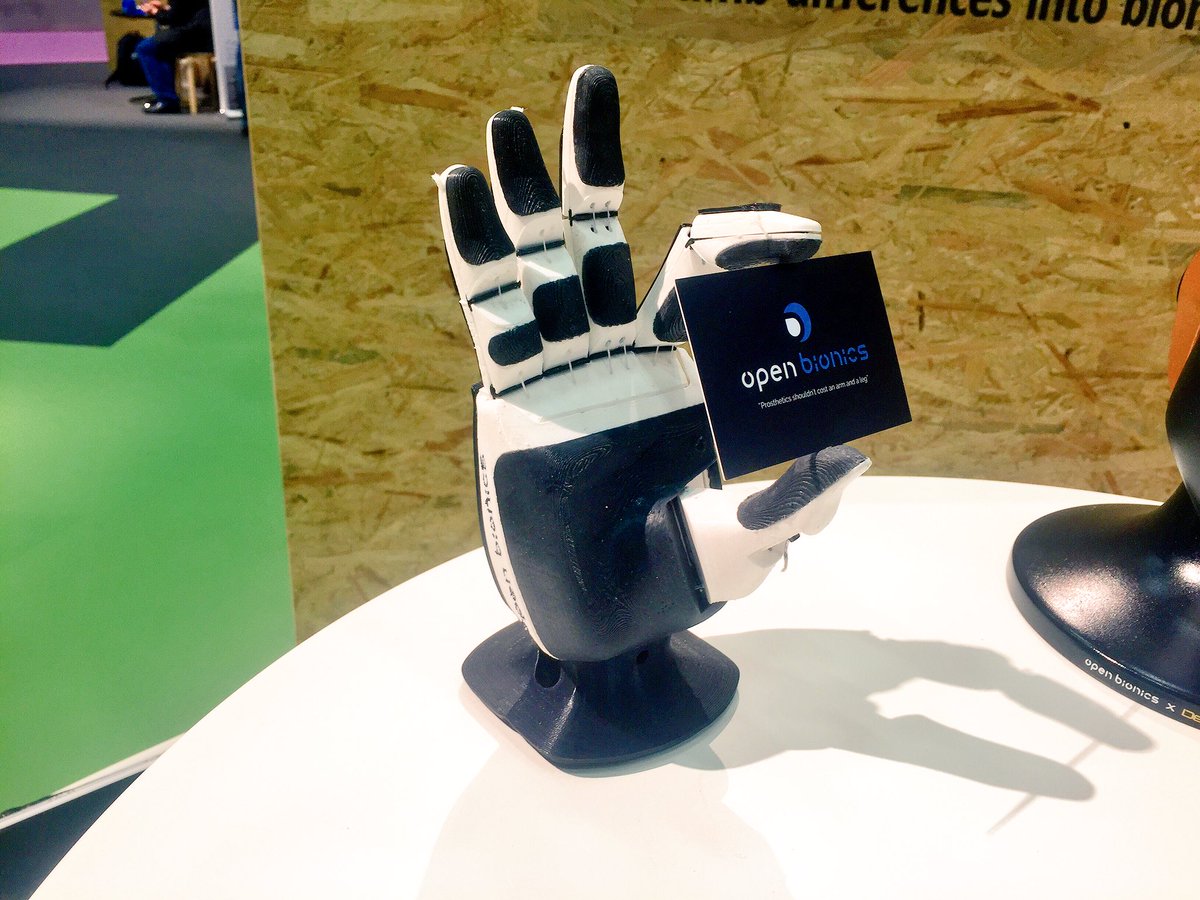
As robotic hands become increasingly dexterous and responsive, one startup, Open Bionics, has broken away from the norm to create an affordable bionic hand that retails for only £1,199 (~$1,600): the Brunel Hand 2.0.
This lightweight and precise robotic hand has 4 degrees of articulation and 9 degrees of freedom. It’s the second bionic hand from Open Bionics after the Ada hand and is produced using an open source design.
Unlike its predecessor, the Brunel Hand 2.0 comes with improvements that include a custom control circuit board, a stable pinch grip, and integrated finger friction. This robot hand can be programmed using the Arduino programming environment and is great for anyone undertaking projects requiring robotic hands.
Open Bionics produces open source prosthetic limbs and has received a Guinness World Record for the Deus Ex prosthetic limb: the first prosthetic limb based on a video game. The company is using 3D printing technology to print (in parts) its low-cost robotic hands and is confident the bionics can perform the same functions as other expensive and advanced prosthetics.
Brunel Hand 2.0: What You Need
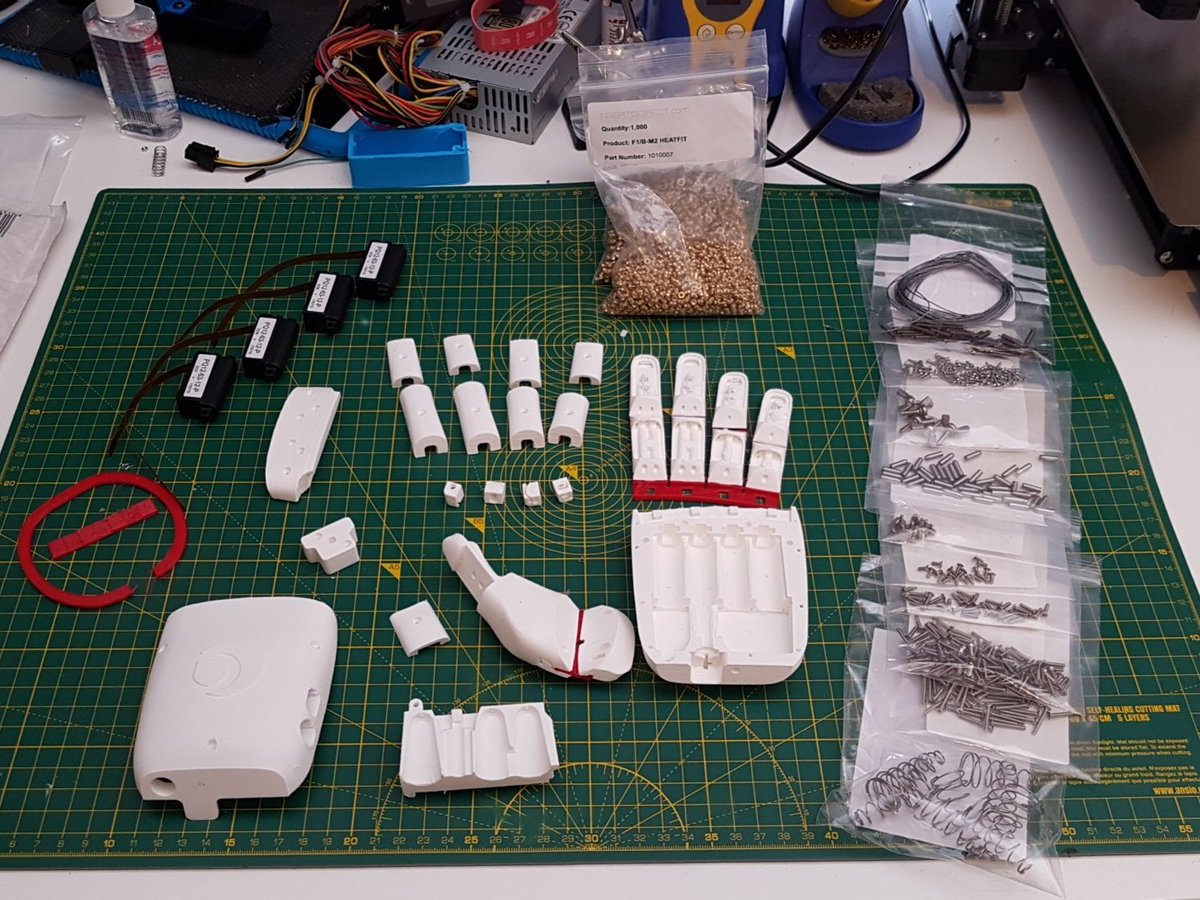
Here’s a complete list of everything you’ll need to create the Brunel Hand 2.0:
- STL files
- Tendon line (the reel has enough tendon for five Ada hands)
- Chestnut PCB control board
- Micro USB cable
- 12V DC power supply
- 4 Actuonix PQ12 motors
- 11 3x10mm dowel pins
- 3 Conical springs
- 1x Ferrite core
- 22 M2 and 1 M3 brass heatfit inserts
- 8 finger and 1 thumb extension springs
- Vytaflex 30 Urethane Mold Making Rubber
- Several screws
- 15 M2x10mm Torx Countersunk Screws
- 2 M2x8mm Torx Countersunk Screws
- 2 M2x5mm Torx Countersunk Screws
- 1 M3x10mm Winged Screw
- 10 4x5mm Cap Head Screws
- 6 M2x16mm Torx Countersunk Screws
You’re also going to need a torque screwdriver (with a flat head and Torx T6), long nose pliers, soldering iron, a screwdriver, and a scalpel.
Brunel Hand 2.0: Printing
There are tons of STL files for this project, and it’s crucial to note that the right-hand components are marked “RH” while those for the left hand are marked “LH“.
Print settings:
- Printer: Ultimaker 2 and BQ Witbox (not compulsory)
- Resolution: 0.1 mm
- Infill: 25%
- Supports: For most parts (but don’t use supports within the tendon channels because they’re not necessary and will be very difficult to remove)
- Rafts: No
Most of the parts will be printed using a PLA filament except for the following:
- Cable tidy
- Thumb ligament
- Finger ligament
- Stand grip band
These parts can be printed using cheetah filament on the BQ Witbox (resolution 0.25 mm).
Note: The cheetah filament can be printed using several desktop 3D printers (including the Ultimaker 2). Therefore, it may not be necessary to use two printers for this project.
Open Bionics cast urethane finger grips on their fingers using their in-house molds. The molds are not available for now, but Open Bionics has promised to make them open source soon.
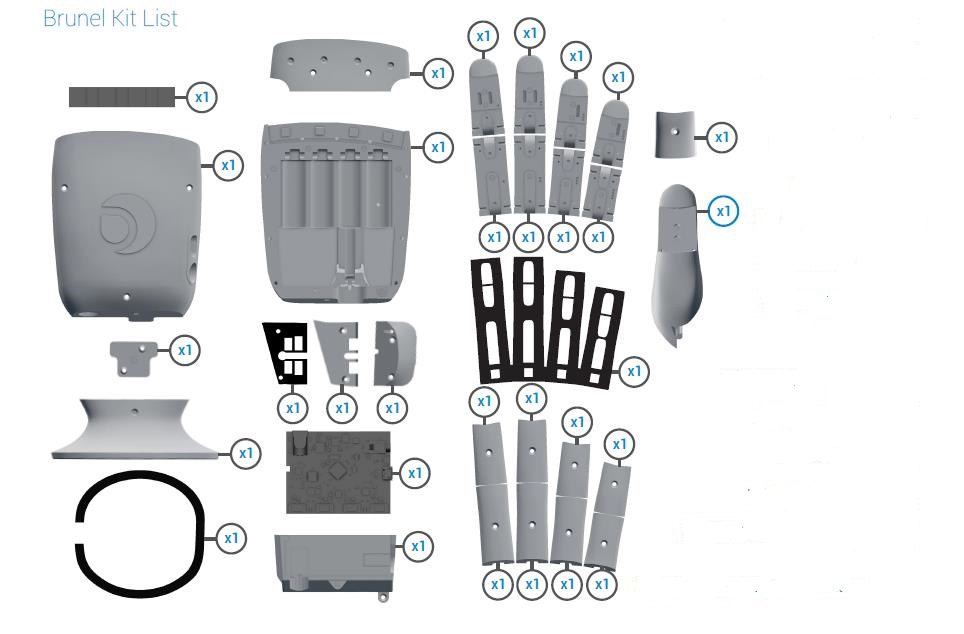
You should end up with the following printed parts:
- Finger distal (first to fourth finger)
- Finger proximal (first to fourth finger)
- Finger distal top cover (first to fourth finger)
- Finger proximal top cover (first to fourth finger)
- Finger ligament
- Finger ligament cover
- Palm
- Thumb
- Thumb ligament clamp
- Thumb ligament
- Thumb ligament cover
- Motor cover
- Motor caps
- Cable Tidy
- Back cover
- Stand connector block
- Stand
- Stand grip band
Brunel Hand 2.0: Putting It Together
Here’s an overview of the steps you’ll need to take:
- Fix the heat inserts in their respective openings using your soldering iron. Your printed parts have sections where the heat inserts should be installed.
- Insert dowels in the correct sections of the palm and ensure they fit well. In other words, they shouldn’t fall when you overturn the palm.
- Extend the motor shafts in the PQ12 motors. Do this by threading a screwdriver through the holes in the motor horns and pulling gently. Insert your conical springs on three of the four motors, making sure the springs do not cover the lip on the shaft. Then, push end caps on three of the four motors until their openings align with the lips on the shafts
- Hold the end cap (aligned to the shaft lip), and press fit the dowel until it sits centrally, then retract the shafts to three of the four motors. At this point, one shaft will remain protruding with a dowel going through its “attachment loop”.
- While placing the printed palm on a table, insert all the three motors in their “cavities” by pressing them gently.
- Use a thin (0.5-mm) wire to thread your tendon line through the channels on the palm, and ensure your tendons (four 150-mm lengths) go through the motor caps. Another tendon will find its way to the protruding shaft and come out through the other side of the palm. This tendon will later be connected to the thumb.
- Thread the tendon lines through proximals and attach the finger ligament. Remember, extension springs will go through the finger ligament cover, and the cover should be screwed in place using countersunk screws (four M2X10mm and two M2X16mm). These screws will hold the springs in place.
- Use cap head screws (M1.4x5mm) to attach the other end of the spring to the proximal. Attach more springs (four) to the other end of the printed proximal and cover this section using the proximal top covers. Keep in mind that the newly attached spring should be protruding on one end. These ends will be attached to the fingers (distals) using cap head screws (M1.4X5mm). Also, note that the tendon will go through the finger.
- Keep all the fingers straight and wrap the tendon line around a screw twice while tightening, all the while holding tendon taut. This should be done for all four fingers.
- Secure the finger distals using distal top covers and Torx countersunk screws (M2X10mm).
- Join the components of your thumb (thumb, thumb ligament, thumb ligament clamp). The thumb will be attached to a thumb ligament cover using an extension spring and secured using a screw. The other end of the spring will be attached to the thumbprint using a head screw.
- Insert a dowel pin on the palm, then attach the thumb to the palm.
- Remember the tendon that we left “hanging”? It will go through the thumb ligament cover and into the thumb. The thumb ligament cover will be held tightly to the palm using two Torx countersunk screws (M2X10mm). While the thumb is held in position, the tendon will be wrapped around its screw, and the screw will be tightened while holding the tendon taut. At this point, the thumb is intact, and you need to secure it using the thumb top cover and one Torx countersunk screw (M2x10mm).
- Attach the motor cover to the back of your palm.
- It’s now time to add the chestnut board, but you must first release its clasps. Attach a cable tidy to the cables coming from the motors and “plug” the end of those cables into the chestnut board. Fold the cords so they can rest above the board before you attach the back cover.
- Attach a stand connector block to the end of the hand using screws and insert the stand grip. The stand grip will be held to the stand connector block using a winged screw.
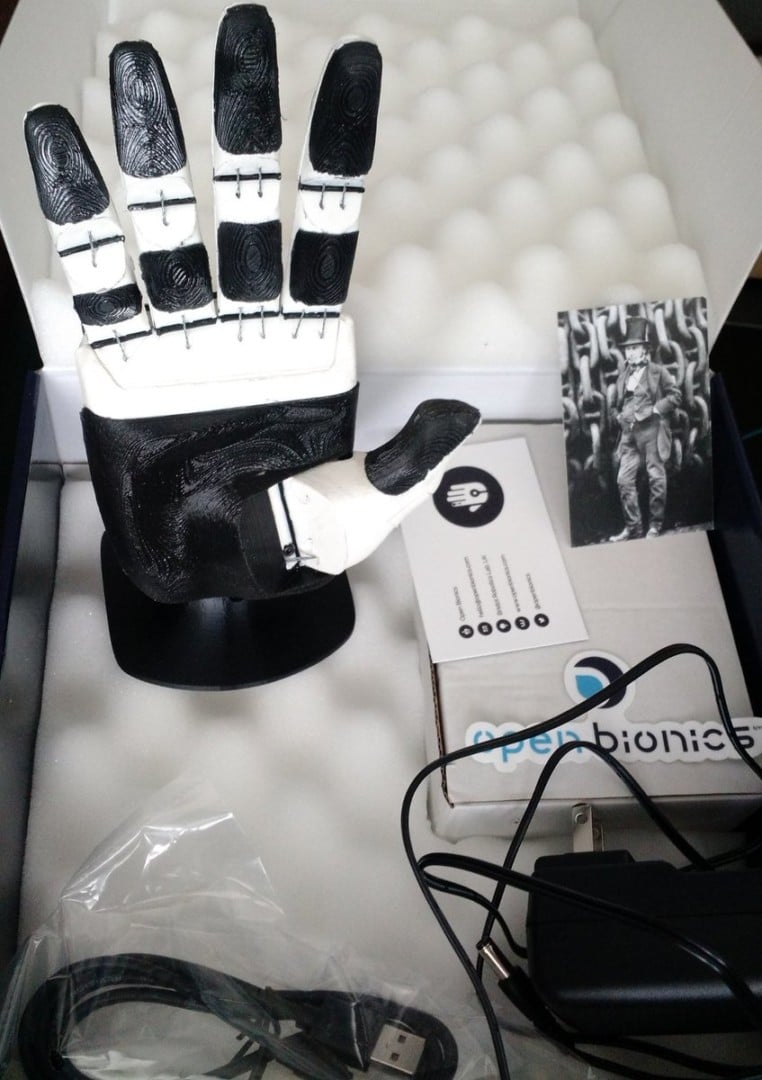
And there you have it: your very own Brunel Hand 2.0!