![Featured image of [Project] All3DP Takes on a 3D Printed Feather Automaton Mechanism](https://i.all3dp.com/workers/images/fit=scale-down,w=1200,h=675,quality=79,gravity=0.5x0.5,format=auto/wp-content/uploads/2018/09/26131816/the-redesigned-feather-automaton-matthew-evans-all3dp-180909.jpg)
[Project] All3DP Takes on a 3D Printed Feather Automaton Mechanism

Here's a DIY project that's cool, looks pretty, and will test your DIY prowess. Introducing our redesign of a "feather automaton", originally created by Instructables user "fungusamungus."
Fowl Play
Over on Instructables.com, there’s a wavy feather automaton that looks pretty cool. The designer, named fungus amungus (an alias, we presume) has detailed his 3D printed mechanism with ostrich feathers.
Ostriches are big, mean and ugly birds, known to attack viciously without provocation. That’s probably why their feathers are expensive and hard to find. A bird less than half the size and much better kinder is the “male” peacock, so his feathers were used instead. They must be a much nicer fowl, as their feathers are in every art store and quite cheap in comparison.
Feather Automaton: What You Need
To follow the exact Instructables project you’ll need:
- a 1/4″ wooden dowel,
- threaded heat set inserts,
- a food container stolen from the kitchen (an enclosure),
- a soldering iron,
- M3 bolts,
- ostrich (or peacock) feathers, and
- access to a 3D printer and filament
Last but not least, he also used some black paint to cover up the mechanism.
Redesign
We decided to reimagine this DIY feather fixture as much as possible from 3D printed parts, rather than raiding the kitchen for used plasticware and a wooden stick. The mechanism, however, is the same, and is from the 19th edition of 507 Mechanical Movements by Henry T. Brown, a book first printed in 1868. Hopefully, they’ve got it right by now.
As a result of our redesign, we only required the last three items on the above list.
Feather Automaton: Printing
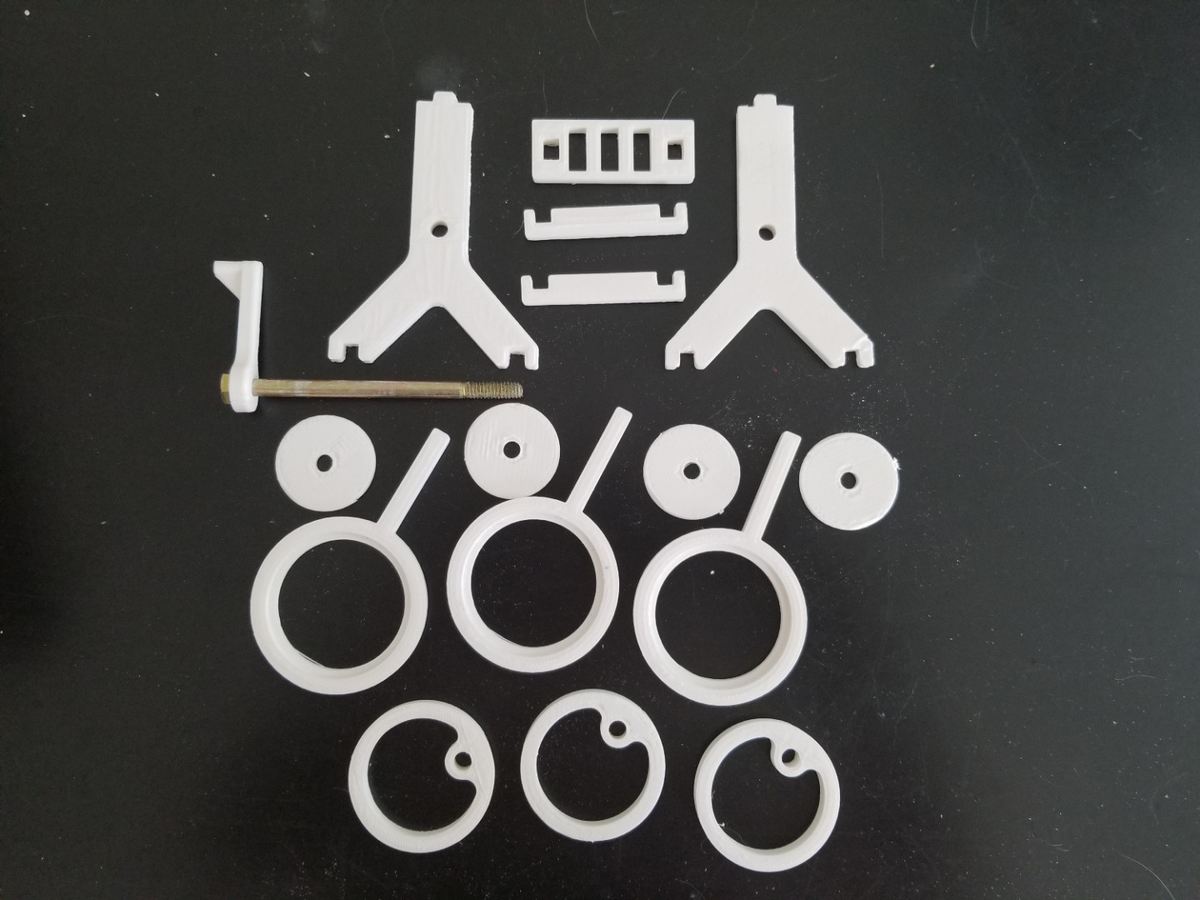
Apart from the bolt, every part of our refeathered automaton is 3D printed. You can find the redesigned files on Thingiverse.
The material we used was generic 1.75-mm ABS, with the hot end and heated bed set to 215 and 90 °C, respectively. The nozzle was a standard .4 mm with .27-mm layer height.
Raft support was used on a typical build sheet, along with 30% infill. Three outer shells, instead of the suggested two, gives some extra material around the holes for reaming.
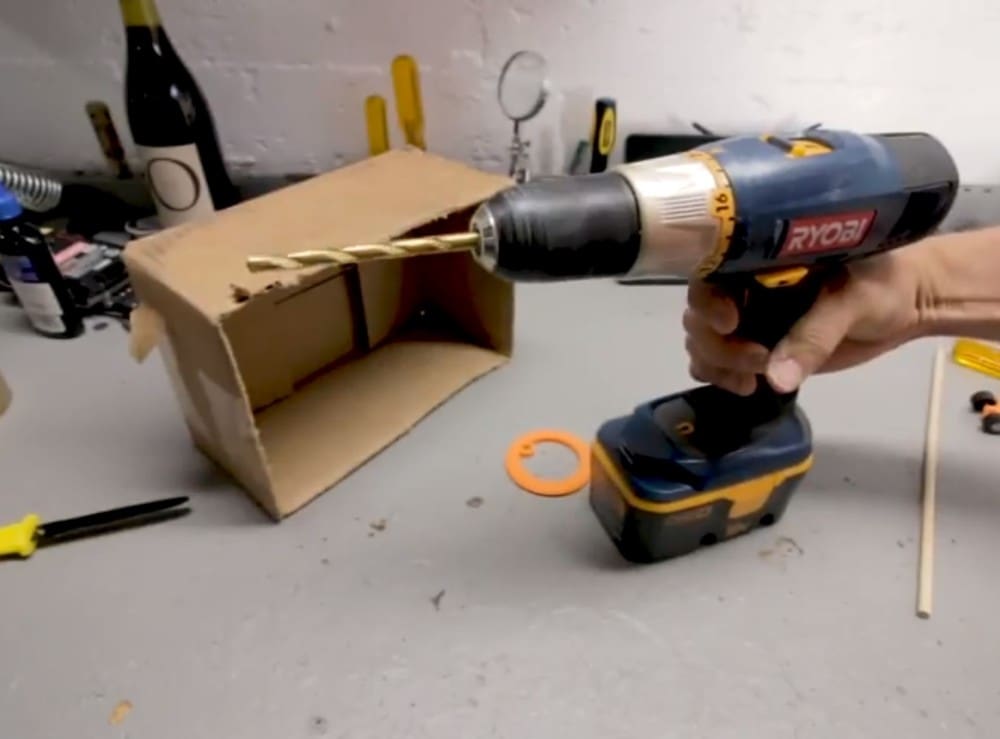
If your particular 3D printer doesn’t quite hit the mark in regard to precision or accuracy, adjust the holes that are used as bearings to be smaller and ream them to the precise size of the bolts.
Feather Automaton: Putting It Together
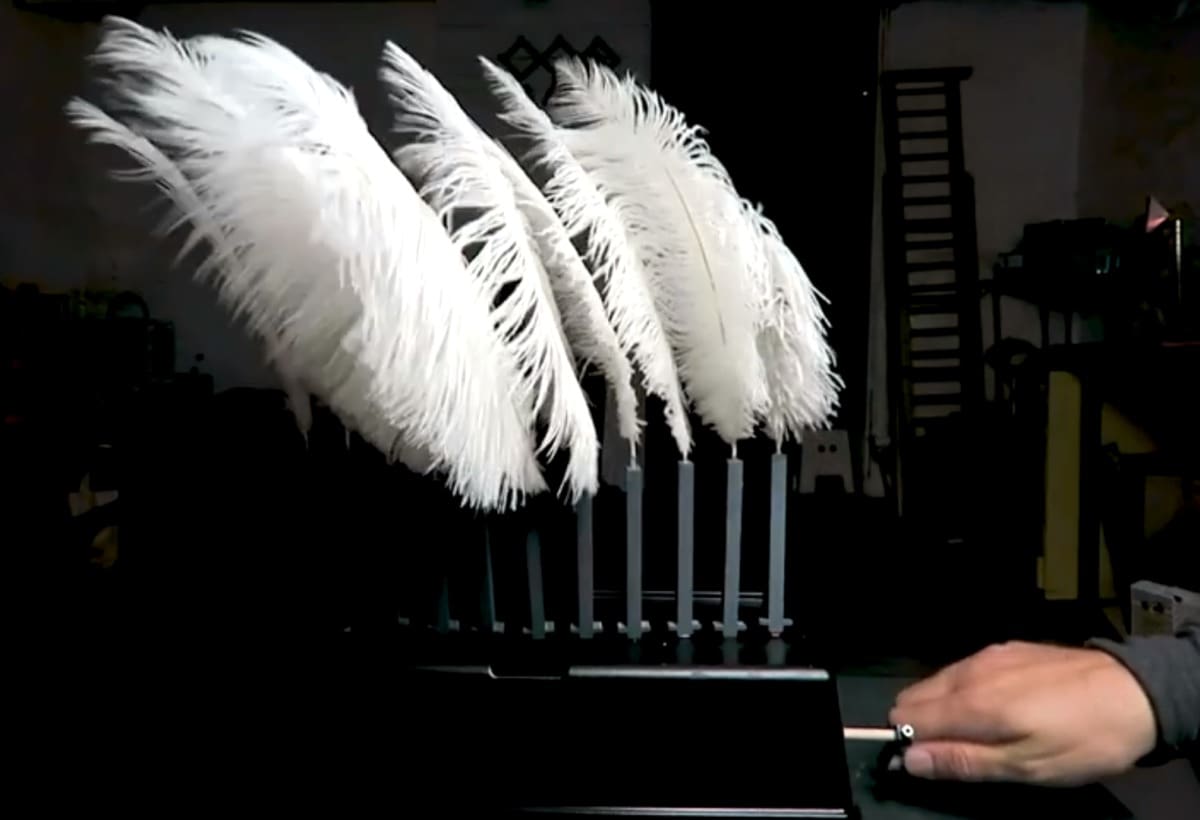
The mechanism is cool enough to be seen, so instead of rummaging for a plastic bowl and a half-used rattle can of black paint, we left it all out in the open.
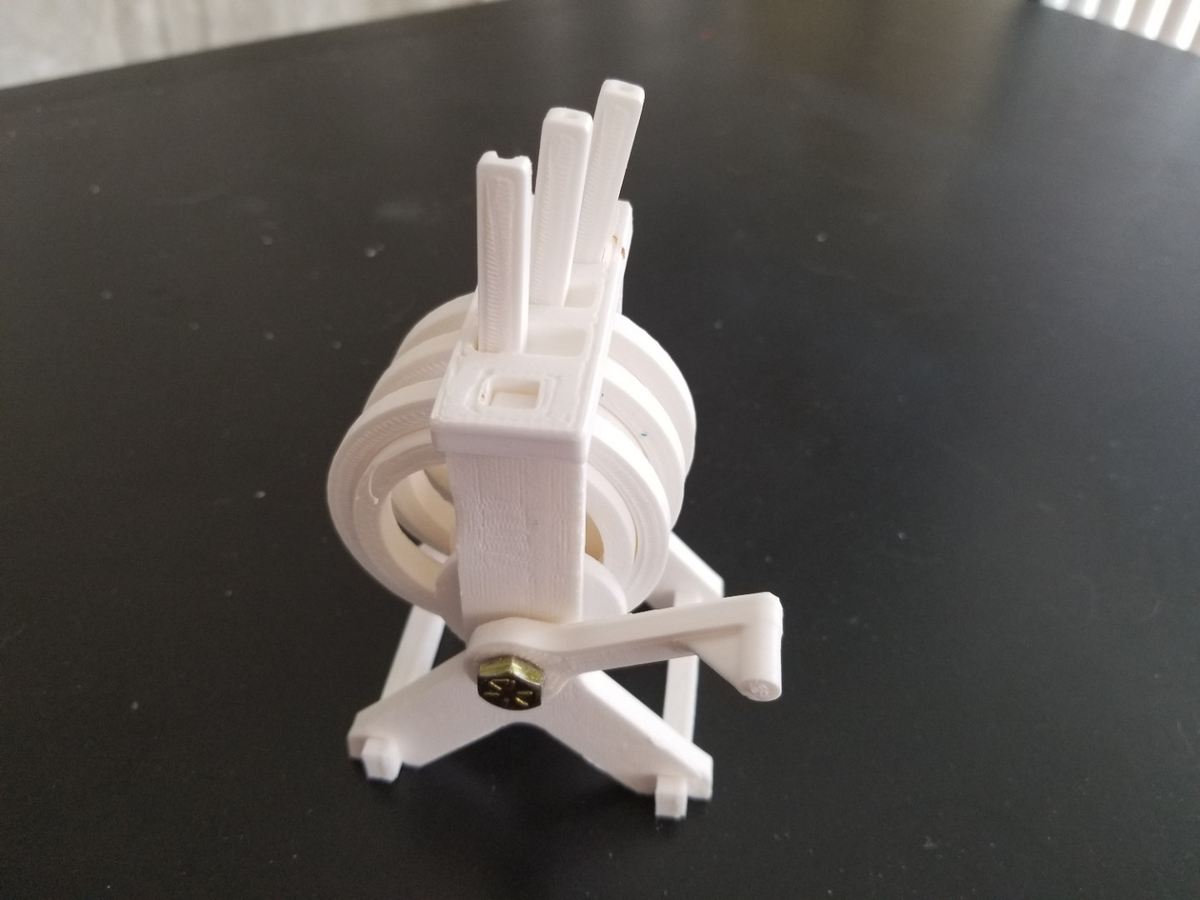
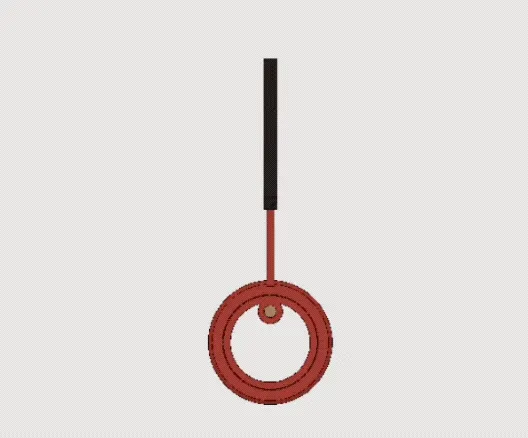
There are 7 distinct parts, not including the feathers, and multiple copies of them are used to assemble the mechanical feather waver.
Note: It’s not really an automation, as is requires a constant energy input. This steals a little from the calming effect of beautiful feathers waving gently about.
The assembly needed to be broken in a little as the bottom layers from a cheap FDM printer are usually a little rough. The original models also had some very long, unsupported overhangs and some tight clearances that would be hard to clean up or smooth out.
Operate the mechanism quite a few times before showing it off. This will knock off all of the little bumps. As always, a little lube also goes a long way.
Feather Automaton: Additional Tips
The STL files are included, but if you’re going to make one of these, we recommend spending some time figuring out how much clearance your printer needs to make a rotational bearing. Ours does okay with 0.5 mm and a little sanding and filing to get smooth motion. It’s also a good idea to make the handle bigger and add some features to hold the entire mechanism down to a table top.
The friction in our version appears to be quite a bit higher than the original, but everything except for the bolt is 3D printed. A little lube is always a good thing. This particular mechanism, to get linear from rotational motion, isn’t well known because it really isn’t efficient. That’s why you don’t see it’s reverse in Monaco Formula 1 races. The motion is very similar to a modern crank and piston.
So here it is, a feather waving doohickey that may show off some of your 3D printing capabilities, but still just waves some feathers about without any rhyme and just a little reason. Once it’s done, a flight to Australia for ostrich feathers seems a small price to pay, given that their length and internal structure allow them to wave about much nicer than peacock feathers.
License: The text of " All3DP Takes on a 3D Printed Feather Automaton Mechanism" by All3DP is licensed under a Creative Commons Attribution 4.0 International License.