Introduction
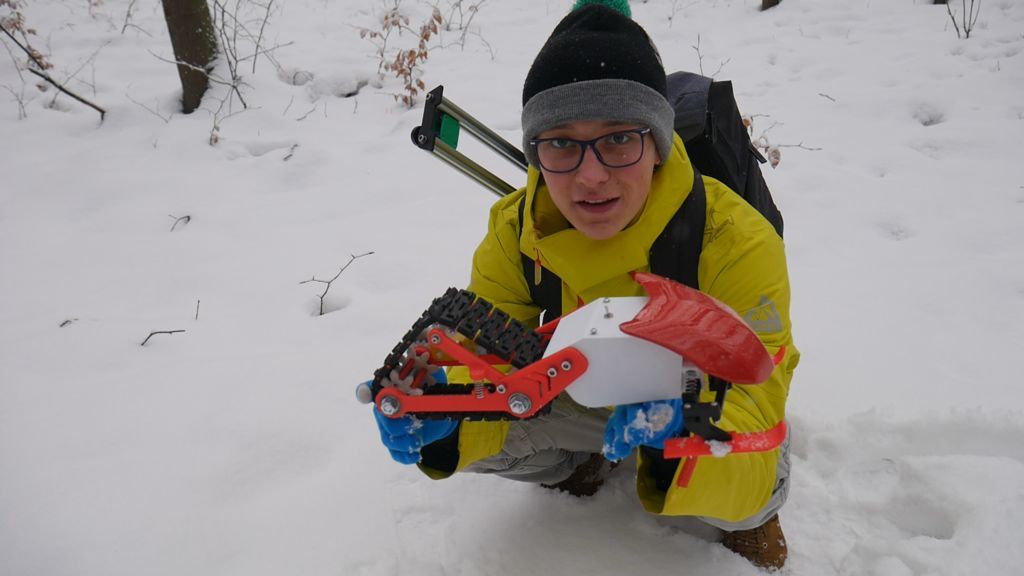
As winter was approaching in Poland, 18-year-old Polish, Nikodem Bartnik, started craving for a project that would challenge his CAD design skills when the snowmobile idea crossed his mind. The 3D printed snowmobile is a mix of electronic, metal, and mostly 3D printed parts. It’s an ambitious project that left Nikodem dedicating his time on drawing and modeling (via Fusion 360) before he spent a couple of days printing.
Bartnik, who goes by Nikus on Instructables, is curious about robots, electronics, and programming. He is a dedicated hobbyist who shares his DIY projects on YouTube and has a craving for making impossible things.
This seasonal Weekend Project is one of his best. And, as Winter persists through North America and Europe, there’s no better time to build yourself DIY snowmobile.
It’s important to note that this is one of the more complex projects we’ve featured, so beginners may want to start something a bit less intense. There are also a number of non-printed components that need to be purchased to build the snowmobile, so be prepared to pay if you’re looking to build this for the next snow day.
NOTE: This project is fun and challenging for any willing hobbyist. However, Nikodem was let down by his motor choice because it could not give him the desired speed. Therefore, you may want to search for a stronger motor before undertaking this project.
Let’s figure out how you can make this 3D printed snowmobile on your own.
3D Printed Snowmobile: What You Need
These are the main components:
- Servo
- DC Motor
- Springs set
- Transmitter + Receiver (This radio system has a simple setup and a strong signal)
- PCB motor driver (Nikodem used a custom Arduino board that he is yet to make public. You can use any Arduino board with a DC motor controller)
- Lipo Battery
- Four pieces of 608ZZ bearings
- Two pieces of 623ZZ bearings
- An assortment of screws, nuts, and washers:
M3 Screw Kit + M5x16mm X6 + M8x100mm X2 + M3x30mm X2 + washers and nuts.
This is close to what you need.
Extras:
- Cable ties
- Flip Switch
- Wires
- Lipo Battery monitor (Alerts you when the voltage is below the set value)
Tools:
- Screwdrivers
- Soldering iron
- Wire cutter
- Drill
- Vise
- Clamp
- Spanner
- Pliers
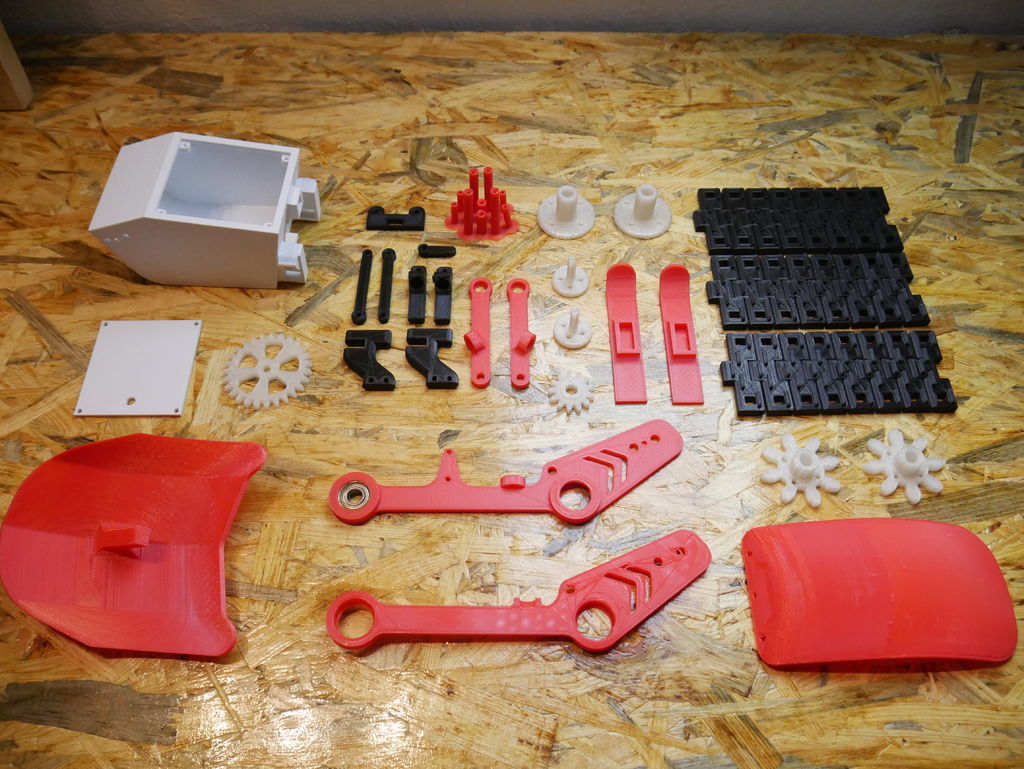
All the STL files are available on Nikodem’s Thingiverse account, and most of the parts in his example were printed on the Creality3D Ender 3.
Now that we’ve covered this lengthy list of parts, let’s jump into the assembly process.
3D Printed Snowmobile Assembly: Track Mechanism
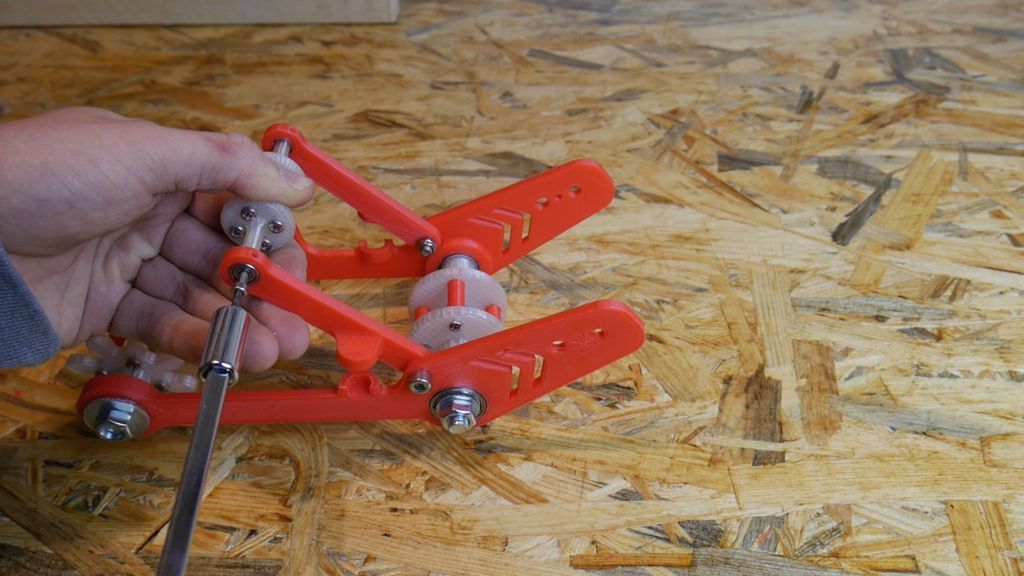
Start with the track mechanism, which is going to work alongside two tensioners, some gears, and other components.
- Fix the 608ZZ bearings into the two long 3D printed parts. You want them to fit tight, and you may consider using a vise and also making sure the openings are sanded down for the bearings to fit.
- Connect the two gear wheels (gearwheel.stl) using 3D printed distances and join them with M3X8mm screws. Join the other wheels too, and ensure you have the right distance for each pair of wheels.
- The small gear goes into the M8X100mm screw and is followed by a washer. Pass the screw through the bearing – held by the 3D printed part – and add a washer on the other side of the bearing. One pair of gear wheel will need to go through this screw. Add washer on the far end and put the other 3D printed part with bearing. Follow that with a washer and then a nut. Do the same for the front stretcher, but you will use the stretcher wheel (the big one) instead of the gear wheel.
- Add mechanism arms to both sides of the stretcher and hold them in place using screws and nuts. The other stretcher mechanism will use the 623ZZ bearings.
- The top stretcher wheel will be joined to the arms using bearings and the M3X30mm screw.
Be sure to use this informative assembly video to help you visualize the assembly process:
3D Printed Snowmobile Assembly: Steering System

This is the setup that will control the snowmobile when you want to change direction. Nikodem admits that he struggled with the design of the steering system because he wanted to have suspension for both skids in addition to using a servo motor to control them.
He finally figured out how to come up with a simple and flexible solution that uses a servo motor for controlling and springs for suspension.
- Attach the servo motor – using screws – to the main body, which is the largest 3D printed part.
- Then connect skid support (skid support.stl), damper support (damper support left.stl and damper support right.stl), and steering joint (steering joint right.stl and steering joint left.stl) together using M3X20mm screws.
- Use the M3X16mm to fix the skids to the skid support part (skid support.stl). But the use of screws is optional here.
- Since the damper support needs to make movements with ease, Nikodem used a piece of filament instead of a screw. The filament went through the holes and was pressed on both sides using a hot screwdriver to create a “rivet.”
This method is strong and cheap and was also used to connect the pieces of the track. No screws were needed; you will only need a candle, filament, and an old screwdriver.
How to join the track pieces:
- Mate the two components of the track and push a piece of filament through the hole.
- Place a hot flat screwdriver and melt both sides of the filament to create a “rivet.” You will do this for all the 24 pieces to complete the track loop.
- Use two M3 screws to connect the steering joint connector to the steering joints. At this point, your steering system is almost done. You are only left with attaching the servo arm to the servo.
- Nikodem admits that while adding suspension may not have been necessary, for this project, he wanted to challenge himself with the designing by making the snowmobile professional. And yes, you can tell that the springs made the snowmobile less toyish.
3D Printed Snowmobile Assembly: Motor and Gear, Track, and Electronics
You will have to fix the motor first before you install the track. Otherwise, you’ll make the assembly harder than it should be. Use M3 screws and nuts to secure the motor, and attach the gear (Spur Gear (22 teeth).stl) to it using a screw.
Note: Initially, Nikodem had used a gear whose ratio was too big for the motor. For this reason, he was forced to redesign the new gear to make it work as expected.
You can now close the track loop by ‘creating the last rivet.’ Place the already assembled track under the back of the snowmobile and roll it over until the two ends meet; then pass filament through the holes of the mating parts and melt both ends.
- Now join the track mechanism to the main body using M5x12mm screws and nuts.
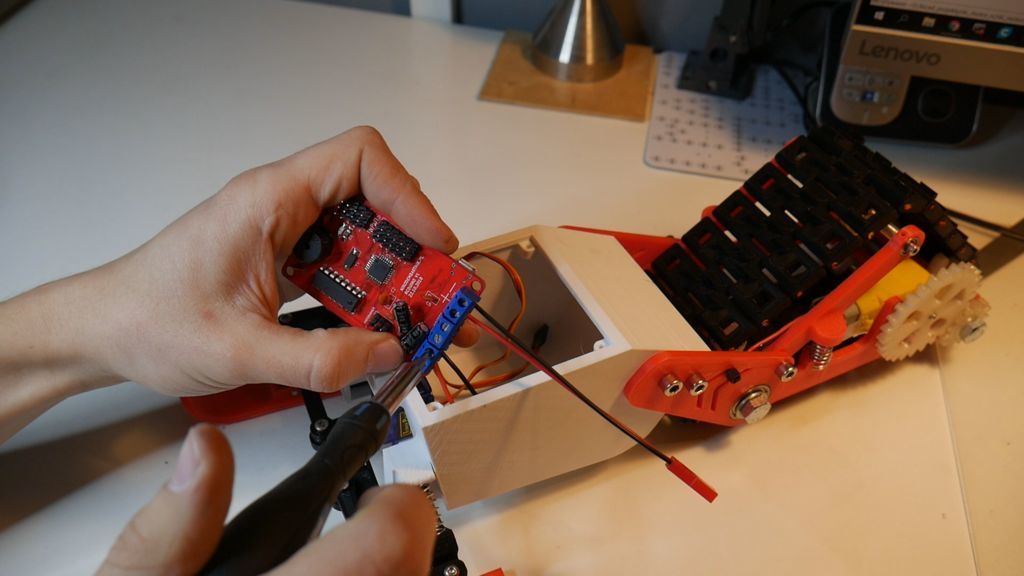
- According to Nikodem, the electronic connections would have been simpler, but they weren’t because he used a DC motor. If you go for a brushless motor (controlled by ESC), expect the electronics to be simpler, and you will not need an Arduino.
- The servo will be connected to the receiver while the receiver will be connected to the PCB, which is connected to the motor. The switch will be between the battery and the PCB.
- The code that Nikodem wrote for this project is on his Instructables page.
Other customizations like painting are entirely optional. If you’re brave enough to build this snowmobile and venture out into the polar vortex of winter, best of luck and happy sledding!