SolidWorks Surface Modeling: How to Get Started

Expand your skill set with this simple overview of a complex design method: SolidWorks surface modeling (also called surfacing).
A Solid Choice
SolidWorks is one of the most popular CAD programs and has been around for almost a quarter of a century. If you’ve used SolidWorks or other CAD programs, you know that they support various types of 3D modeling.
One such type is surface modeling. An advanced and powerful design method, surface modeling allows for the generation of complex geometries and parts. SolidWorks contains various useful features and tools to execute surface modeling.
Although surface design requires a different mindset than solid design, it’s essential for the creation of smooth, organic, and continuous objects. In addition to product design, surface modeling is often used in the aerospace and automotive industries. (Note that this type of modeling is not intended to be used for 3D printing.)
In this article, we’ll look deeper into how surface modeling works and what tools exist in SolidWorks to assist you. Finally, we’ll go over some resources to continue your exploration of this challenging and rewarding way to model.

What's a Surface?

Mathematically speaking, a surface is a two-dimensional function, providing a value for a given combination of the two dimensions. For example, for every pair of X- and Y-inputs, there’s a height.
In practice, a surface is just a zero-thickness object, and it can take almost any shape or form. When it comes to the representation and modeling of organic or complex geometries, surface modeling is superior to solid-body modeling because of its greater flexibility.
Principles
Surface modeling requires a different mindset than conventional solid-body modeling. Solid modeling usually necessitates the creation of a closed sketch and then extruding it (possibly through a sketch-defined route) to create a closed volume.
Surfaces, however, don’t require a closed sketch to begin with, although they can handle closed sketches. This means that surfaces can be created from various kinds of lines, including existing part edges. We’ll get more into this in following section, which highlights some of the most useful surfacing features in SolidWorks.
Tools
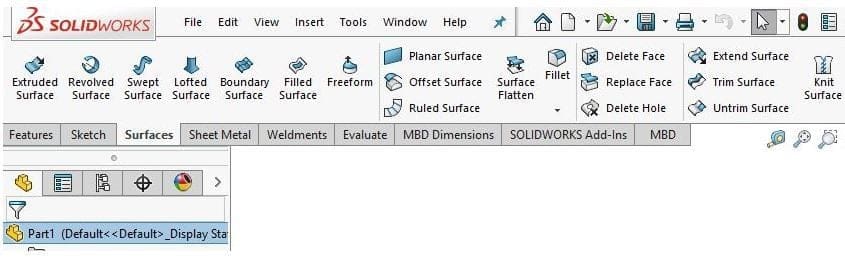
SolidWorks’ surfaces environment has quite a variety of features. Some are very similar to existing solid-body modeling features (extrude, revolve, loft, etc.), however, there are also numerous tools that are unique to surface modeling. Let’s take a closer look!
Extrude Surface

This feature is used in a similar manner to the familiar “Extrude-boss” tool. A surface is “drawn out” from a planar sketch in the direction normal to the sketch plane. The base sketch can be either closed or open.
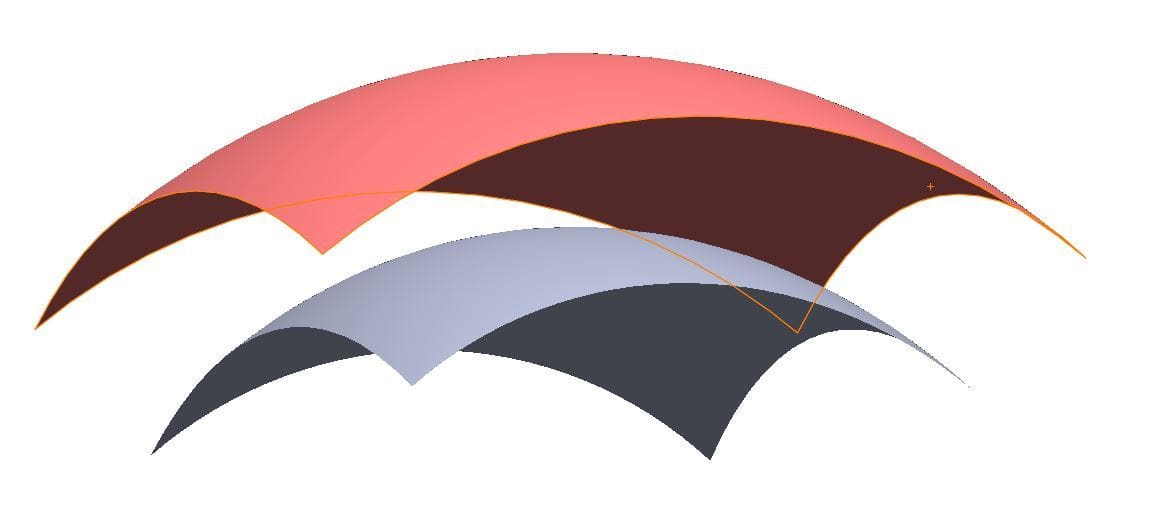
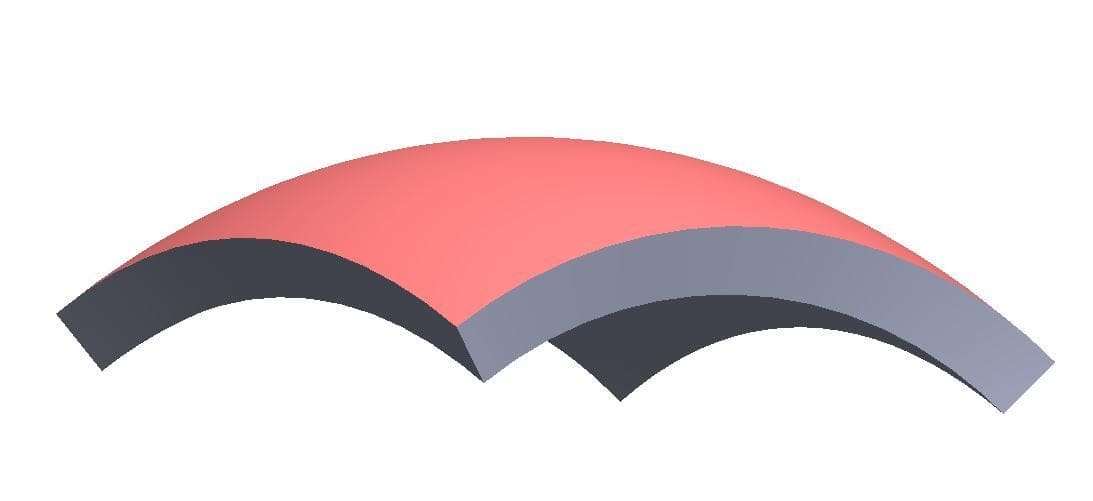
Boundary Surface

This is one of the more powerful surfacing features in SolidWorks, as it allows for the creation of complex geometries from several sketches. A surface is created along the boundaries of multiple sketches that are often on perpendicular planes.
Trim Surface

As its name implies, this feature helps in trimming excessive parts of a surface using another surface or body as a cutting tool. With this, surfaces are usually created slightly beyond their final designed shape, and then trimmed to their final dimensions.
Offset Surface
This feature is fairly intuitive; a selected surface is created at an offset to the existing surface. This feature is actually useful in solid-body modeling techniques as well.
A tip regarding this feature: setting the offset to 0 actually duplicates the surface (face) and places it in the same location. This is a unique action in SolidWorks because setting a “zero distance” isn’t usually allowed in these contexts.
Surfaces Into Solids
Eventually, the goal of a design is often to generate a solid model. There are several surfacing features that allow for converting surfaces into solids.
If the existing surfaces should enclose a closed volume, that’ll become the solid body. Then, the “knit” feature can be used to unify all surfaces into a single body. If there are openings in the model that prevent the use of the “knit” feature, they can be closed using the “boundary-surface” or the “planar surface” features.
Since surfaces are often created to simulate thin bodies, another useful feature is the “thicken” tool. It’s very similar to “offset surface” and is used to thicken a surface into a thin solid body. Note that the surface body doesn’t have to enclose a volume.
Advanced Tips & Tricks
SolidWorks has some advanced tools and capabilities that either use surface modeling or assist it. Here are some of them:
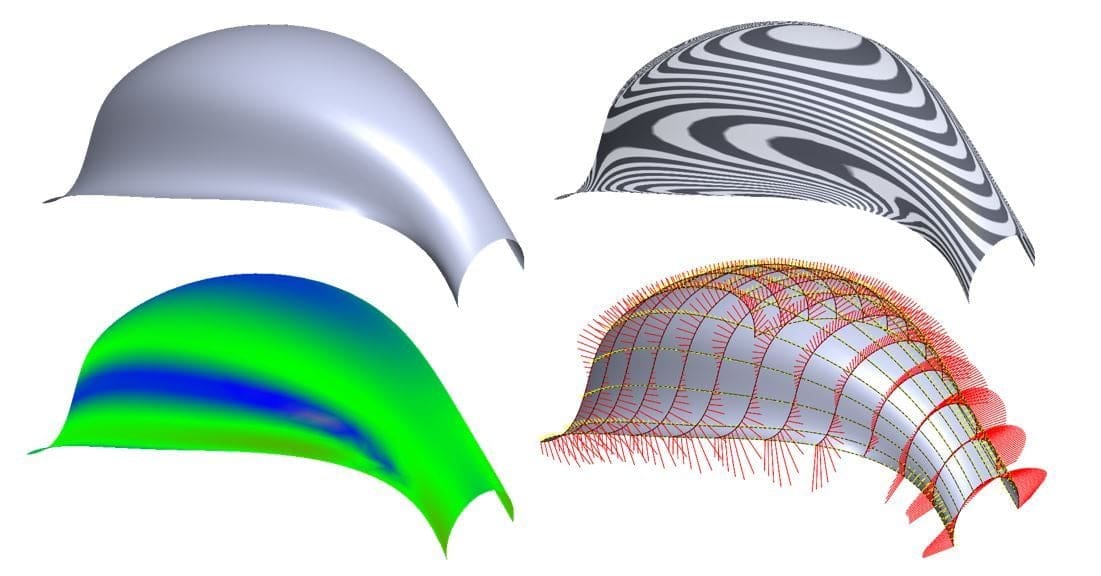
- Curvature evaluation: SolidWorks has several visual tools that evaluate the curvatures of surfaces. These tools bring out and highlight various aspects of a curved surface so you can tweak and adjust your design accordingly.
- Flatten surface: This feature assesses a planar (flat) version of a given surface. It isn’t as accurate as the “flat pattern” feature in sheet metal design because it doesn’t account for the material thickness and plastic properties. However, it might be useful for other, more creative applications.
- Point cloud into surface: SolidWorks “ScanTo3D” utility converts a point cloud (the results of a laser scan of an object) into a surface body. This is extremely helpful in reverse engineering and in medical applications (for example, scanning a man’s arm for a better fit of a mechanical aid).
Tutorials & References
Because of the popularity of SolidWorks, it’s easy to find good references and tutorials for different features, including surface modeling techniques. YouTube, for example, is flooded with great tutorials. Two good places to start are this helpful introductory video to surface modeling (~37 mins) and this shapes and surfaces modeling tutorial (~27 mins). You could also try a consumer product design tutorial (~35 mins) or for more advanced users, one about more complex surfacing features (~12 mins).
If you’re more of a reader, SolidWorks’ help forum for surfaces is very organized and fairly informative. The unofficial Learn SolidWorks site is great too. At the same time, the key to success in surface modeling is to experiment and explore various features and use cases yourself. Good luck!
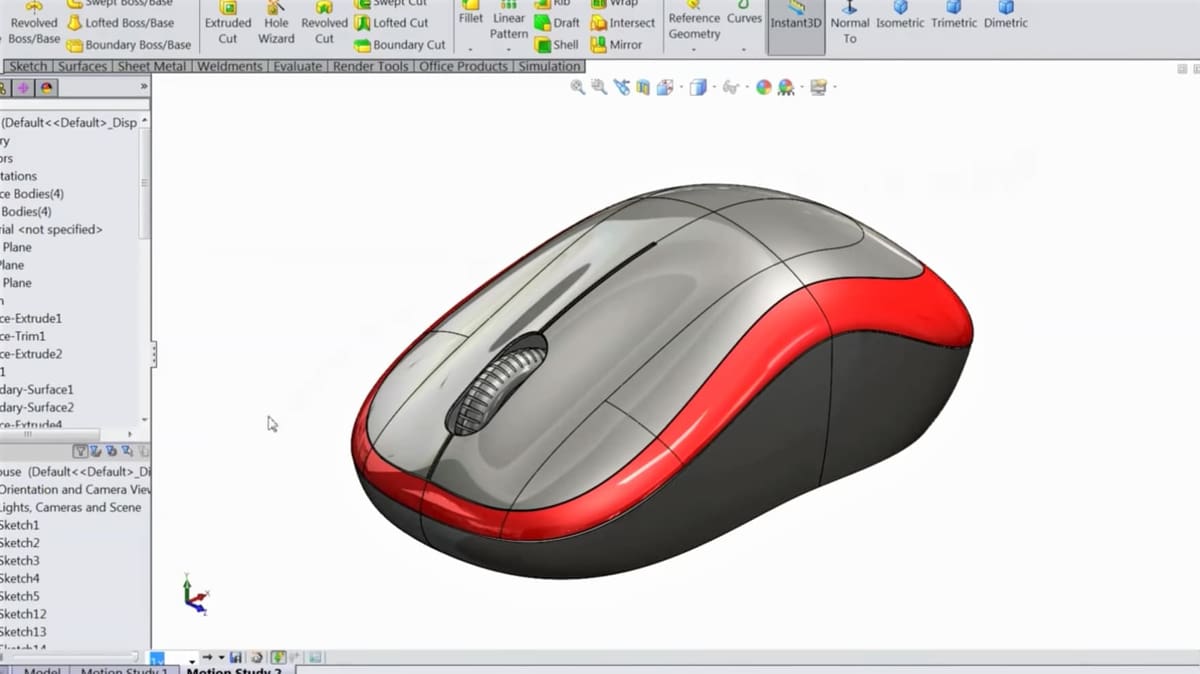
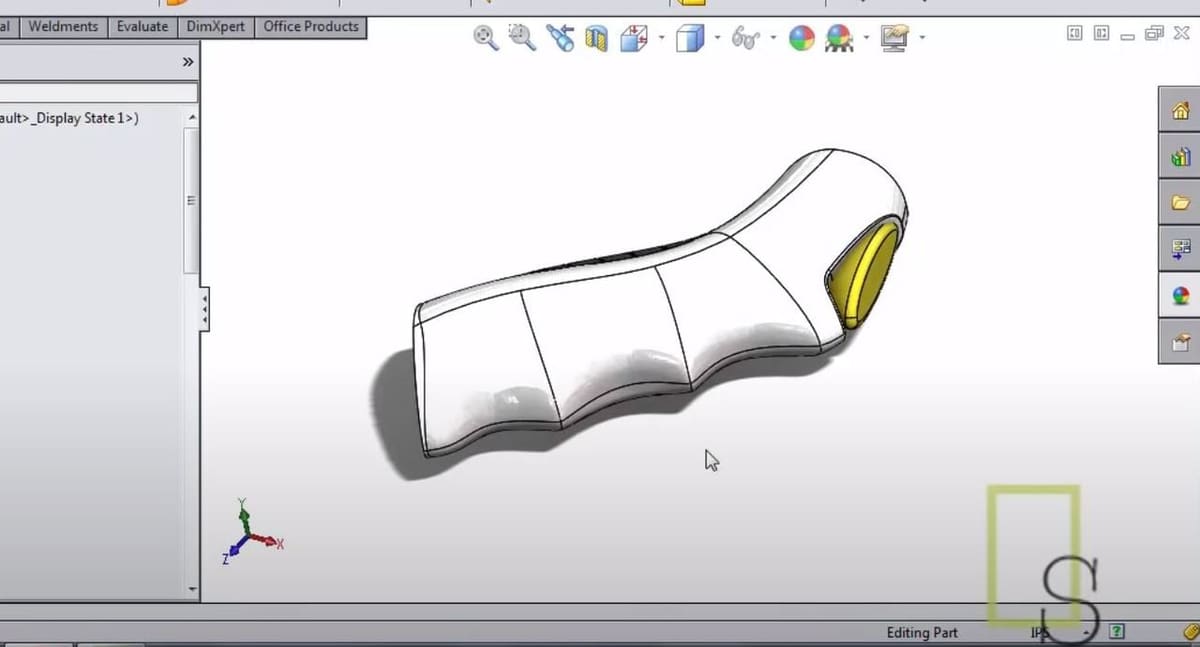
Lead image source: CAD CAM TUTORIAL via YouTube
License: The text of "SolidWorks Surface Modeling: How to Get Started" by All3DP Pro is licensed under a Creative Commons Attribution 4.0 International License.