RetroPie on Raspberry Pi 4: How to Make It Work

RetroPie is a popular emulation platform to play retro games on a Raspberry Pi. Read on to learn how to set up RetroPie on a Raspberry Pi 4.
While it isn’t the only emulator that you can use to play retro games on a Raspberry Pi, RetroPie is one of the most popular. With its minimal set-up, wide community support, and ability to play games from over 50 systems, it’s not hard to know why! You can play all your old favorites including from MAME, SNES, and Gameboy.
RetroPie uses the EmulationStation frontend RetroArch and many other projects that make it possible to play nostalgic arcade games, old-school console games, and classic PC games. Additionally, RetroPie sits atop an existing operating system, Raspberry Pi OS Lite, which omits the PIXEL environment (Pi-improved Xwindows environment, lightweight).
Alternatively, if you’ve already got a full Raspberry Pi OS running, it can also be installed on top of it. However, you can’t run the Retropie and PIXEL desktops at the same time; first, you’d need to log out of the PIXEL desktop environment.
Without further ado, let’s take a closer look at how to set up RetroPie on your Pi. But first, we’ll convince you why by letting you in on all the cool things you can do!

Uses & Advantages
While you could certainly play your favorite retro games on an Android mobile device or other such option, there are some advantages when it comes to using RetroPie.
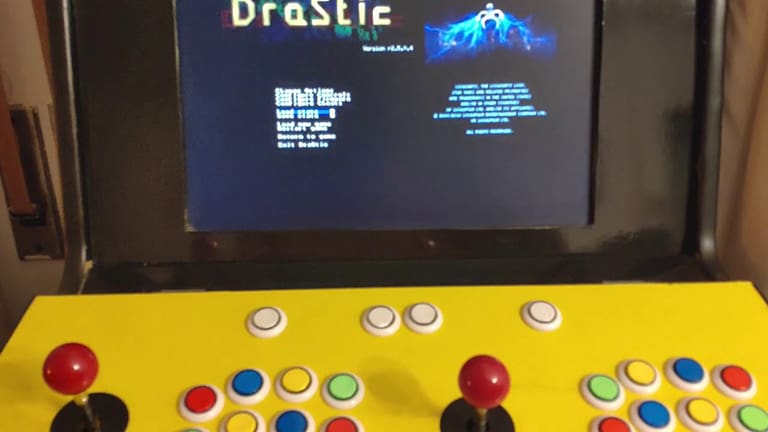
The full list of systems it can emulate can be found in the RetroPie documentation. Additionally, there are certain emulators that are free on RetroPie that would cost money elsewhere. For example, the DraStic DS emulator is available for Android on the Google Play store for a cost. Meanwhile, it’s completely free (although still in an experimental stage) on RetroPie.
Aside from being free, RetroPie’s offerings are equal to other paid options. Other advantages include the low power consumption, small form factor, portability, and customizability of running your games on a Raspberry Pi. So it’s not only ideal for gaming on the go, but also for the electronics enthusiast who would like to create their own dedicated retro gaming device.
Additionally, since it runs on the Raspberry Pi, there are plenty of options when it comes to retro gaming cases and community support. There are also retro gaming cases for sale such as the MegaPi Case by RetroFlag.
Setup
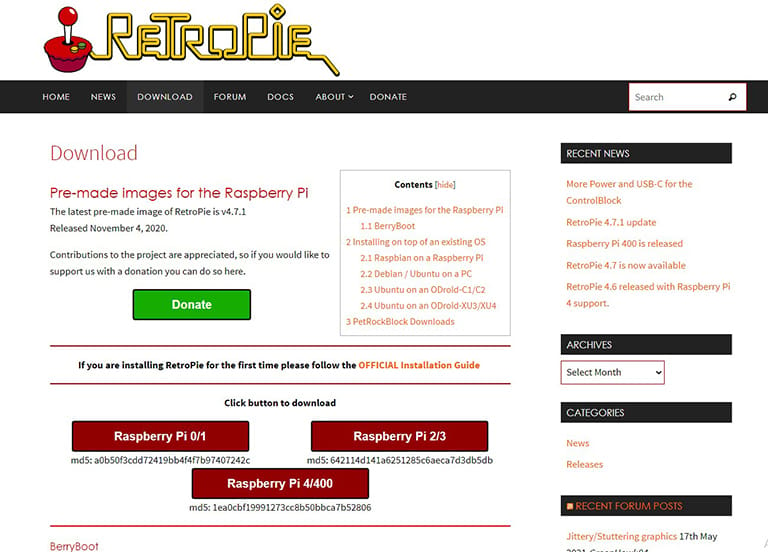
Since the release of RetroPie 4.6, there’s been a dedicated RetroPie image for the Raspberry Pi 4. Even better, RetroPie 4.7 also supports the Pi 400! In addition to the Pi, you’ll need a microSD card to flash the image to, a keyboard and mouse, your gaming controllers of choice, and an HDMI cable and display. A laptop or tablet won’t work for the display; a TV or computer monitor is ideal.
While there’s good documentation from the RetroPie website, there are also plenty of other comprehensive and in-depth guides for installation. Let’s take a look.
Video Guides
If you prefer a visual walkthrough on how to install RetroPie on your Raspberry Pi 4, try the video from GameHead Nes.
For a review of the capabilities of the Pi 4 with RetroPie, check out ETA Prime’s video. In it, he tests higher-end emulators such as the Dreamcast using Redream, PSP using PPSSPP, and N64 using Mupen64 Next.
Retro-Inspired Add-ons
Finally, if you’re after a retro-inspired enclosure, be sure to check out the free, 3D printable π64 (mini N64 case), which now has a version for the Raspberry Pi 4! Alternatively, there’s a range of other RetroPie-inspired gaming cases to 3D print, NES cases, or you could always 3D model your own.
Step-by-Step Overview
Now that you’re ready, let’s get into the high-level steps of how to install RetroPie.
- If your microSD card already has RetroPie on it, go to the next step. Otherwise, be sure to flash the RetroPie image onto it by following RetroPie’s documentation. (The easiest way is to use Raspberry Pi Imager.)
- Insert the microSD card into your Raspberry Pi 4. If your setup already includes an enclosure, be sure to insert the microSD card after you’ve placed the Pi into its case. This will help prevent any mishaps or damage to the microSD card.
- Connect peripherals such as a keyboard, mouse, or USB game controller to the USB ports of the Pi.
- Connect the Pi to a display with an HDMI cable. Be sure to connect to the first HDMI port, labeled “HDMI0” on the Pi 4.
- Connect the official Raspberry Pi USB-C power supply to the Pi 4.
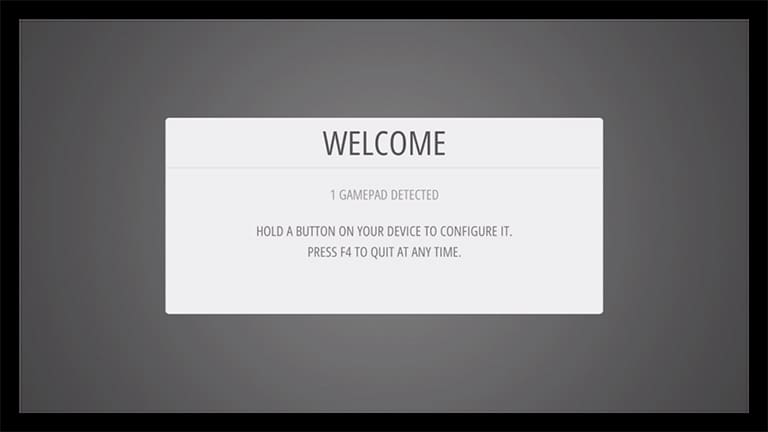
- Once RetroPie is loaded up, you’ll see the RetroPie splash screen. Follow the first configuration steps. This is where you can start assigning the button controls.
Now that the setup is complete, it’s time to grab some ROMs (read-only memory). These are images from an original game. Because you can’t use an actual game cartridge, you need to have the (ROM) file with the cartridge content.
There are free ROMs available, like this trial version of Arkagis Revolution. Additionally, there are homebrew games that are modern games developed for classic hardware.
Alternatives
There are plenty of reasons to use RetroPie on the Raspberry Pi 4. At the same time, those curious about alternatives should check out Lakka, Recalbox, and Batocera.
To get started, check out this installation and set up video of Lakka on the Raspbery Pi 4. The installation of Recalbox on the Raspberry Pi 4 is quick and effortless as well. Additionally, in just 12 minutes, Batocera can run on the Pi 4, too.
Although RetroPie and Lakka are capable emulation platforms, RetroPie offers more in terms of emulation support as seen in its extensive list of supported systems.
Support & Next Steps
Both Raspberry Pi and RetroPie have huge communities that include ample support if you get stuck. If at any point in your installation process you run into an issue, RetroPie’s official documentation is kept relatively up to date.
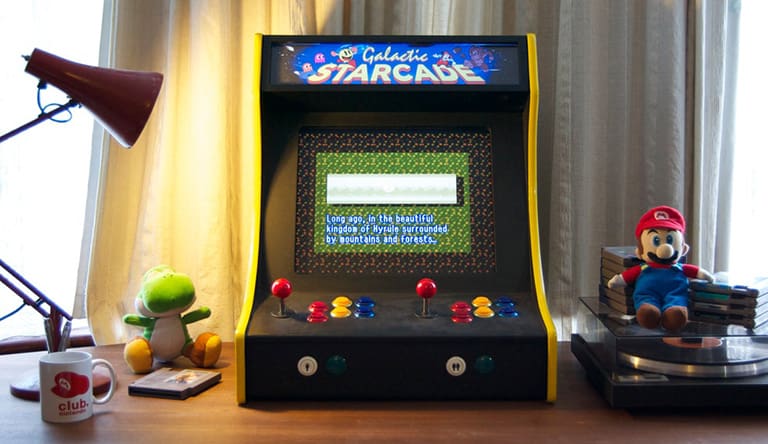
Once you’ve successfully added RetroPie to your Pi 4, the software side of retro gaming is taken care of. If you’re also curious about creating your own retro gaming enclosures, these impressive builds are worth a look at: two-player bartop arcade machine, Pi in an NES cartridge, and a handheld build of BMO from Adventure Time that comes with step-by-step instructions and images.
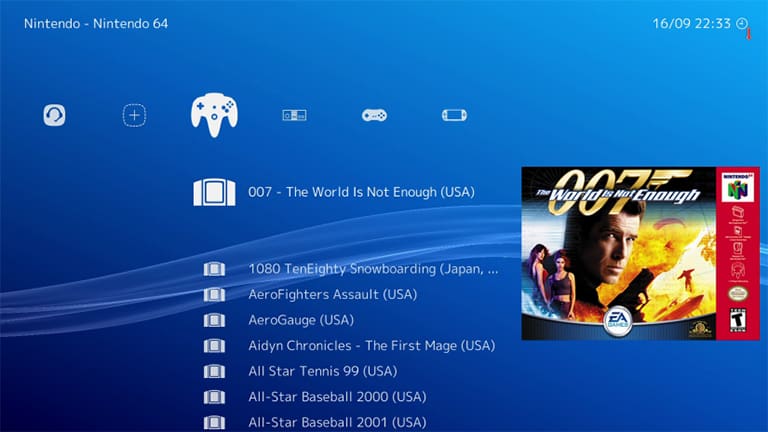
Finally, after putting all the work into setting up RetroPie and obtaining free ROMs, you’ll want to be sure that the box art and metadata are set correctly.
Currently, you may see a big blank spot for box art on RetroPie. How can you fill in this information for all your ROMs? That’s when you’ll need to do some scraping. In the context of retro games, metadata is the name, description, genre, release date, and so on of the games in your collection. While you could do this one by one, the more efficient way is to do a mass renaming of all your ROMs. Be sure to check out Scraper from RetroPie to get metadata, box art, and video previews for your entire retro game collection!
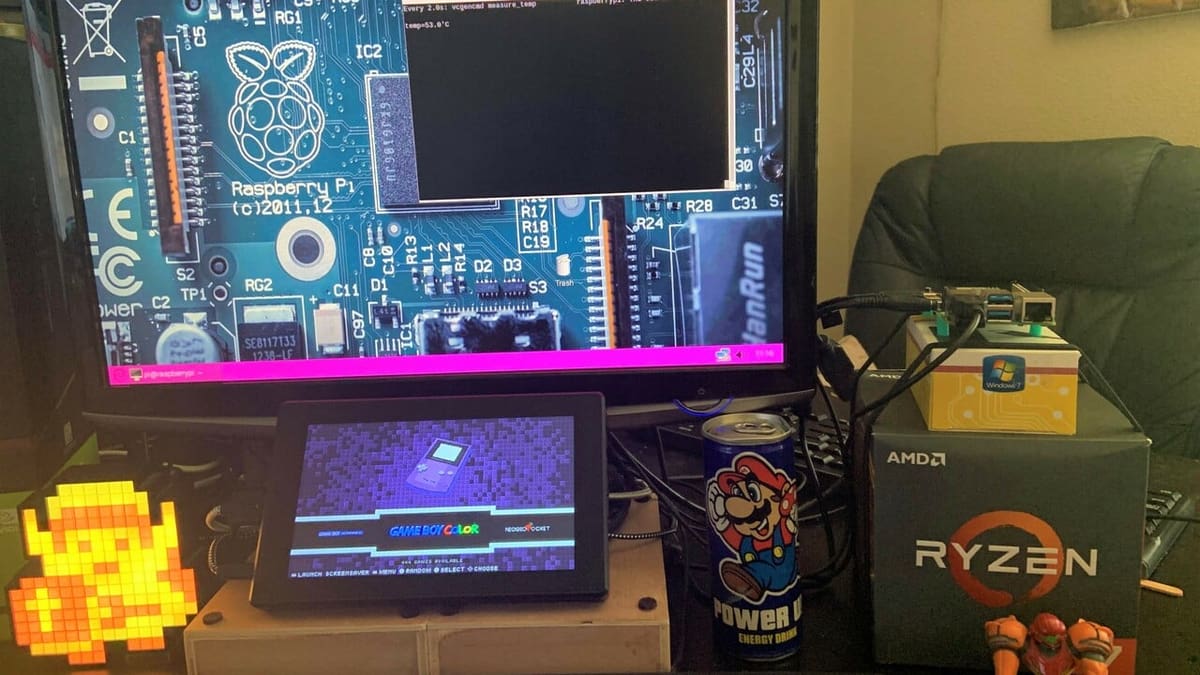
Lead image source: xxademasoulxx via Reddit
License: The text of "RetroPie on Raspberry Pi 4: How to Make It Work" by All3DP is licensed under a Creative Commons Attribution 4.0 International License.