Raspberry Pi Pico W, H, & WH: Which to Choose

The Raspberry Pi Pico with Wi-Fi is a dream come true! See whether the Pico W, H, or WH suits your next project.
The Raspberry Pi Foundation has made computing more fun and accessible for countless people across the world. More than 40 million of their low-cost, credit card sized Raspberry Pi computers have been sold in the 10 years since its introduction, each backed by unrivalled levels of community support.
In January 2021, Raspberry Pi turned its attention to the popular microcontroller space with the introduction of the ground-breaking Pico. Designed specifically to interface with real-world projects, the Pico is easy to use, packs impressive power, and is available for as little as $4 – opening a whole new world of computing possibilities. Over a million orders were placed in the first month alone and it has since become the go-to controller for many hobbyists.
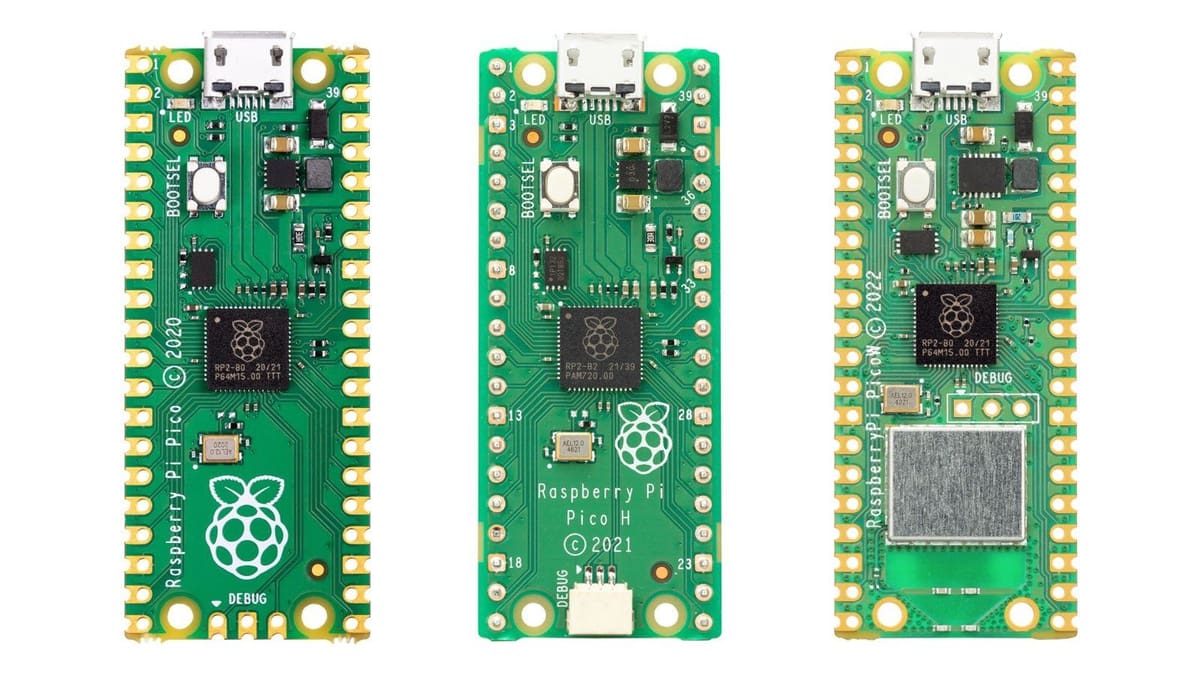
Despite this, many regarded the Pico’s lack of onboard wireless as a significant drawback. Although options existed to add separate wireless functionality, the complexity of retrofitting Wi-Fi distracted from the Pico’s simplicity and price point. The Raspberry Pi Foundation was well aware of this and other feedback, and in June 2022 announced three new upgrades: The Pico H, Pico W, and Pico WH. The ‘W’ indicates on-board Wi-Fi while the H signifies pin headers, two conspicuously absent features of the original Pico.
But before we compare the features of these new offerings, let’s look again at what makes the Pico so special.
The Original Pico
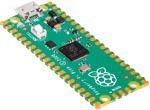
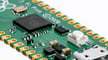
The original Pico is an outstanding combination of low cost, powerful features, and ease of use, and has given birth to a host of brilliant projects. Physically, it’s a mere 51 mm by 21 mm with 40 edge-mounted pins, supporting 26 GPIO ports. Based on Raspberry Pi’s own RP2040 dual-core processor, it runs at 133 Mz with 264 kB SRAM plus 2 MB of flash memory. It powers an impressive array of 2 UARTs, 2 SPI controllers, 2 I2C controllers, a 12-bit ADC, 16 PWM channels, 2 PIO modules, and 8 programmable I/O state machines.
Making use of this hardware is easy by choosing either a very stable port of MicroPython or an SDK for coding in C, C++, or assembly language. In a relatively short period of time, countless dedicated additional peripherals have also come to market, adding screens and displays, servo and motor integration, sensors and actuators of all sorts, and more. The Pico, however, is not without limitations or challenges.
For many the lack of onboard wireless is a stumbling block. Although there are several ways to add wireless (for example, see how to add Wi-Fi or LoRa in our list of Pico projects), the cost and added complexity puts off many potential users. Other manufacturers have included wireless on their RP2040-based boards, like the Arduino Nano RP2040 Connect, but at a higher price point. It’s also been noted that many users immediately soldered headers to the Pico’s castellated edge pins, so that they could more easily be used with breadboards and compatible third-party hardware.
The design team at Raspberry Pi have addressed these points without losing compatibility with the existing model and also with a strong focus on keeping unit costs as low and usability high. Let’s take a closer look at each of the new Picos in turn.
The Pico W
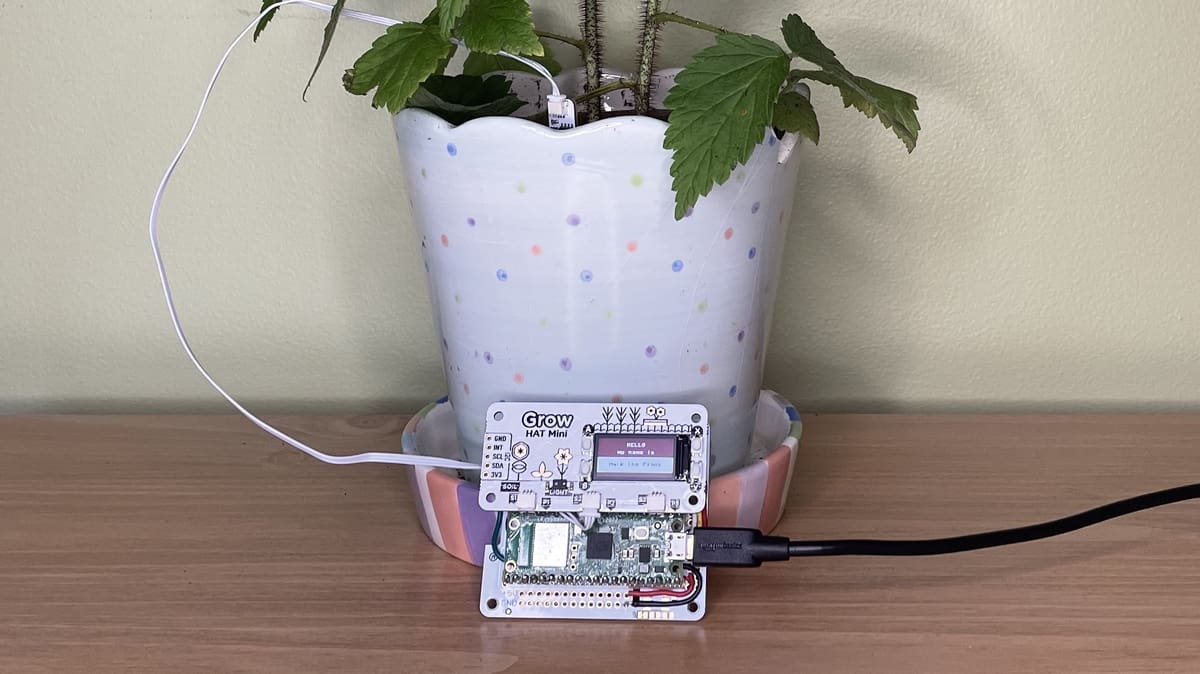
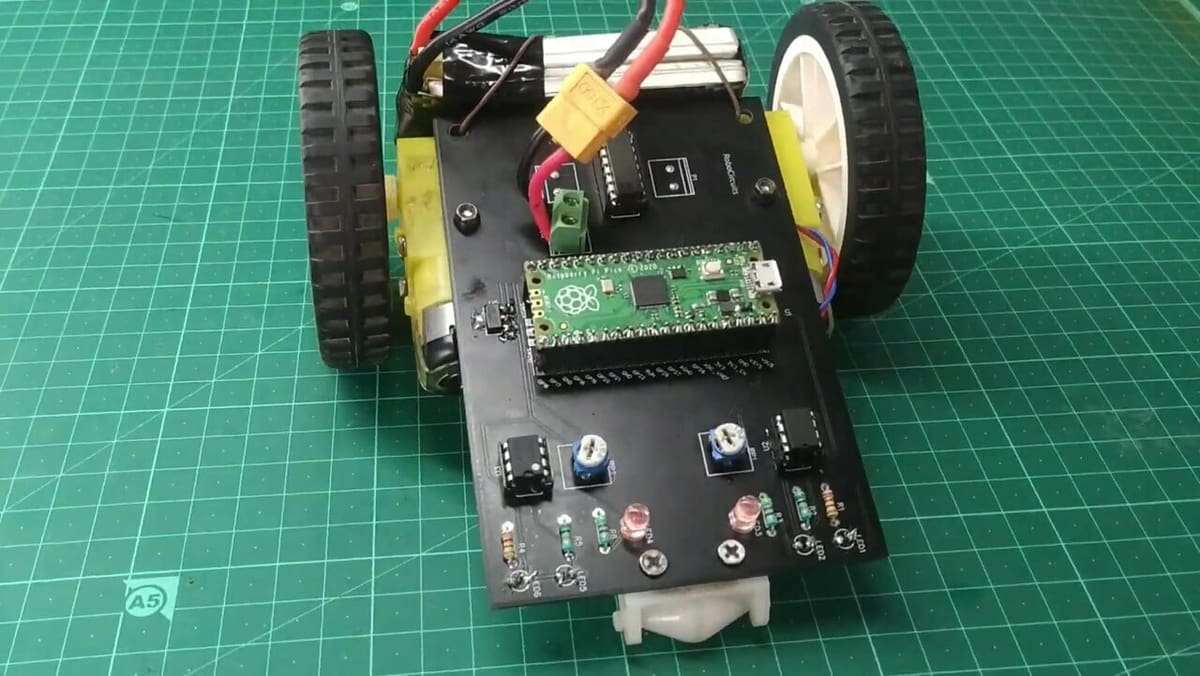
Greeted with as much, if not more, excitement as the original Pico, the ‘W’ variant has been described by many as a “game changer”. Costing only $2 more, the Pico W looks set to be a success and has already been incorporated in many projects from wirelessly connected pot plants to low cost robots.
Raspberry Pi’s engineers have squeezed an Infinion CYW43439 wireless chip plus an antenna onto the same footprint as the original Pico and also maintained the same board pin-out. The Pico-W supports Wi-Fi (802.11n) on the commonly used 2.4-Ghz band, WPA3 security, and also “soft access point” functionality supporting up to four clients. Software libraries are available to access and use this wireless functionality in both MicroPython and via the SDK.
The Pico W is remarkably close to the original in most ways and can be used as a “drop in” replacement in most cases. However, although the main external pins remain the same, the debug port has been moved from the end of the board to a central location, to allow space for a working antenna.
In addition, the RP2040 connects to the Infinion chip via three onboard GPIO pins allocated originally to other features. This causes one or two subtle differences (see below), but they won’t impact the majority of applications. Apart from these minor points, the addition of Wi-Fi is almost entirely seamless – a fantastic design achievement.
But, what about Bluetooth? Although the Infinion hardware supports Bluetooth 5.2 and Low Energy Bluetooth, no software support for the SPI-based interface used by the Pico W was available at launch. Raspberry Pi have said it “may” be available in the future, but it shouldn’t be counted on.
Users of CircuitPython should also be aware that support for the Pico W wasn’t available at launch and may take some time, so check availability before committing to a project.
Using the Pico W

There are two main things to consider when using the Pico W, compared with the original. The first is that although externally pin compatible, the Pico W uses three “internal” GPIO pins to control the wireless chip. These include those used to control the onboard LED, the power supply mode select, and VBUS detect. To get around this they have “given” back these features by using spare GPIO pins from the wireless chip, but the implementations are subtly different.
For example, control of the onboard LED has been made pin-independent in MicroPython – instead of explicitly using pin 25, as in the original, it’s now defined explicitly as “LED” (e.g. led = machine.Pin("LED", machine.Pin.OUT)) which will work on all Picos. The detailed documentation outlines other points to be aware of, but this shouldn’t impact the typical user.
The second consideration relates to the setup and use of the new wireless functionality. A compact and powerful set of libraries are available to MicroPython and SDK users, built around the lwIP network stack (common for IoT devices) and libcyw43 written by Damien George (who invented MicroPython). It’s relatively simple to hook up to your network, make requests from online APIs, send back data readings to a networked computer, create a simple web server, or alternatively to set up a small local Access Point.
Professional developers may also be interested to know that this functionality comes with a free commercial-use license, too, making it easier to use the Pico W for simple networked products.
The Pico H & WH
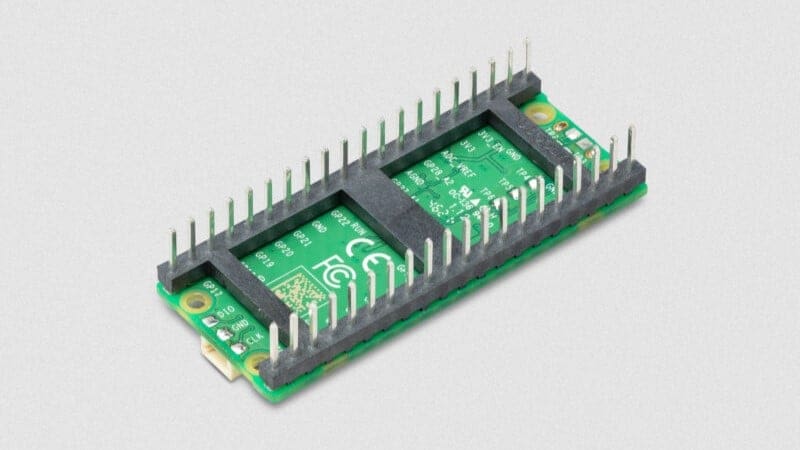
The original Pico featured gold-plated, castellated edge pins, making it easy to solder directly onto other “carrier” circuit boards. Instead, however, the majority of users added header pins to make plugging into breadboards for prototyping easy.
In recognition of this, Raspberry Pi introduced two variants with built-in headers. The Pico H has the same specifications as the original Pico, while the Pico WH adds headers to the W version. These ‘H’ boards differ from the Picos with pre-soldered headers that are available from many suppliers in three ways.
The first is that the castellations are removed, simplifying the layout and saving a small amount of cost. The second is that the headers are part of a single integrated framework, as opposed to separate header strips, for added strength and stability. And finally, a small debug socket has been added, so that there’s no need to solder on additional pins or wires when using this feature.
The H variants are great for educational and hobbyist use and are lower in cost than using self- or pre-soldered headers.
Which Pico to Pick?

The Raspberry Pi Foundation shared a picture of a Pi-coW as a teaser in the lead-up to the announcement of the new Pico variants. It was so obscure that no one guessed what it was about! Thankfully, the choice of which Pico is right for you is a a little more straightforward.
If you don’t need wireless, the new Pico H is best for most users – unless you already have a large supply of your own header pins and don’t mind soldering, in which case the original is the lowest-cost option.
If you need Bluetooth, for now at least, the Pico H is again the best choice for most, but you’ll have to add the Bluetooth functionality with a dedicated module (see Kevin McAleer’s great video on this) or consider another RP2040 based microcontroller such as the Arduino RP2040 Nano Connect.
If you need Wi-Fi, the Pico W or WH are the ones to go for. If you can’t find a Pico WH in stock, you can consider either adding your own header pins or buying a Pico W with pins pre-soldered by a supplier.
In all cases, there’s also a choice of which programming language to use. By default, all of the Picos lean towards using Python, and the software support for wireless is a bit more complete and robust if you take this route.
As with all things Pico, whatever the choice, the most important thing is to have fun and learn along the way.
License: The text of "Raspberry Pi Pico W, H, & WH: Which to Choose" by All3DP is licensed under a Creative Commons Attribution 4.0 International License.
CERTAIN CONTENT THAT APPEARS ON THIS SITE COMES FROM AMAZON. THIS CONTENT IS PROVIDED ‘AS IS’ AND IS SUBJECT TO CHANGE OR REMOVAL AT ANY TIME.