A New Way to Cast
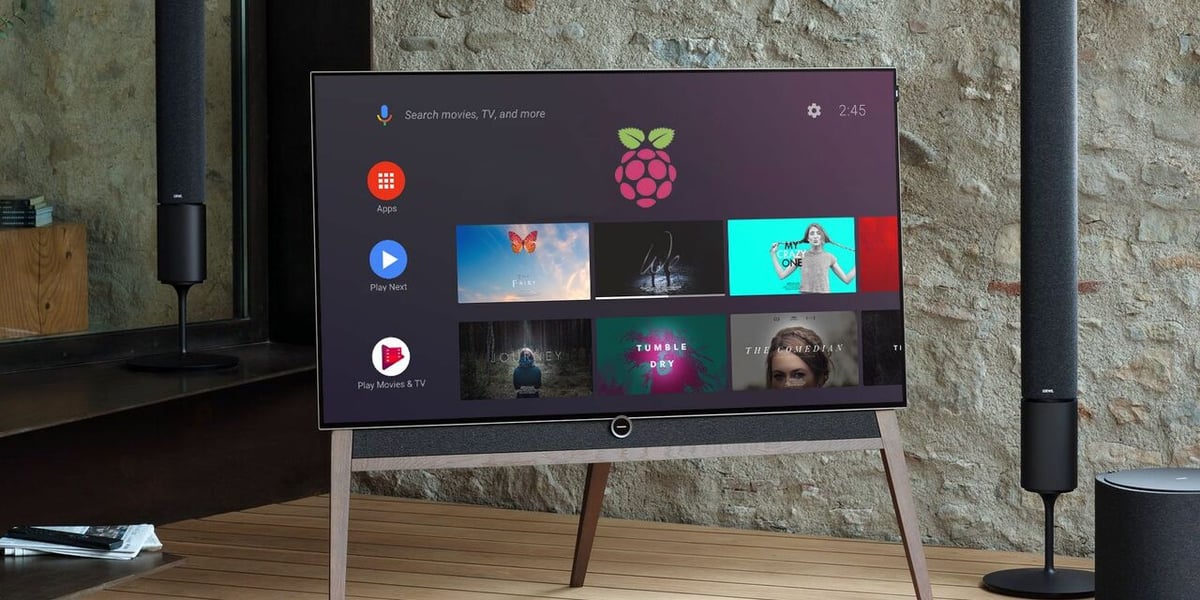
The Raspberry Pi 4 opens up a lot of avenues in terms of personal projects. Its updated specifications enable it to do things that its predecessors struggled to accomplish. When it comes to putting the Pi 4 to practical use, you can basically use it as a mini-computer, a media center, or even a casting device.
A casting device is essentially a piece of equipment that allows you to cast or stream media from your mobile device to a TV or monitor. One such casting device you might’ve heard of is Google’s Chromecast, which allows you to stream any form of media from your mobile device or computer directly onto your TV.
Now sure, you can just buy a Chromecast for your TV, that would be the easiest way, but where’s the fun in that? If you’re not sure about purchasing one, it’s possible to use a Raspberry Pi 4. This way, you don’t need to spend extra money on a Chromecast, and if you don’t like the casting experience, you can always use the Pi for some other purpose. You can see some more pros and cons in a great Reddit thread that goes over this.
It doesn’t take a lot to turn your Pi 4 into a casting device: just an Android app and some software on the Pi 4. That’s it! In this article, we’ll walk you through the process. So, let’s get on with setting up your Pi 4 as a casting device.
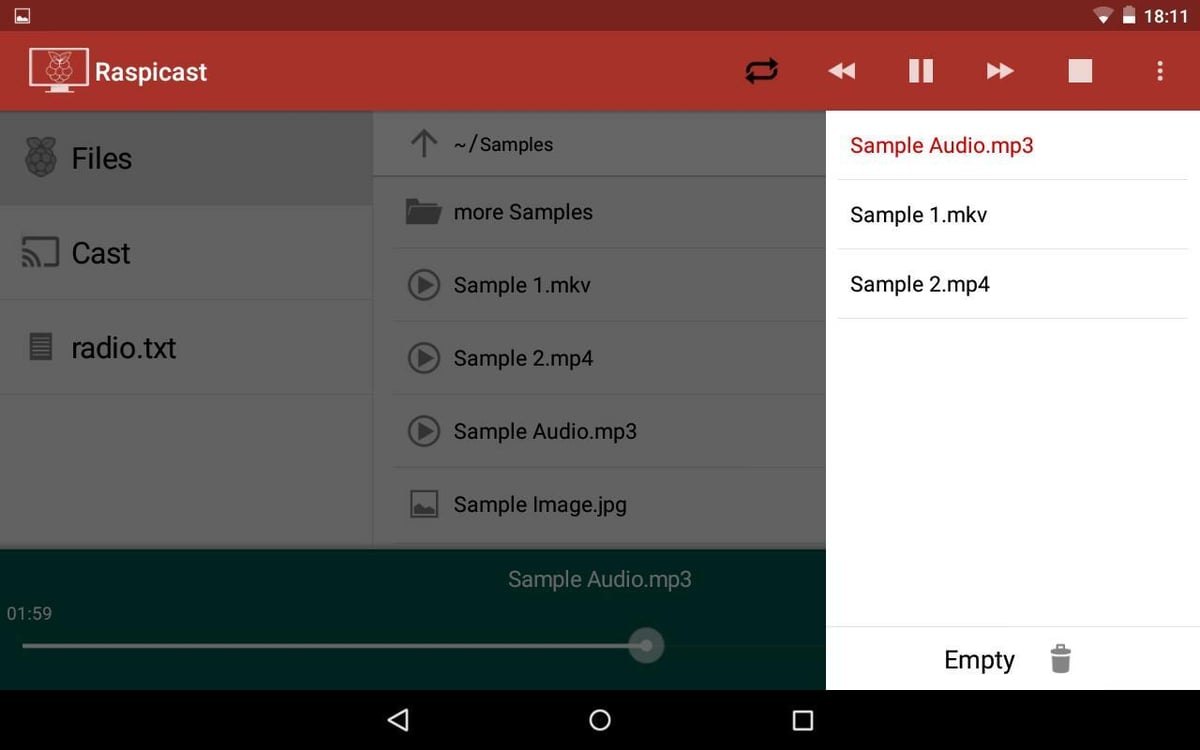
Raspicast
As a Google product, Chromecast’s hardware and software are proprietary. As such, you cannot just turn a Raspberry Pi into a Chromecast. Further, the Pi itself is only a piece of hardware, so it needs specific software that’ll allow it to communicate with your mobile device and TV.
Enter Raspicast, a mobile application that lets you stream media from your device onto your TV. It uses the Secure Shell Protocol (SSH) on the Raspberry Pi. At the time of writing, the Raspicast app is only available for Android devices. Along with the app, you also need a set of libraries and additional software to allow the Pi to receive and stream media.
With the combination of Raspicast on your device and easy-to-install software on your Raspberry Pi, you can get started with casting media on your TV. The next sections go over the actual details of converting your Pi 4 into a casting device. If all goes well, it shouldn’t take you more than an hour to set up everything.
What You'll Need
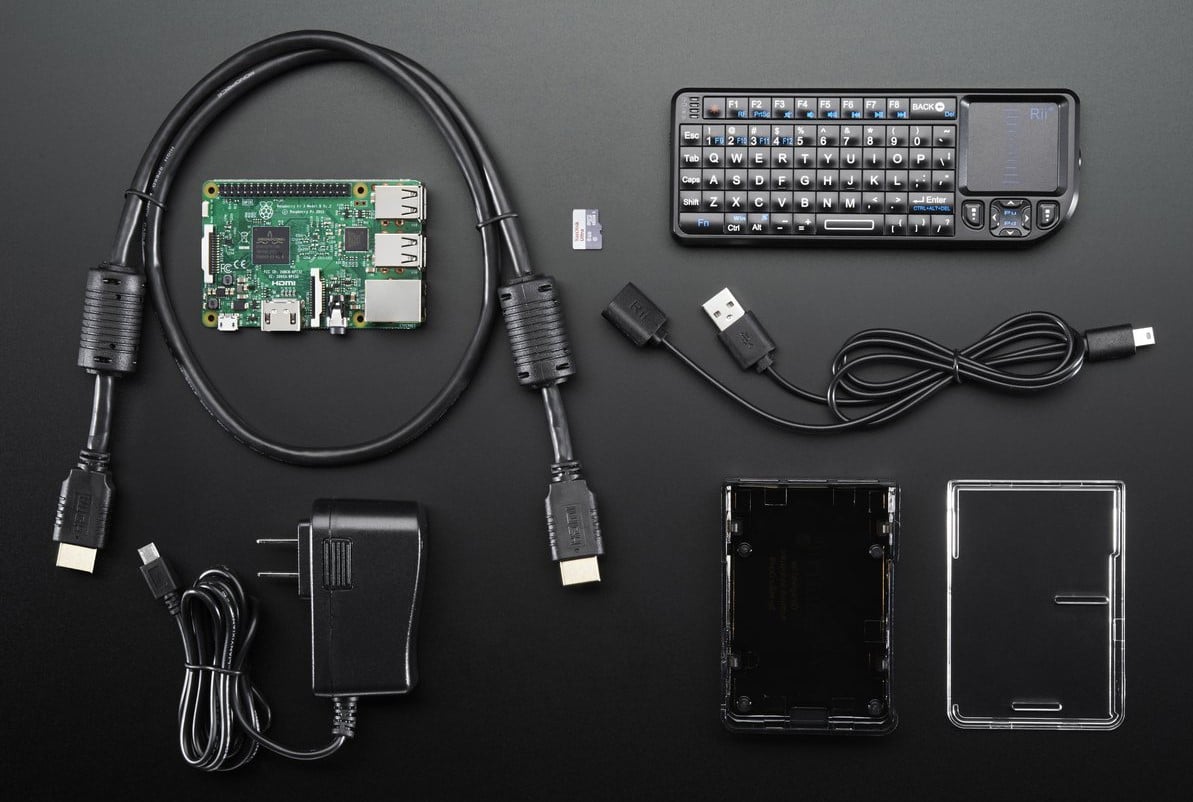
Before we get started with the actual installation of the software, there are some prerequisites that you’ll need:
- A stable internet connection
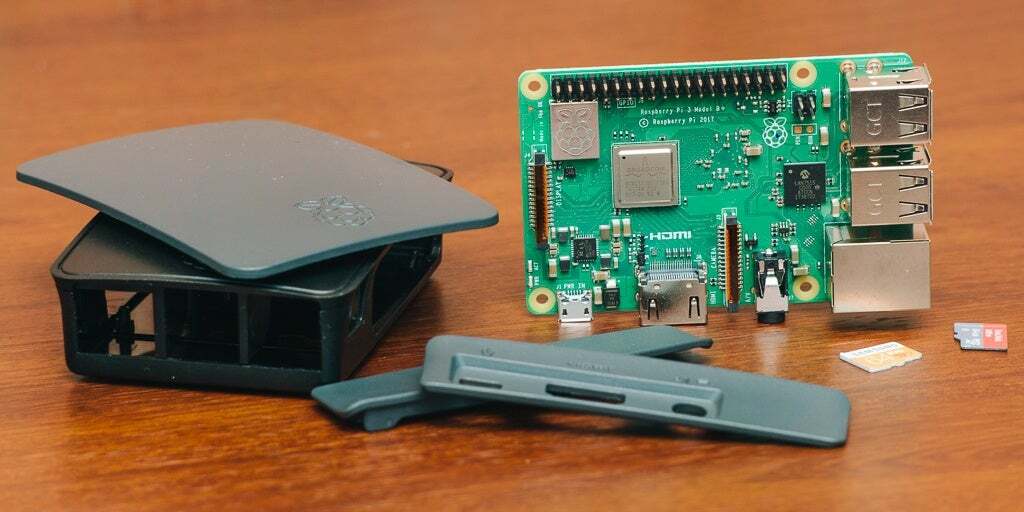
- A Raspberry Pi 4 with the latest version of Raspberry Pi OS installed on it
- A keyboard, a mouse, and a display for the Raspberry Pi
- A Micro HDMI to HDMI cable to connect the display to the Raspberry Pi
- An Android smartphone
That’s it. Once you have the setup ready, you can then begin the installation process.
The Steps
This is where things get interesting. With Raspberry Pi OS, you can use the command terminal to execute all the actions, so that’s what we’re going to be using for the most part.
The steps for the entire process are as follows:
- Open the terminal command window from the toolbar.
- Check for any updates that you might need by entering the following commands:
$ sudo apt-get update
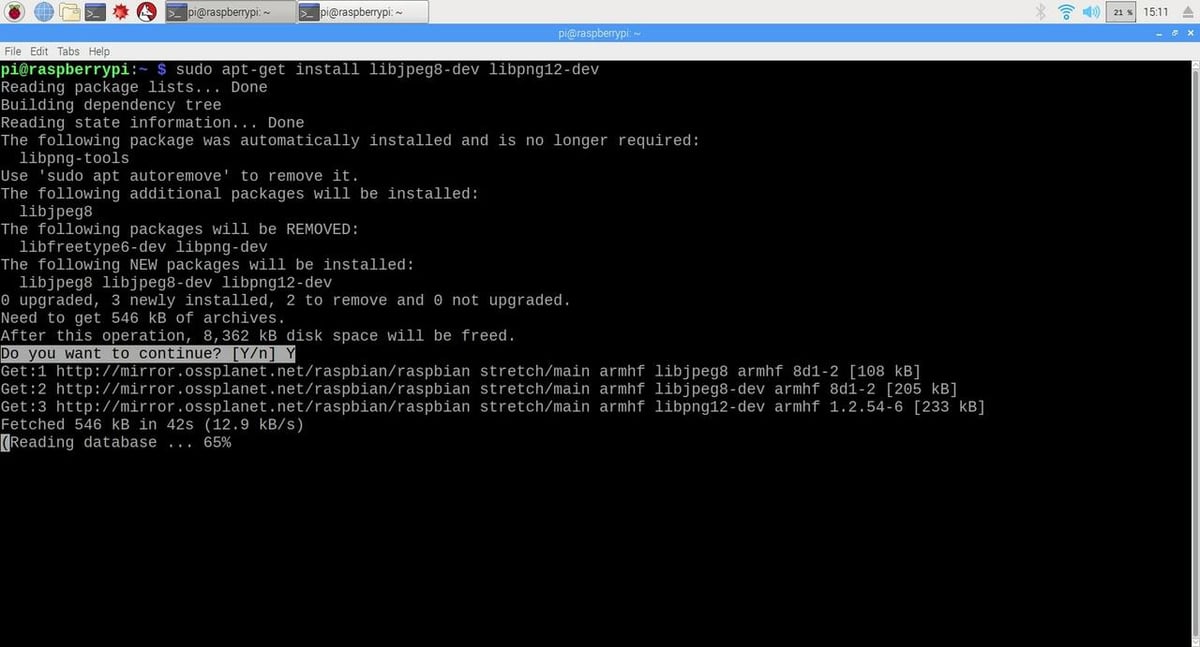
$ sudo apt-get upgrade - Next, install the JPEG and PNG libraries:
$ sudo apt-get install libjpeg8-dev libpng12-dev - Once you’ve installed the libraries, we then need to compile the OMX software and install it on the Raspberry Pi.
$ git clone https://github.com/HaarigerHarald/omxiv

$ cd omxiv

$ make ilclient

$ make

$ sudo make install - Enable the SSH by going into Preferences and then Raspberry Pi Configurations.
- Get the IP address of your Raspberry Pi by doing the following:
- Open the command terminal and enter the command
ipconfig. - The IP address (
inet addr) will be mentioned under thewlan0. - Note down the IP address somewhere because we’ll need it again in just a moment.
- Open the command terminal and enter the command
- Install Raspicast on your Android smartphone from the Google Playstore.
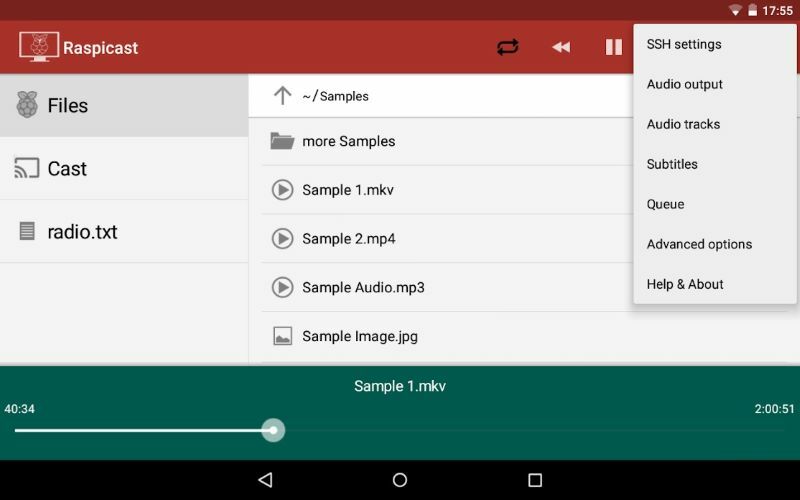
- Open the app and go into the SSH settings, which can be found by clicking the top right corner with the three dots.
- Input the IP address as well as the username and password for your Raspberry Pi.
- Once done, open any application, and using the share option, you can now stream your content on the display.
And voilà! You have successfully converted your Raspberry Pi into a casting device. If you need a deeper dive into the installation process, there’s a great tutorial by Novaspirit Tech on YouTube that goes over the entire process.
Alternatives
The main benefit of the Raspberry Pi is its open-source nature. There are always developers who are working on something that might be useful, including other methods to use the Raspberry Pi as a casting device. So, Raspicast is not the only option.
The following are two other software options that can be used to turn the Pi into a Chromecast alternative.
Raspberry Cast
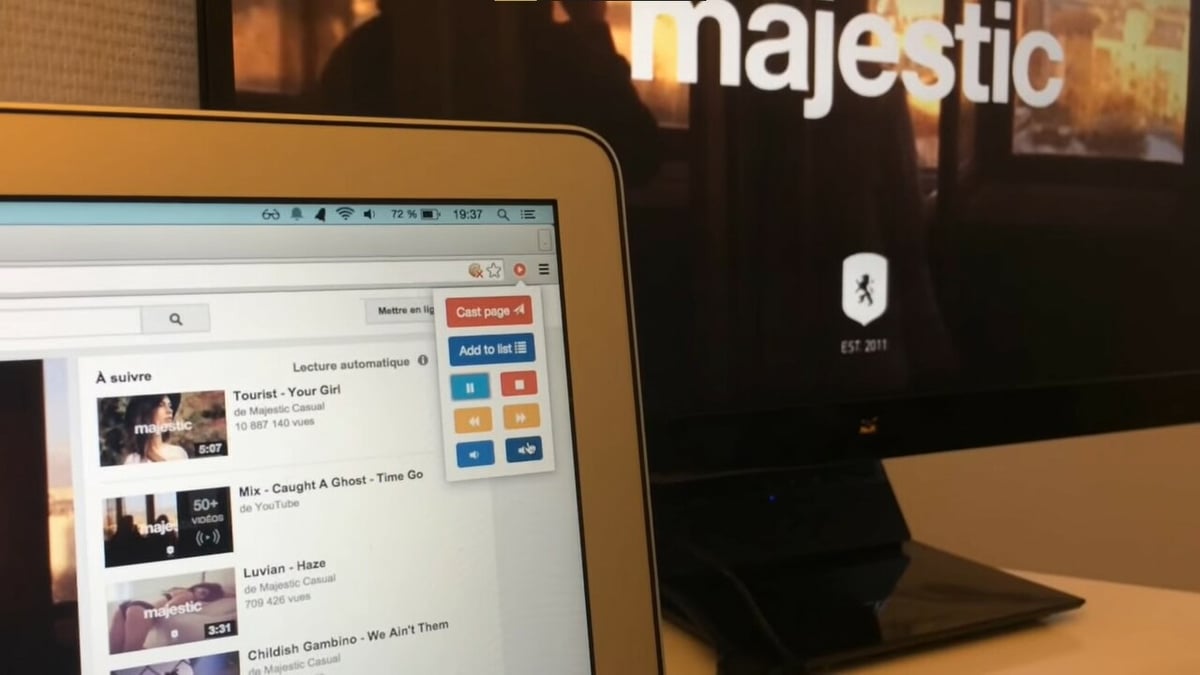
Raspberry Cast is an extension that you can use on your desktop to stream content. The extension is supported on Chrome and Firefox browsers, and with it, you can cast a web page, a video, or anything that you view in the browser. For iPhone users who can’t run the Raspicast app, this is a great alternative.
The installation is slightly lengthy. You can find everything about Raspberry Cast on its GitHub page.
NymphCast
NymphCast is like Raspicast, but it’s a relatively new solution, so there might still be some bugs. It can run on a Windows device or any Android smartphone. As it’s still being developed, the installation procedure is a little different.
You can find all you need to know on NymphCast’s GitHub page. It goes over a lot of details about the software as well as the installation process. If you want to cast content from your Windows device, this seems like a good option to try.
Final Thoughts
Raspicast works with the majority of applications, but users have reported some streaming services, like Netflix and Hulu, don’t seem to work with it. However, if you’re going to be using the Raspberry Pi just for some lightweight media streaming and occasional YouTube videos, Raspicast is a great option.
The alternatives are also worth checking out. If your use case scenario is different and you want the Pi 4 for a specific purpose, give either or both of the alternatives a try.
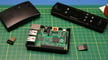
Lead image source: The Byteman via YouTube
License: The text of "Use Your Raspberry Pi as a Chromecast Alternative" by All3DP is licensed under a Creative Commons Attribution 4.0 International License.
CERTAIN CONTENT THAT APPEARS ON THIS SITE COMES FROM AMAZON. THIS CONTENT IS PROVIDED ‘AS IS’ AND IS SUBJECT TO CHANGE OR REMOVAL AT ANY TIME.