PEI Sheet (3D Printing): How to Use It on Your Print Bed

Fed up with icky glue sticks and blue tape? Learn how to apply a PEI sheet to your print surface to obtain the optimal 3D printing results.
A maker’s relationship with their 3D printer tends to evolve as they grow more familiar with the machine. Some printers may be great right out of the box and instantly provide beautiful models atop the print bed. However, others may need to overcome certain obstacles on the path to perfect prints.
Many makers have felt dread as they watched the print head grind through the print bed because they forgot to re-level the bed after making a filament swap. Or they’ve experienced the sensation of seeing a model halfway complete, only for it to suddenly slide out of place and refuse to stick to the build surface.
Needless to say, print adhesion is a critical part of the printing process. Initial internet searches will likely tell you to try painter’s tape and glue sticks, but you might grow tired of having to clean the bed after each print or you want a solution that lasts a bit longer. Another viable option is to look into using a PEI sheet.
In this article, we’ll explain what a PEI sheet is, how to apply it to your print bed, and what results you can expect from this upgrade.
What Is a PEI Sheet?
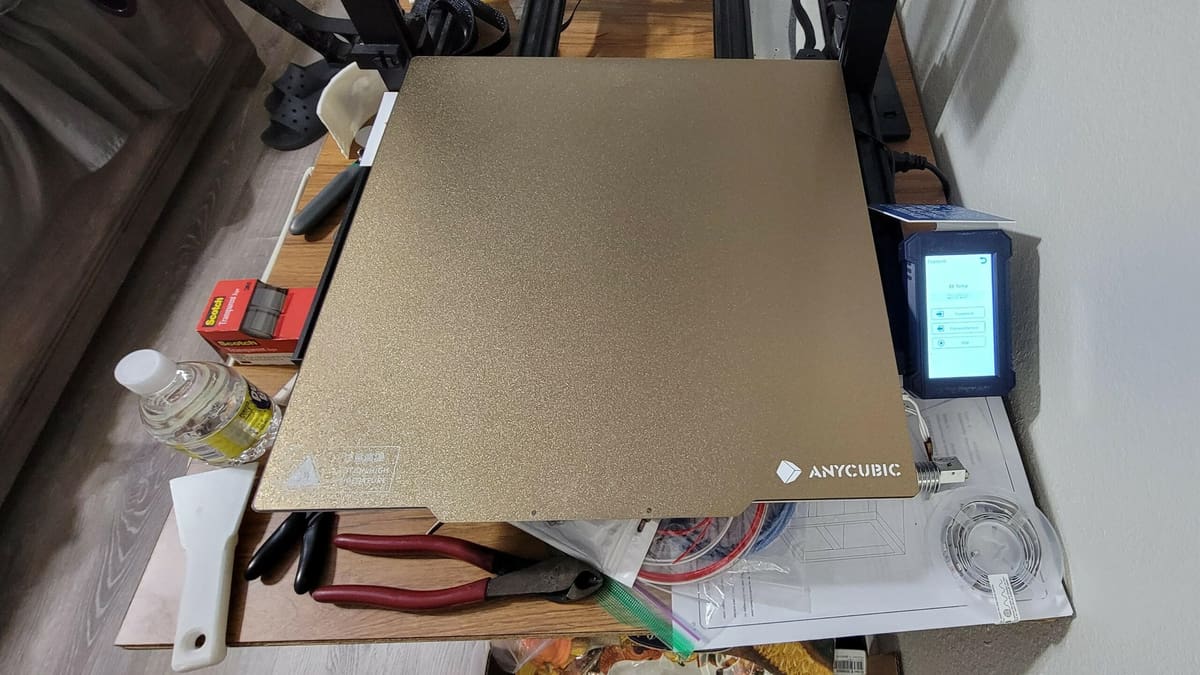
Polyetherimide, more commonly known in its abbreviated form PEI, is a “relatively maintenance-free” build surface that can be used for all types of filament on a heated or unheated print bed. It doesn’t require any additional adhesives such as glue or tape. In the 3D printing world, these PEI sheets are sometimes sold under the guise of brand names such as Ultem.
PEI requires “no surface prep” before use, which makes it very convenient to work with. The guidelines for use also suggest that using a PEI sheet on your print bed will eliminate the need for a raft or brim, as parts are expected to adhere directly to the surface without issue.
PEI has excellent mechanical properties, including radiation resistance, high and low-temperature resistance, high-temperature stability, and high wear resistance, as well as good flame retardancy, chemical resistance, and electrical insulation characteristics.
Pros & Cons
Pros
- It’s readily available, relatively cheap to purchase, and is easy to apply and remove.
- It can provide excellent adhesion for a printed item, eliminating the need for tape or glue.
- It provides a smooth surface finish (while it remains undamaged).
- It provides good thermal conductivity for a heated bed.
Cons
- It’s relatively soft and can be damaged by a poorly adjusted print bed or excessive scraping.
- It can adhere very strongly to a printed item, risking damage to both the bed and the item. Plus, it takes a lot of effort to remove the model.
If you find that you’d like to try a PEI sheet, here’s how to install it.
How to Use a PEI Sheet
Although there are a few PEI surface options out there, the first step to getting started is all the same: a clean surface.
Step 1: Preparing the Print Bed
If your printer doesn’t have a PEI sheet, all you have to do is make sure the print bed is ready for a covering. It’s a good idea to clean the build surface before you apply anything to it.
Removing Old Sheets
If you already have some sort of covering or sheet on the print bed, your first step is to remove it. Depending on the type of print surface you have, the easiest way to do this is to set the bed temperature as if you were printing with ABS (110 °C). Wait until the bed is heated, and then start in one corner and peel it off. Sliding a spatula across the surface (being careful not to scratch the aluminum plate) can assist you in breaking the adhesive sheet.
At this point, you should have to assess the build surface. If the remaining adhesive is just a thin uniform coating rather than uneven blobs, you can apply the new sheet directly over the top. If not, apply some isopropyl alcohol or acetone and use a scraper to give the heated bed a smooth finish.
Step 2: Applying the New Sheet
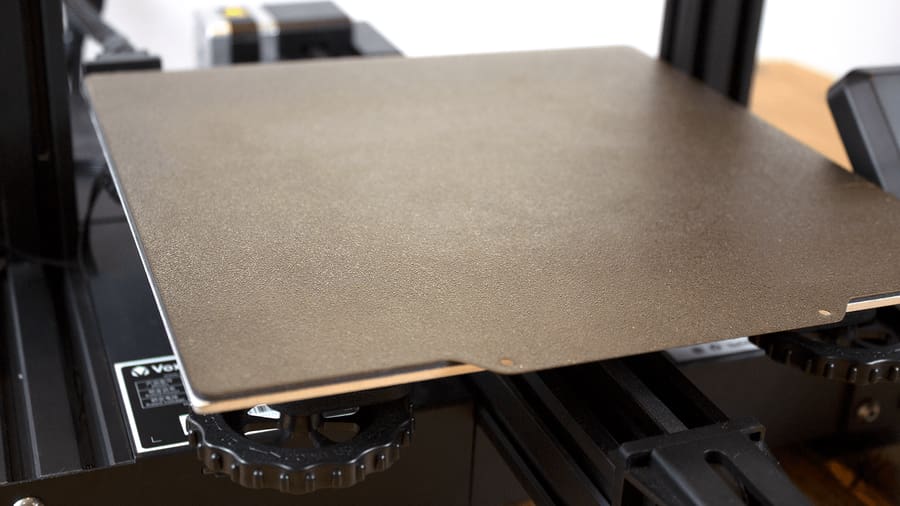
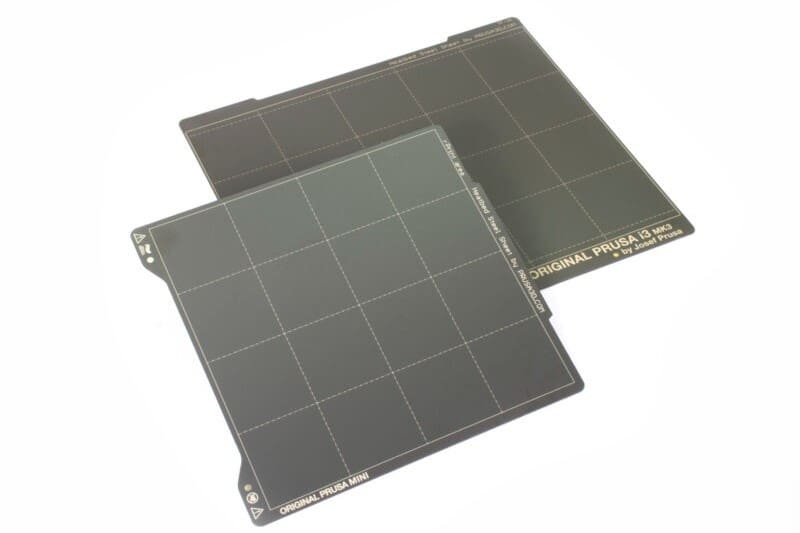
There are two kinds of PEI sheets: magnetic and adhesive. The former typically comes as a flexible, spring steel build plate with a PEI coating that can easily be detached from the printer for part removal and cleaning. Alternatively, PEI adhesive films can be applied directly to a build plate, for example, a glass or steel sheet, to obtain a fresh printing surface.
Magnetic Sheets
Assuming your build plate is not already magnetic, you can simply attach the magnetic steel PEI sheet using binder clips for a non-permanent solution.
If you’re ready to make the full conversion to magnetic build plates, you’ll have to apply the adhesive magnetic base. You can do this as you would apply an adhesive PEI sheet, ensuring removal of any bubbles and lumps (see below). After that, a magnetic PEI sheet can easily be placed and removed from the build plate.
Adhesive Sheets
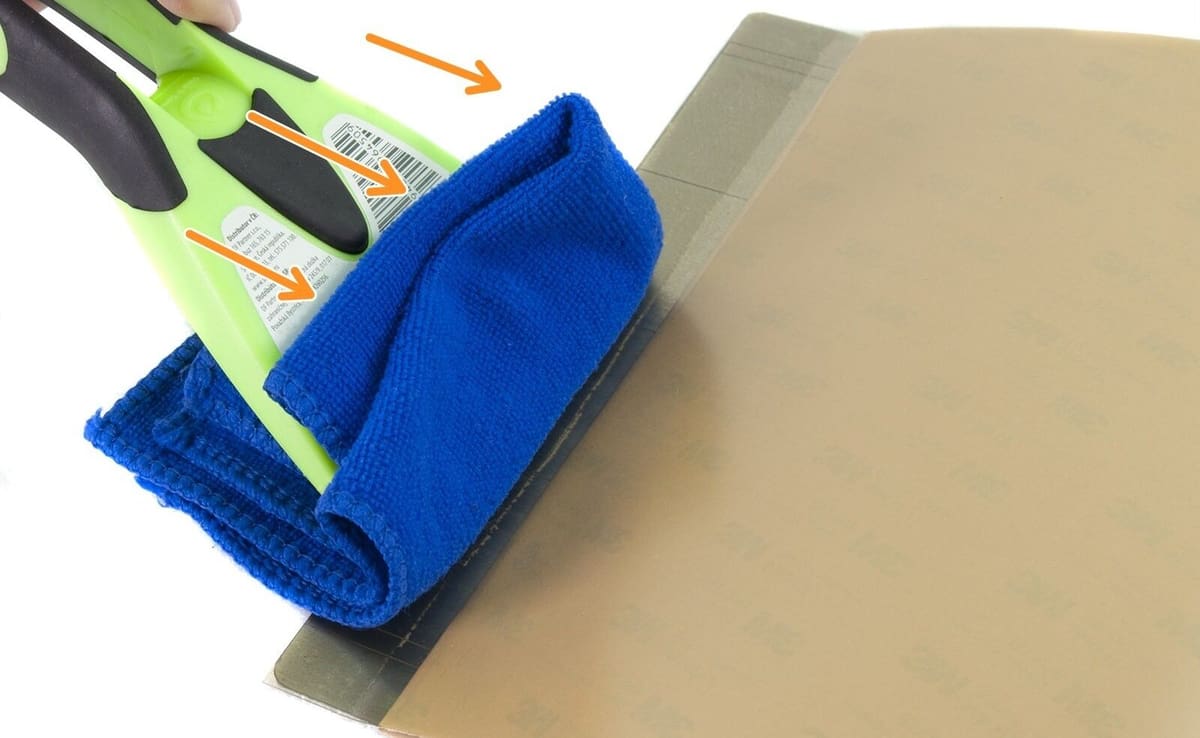
To apply an adhesive PEI film to a build surface, begin by peeling back one edge of the protective sheet (as you would a sticker or bandage), but not all the way! Align this exposed adhesive edge with the clean build plate. Be sure to take it steady and apply small portions at a time, starting along one edge and moving across the bed.
Once the entire sheet is mounted to the platform, ensure no bubbles or lumps are showing on the surface. Heat up the build plate to ~60 °C and use a gentle scraper or cloth to smooth everything out until the PEI sheet is as flush with the build surface as possible. Carefully trim away any excess film.
Step 3: Re-leveling
After the PEI sheet is applied, don’t forget to re-level the print bed (that is, if your printer requires manual calibration).
All in all, a PEI sheet is an affordable option that provides exceptional adhesion, but the success of your print will also depend on factors like bed leveling.
License: The text of "PEI Sheet (3D Printing): How to Use It on Your Print Bed" by All3DP is licensed under a Creative Commons Attribution 4.0 International License.
CERTAIN CONTENT THAT APPEARS ON THIS SITE COMES FROM AMAZON. THIS CONTENT IS PROVIDED ‘AS IS’ AND IS SUBJECT TO CHANGE OR REMOVAL AT ANY TIME.