Painting 3D Printed Miniatures: How to Paint Figures

Painting 3D printed miniatures creates amazing custom pieces. Check out all you need to know to prime, paint, and perfect your figures!
3D printing has given game lovers the freedom to create custom miniatures right in their own homes or studios. Be it Dungeons and Dragons or Warhammer, the creativity that goes into bringing your own figures to life adds a whole new aspect to RPGs.
So if you’ve already picked out the perfect printer to forge your designs and printed the model(s) that will be joining your army, it’s time to give the miniatures some character. Painting these small figures can be daunting, as there are many techniques that are best mastered through time and practice.
In this article, we’ll lay out all you need to know to get started with painting your own 3D printed miniatures. This includes not only the necessary supplies but also some of the main techniques used to create various effects and finishes that can take your miniature to the next level.
Necessary Items
The key to miniature painting is having the right tools to make the process easier and produce the best possible results.
Brushes
Paintbrushes are obviously required for painting miniatures, but not just any brush is suitable. Brushes need to be the right size for the job. For example, you’ll need small brushes for details like eyes and bigger brushes to cover larger areas like cloaks. For most miniature painting, a round brush any size from No. 1 to No. 4 is recommended.
Since a brush is the most important tool for good-looking miniatures, the brushes you’ll use the most should be of high quality. A Sable Kolinsky brush is a popular choice among miniature painters because they have natural hair bristles, resulting in better brush control.
You can save some money by opting for cheaper brushes outside of the No. 1 to No. 4 size range, as you may only need to use it for a few details here and there. There’s a wide variety of synthetic bristle brushes that can be used for various applications without the worry of ruining them.
Paint
Paint quality affects the quality of a miniature’s finish, too, and should be carefully considered. Good quality paints are easier to use; they cover well, have vibrant pigments, and adhere to primed materials. They will, of course, be more expensive than typical craft paint but can save you a lot of headaches, especially for beginners.
Vallejo is known for having a wide range of colors with great properties at a relatively good price (compared to other hobby paints). Their paints also come in convenient bottles.
Citadel by Games Workshop also has many good paint options and, being from the same company that makes Warhammer, is worth considering by anyone painting 3D printed miniatures for Warhammer. However, Citadel paint is one of the most pricey hobby paints available.
When picking out paint for your first 3D printed miniature, it’s best to choose only a few paints. Many miniature painters on the internet will use dozens of colors for a single mini, but that can be quite pricey and unnecessary for beginners. It’s good to keep in mind that paints can be mixed to make new colors and paint sets that have all of the basic colors and can be found for a decent price. There are also special paints like contrast paint and washes that provide an easier way to add definition to a miniature.
Accessories

Another tool that’s vital, but not necessarily as apparent, is the paint container. Wet palettes are popular among miniature painters due to the fact that they make mixing paint easier, slow the drying process so that paint can be used longer, and automatically thin paint (more on that later). Wet palettes can be bought or made cheaply with materials at home.
Dry palettes are perhaps more common and can be as simple as a plate or paper towel, so this is also a great option for beginners. A water vessel is necessary for painting as well. It’s simply something that can hold water for cleaning brushes, like a cup or mug.
There are other 3D printable tools that can make the painting process much easier. Model handles are not required for miniature painting, but it gives the painter more control, and a turntable makes priming cleaner and simpler.
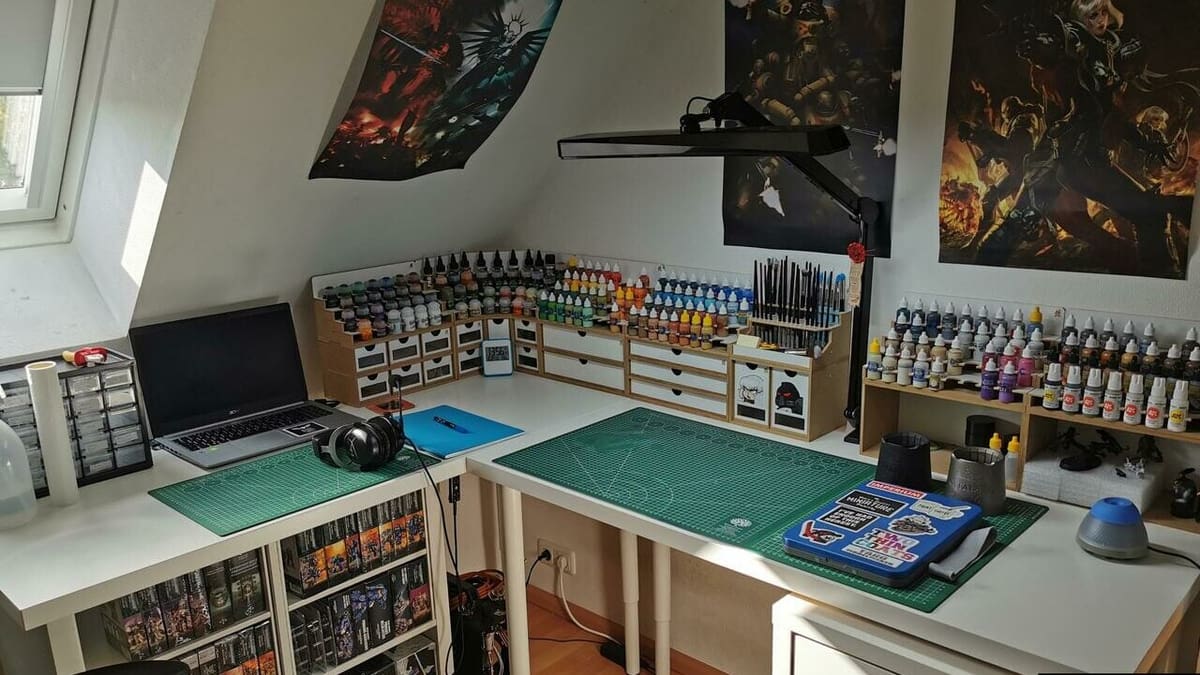
Protective Gear
Painting can be quite a messy process so using the proper gear can make clean-up easier. Some hobbyists like to use gloves to keep paint off of their hands, which can prove quite useful for steps like priming that have large off-spray. Few beginners will already have a dedicated hobby space, so a mat or tray is recommended to keep your work surface clean.
Another way to keep the mess minimal is to wear clothes that can get dirty without causing problems! If you’re working with sprays, you’ll also need goggles, a mask, and a well-ventilated area.
Pre-Painting
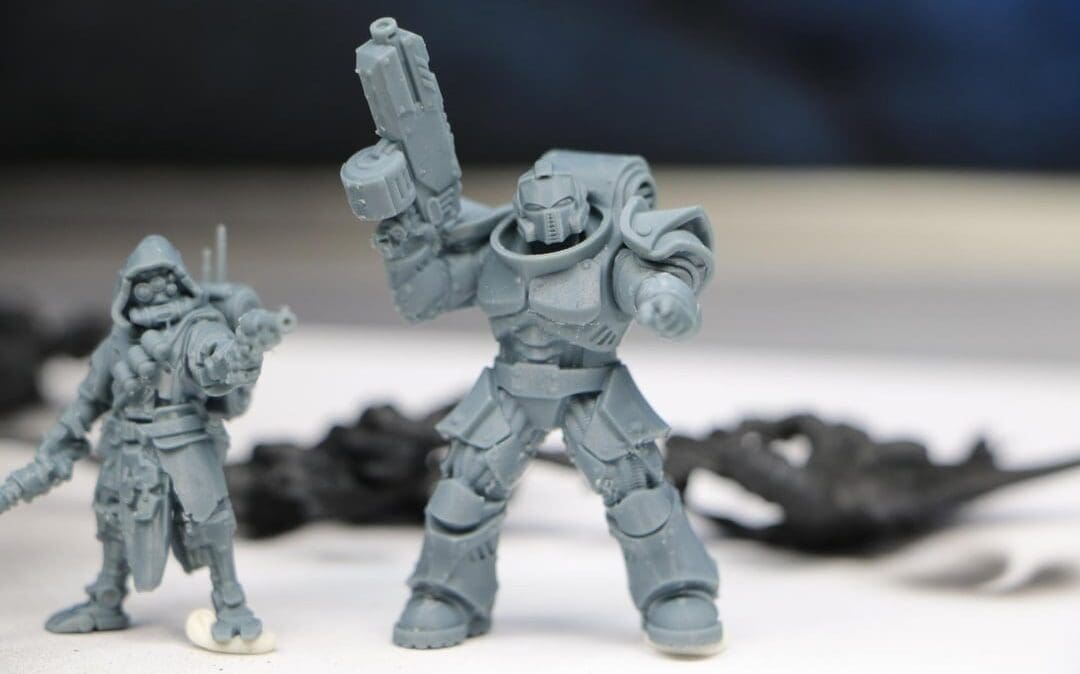
Before painting, a 3D printed mini must be prepared so that there’s a clean, smooth surface to paint on.
First, supports should be carefully removed with pliers. This is likely to leave artifacts where the supports touched the model; these artifacts need to be sanded smooth or else they’ll be visible through the paint. A hobby knife is a great tool for cleaning up smaller artifacts no matter if the parts are from resin or FDM printing. The key is to point the blade adjacent to the surface and gently scrape off any unwanted protrusions. If you run into gaps or have multi-part prints that need to be glued together, filler material like epoxy putty or plastic cement will help ensure a smooth surface.
If you’re working with FDM, you may have other artifacts that need addressing like layer lines that should be smoothed or sanded so that they don’t catch the paintbrush. ABS prints can be smoothed with acetone vapor baths, though this process can melt fine detail. PLA is a better filament choice because of its printability. Also, it can be smoothed with several different methods, including some gentle, controlled heat.
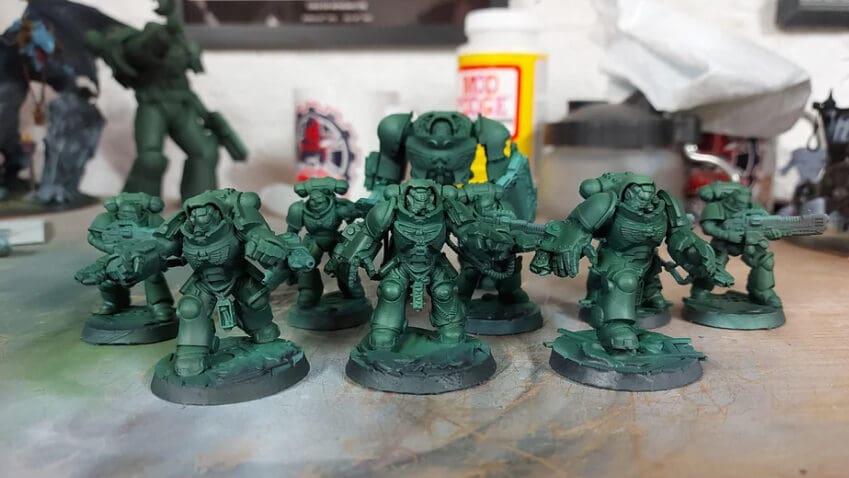
Priming is the next step. Having a primed surface simplifies painting, as it keeps paint adhered and can also help fill gaps in 3D prints. FDM miniatures benefit specifically from this. Using a thicker primer like Rust-Oleum Primer can aid in filling layer lines. On the other hand, thinner primers, such as those made by Vallejo, are the choice for resin prints so that fine detail isn’t lost. In terms of color, black provides a good canvas that’s more forgiving. If a crevice on a miniature cannot be reached with a paintbrush, it’ll simply appear like a shadow.
Painting
And now for the fun part! As stated before, there are many methods for painting 3D printed miniatures, so we’ll cover the most essential. Acrylic paint is the best kind of paint to use for these steps. They’re most common and mix with each other. Contrast paint and washes can also be used for some steps, but please note that they don’t mix as well.
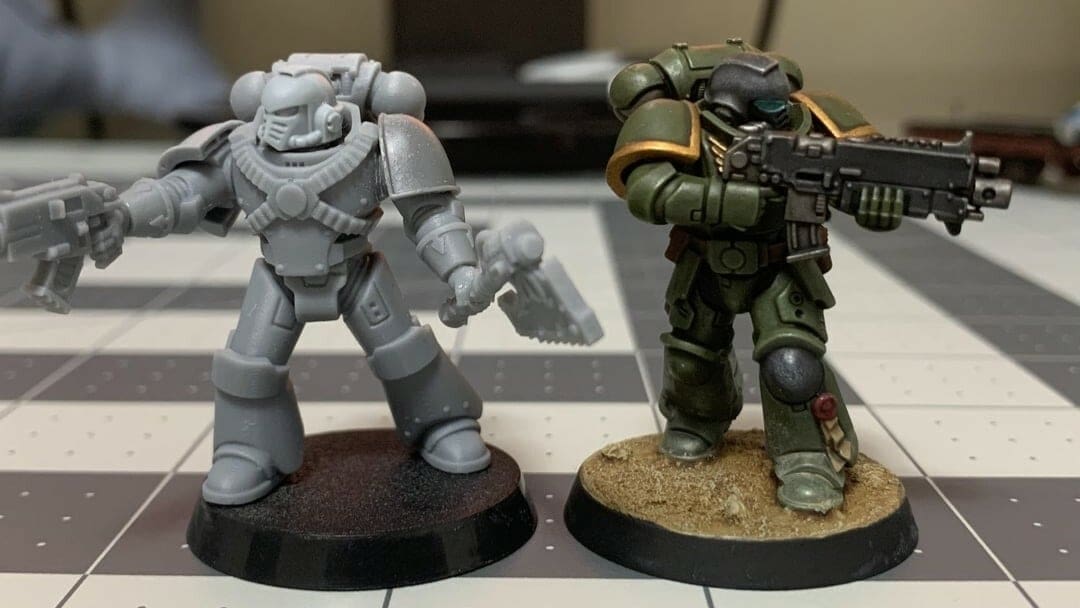
Base Coat
A miniature should start off with a base coat. Overall, this process can be trickier with FDM printed miniatures, as the paint will tend to gather in layer lines that weren’t completely smoothed and therefore will require more layers.
Base coating is painting the main sections or elements of the model with their base colors. The paint should be thinned down with the use of a wet palette or combined with a bit of water so that layers aren’t too thick (although the consistency shouldn’t change dramatically).
A large synthetic brush is best for base coating, which may take multiple layers so that an even coat of paint is achieved. The first coat will look splotchy at first, but it’ll increase in opacity with added layers. It’s important to not add paint onto a wet layer so make sure to allow each layer to fully dry before adding another coat.
While base coating, you should carefully consider the order of both the areas and the colors that need to be painted. You should start with hard-to-reach areas. If some of the paint from these areas accidentally extends into other parts of the model, they can be more easily covered. You should also be careful when applying darker colors, since they’re harder to cover up. Other colors that can cause issues are red, yellow, and white because they don’t cover well and require more layers (and more time) to be fully opaque.
While painting, be sure to thoroughly clean brushes when transitioning from one color to another. A brush is cleaned by dipping it in water and wiping the excess on a paper towel until there’s no more pigment in the brush.
Details
After the base coat is complete, details can be added to the miniature, including highlights and textures. This is when that nicer brush comes in. When adding details to the model, spend the most time on the focal point. This could be skin, armor, fur, or cloaks – whatever you want to look interesting. Spend less time on unimportant parts like bags or the back of the model.
There are several different approaches to highlighting.
Dry Brushing
For this method, a large, old brush should be used because the process can be quite rough on them. Dry brushing is done by adding paint to the brush but then wiping most of it off (hence the “dry”). The miniature is then brushed lightly and quickly. Dry brushing catches edges or raised surfaces of a model and adds a nice rough texture.
Washes
Washes are a kind of thin paint that’s applied to large surfaces of a miniature to seep into the crevices as a way of shading. It’s an easy method used by many beginners. When adding a wash, just remember to use a cheaper brush, since washes also seep into the brush and cause issues.
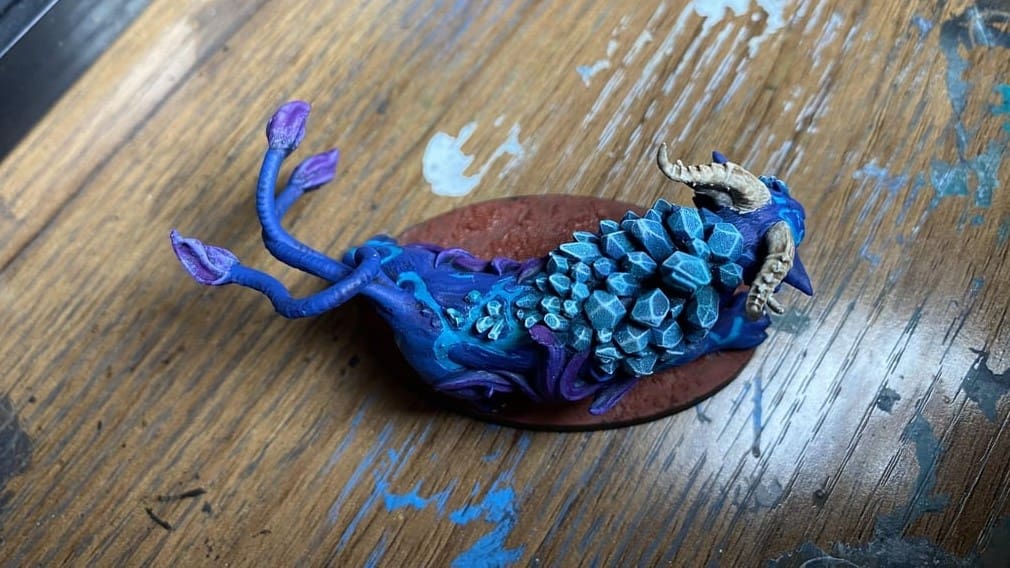
Layering
Layering is a process that involves adding progressively lighter tones of a color onto raised surfaces to give the appearance of volume. This results in some of the most realistic-looking miniatures but can take some practice to get good at.
Edge Highlighting
Edge highlighting is done with light tones as well, though only on the edges of elements on a miniature. Using the side of a small brush, edge highlight is done by carefully painting along these parts. This technique is really good for making the details more pronounced, but it requires a lot of precision to do well.
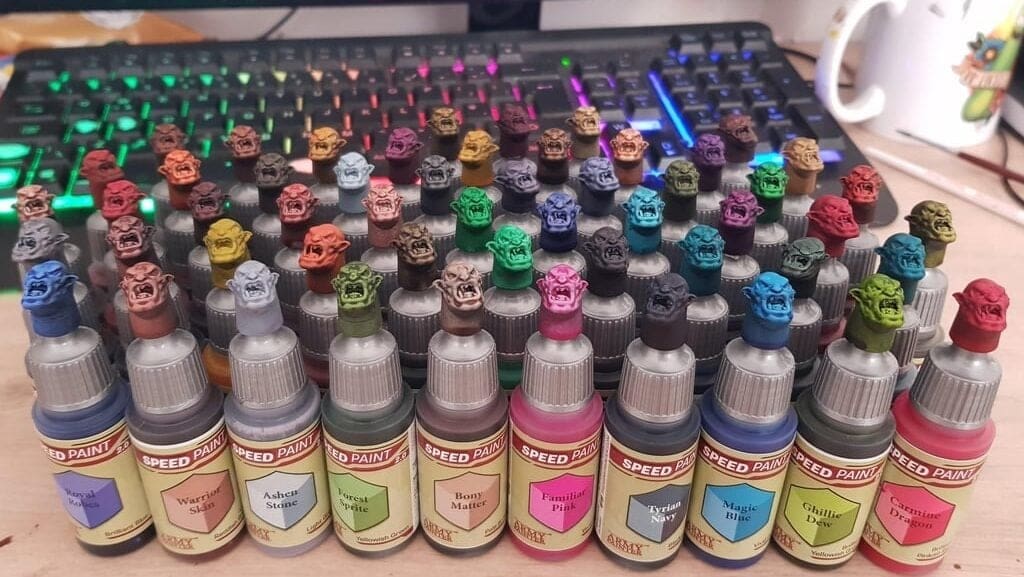
Contrast Paints
Contrast paints can be used instead of a base coat. Similar to washes, they’ll gather paint in crevices, making raised surfaces lighter. This can be done in conjunction with other highlighting methods. A cheap brush should be used since contrast paints will ruin nice brushes. If you should go down this route, keep in mind that dark tones are even harder to cover up with contrast paints.
Even though adding details isn’t needed to finish a paint job, it improves the look of the miniature. More details will take more time, so it’s entirely up to the artist to what degree they want to employ these techniques.
Post-Painting

After painting, there are some steps to complete a painted 3D printed miniature, such as varnishing and basing.
Varnish protects miniatures from damage, so it’s not needed for display miniatures, especially since varnish can change the finish of a display piece. There are some special circumstances where varnish is absolutely necessary, such as when different kinds of paint are used on the same miniature. Layers of ink or oil paint need to be covered before another layer is added, though this is uncommon for beginners.
Many miniatures – especially for tabletop gaming purposes – need a base as well, and this is where some special elements can be added, some of which can be 3D printed. Basing bits are little details that elevate a base and can be made with special materials like glow-in-the-dark filament or transparent resin to create cool effects. There are also products on the market like grass tufts or textured paint that can be bought for basing.
These steps, with proper time, practice, and care can result in a well-painted 3D printed miniature that can be used for RPGs or wargames.
License: The text of "Painting 3D Printed Miniatures: How to Paint Figures" by All3DP is licensed under a Creative Commons Attribution 4.0 International License.