Paint 3D & Texture: How to Add Textures to 3D Models

When designing in Paint 3D, textures can add realistic detail to a 3D model. Learn how to add texture to 3D models in Paint 3D!
Released by Microsoft in 2016, Paint 3D is one of the most popular platforms for basic graphic design purposes, like creating a drawing or 3D scene. Paint 3D is freely available from the Microsoft Store and is pre-installed on modern Windows devices, making it a convenient platform for quick designs.
The platform is equipped with a range of brushes, 3D shapes, effects, and other tools that enable you to make complex 3D scenes. In spite of its impressive array of free tools, it’s generally considered a beginner-level program due to its lack of more advanced features like animation.
Despite this, Paint 3D does have a few more advanced capabilities, and one of the most popular is texturing. Textures are applied to the surface of a 3D model to change how the model looks and reflects light, but not its shape or structure. Adding a texture to a 3D model is a great way to change the appearance of your 3D model or make the object look more complex than its true solid design.
Texturing 3D models can get pretty complicated when you get into concepts like texture mapping, but Paint 3D treats textures as stickers that are only applied to the surface of a model, making the process very easy. While you’ll be able to add basic 3D textures to objects, this means you won’t have the ability to align a texture with a UV map or perform other more complex processes.
In this article, we’ll go over how you can add a texture to a 3D model in Paint 3D, the texture properties that you can adjust, and how to use custom textures.

Stickers & Textures
In Paint 3D, textures are basic 2D images that wrap around a 3D model to change its appearance. Textures are treated just like stickers, which makes sense because both change a model’s appearance without altering its shape or structure. Both textures and stickers are available in the “Stickers” section of Paint 3D’s tools.
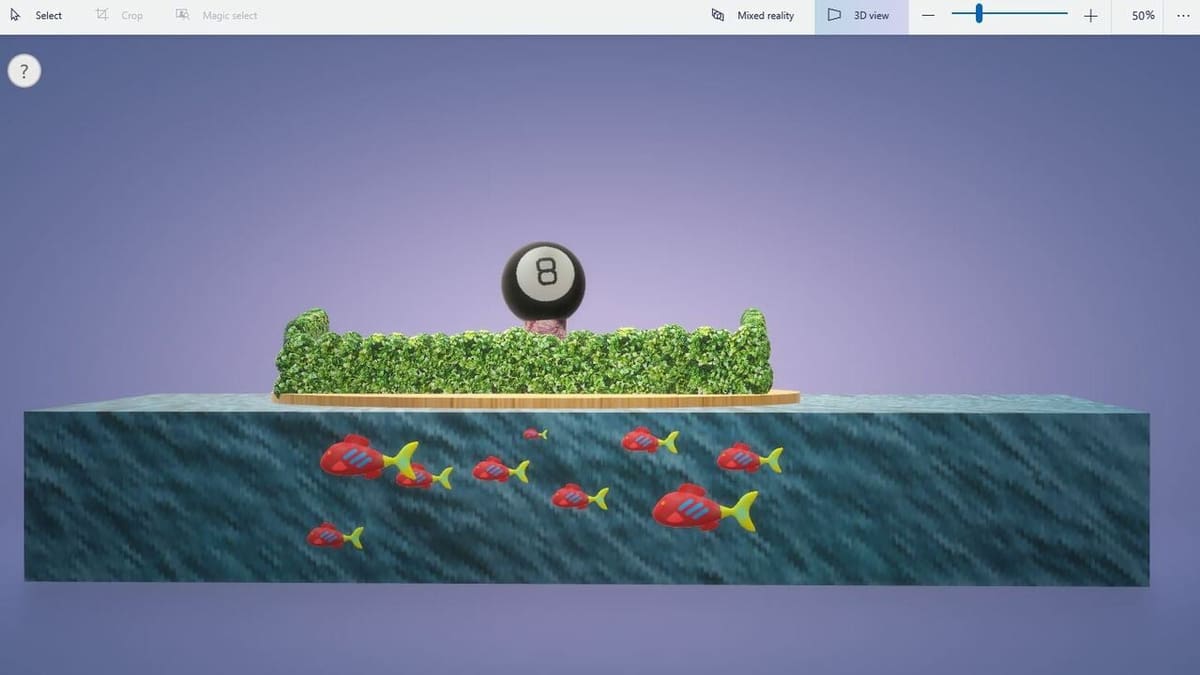
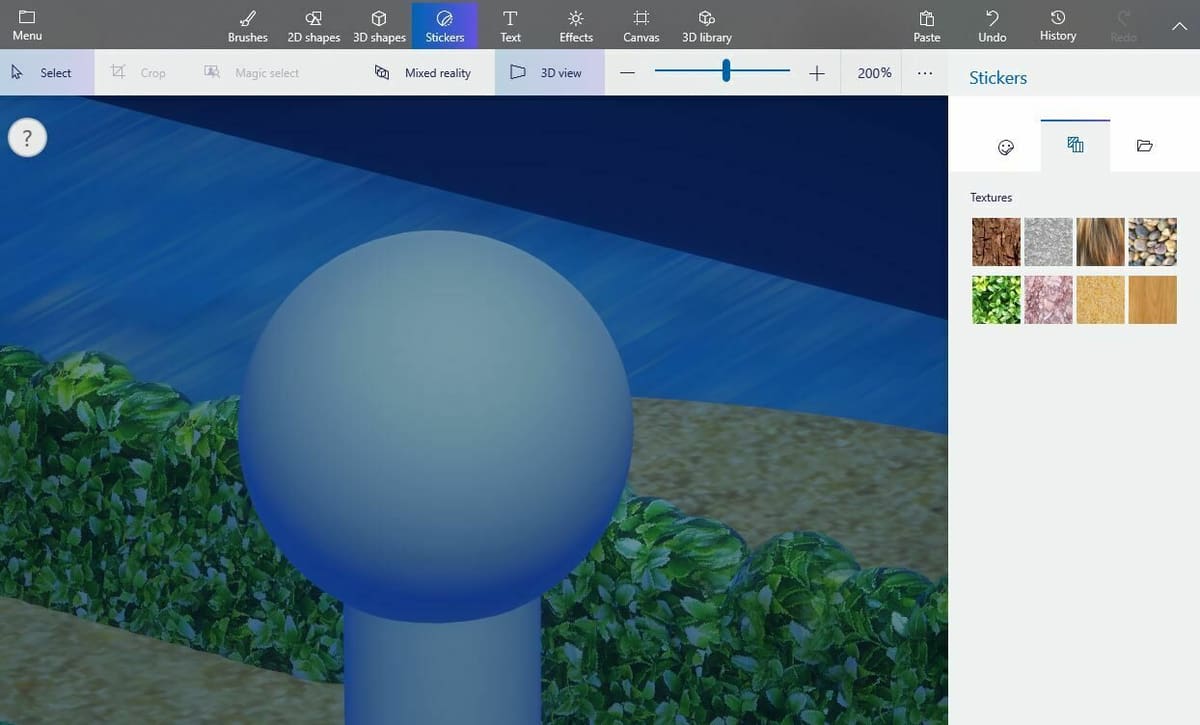
In the “Textures” tab of the “Stickers” menu, you’ll see Paint 3D’s eight default textures: Bark, Concrete, Fur, Gravel, Hedge, Marble, Sand, and Wood. You can also switch to the smiley-face icon to see the stock stickers, including several different eye stickers and some other fun designs.
To apply a default texture to a 3D model, the process is simple and you can follow the steps below.
- In Paint 3D, create or import the 3D model that you want to apply a texture to.
- Click the “3D view” button at the top of the screen so you can access all sides of your model.
- Click the “Stickers” menu and go to the “Textures” tab.
- Click on the texture that you want to apply, and then click on the object you want to texture. Paint 3D only allows you to texture one model at a time, so you’ll have to repeat the process to texture multiple models.

- Adjust the size of your texture to fit your object. Note that you’ll lose texture image quality the more you expand the texture dimensions, so it’s better to place the texture multiple times (see next step) to conserve texture image quality.
- Select the stamp icon to the left side of the texture image to apply one instance of the texture.
- Use your mouse to navigate around your 3D model and move the texture around to cover your object. Continue to click the stamp icon until you’ve completely covered your 3D model with the texture.
- If you’ve accidentally clicked out of the texture placement, don’t worry! You can keep going from where you left off by re-selecting the texture. When you’re finished, click the checkmark icon on the right side of the texture image to finish texturing your model.
And that’s it, you’ve successfully applied a texture to a 3D model in Paint 3D! Continue reading to learn more ways to texture 3D models.
Properties

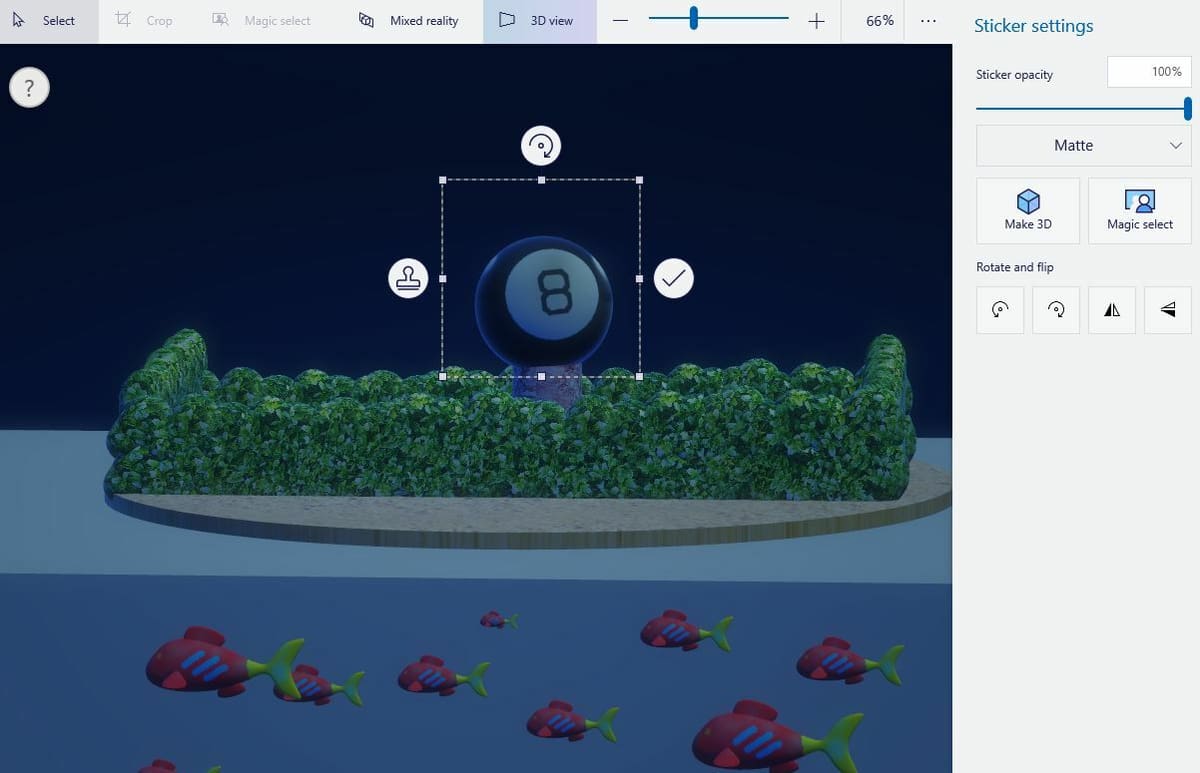
While it’s very easy to add a basic texture to a 3D model, you can further adjust your model’s appearance using the texture properties. You can find these texture settings in the right-hand-side texture menu that appears while you’re applying textures to a 3D model.
The first texture setting you can change is the top-most option titled “Sticker opacity”. This setting controls how opaque your texture is around your model. As such, the lower this percentage, the more transparent your model will be, making the texture less visible on the object and showing more of the surface color underneath.
Below the sticker opacity setting are the options for your texture’s surface appearance, which further affect appearance and control how light is reflected off your model. There are four pretty self-explanatory options, including Matte (the default), Gloss, Dull metal, and Polished metal. If you want your model to look shiny, try Gloss, but for a more rustic feel, try one of the latter two options.
Lastly, the “Make 3D” button isn’t really a texture property, but it controls how a texture is handled on the Paint 3D canvas. Clicking this button for a texture will make your selected texture a surface in a 3D space that can stand alone, rather than have to attach to another 3D model. You might want to use this feature if you want a body-less surface appearance rather than to apply the texture to an object.
Custom Textures

While Paint 3D’s eight default textures are great, most users want to opt for other patterns or images for their textures. The simplest way to do this is to add an image file to be used as a sticker, and you can download textures for this purpose that can be added to Paint 3D using the “Add sticker” button. In fact, the “Make sticker” button will appear for any 2D image pasted into Paint 3D, even screenshots, so the possibilities are endless!
Once you do this, you can access your new textures in the “Custom stickers” portion of the “Stickers” menu for the duration of your session. Just remember that if you start a new design, you’ll need to re-add any custom stickers. But, you can also use Paint 3D to create original textures using the “Magic select” tool.
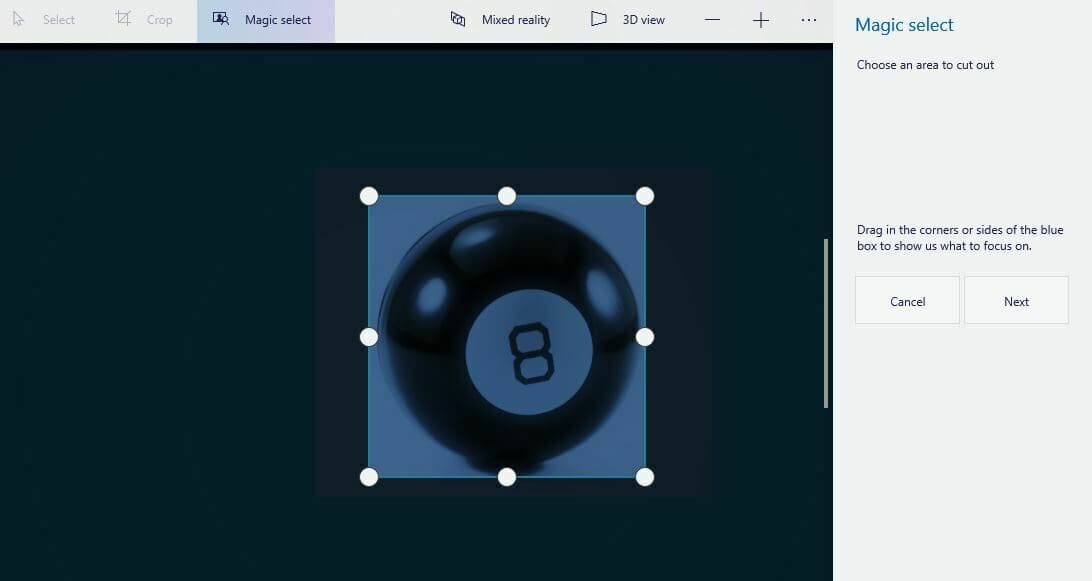
The Magic select tool can automatically isolate a specific feature from an imported image. This means, for example, that you could take a photo of your garden, and then isolate a section of lawn to be applied as a texture to any other object.
Below, we’ve gone over how you can use the Magic select tool to extract an area from an image and use it as a texture:
- Open Paint 3D and import the image that you wish to take a texture from.
- Click on the “Magic select” tool located at the top-left of the window.
- Adjust the focus area around the portion of the image that you want to isolate and extract, and click “Next”.
- Use the “Add” and “Remove” brushes to adjust the area isolated by Paint 3D, then click “Done”.
- Select “Make sticker”.
- Apply the sticker to a 3D model using the steps outlined above.
Don’t forget that you can also adjust the texture properties for custom image textures just as you can with the default options! You can also use the tools in the “Brushes” section to perfect your textured model in case your texture doesn’t come out perfect.
License: The text of "Paint 3D & Texture: How to Add Textures to 3D Models" by All3DP is licensed under a Creative Commons Attribution 4.0 International License.