OctoPrint & Windows: How to Get Started

Many rave about OctoPrint. Windows, however, isn't the typical platform for it. Read on to learn about running OctoPrint with Windows!
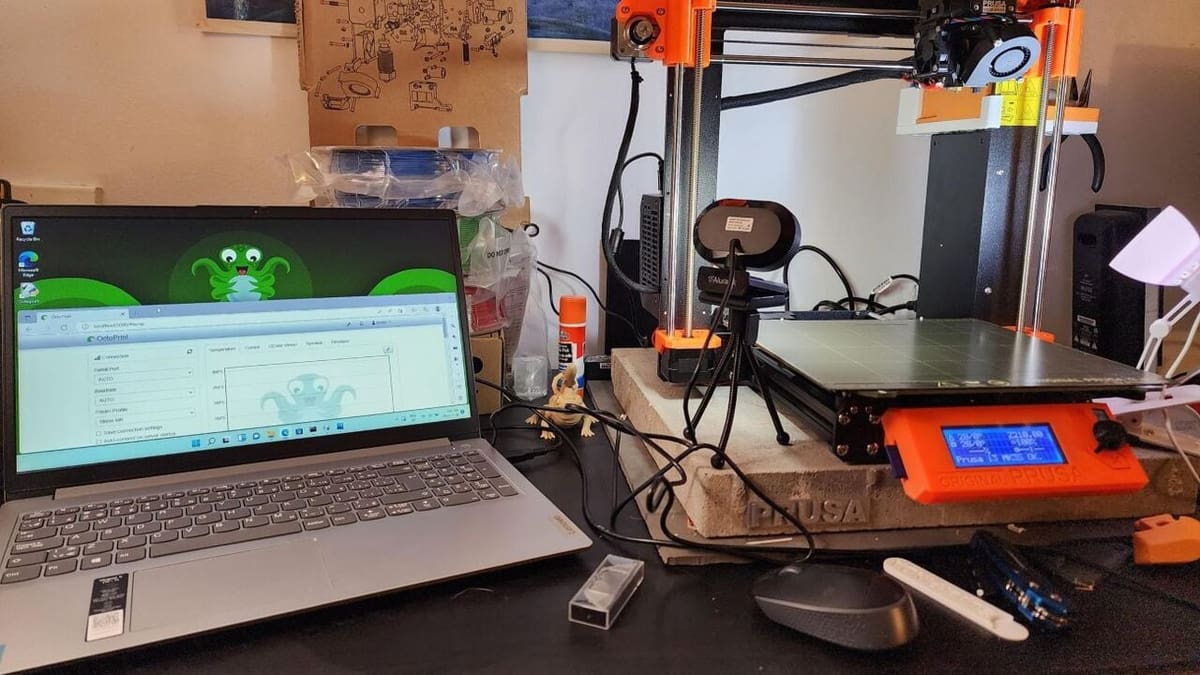
OctoPrint is a popular and user-friendly tool used to remotely control 3D printers and perform various other manual or autonomous tasks. These include queuing up jobs, tuning settings, and taking time-lapses of your prints, alongside the functionalities offered by a wide range of plug-ins that make printing even more convenient.
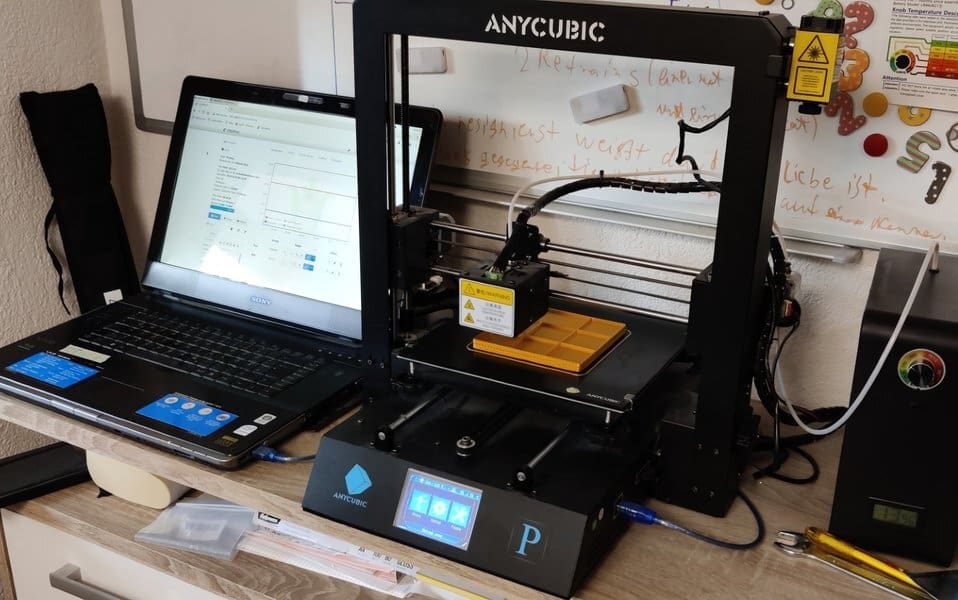
Due to OctoPrint’s resource-heavy nature, many makers use a Raspberry Pi, Orange Pi, or other single-board computer (SBC) to run it. However, most Windows-running computers can also run OctoPrint. This is where the convenience of installing OctoPrint on a Windows machine comes in – any old desktop one can be used, helping both the environment and your wallet!
Although OctoPrint is very effective, alternative tools exist that provide a remote frontend for your 3D printer, such as Mainsail and Fluidd. These packages can be used to provide a sleek and modern user-interface for printers running Klipper firmware. However, they lack plug-in functionality, which could be somewhat limiting if you wish to develop your own modifications or customize the interface extensively. Additionally, services such as PrusaConnect and PrusaLink can be used to achieve this same kind of remote printing with most Prusa printers.
Because of its compatibility, customizability, and ease of use, OctoPrint is a great choice for your 3D printing setup. No matter your reasons, we’ll talk you through important considerations with regard to installing OctoPrint in Windows, what you’ll need, as well as resources and guides you should reference while you work your way through the installation process.

What You Should Know
OctoPrint has become much more user-friendly and accessible over the past few years, as well as much easier to install, thanks to significant contributions from the community.
To access the 3D printer’s web-portal, one only needs to search “octopi.local” on the browser of a device connected to the same network as the computer running OctoPrint, and from there, can edit the dashboard however they wish.
Unlike the Linux installation method, OctoPrint runs in Windows as an administrator. While this doesn’t have a direct implication on steps for the installation process, it does introduce a security risk element to your Windows computer or server. It’s important to note that Windows 10 users will need to disable system power management (sleeping or hibernating) and disable automatic restarting with Windows updates (which could potentially restart your PC during a print).
Lastly, while this method may be more efficient if you have an existing Windows hardware setup, be sure to factor in the extra cost of electricity your hardware setup will require in comparison with a more efficient device like a Raspberry Pi.
What You'll Need
OctoPrint has rather low system requirements, unlike most modern pieces of software. It can run on many single-board computers, such as the Raspberry Pi 3B, 4, Orange Pi 4, and 5. Keep in mind that, at time of writing, the Raspberry Pi 5 isn’t supported.
By extension, OctoPrint can run on most Windows computers with more than 8 GB of storage, and although there are no officially recommended CPU benchmarks, some users say that more than 2 cores, at 1.2 GHz each, are recommended for a smooth experience.
It also requires at least 1 GB of RAM, which most Windows devices have. Furthermore, you need to have a 64-bit OS installed, in order to use the installer detailed below.
In order to use the installer and follow the steps listed below, your computer must also be running Windows 10 or newer. However, if your operating system (OS) is older than this, you can still follow the alternative instructions linked below. As OctoPrint on Windows requires the Windows 10 SDK, it’s only compatible with Windows 7, 8, 10, or 11.
How to Install It
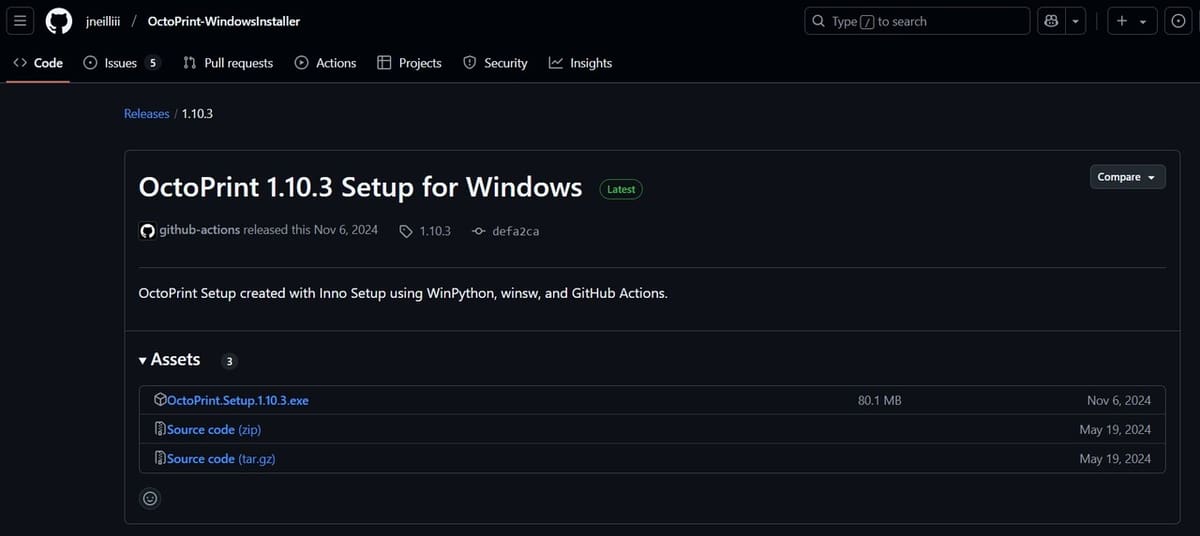
If using a 64-bit Windows device, you can follow the instructions:
- Find the release on GitHub, with the green “Latest” tag.
- Install the setup executable file.
- Once installed, double-click to run it and press “more info”, followed by “Run”.
- Allow it to make changes to your device.
- Continue through with all of the default settings (unless this is the second instance of OctoPrint you are installing, in which case you should enter a port that is not currently in use).
- Continue to installation.
- Tick the box to open OctoPrint upon installation.
- Continue through the on-screen setup process, plugging in your printer’s specifications when necessary.
- Open “octopi.local” on your computer’s web browser to view OctoPrint’s web interface.
- You can now print sliced files!
Alternatively, if you have a 32-bit machine or a Windows OS prior to Windows 10, you can download OctoPrint from the command line using Python. Instructions for this can be found here.
If you run into a problem when trying to connect to the OctoPrint homepage from another computer, try disabling your Windows computer’s (the one running OctoPrint) firewalls, then allowing the Windows Defender notification that pops up when you access the homepage. You can then re-enable firewalls and it should be accessible from other devices.
What's Next?
Now that you’ve installed OctoPrint, you can enjoy remote hassle-free 3D printing!
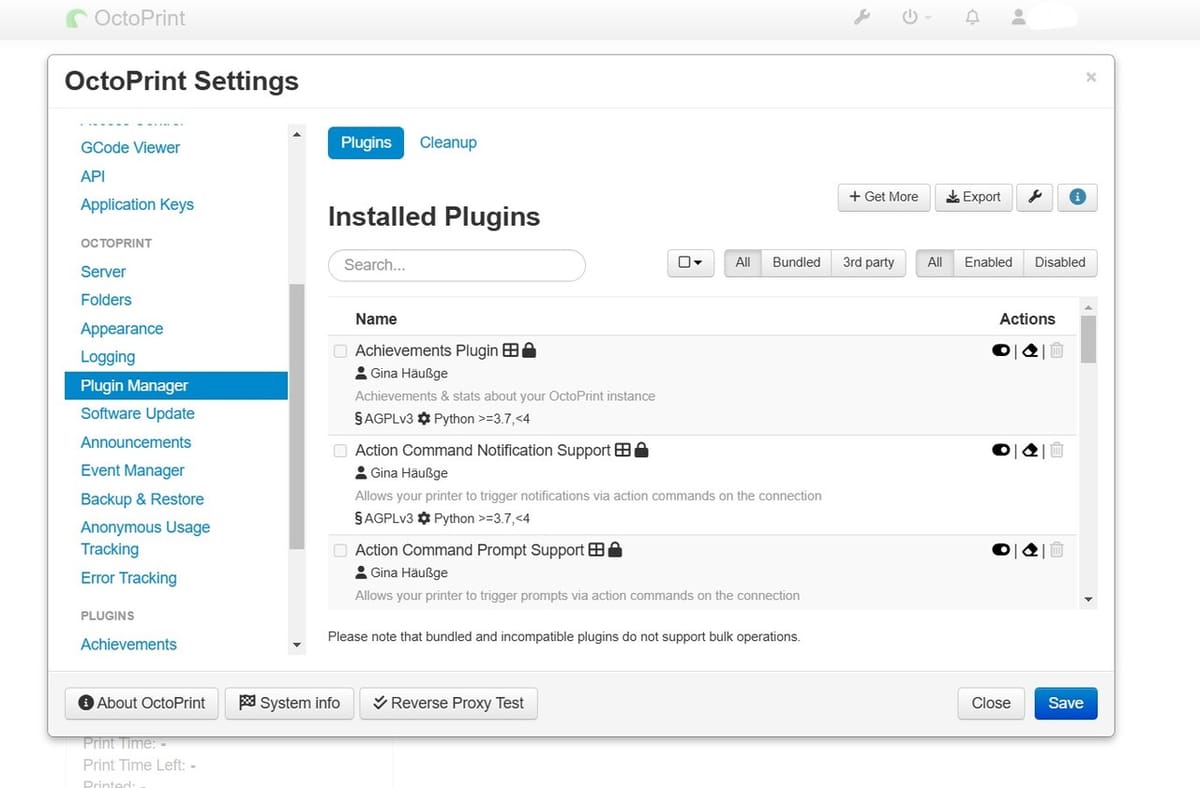
Should you want to upgrade your printing experience even further, there are a number of steps you can take to do so. Namely, the plug-ins available for OctoPrint can help massively in improving your experience. Some examples of this include UI Customizer, which provides a variety of themes and widgets to make navigating the UI more pleasant, and Print Time Genius, to get more accurate print-time estimates!
Plug-ins can be easily installed via the plug-in manager, available as a part of the OctoPrint web interface. With the press of a single button, any of the plug-ins available on the OctoPrint online catalog can be installed. They can also be installed via the command line if needed.
Setting up a camera can also be an incredibly helpful addition to a 3D printer, as it can provide time-lapse functionality via Timelapse+ and print-failure detection.
Should you want to upgrade your OctoPrint setup even further, there are multiple options. For example, the previously mentioned Klipper is a powerful firmware package that can be used with OctoPrint as a web interface. It comes with helpful functionality like input shaping, finer-resolution stepper control, and pressure advance for higher quality and faster prints.
Last but not least, you can even pair OctoPrint with PrusaSlicer! This enables you to upload your sliced G-code files directly to your 3D printer, straight from your slicer. The same can be done with Cura, with a single plug-in.
License: The text of "OctoPrint & Windows: How to Get Started" by All3DP is licensed under a Creative Commons Attribution 4.0 International License.