OctoPrint is free, open-source software that allows you to remotely control and monitor your 3D printer. You need a computing device to run OctoPrint (a Raspberry Pi is the most popular), which sends files right from your browser to your 3D printer. With a host of tools and plug-ins, OctoPrint makes your 3D printing experience and workflow better.
Of the many things you can use OctoPrint for, one feature that stands out is the capability of remotely monitoring your 3D prints via a webcam. OctoPrint supports a wide variety of webcams that connect to your Raspberry Pi, including the standard or high-quality Raspberry Pi cam. There are also lots of other plug-ins in OctoPrint that take advantage of a connected webcam.
In this article, we’ll be looking into all you need to know about connecting a webcam to your OctoPrint setup, including why you’d want to, the process, camera troubleshooting, and tweaking settings.
Benefits
Before we go into how to set up your webcam, let’s look a bit closer at what an OctoPrint-webcam combo can offer.
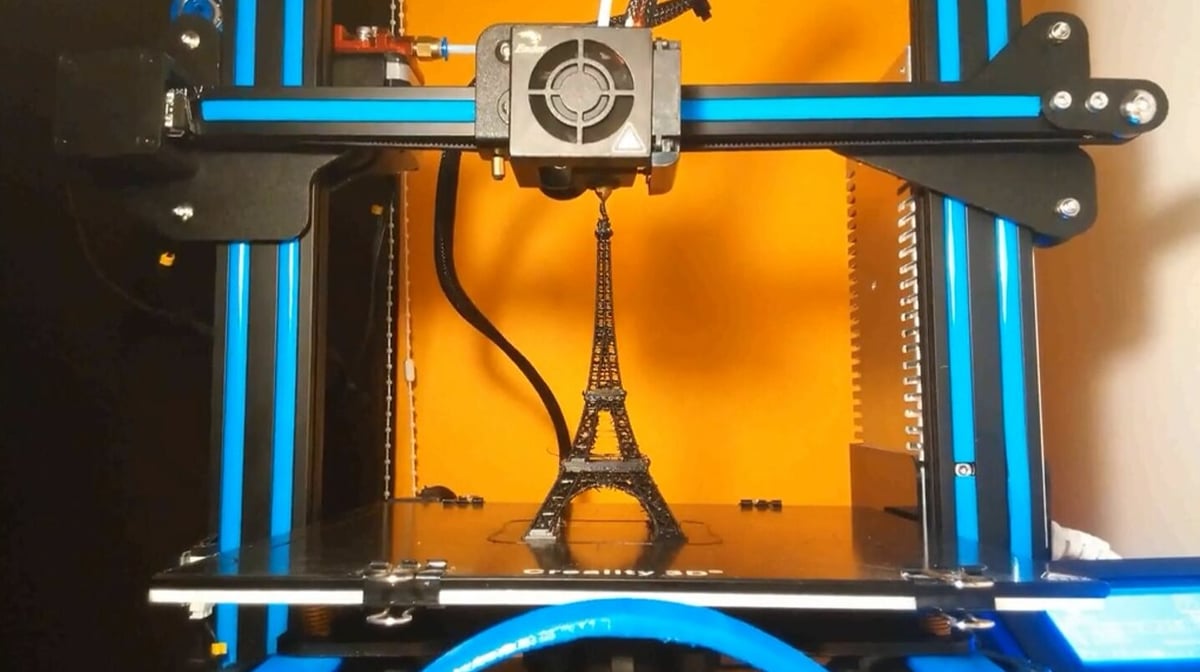
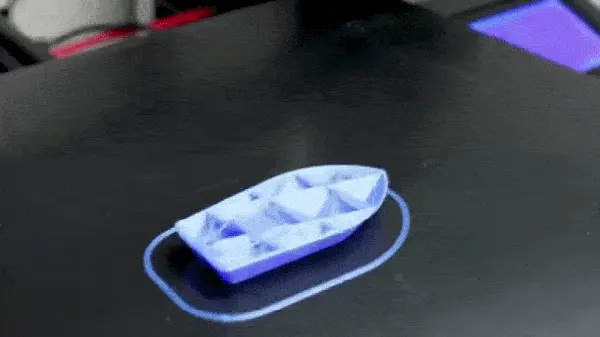
OctoPrint has built-in time-lapse functionality, which includes the possibility to configure if snapshots are taken “On Z change” or after a specified amount of time, and you can set a minimum amount of time between snapshots and specify time-lapse frame rates.
It also allows for adding time to the end of the time-lapse by displaying the last snapshot for longer, although it should be noted that snapshots aren’t stabilized. This means that pictures will be taken when the printer is moving.
On the other hand, if you add a plug-in, you’ll have even more options to play around with. As a refresher, or in case this is the first time you’re reading about them, plug-ins are third-party features that can be added to OctoPrint to improve existing functionality or add completely new features.
To start off, there’s there Octolapse plug-in. This adds settings to control how a time-lapse is filmed and what triggers each snapshot. With this, snapshots are stabilized, given that pictures will be taken when the printer comes to a stop. It also allows you to adjust webcam settings such as brightness, contrast, saturation, sharpness, focus, white balance, zoom, pan, tilt, and more! We’ll get to these later.
Among the other popular plug-ins to enhance your webcam setup, you can find Fullscreen Webcam, which opens the webcam feed into full-screen mode and shows details about the print job, while MultiCam allows you to use more than one webcam on OctoPrint. And Camera Settings does exactly what it sounds like: it allows you to adjust the settings more easily for the webcam or camera connected to your Raspberry Pi.
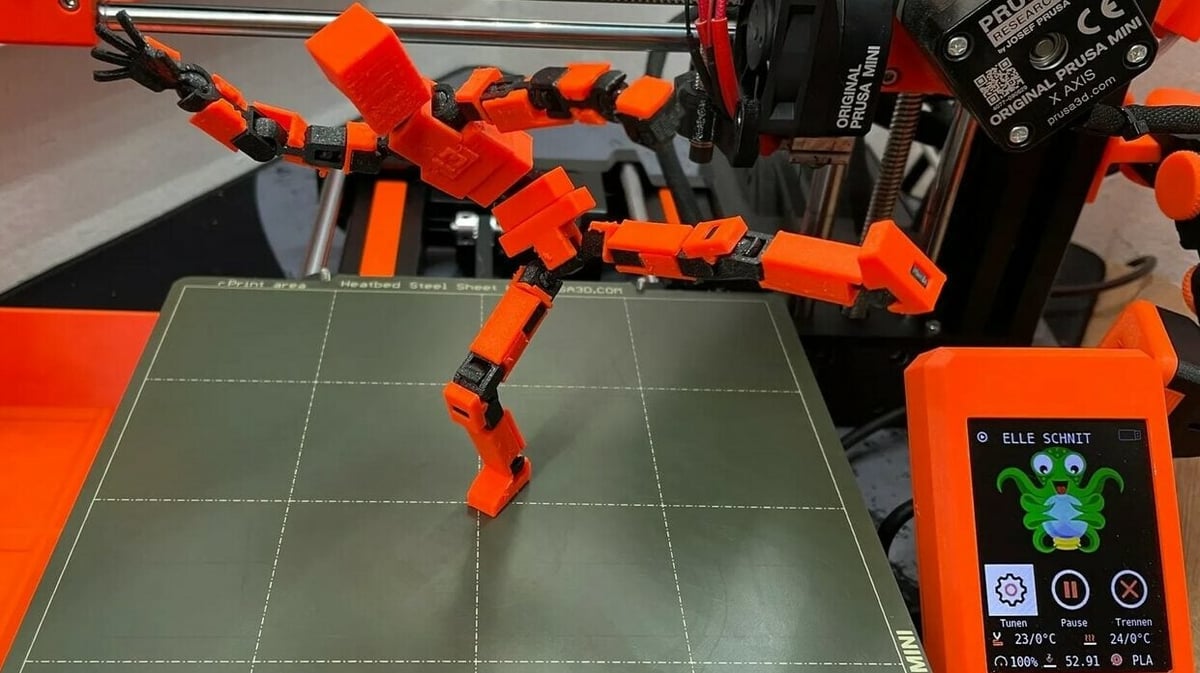
The last, but definitely not the least, noteworthy aspect of an OctoPrint webcam setup is remote monitoring – one of the defining features of OctoPrint. You can monitor the progress and the status of your ongoing 3D print without being glued to your 3D printer. Plug-ins like Obico will even stop a print if it detects that something is wrong.
Now that we’ve gone over a few popular ideas to up your OctoPrint game, let’s see how to get started with a camera.
What You Need
To set up a webcam with OctoPrint, you’ll need the following things:
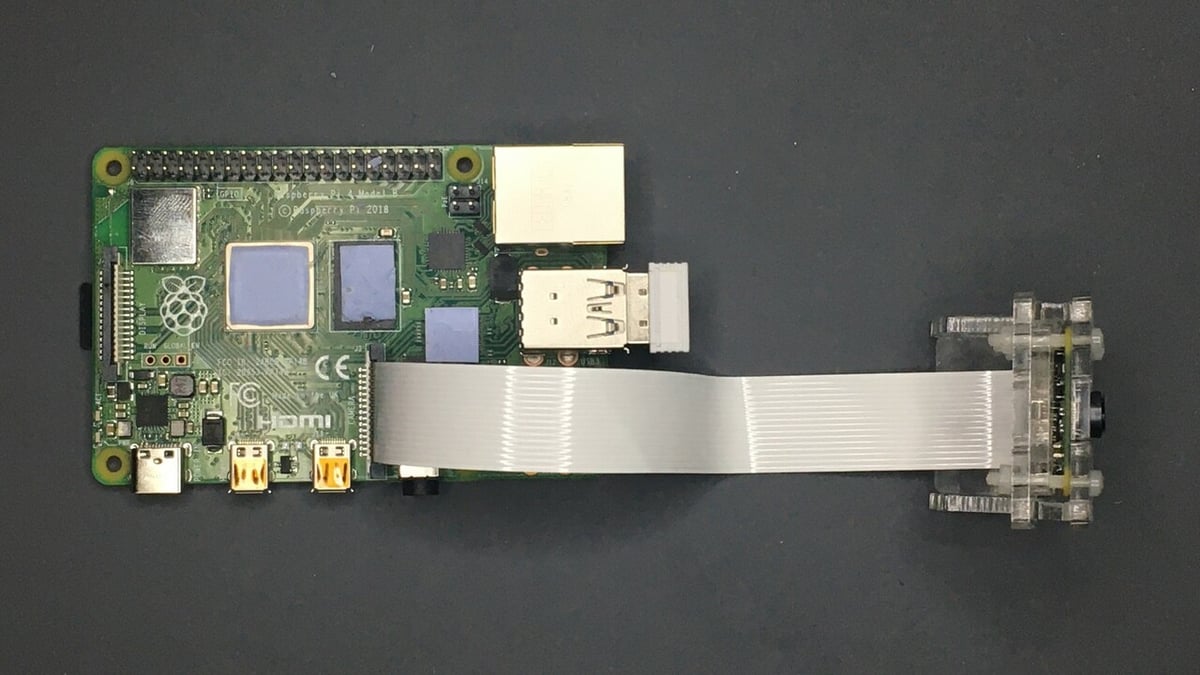
- Raspberry Pi: The Raspberry Pi 4 is the most powerful model, yet while the Pi 3B and 3B+ are slightly less powerful, they all work great with OctoPrint.
- MicroSD card: Depending on how many time-lapses you plan to store, one with at least a 16 GB capacity might be the safest way to go.
- USB webcam: There are plenty of cameras to choose from, but if you already have a webcam you would like to use, check that it’s compatible with OctoPrint.
- Webcam mount: The two best ways to mount your webcam are to purchase a webcam mount or 3D print one. There are lots of 3D models for webcam mounts on Thingiverse and MyMiniFactory.
While not necessary, there are some optional accessories that are good to have.
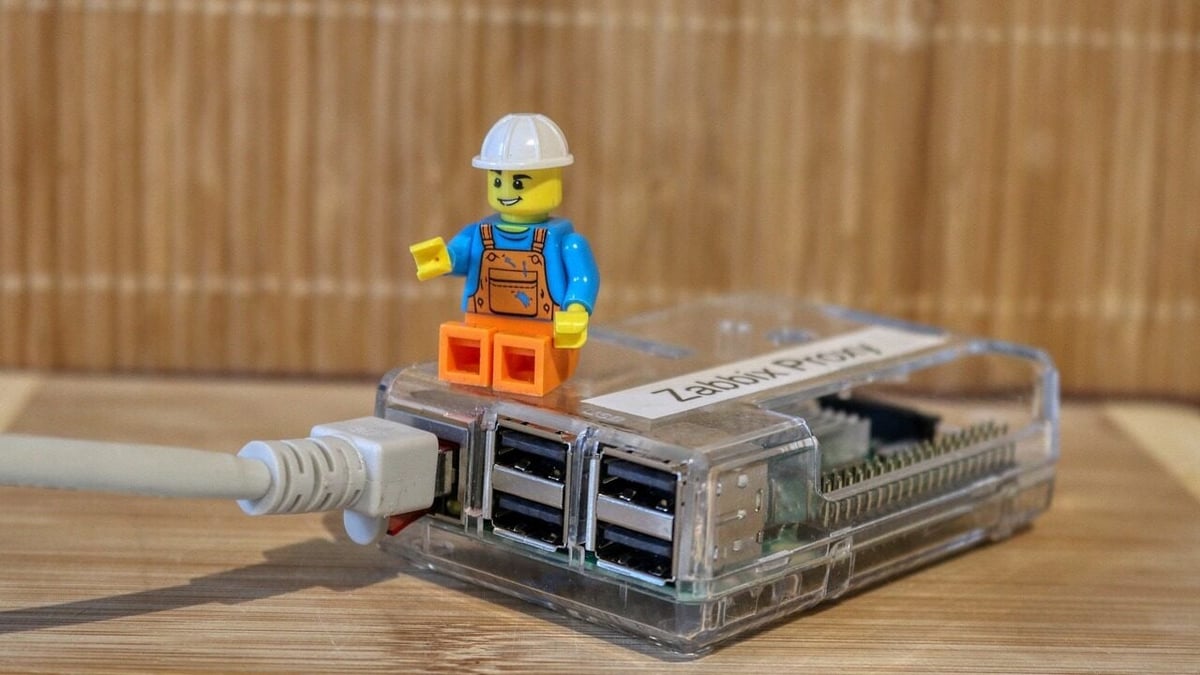
- Raspberry Pi case: A case is a nice thing to have to protect your Raspberry Pi. There are lots of Raspberry Pi cases, just make sure that the one you choose is compatible with your Pi model.
- Fan: A fan can help keep your Raspberry Pi cool, especially during longer prints. Some cases are designed to accommodate a fan.
- Ethernet cable: This can give you a more reliable connection when streaming.
- Lights: Adding lights to your setup is a good idea but isn’t required. It can be as simple as a lamp or even a smart led strip. A well-lit environment would be great for snapping pictures, especially if you’re filming a lengthy time-lapse.
OctoPi Installation
Installing OctoPi on your Raspberry Pi is the first step in the webcam setup process.
- Download the Raspberry Pi Imager, available for Windows, MacOS, and Linux, from the Raspberry Pi website. Then connect your SD card to your computer.
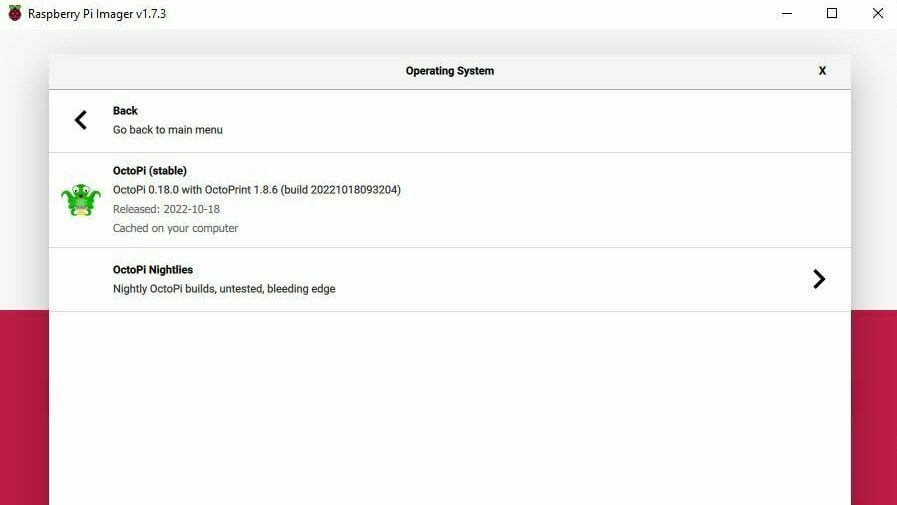
- Open the Raspberry Pi Imager and click “CHOOSE OS” and go to “Other specific-purpose OS > 3D printing > OctoPi > OCTOPI (STABLE)”.
- Next, click on “CHOOSE STORAGE”, and choose your SD card. Then click on the gear icon in the bottom right corner and a settings page will open.
- Add a password under “Set username and password”. This is for connecting to your Raspberry Pi through SSH and is separate from logging into OctoPrint.
- Next, you can add the Wi-Fi network name and password under “Configure wireless LAN”. Make sure to click “SAVE” when you’re finished, then click “WRITE”.
- Finally, you need to find a partition labeled “boot”. It should open in File Explorer when the Raspberry Pi Imager is finished writing; if it doesn’t, just remove the SD card and insert it back into your computer and the “boot” partition should show up.
The next step in the OctoPi installation process is configuring it to work best with your webcam, which we’ll go over in the next section.
Webcam Setup Process

Once OctoPi’s up and running, it’s time to move to the webcam. Here’s how to configure OctoPrint to use the correct settings for your webcam.
- Locate a file named “octopi.txt” in the boot partition and open it using a text editor such as Notepad++ on Windows. If you’re running MacOS, open “octopi.txt” with TextEdit and go to “TextEdit > Preferences” at the top left of the screen. Select “Plain text” and uncheck “Smart quotes” before editing the file.
- After opening the file, uncomment the line
camera_usb_options="-r 640x480 -f 15"by removing the ‘#’ symbol in front of it. - Replace the
-r 640x480 -f 15with the settings that are specific to your webcam model. You can look at the settings in the OctoPrint camera guide. - Uncomment the lines at the bottom of “octopi.txt” file by removing the ‘#’ in front of them and edit them to read as follows:
camera_http_webroot=''./www"camera_http_options=""
- Insert the SD card in the Raspberry Pi and connect the webcam to it. Once you’re through the setup process, you can see the webcam feed under the Control tab of OctoPrint’s interface.
That’s it! If you’re having trouble, next we’ll go over some troubleshooting tips.
Webcam Troubleshooting
In theory, things should work. In practice, sometimes they fail. Here are some steps to follow in case your webcam doesn’t show up on OctoPrint:
- Double-check your webcam model and make sure that it’s listed as compatible with OctoPrint. Note that the PlayStation Eye isn’t.
- If your webcam is compatible and is still not working, try plugging it into a different computer to make sure it works. If it doesn’t, you should try another webcam.
- If the above steps don’t work, open OctoPrint through the web browser and click on “Settings”. Next click “Webcam & Timelapse”. Make sure that “Enable webcam support” is checked, and try changing the aspect ratio and press “Save” to see if that fixed the issue.
- You can also try plugging the webcam into a different USB port on the Raspberry Pi.
- And last, perhaps the most obvious troubleshooting tip to try is to restart the Raspberry Pi, which can also be done in safe mode. To restart in safe mode all you need to do is click the power button at the top of the web interface and you should see “Restart OctoPrint in safe mode”.
If your webcam isn’t mounted right side up, there are three settings to alter how the webcam stream is viewed. By going to “Settings > Webcam & Timelapse”, you can flip the webcam horizontally, vertically, or rotate the webcam 90 degrees counter-clockwise.
Obico also has a good article on troubleshooting webcam issues in OctoPrint that you could check out if you’re still having problems.
Tweaking Octolapse Settings
If you’ve added Octolapse, there are a few settings that you can tweak to create better time-lapses.
As mentioned, Octolapse allows you to customize what triggers a snapshot during a time-lapse, what stabilization type you want, and other things. Changing the trigger and stabilization type to suit your preference can give you the time-lapse that you’re looking for.
- After installing Octolapse, head over to the Octolapse tab and press the Settings button. (It’s a small gear icon in the top right of the Octolapse tab in OctoPrint.)
- You should see approximately eight tabs at the top of this settings tab, select the “Stabilization” tab. This will allow you to read the descriptions of all the different types of stabilization.
- If there isn’t one that catches your attention, “Centered” stabilization is always a good choice.
- After selecting the stabilization type, click on the tab labeled “Trigger”, which will let you choose what triggers Octolapse to take a snapshot for the time-lapse.
- Some of the basic triggers will take a snapshot after a specified amount of time, or every time the printer has printed 0.5mm in height.
- There are also some very advanced triggers that are smart and will analyze the G-code and choose the best times to take a snapshot, typically with an emphasis on something like speed, compatibility, and quality.
License: The text of "OctoPrint Webcam Setup: How to Set Up Your Camera" by All3DP is licensed under a Creative Commons Attribution 4.0 International License.