OctoPrint on Anet A8 – How To Set Up OctoPrint

OctoPrint is a great resource for remotely controlling and monitoring any 3D printer. In this article, we are going to show you how to set up use OctoPrint with the budget-friendly ANET A8 3D printer using a Raspberry Pi 3.
OctoPrint is a program that acts as a host for any 3D printer by using a web interface. It allows remote access to printers, enabling you to control and monitor prints from wherever you are. It’s also fully open-source. This means there are loads of amazing plugins that have been developed by the community.
Installation
You will need the following things to set up Octopi on your Raspberry Pi:
- A 3D Printer (We’re using the ANET A8)
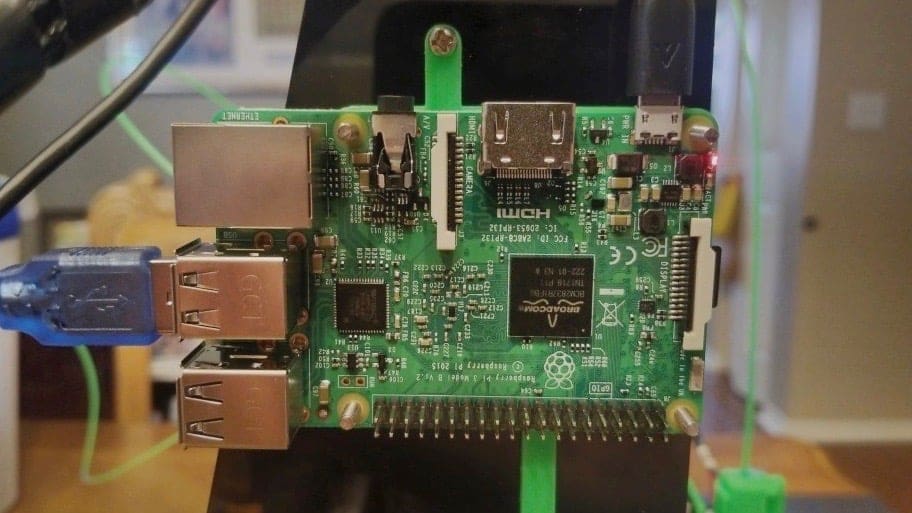
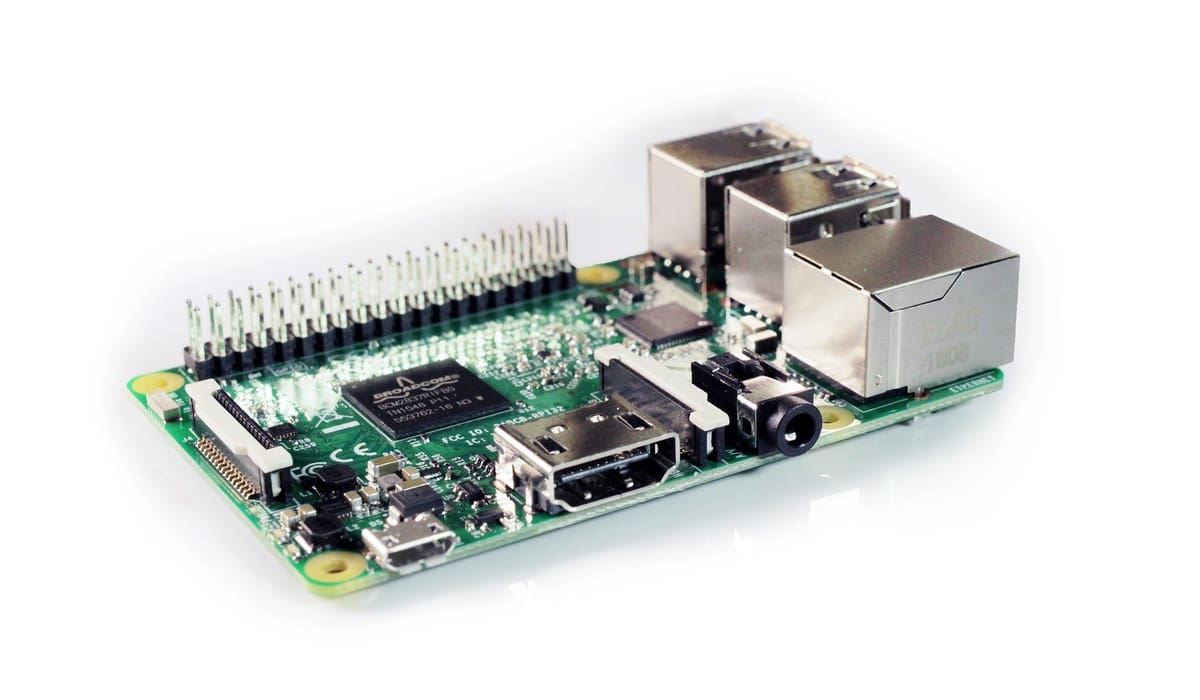
- A Raspberry Pi (We would recommend the Raspberry Pi 3 due to its inbuilt Wi-Fi and superior processing power)
- A micro SD card (with at least 8gb capacity) and a micro SD card reader
- A USB cable for your printer
- A power adaptor for your Pi
- A Window PC with Win32 Disk Imager installed or a Mac
- Optional Webcam.
Step 1: To get started, download the latest Octopi OS here. Once you have downloaded the software, use Win32 Disk Imager to write the OS to your micro SD card on a PC or follow the official instructions for installing operating system images on Mac OS.
Now that you have installed the Octopi OS onto your micro SD card, you will need to go into the cards file directory and open the octopi-network.txt file and fill in your network name and the corresponding password.
After filling in the network information, you’re good to go.
Step 2: Connect your printer to your Pi with the USB cable and then power on the Pi.
We recommend you change your default login details to prevent anyone accessing your printer through your network. The Pi’s network address should be octopi.local. You can access your Pi through your network by SSH-ing into your Pi and running the command “passwd” command.
You should now be able to access the Octopi homepage by navigating to http://octopi.local. If that doesn’t work try connecting directly using the Pi’s IP address.
Initial Configuration
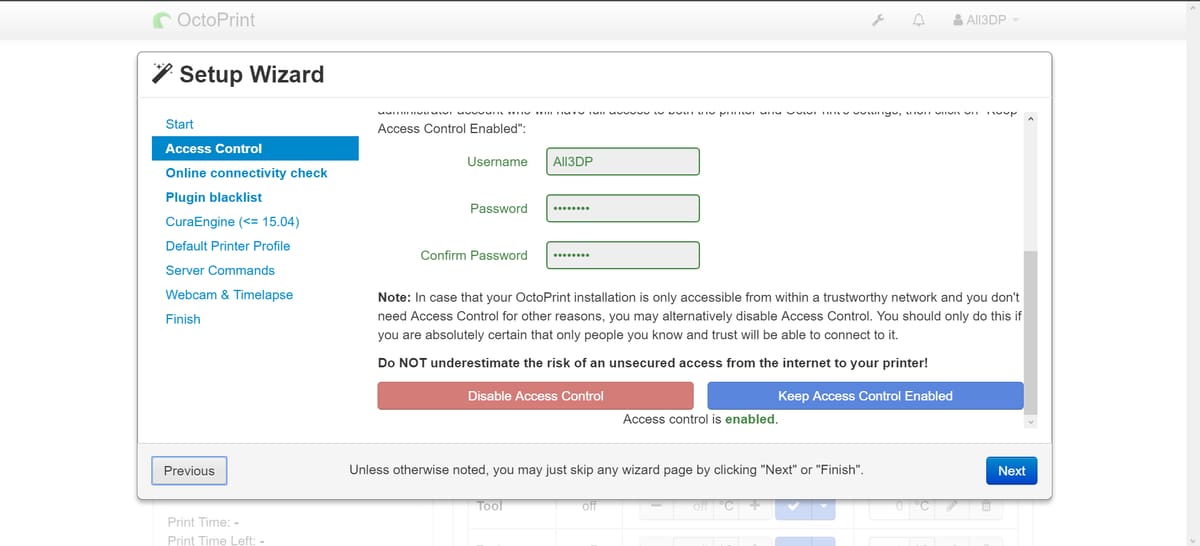
Step 3: After putting in your network details and navigating to your OctoPrint session in a web browser, you need to run through the initial configuration. The first thing you will need to do is choose a username and password. Make sure these are secure as you don’t want anyone else controlling your printer.
Next, you need to enable the connectivity check and plugin blacklist. Just leave any fields as default and it will work fine.
Step 4: You will now have the option to import your Cura slicing profile. We are going to skip this step however as we can copy out G-code across once we have sliced it.
Then you will need to assign a name to your printer. Since we’re using the ANET A8, that’s what we’ll name it. In this step, we also need to input the build volume. On the ANET A8, it’s 220 x 220 x 240mm.
Step 5: For server commands, you want to make sure that you have the following commands:
- Restart OctoPrint – “sudo service octoprint restart”
- Restart System – “sudo shutdown -r now”
- Shutdown System – “sudo shutdown -h now”
Step 6: The final step is the optional webcam setup. You will need to make sure the following information is the same for your OctoPrint server:
- Stream URL – “/webcam/?action=stream”
- Snapshot URL – “http://127.0.0.1:8080/?action=snapshot”
- Path to FFMPEG – “/usr/bin/avconv”
Ready to go!
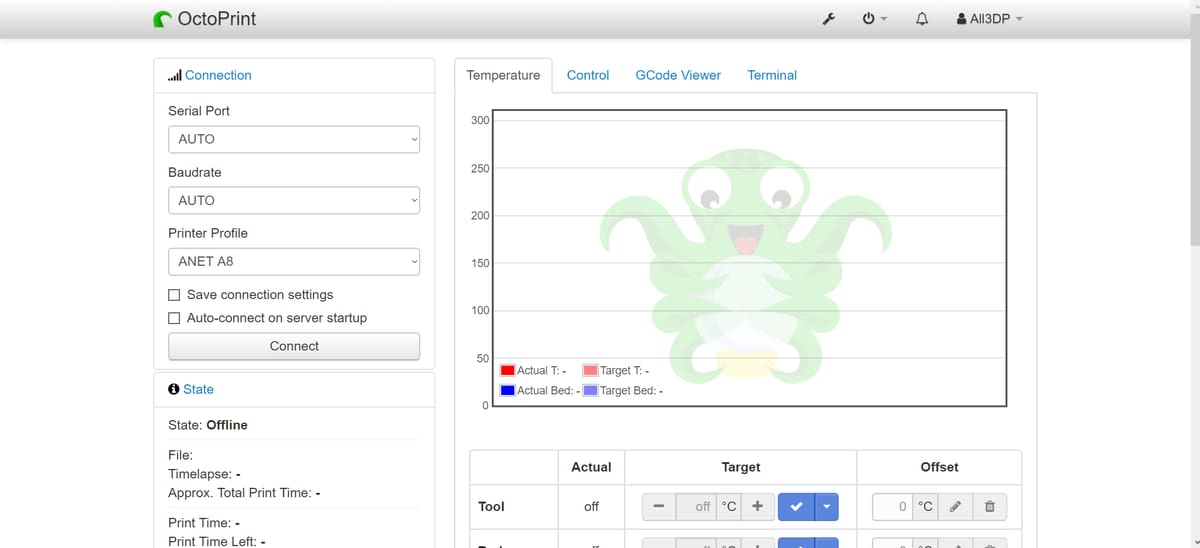
Once you have run through all of the initial set up, connect your printer via USB. Select the connect button on the left of the homepage and OctoPrint will connect to your 3D printer.
It’s that simple! You can now control your printers temperatures, movement and prints over the internet!
License: The text of "OctoPrint on Anet A8 – How To Set Up OctoPrint" by All3DP is licensed under a Creative Commons Attribution 4.0 International License.