Meshmixer Supports – How to Generate Supports with Meshmixer

Meshmixer is a small but powerful tool for 3D printing, including generating supports for printable models. Find out all you need to know about Meshmixer supports in this mini-tutorial.
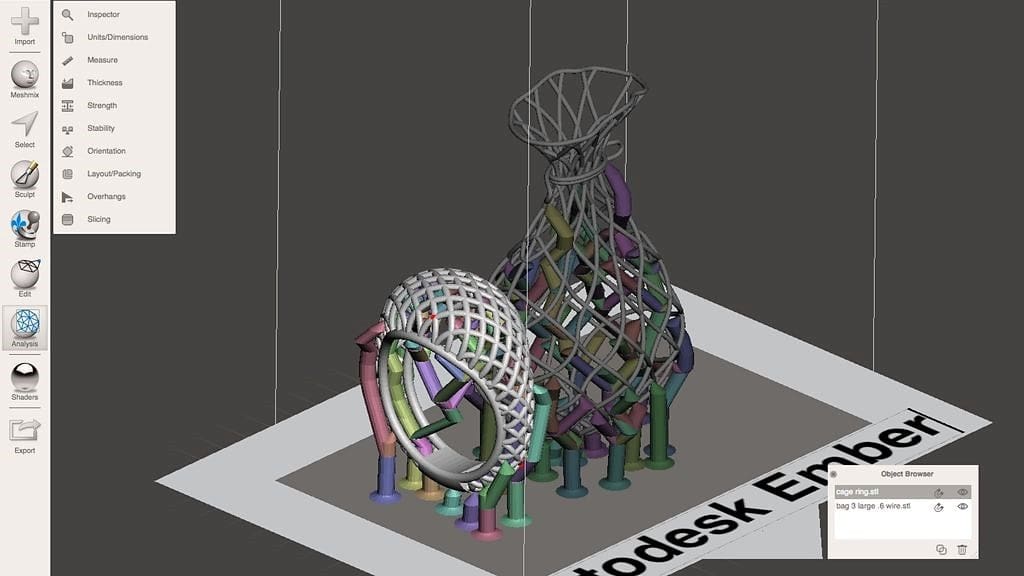
Meshmixer is somewhat unique among other CAD or 3D printing programs. Instead of parametric modeling, Meshmixer uses a sculpting environment where you start with a base shape and build from there.
There are several brushes, such as pinch, flatten, or inflate, that sculpt with different effects. Each brush can be customized for size, strength, and many other options. Compared to more advanced sculpting tools like Blender or ZBrush, though, Meshmixer just covers the essentials.
Instead, Meshmixer is most useful for editing, analyzing, and processing models before 3D printing. It’s also great for combining different models into one. That’s why it’s often called the ‘Photoshop of 3D printing’.
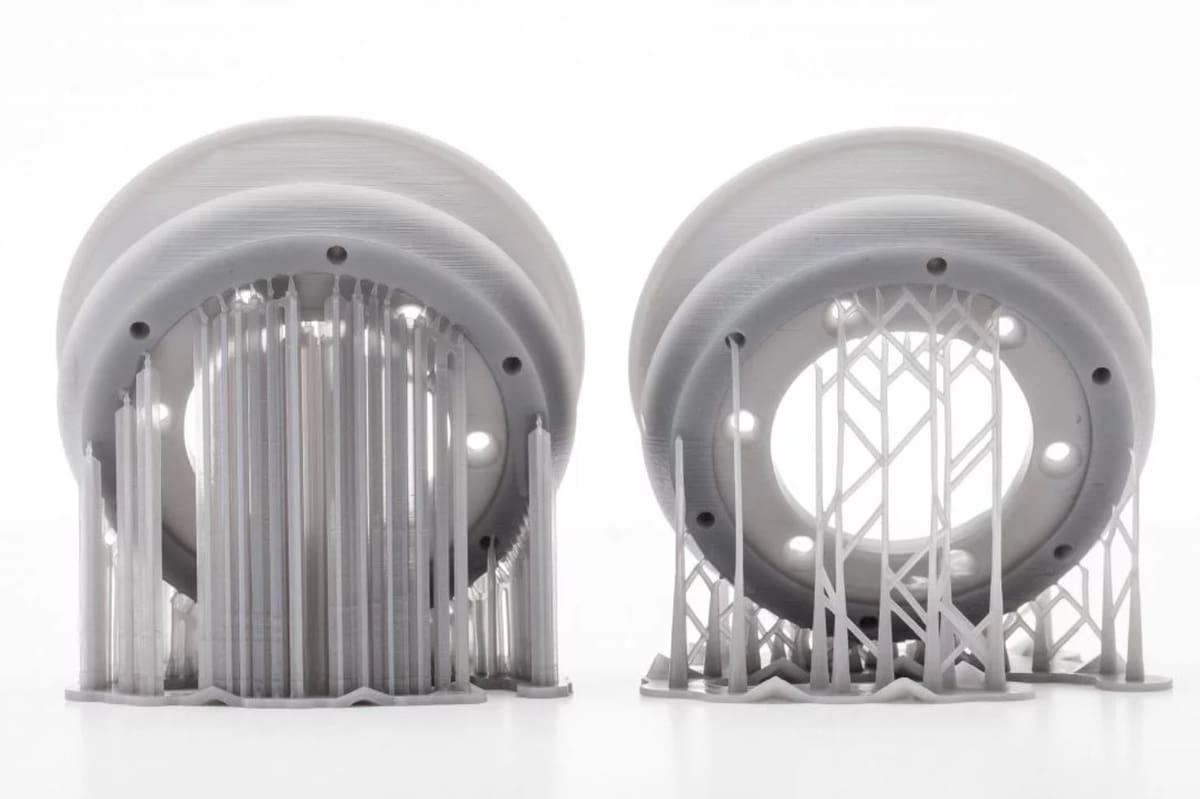
Unlike most slicers, which default to lattice-type supports, Meshmixer only generates tree-type supports. Many prefer these supports because they’re ultra-customizable, material efficient, and well-optimized for 3D printing.
Let’s take a look at how to generate them!
Download Meshmixer
If you already have Meshmixer, skip ahead.
If you don’t, click here to download whichever version you prefer. It’s totally free for both Windows and Mac and has a very straightforward installation.
Painlessly Generate Supports
Here’s a quick and easy guide to generating Meshmixer supports:
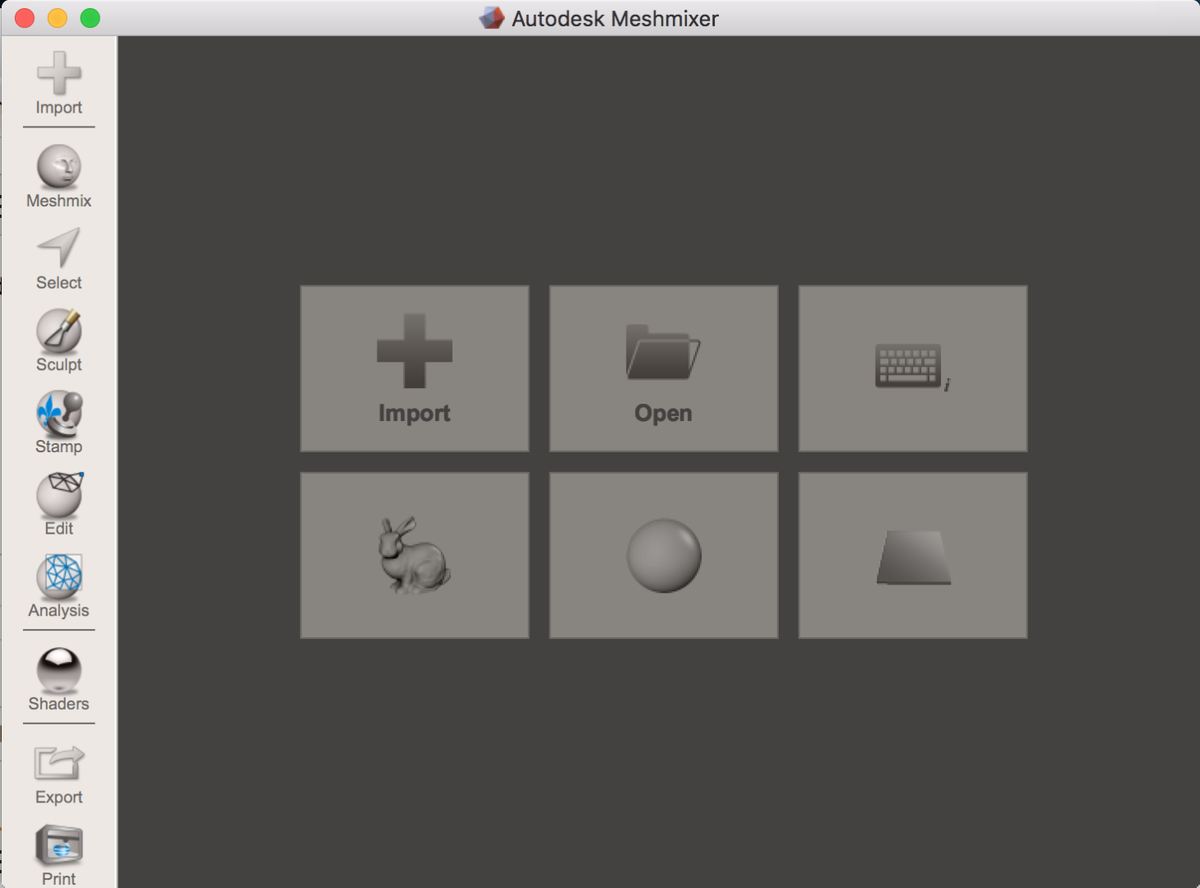
- Import your .stl or mesh of choice, using the button in the top left or center. We’ll be demonstrating with the default bunny that comes with Meshmixer.
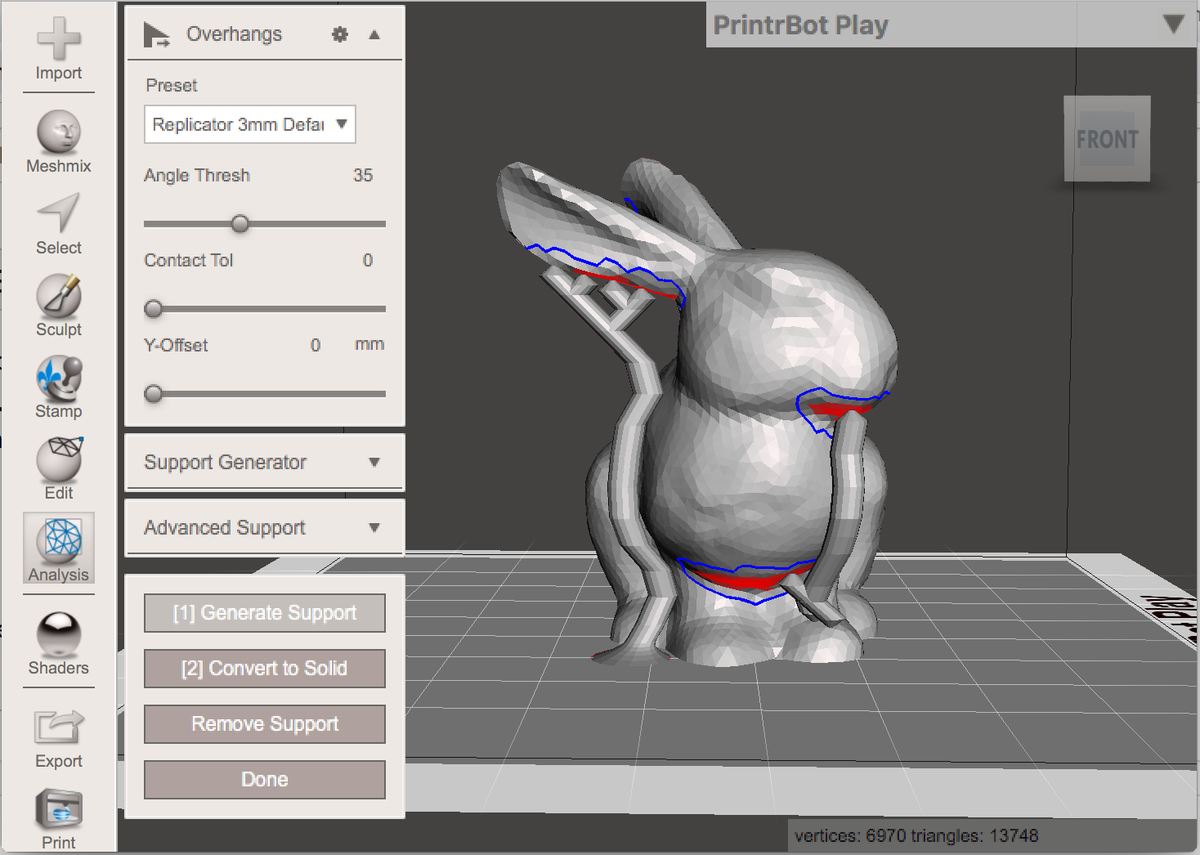
- Select Analysis on the left and then Overhangs on the menu that pops up.
- Pick a preset (there are some for Ultimaker and Replicator printers) or leave it as default. Places where Meshmixer will generate supports are highlighted in red.
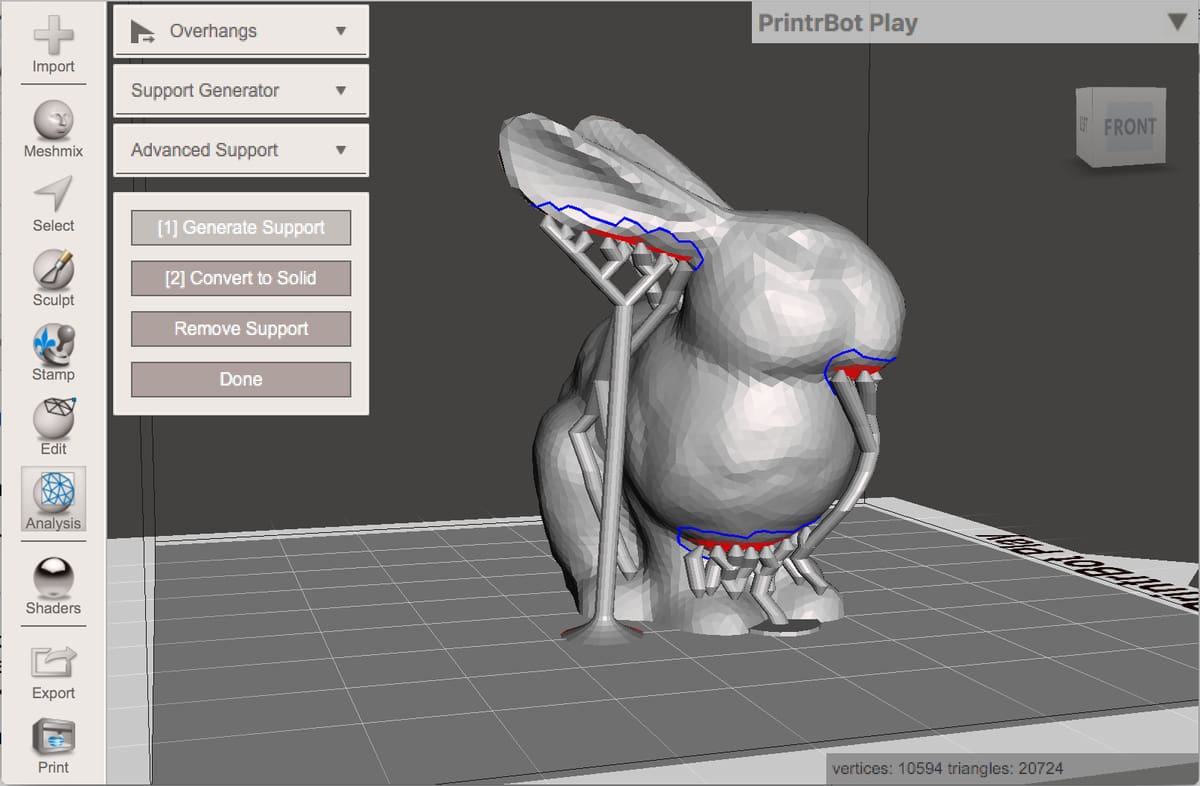
- Select Generate Support. If you’re satisfied with the supports, click Done.
- Select Export on the bottom left toolbar and save the model in your desired format.
That’s it! The beauty of Meshmixer is that you can spend 10 seconds or 10 minutes on generating supports; there are so many things you can customize and tweak. Read on to learn more.
Customize Your Supports
There are lots of different settings in the overhangs panel to customize your supports. Here are some of the most useful:
- Angle Threshold determines maximum angle of overhang to generate supports for. The standard is 45 degrees for most prints.
- Max Angle is the maximum angle of each branch of generated support. 45 degrees is default, but you can reduce or increase this to your liking.
- Density determines the density of branches generated. Be warned: Increasing density does slow down support generation time.
- Post diameter is how thick each support branch will be.
- Tip diameter is how thick each support is when it touches the model.
- Base diameter is how thick each support is when it touches the print bed.
Once supports are generated (but before you hit Done on the overhang panel) you can edit supports individually:
- Delete supports by Ctrl + clicking on them (⌘+clicking on Mac). Deleting a post will delete all the branches above it.
- Draw supports by dragging from any support/point on the model to your desired end point.
Armed with this knowledge, you’ll be able to generate perfect tree supports for your models. Like a pro.
Related Articles
License: The text of "Meshmixer Supports – How to Generate Supports with Meshmixer" by All3DP is licensed under a Creative Commons Attribution 4.0 International License.