IdeaMaker: How to Apply Textures – Simply Explained

IdeaMaker Textures are a quick and versatile way to apply patterns to 3D prints. Read on for the how, what, and why of this tool!
IdeaMaker is a versatile slicer made by the 3D printer manufacturer, Raise3D. Available as a free download, this powerful tool has increased steadily in popularity as its feature set has expanded through the years.
Around the time of version 4.1, Raise3D introduced a powerful texture function to this ever-growing suite of tools. This function allows 2D patterns (i.e. images) to be projected onto your 3D models to form surface textures. Much like velocity painting, this allows you to quickly and easily stylize your 3D prints without advanced software skills. Instead of changing the print speed, however, IdeaMaker’s texture function directly alters the surface geometry of your models, hence increasing the tool’s versatility.
In this guide, we’ll explore why you might want to texture your models, along with the workflow and settings that will help you reach the results you want. By the end, you’ll know the ins and outs of this powerful tool to get you on your way.
Why Texture?
The principle of IdeaMaker’s texture tool is fairly straightforward, but when would you actually want to use it?
Aesthetics
The first and most apparent use case is for aesthetics. The texture tool enables you to stylize your prints without having to do the modeling work yourself, thus simplifying the design process. Textured opaque materials are given more depth and character, while transparent materials can scatter light in nuanced and interesting ways. With the flexibility of applying any texture you wish to any material, the design possibilities are near endless.
Strength
A less apparent use case is structural. Here, texturing can add substantial strength and stiffness to thin-walled parts, broadening the range of 3D printable geometries.
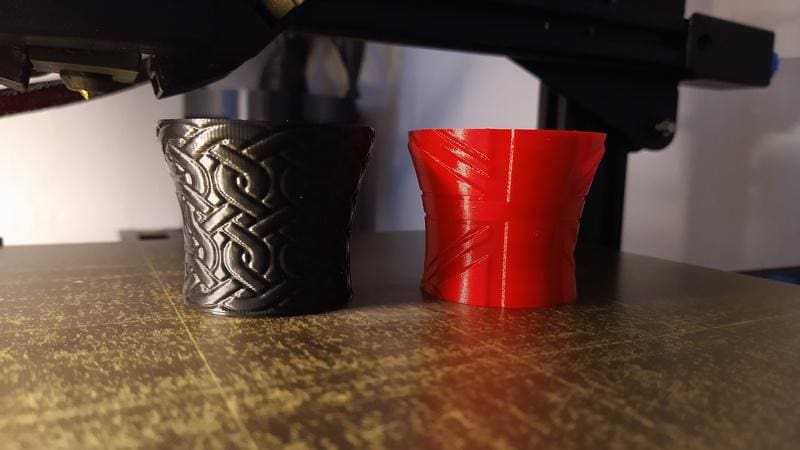
The principle here is very similar to corrugating cardboard. Surface irregularities can mitigate warping and collapsing, hence helping structures retain their shapes under load. Above, you can see the drastic difference in stiffness offered by non-textured (left) and textured (right) prints. YouTuber CNC Kitchen has an excellent video that explains this phenomenon in more depth.
First Steps
Now that you have an idea of texturing’s benefits, we can get started with the tool itself. Before we begin, make sure you’ve installed and fired up the latest version of IdeaMaker from Raise3D.
For starters, you’ll have to import a 3D model to which to apply the texture. Here, note that the orientation of the texture depends on the initial orientation of the import; when you rotate the model in IdeaMaker, the texture will rotate with it. As such, we recommend orienting your model before importing.
Once your model has been imported, double-check its orientation. In particular, note that surfaces parallel to the print bed will not be textured. This depends on the orientation of the model in the slicer itself, so go ahead and rotate your model as necessary.
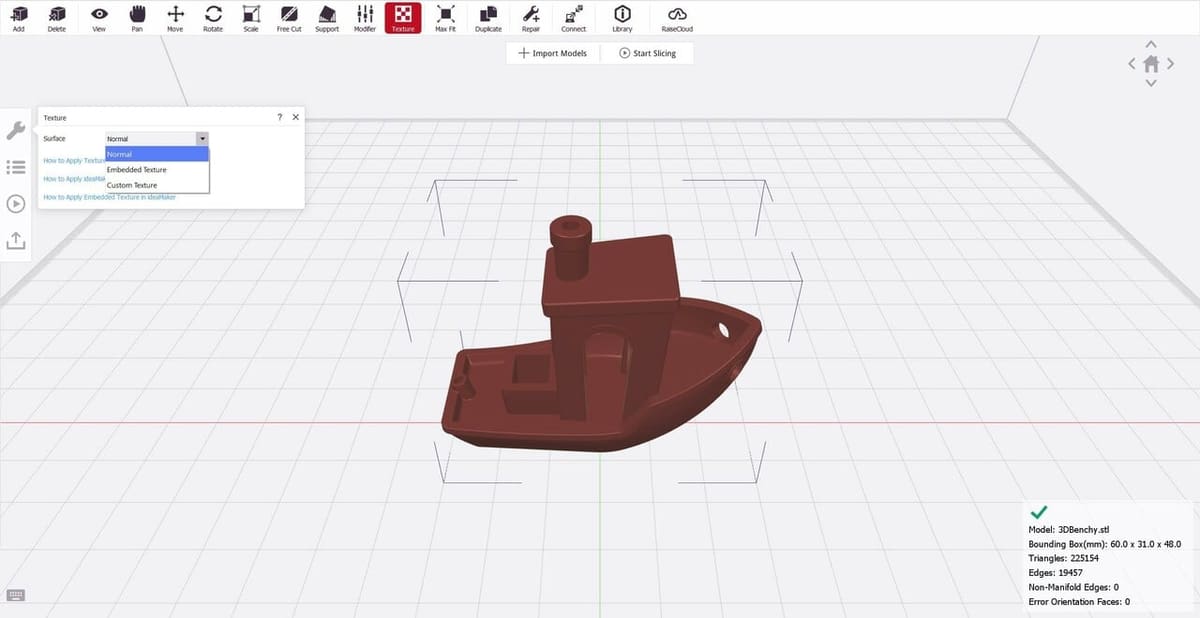
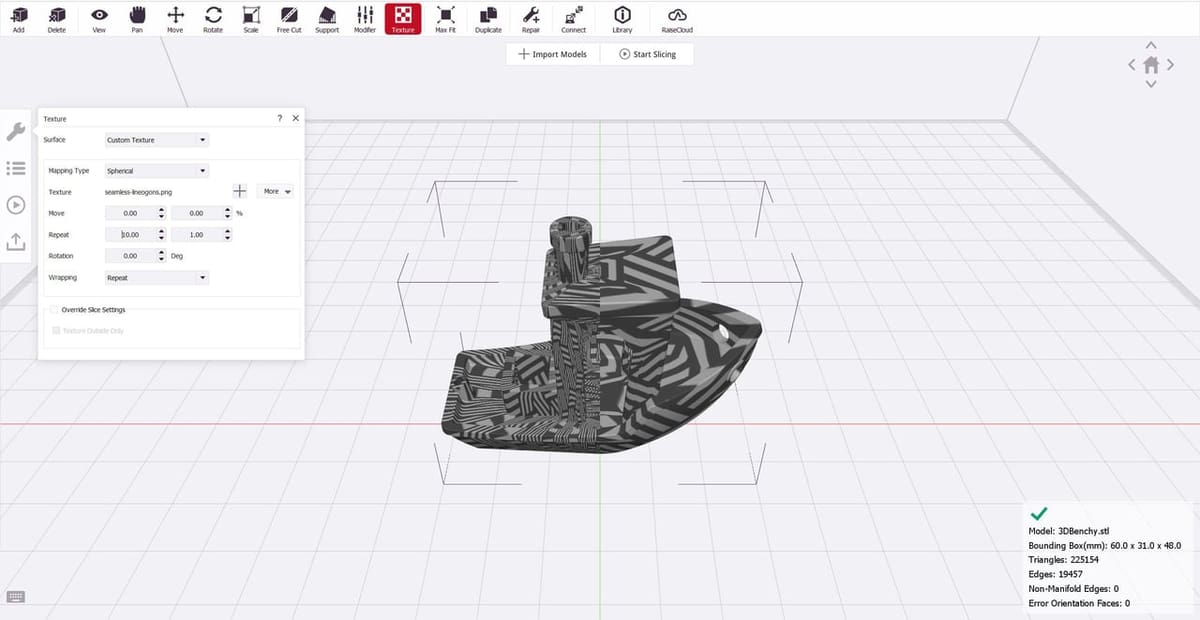
With orientation sorted, you can select “Texture” from the top toolbar. On the left side, the wrench icon should open into a pop-up, as pictured above. Under “Surface”, you’ll find the basic texturing options:
- Embedded Texture: This option applies surface information that is already encoded within your file. Select this if you are using such a file (e.g. an OBJ), and IdeaMaker will handle it automatically. Then, you can skip to the “Tweak Your Texture” section below. If you’re not sure whether this applies to you, it likely doesn’t, so try the next option.
- Custom Texture: This allows you to import an image (.jpg, .jpeg, .bmp, .png, .tga, .tiff, or .texture) to turn into your texture. If you’re hoping to apply a 2D pattern (as is typically the case), select this option.
Select a Texture
If you chose “Custom Texture” above, you’re ready to select a specific file to use. In the same texture pop-up, select the “More” dropdown, and you’ll be greeted with the following options:
- Import from Local Disk: This will allow you to import a file from your computer; the supported formats are .jpg, .jpeg, .bmp, .png, .tga, .tiff, and .texture.
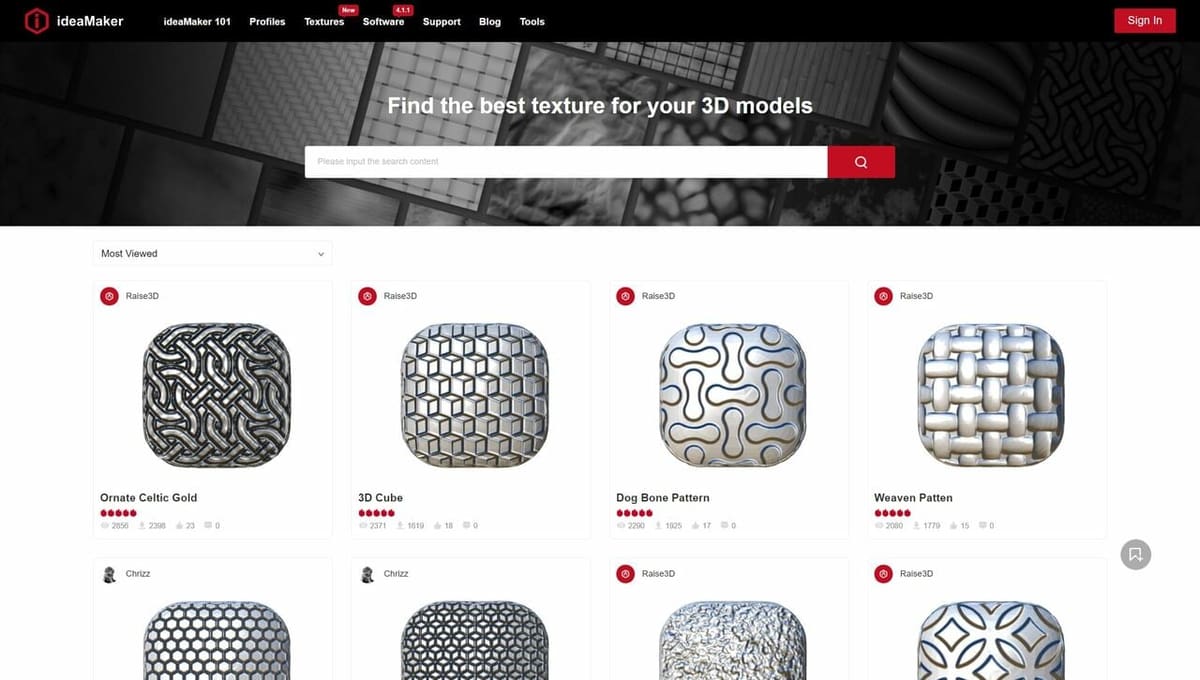
- Import from IdeaMaker Library: This will open an online selection of patterns via the IdeaMaker Library. Much like other file-sharing platforms, you can browse for others’ designs that suit your needs. Once you’ve settled on a file, select “Import to IdeaMaker” and click “Copy” on the browser pop-up. This will automatically transfer the URL to your IdeaMaker window, where you can click “Download” to insert the file.
- Export/Share to IdeaMaker Library: This option is not necessary at this stage; it allows you to export your texture as a .texture file or upload it directly to IdeaMaker Library. This is a good option for saving or sharing your texture for future use.
Tweak Your Texture
After the texture is applied, a preview should appear on the surface of your model. In the IdeaMaker texture pop-up, you’ll have some options to change how the texture interacts with the print:
- Mapping Type: This changes how the 2D pattern is projected onto your 3D model. Different geometries benefit from different mapping types, so play around to find what works best for you.
- Move: This shifts the texture relative to your model, allowing you to fine-tune the pattern’s placement.
- Repeat: This determines how many times the texture is repeated across the model, hence determining how dense it looks. A higher value creates a denser-looking texture.
- Rotation: This rotates the texture relative to your model. Different patterns yield different effects when rotated, so feel free to play around.
- Wrapping: This determines how the pattern behaves at its edges, as each image file has a finite size. Your options include tiling the image and mirroring it to build a seamless texture.
Advanced Adjustments
The above adjustments are enough for most use cases, but there are additional options available for more advanced users. These are not buried in the texture pop-up, but in the slicing settings themselves.
To access them, click on “Start Slicing” in IdeaMaker, then click “Edit” when the pop-up prompts you to select a printing profile. From there, navigate to the “Texture” tab. Here, you’ll find the following settings:
- Lateral Surface Texture: This is the master on/off switch for the texturing tool.
- Texture Lighter Color Up: This is a more niche function that adjusts how the software determines the pattern’s boundary. If enabled, the lighter color in the pattern is selected to be the boundary. In most cases, this will not be quite as relevant, as it’s more for how the software reads the texture, but feel free to play around to observe its effects.
- Texture Color Normalized: This maps the darkest color in your image to black and the lightest to white. The result is a higher-contrast texture that may show up more clearly in your 3D model.
- Texture XY Offset: This setting determines how far the texture will be offset from the surface of your model. If this number is positive, the texture will be embossed; if negative, debossed.
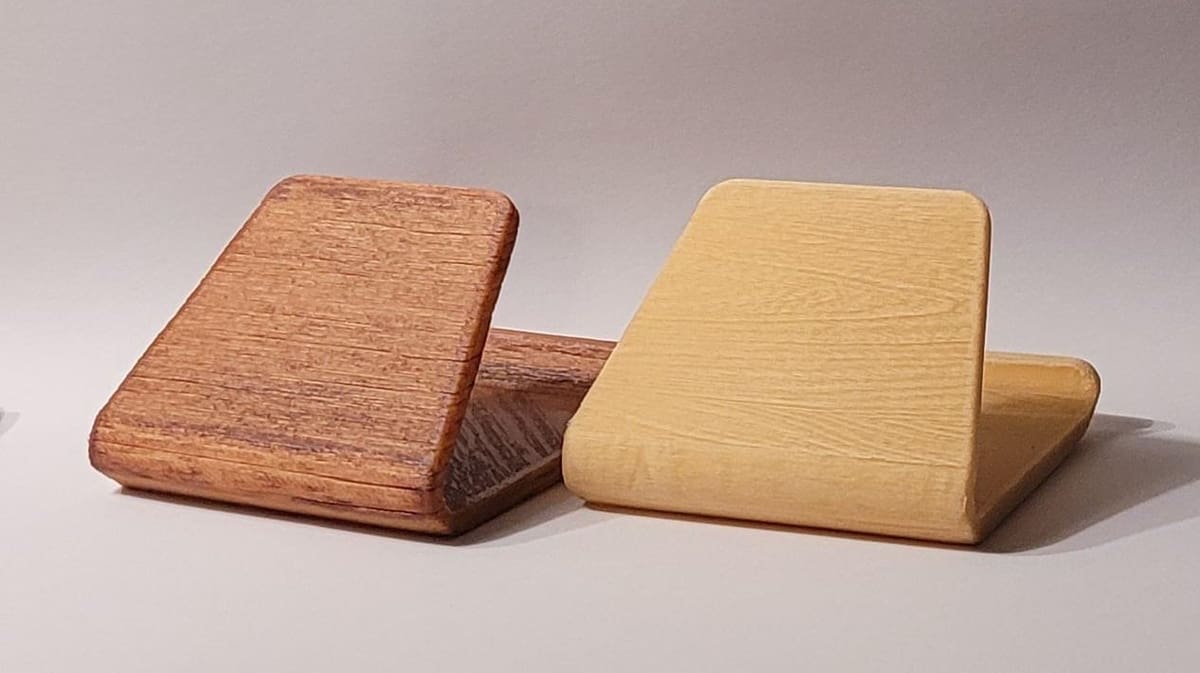
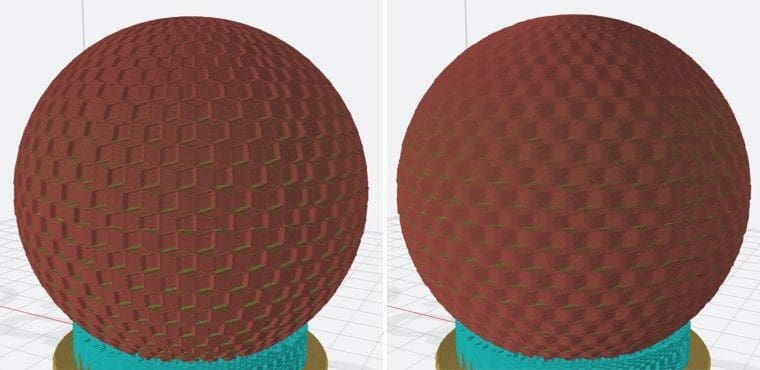
- Texture Resolution: This indicates how sharp the image should be. A lower value indicates a higher resolution, resulting in a sharper and crisper texture. This is depicted above, where two identical prints are given different texture resolutions.
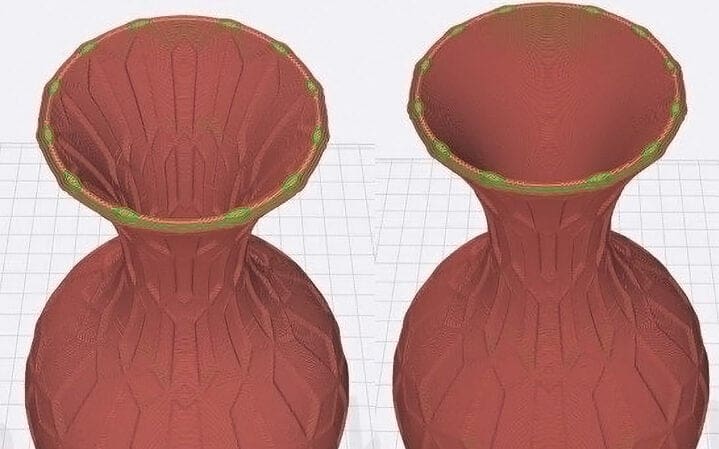
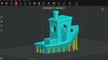
- Texture Outside Only: This final setting causes IdeaMaker to identify internal walls (e.g. of a vase, as pictured above) and disables the pattern there. This is a useful setting for texturing containers, where it doesn’t make much sense to have the pattern on the inside.
Now, you can slice the model and go to the print preview. The texture should be built into the print paths! If you don’t like what you see, simply play around with the settings we’ve run through to dial in your results.
License: The text of "IdeaMaker: How to Apply Textures – Simply Explained" by All3DP is licensed under a Creative Commons Attribution 4.0 International License.