How to Cut Glass – 3 Simple Ways

These glass cutting tips come straight from glass fabrication experts. Whether you're interested in cutting flat glass or bottles, here's how to remove frustration from the equation!
Glass 101

Most modern-day sheet glass is called float glass, referring to how it’s produced. It’s made by subjecting materials such as silica, soda, and lime to extreme temperatures, melting them into a liquid state that’s then “floated” onto a bed of flat molten metal, like tin. This gives the glass sheet uniform thickness and a very flat surface, which is easily cut. The following are some varieties of float glass:
- Soda-lime glass accounts for 90% of the glass produced worldwide.
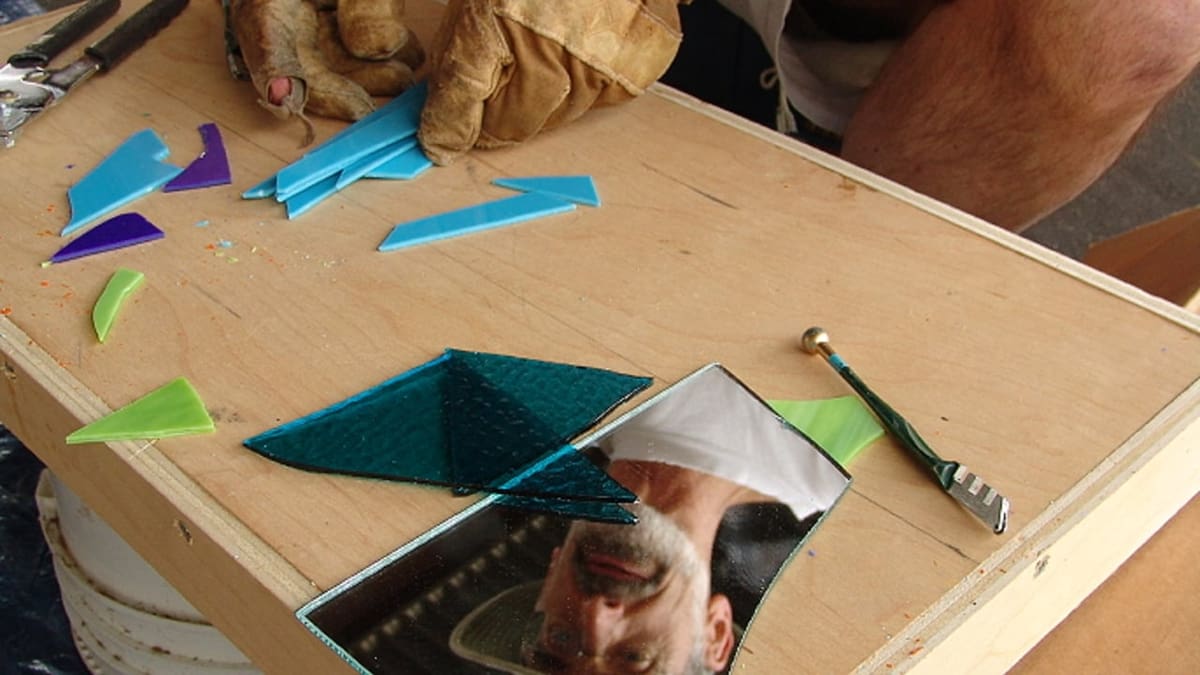
- Stained glass is float glass that has materials added to it to create a huge variety of different styles and patterns. It’s often used as small pieces in complex designs.
- Lead glass, commonly called crystal, is a variety of glass in which lead replaces the calcium content of a typical potash glass. While lead glass can be cut, it’s often very expensive.
- Glass bottles are simply float glass that’s been reheated and blown either by hand or machine.
Safety glass is made using an advanced process so that, when broken, it shatters into many tiny fragments, lowering the possibility of injury. Example applications of safety glass include large glass doors and automobile glass. Due to its nature, it is not suitable for the home enthusiast to attempt cutting.
The information that follows discusses how to successfully cut float glass products.
Safety First
The techniques that follow range from basic simple home skills to advanced tricks used in large scale glass fabrication plants. A key element to keep in mind is to always practice safety first when working with glass.
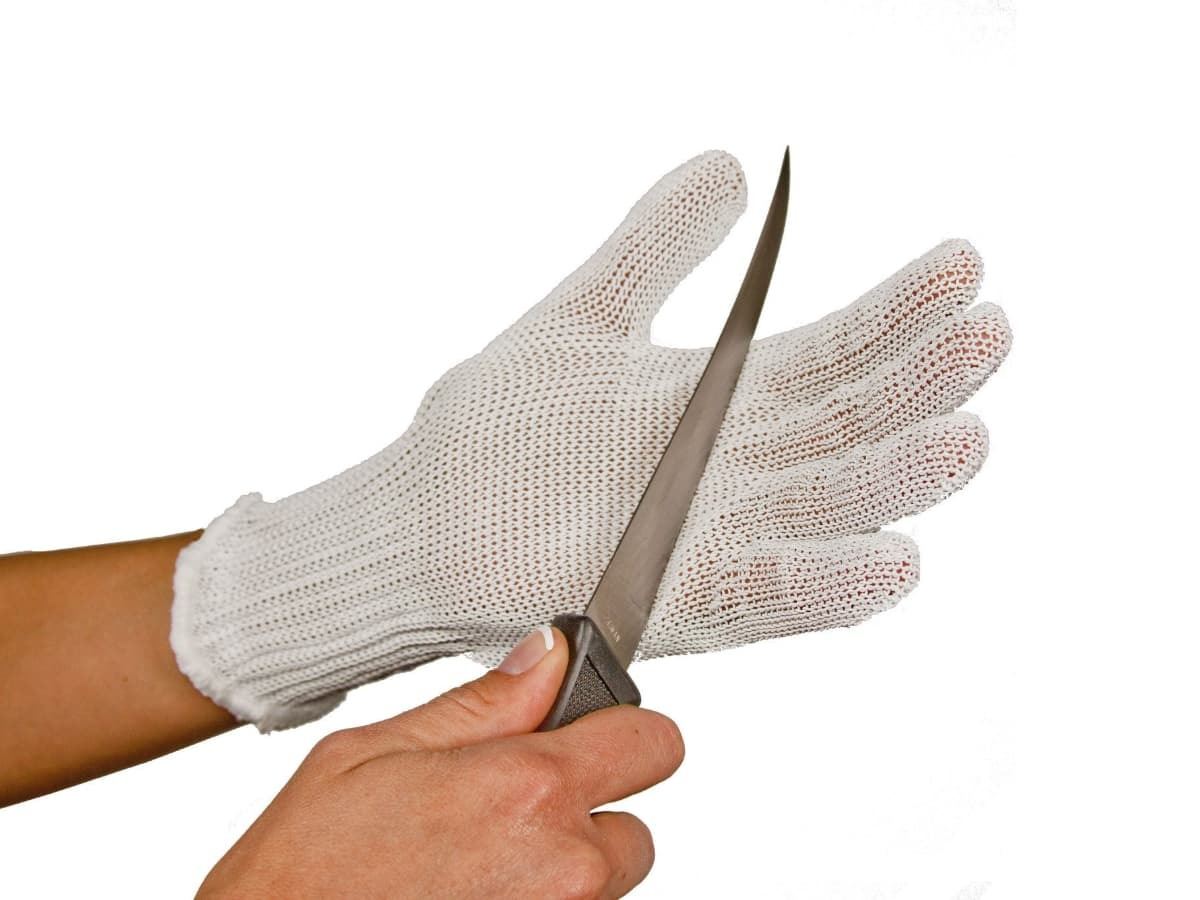
Wear the appropriate protective clothing and cut-resistant gloves. Cracked glass can be very dangerous to handle, especially in large sheets. A small crack, called a runner, can expand in tenths of a second, leaving you with a broken sheet and possibly many hours in the local ER.
Furthermore, cut glass is extremely sharp. Care should be taken when handling and smoothing the edges.
Cutting a Straight Line into Flat Glass
A simple straight cut in glass up to around 6 mm thick is a fairly easy process and can be accomplished with a minimum of tools and expense. Most local hardware stores will carry the basic stick-type glass cutter. To use this cutter with the best effect, here are a few simple tricks:
- Use oil: Dipping the cutter in standard 3-in-1 oil before making the cut will aid in producing a nice fine mark on the glass with minimum effort. If the cut is going to be longer than 20 inches, brush a line of oil along the cutting path.
- Work on a solid surface: Attempting to cut on a carpet, fabric, or unstable surface can result in a failed cut and is unsafe. Make sure your work is on a solid clean surface.
- Tape the ends: Using a small piece of painter’s tape on the edges of the glass you’re cutting will help prevent a chip as you begin and end the cut. Keep the piece of tape small; this will allow you to reach the end without adding a lot of extra pressure to get through the tape.
- Maintain even pressure: As you make the cut into the glass, you’ll want to keep a smooth, even pressure for the duration of the cut. It doesn’t make a difference if you prefer to push the tool away from you as you cut or pull it toward yourself. The key in either direction is an even speed and pressure.
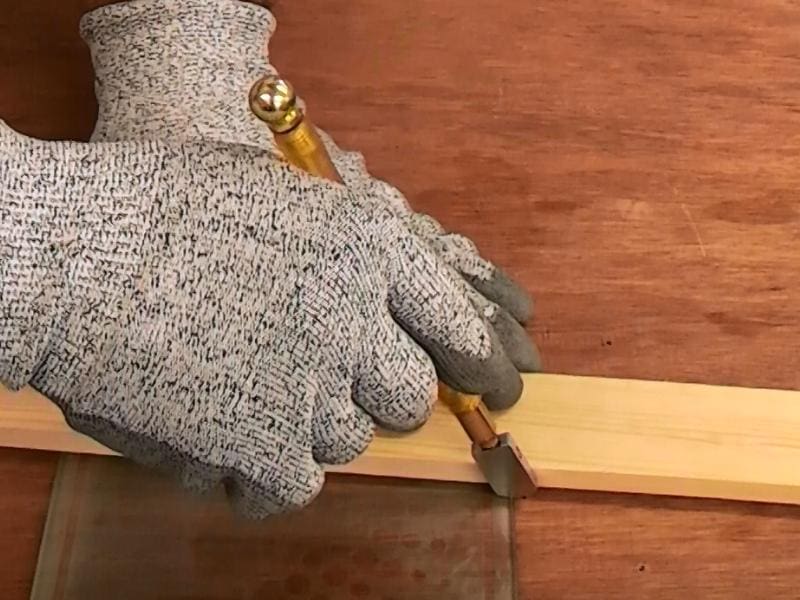
- Use a straight edge: To avoid curves and mistakes in the cut, always use a metal straight edge. This tool will also come in handy later, as it can be placed under the marked glass to help break it smoothly down the line with a minimum amount of pressure. Wearing cut-resistant gloves, with your straight edge just behind the cutline, push down on the raised part of the glass. This will result in a satisfying snap and a nice clean edge. For shorter cuts, you can use special pliers with a curved wide mouth to make the break. These pliers are often sold in hardware and home stores in the same area as the cutter. Use caution at this point because your new edges will be extremely sharp. (We’ll cover smoothing those edges later in the article.)
As a side note, there are other ways to cut a piece of glass, such as using string soaked in alcohol or kerosene. These methods do work but result in a very imperfect cut. Keeping dimensions accurate is almost impossible and setup generally requires pans that are large enough to submerge your entire piece of glass.
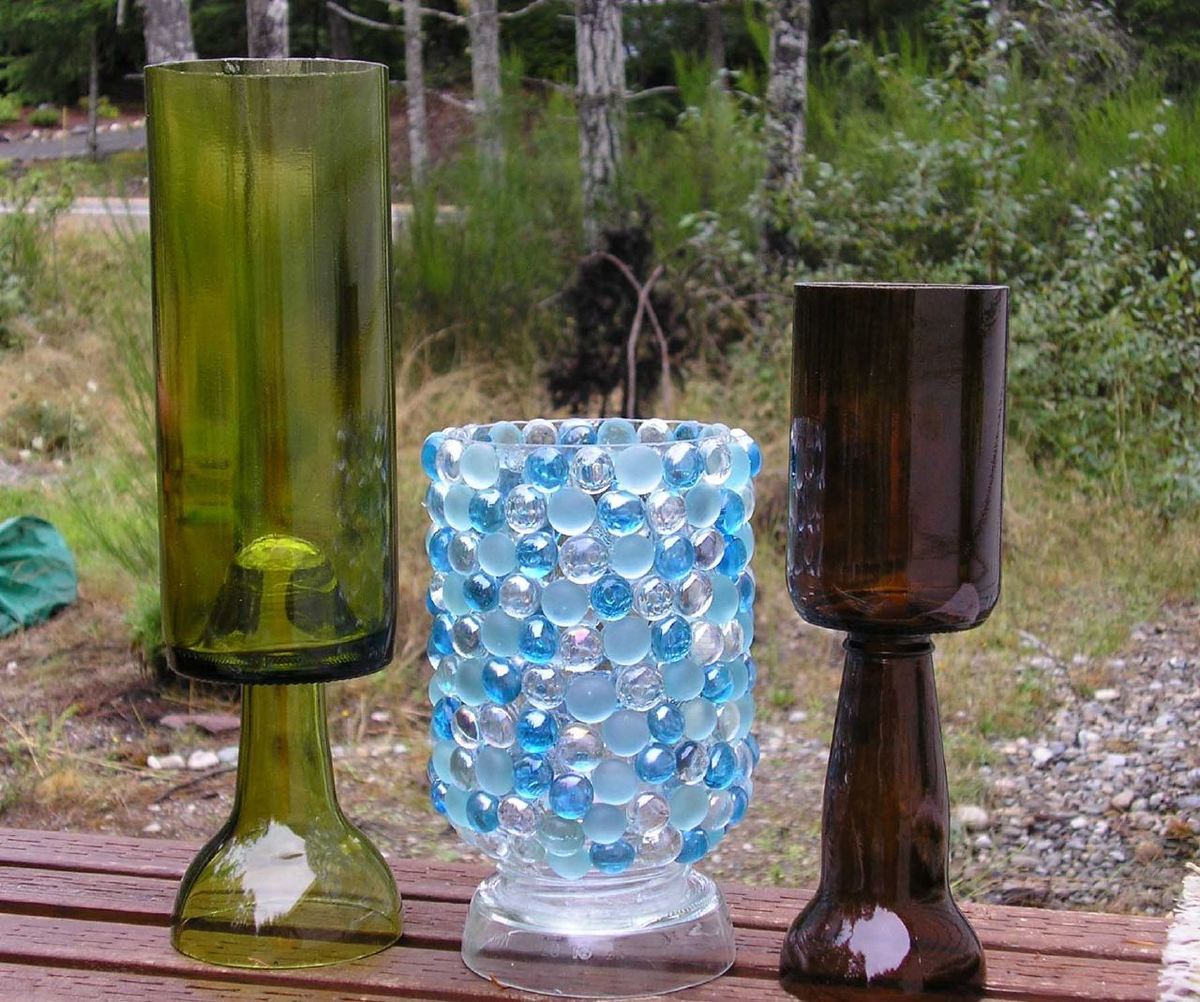
Cutting a Straight Line Around Bottles
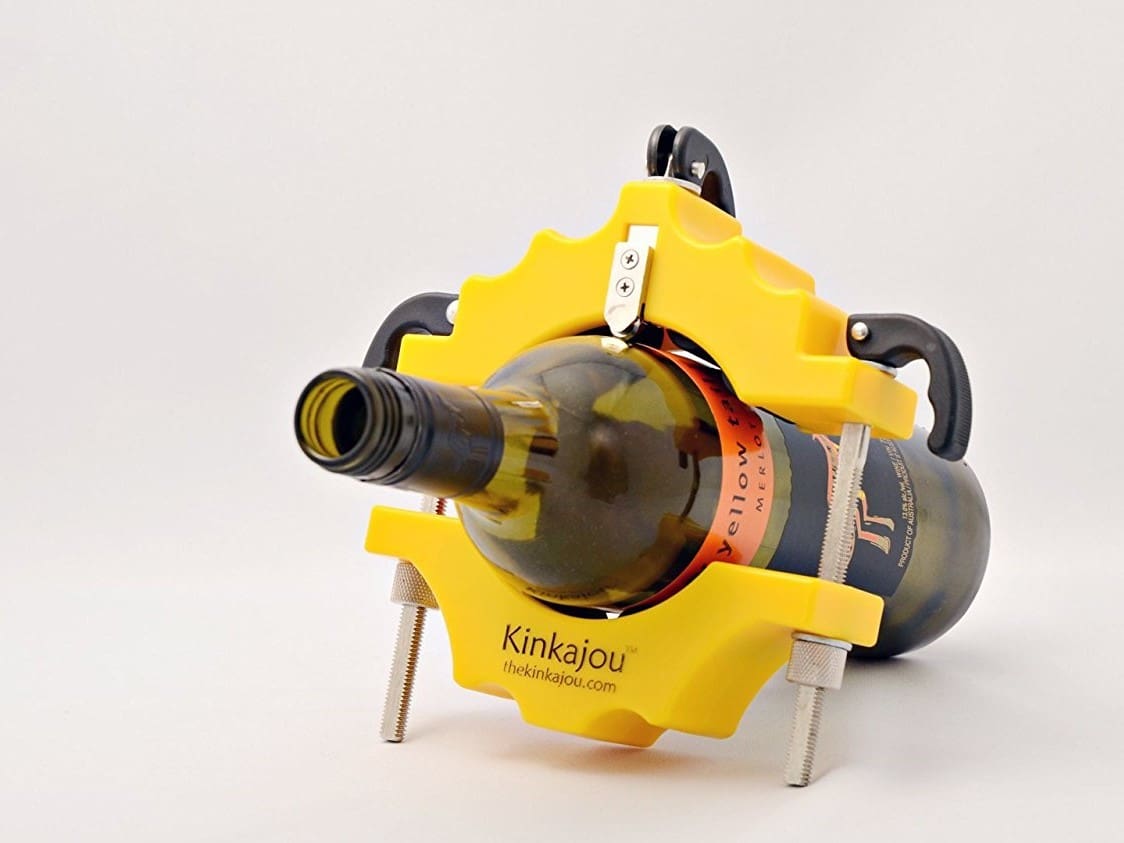
There are a wide variety of bottle cutters on the market, from relatively inexpensive handheld tools to high-end bandsaws.
If you’re looking for the best bang for your buck, we recommend a cutter that locks around the bottle. Basic tools that use a single cutting head are more difficult to get a clean consistent mark all the way around the glass. This leads to rough edges and a lot more work in the finishing department later on.
Bottle cutter steps:
- Apply oil around the bottle where you plan to make the cut.
- As with any glass, take care when cutting and use cut-resistant gloves.
- If you’re using a clamp-based cutter, fasten it to the bottle at the appropriate height. The grip should be tight but not so tight that it’s difficult to rotate the cutter. If you’re using one of the less expensive bottle cutters, lay the bottle down and rotate it atop the cutter.
- Don’t apply too much pressure as you move the bottle, and get a clear cut around the full circumference. Leaving even a small space in your cut will result in a failed cut.
- Remove your bottle from the cutter.
Once a cut has been scribed around the bottle, it can then can be tapped onto a solid surface to complete the cut. If you’re having difficulties making the final break, use an oil lamp to heat around the cut, then submerge the bottle into a bucket of room temperature water, mouth of the bottle first, and it should cleanly pop off.
Cutting Curves into Flat Glass
Making curved cuts in a flat sheet of glass can be more challenging, but it’s still within the realm of the home enthusiast. The key is to apply constant pressure, keeping your cutter at an angle of about 75 degrees to the glass.
Curve cutting steps:
- Dip your cutting tool in some oil and begin the cut.
- Make your cut all the way across the glass, just as you would with a straight cut. Make sure your cut runs off both ends of the sheet.
- Once you’ve made your curved cuts, take an oil lamp and heat the glass along the cut you made.
- Take a sponge soaked with room temperature water and wipe along the cut. If you properly heated the glass, you’ll hear a snapping sound as you wipe the sponge across.
- To separate the glass, lift one piece out, much as you would a puzzle piece.
Getting the hang of cutting curves can take a few tries, but it definitely makes for some interesting edges!
Smoothing the Edges
Once you’ve made your cut, whether straight, round, or curved, you’ll have a sharp edge that can be very dangerous until you smooth it down. Professional fabrication plants use a diamond edging wheel, but such machines are normally out of reach of most hobbyists and enthusiasts.
A much more affordable method is to use a carbide wet sandpaper. 280–360 grit is best.
Smoothing a Straight Cut
- Make a mixture of 1 part turpentine and 3 parts water. (The turpentine serves as a cooling agent to keep you from heating the edge too much as you sand.)
- For your straight cut edge, tape or otherwise affix your sandpaper to a solid flat surface and wet it well with your mixture. Wearing cut-resistant gloves, begin moving one sharp cut edge held at a 30-degree angle in back and forth motions across the grit. Rewet the paper as needed.
- Once you have one edge rounded, turn the glass over and do the other edge, again at a 30-degree angle.
- Finish by standing the glass at 90 degrees and give it a dozen or so quick strokes across the sandpaper.
Smoothing a Bottle Cut
The steps for a bottle cut are much the same, however, instead of moving the bottle back and forth, use circular motions while holding it at a 30-degree angle against the sandpaper. This will remove the sharp outer edge.
To sand the inside edge, affix your sandpaper to a tongue depressor or popsicle stick. Never use your finger under the sandpaper because the edge could slice right through and cause injury. Dip the sanding stick into your turpentine mixture and hold the stick with the wetted paper at a 30-degree angle. Start working your way all around the glass. Continue until you wear off the sharp inner edge.
Smoothing a Curved Cut
Again, the steps are very similar, but now you’ll be affixing your sandpaper to a rounded 1/2-inch dowel. Dip the sanding stick into your turpentine mixture and hold the stick with the wetted paper at a 30-degree angle.
Once you’ve worked your way across one side of the cut, flip your glass over and repeat the same process.
Finally, taking a 1/2-inch by 6-inch piece of wetted sandpaper, hold both ends of the paper and work it back and forth across the edge as a final polish.
Advanced Equipment
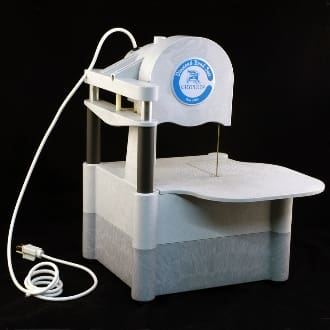
As technology improves, newer, faster, and safer ways of cutting glass enter the market. Diamond-gritted bandsaws are now more widely used to make curved cuts into a thicker, harder glass, and waterjet tables can now cut glass with ease. Belt sanders, equipped with sump beds that pump cooling agent, can edge a piece of glass in moments.
While most of this equipment is still beyond the reach of the average hobbyist, prices are slowly dropping, and the technology is making its way into smaller niche shops.
Feature image source: zen Sutherland / Flickr